You can make anything you want, as long as it has some sort of dynamic component; a moving part or something that changes with time. You are expected to pay for the materials (cost at least equivalent to a hardcopy textbook, say $150) and the project is yours to keep at the end of the semester.
And of course, it must express some aesthetic that you choose and define. That’s what this class is about, right? Your focus should be aesthetics first, function second. It’s OK if your project doesn’t work, but not OK if it looks bad.
- Create a timeline graphic. Show your actual design process. Be sure to show times for exploration, skill acquisition, looping, shopping, fabrication and documentation.
- Add a detailed description of your actual fabrication process. How did you make your artifact? What were the steps? Describe the steps shown in your timeline graphic. Document with lots of additional sketches, flowcharts, photos and/or video.
- Write a conclusion. Compare where you started (plans) with where you ended. What do you wish you had done differently? What will happen to your creation now? Focus on the aesthetics. Don’t get too wrapped up in function.
- Consider including a link to the video you made of your live presentation, or another video that provides an equivalent full description.
Final 2: Thermochromic Shirts
No Comments
Im going to go through the how and why i made my shirts. So I will start off with a timeline and give you the rundown on how it all came together. I fist started with my idea for the gradient color. I wanted a cool way to dye my shirts and create a color…
The How: Expanding Coffee Table
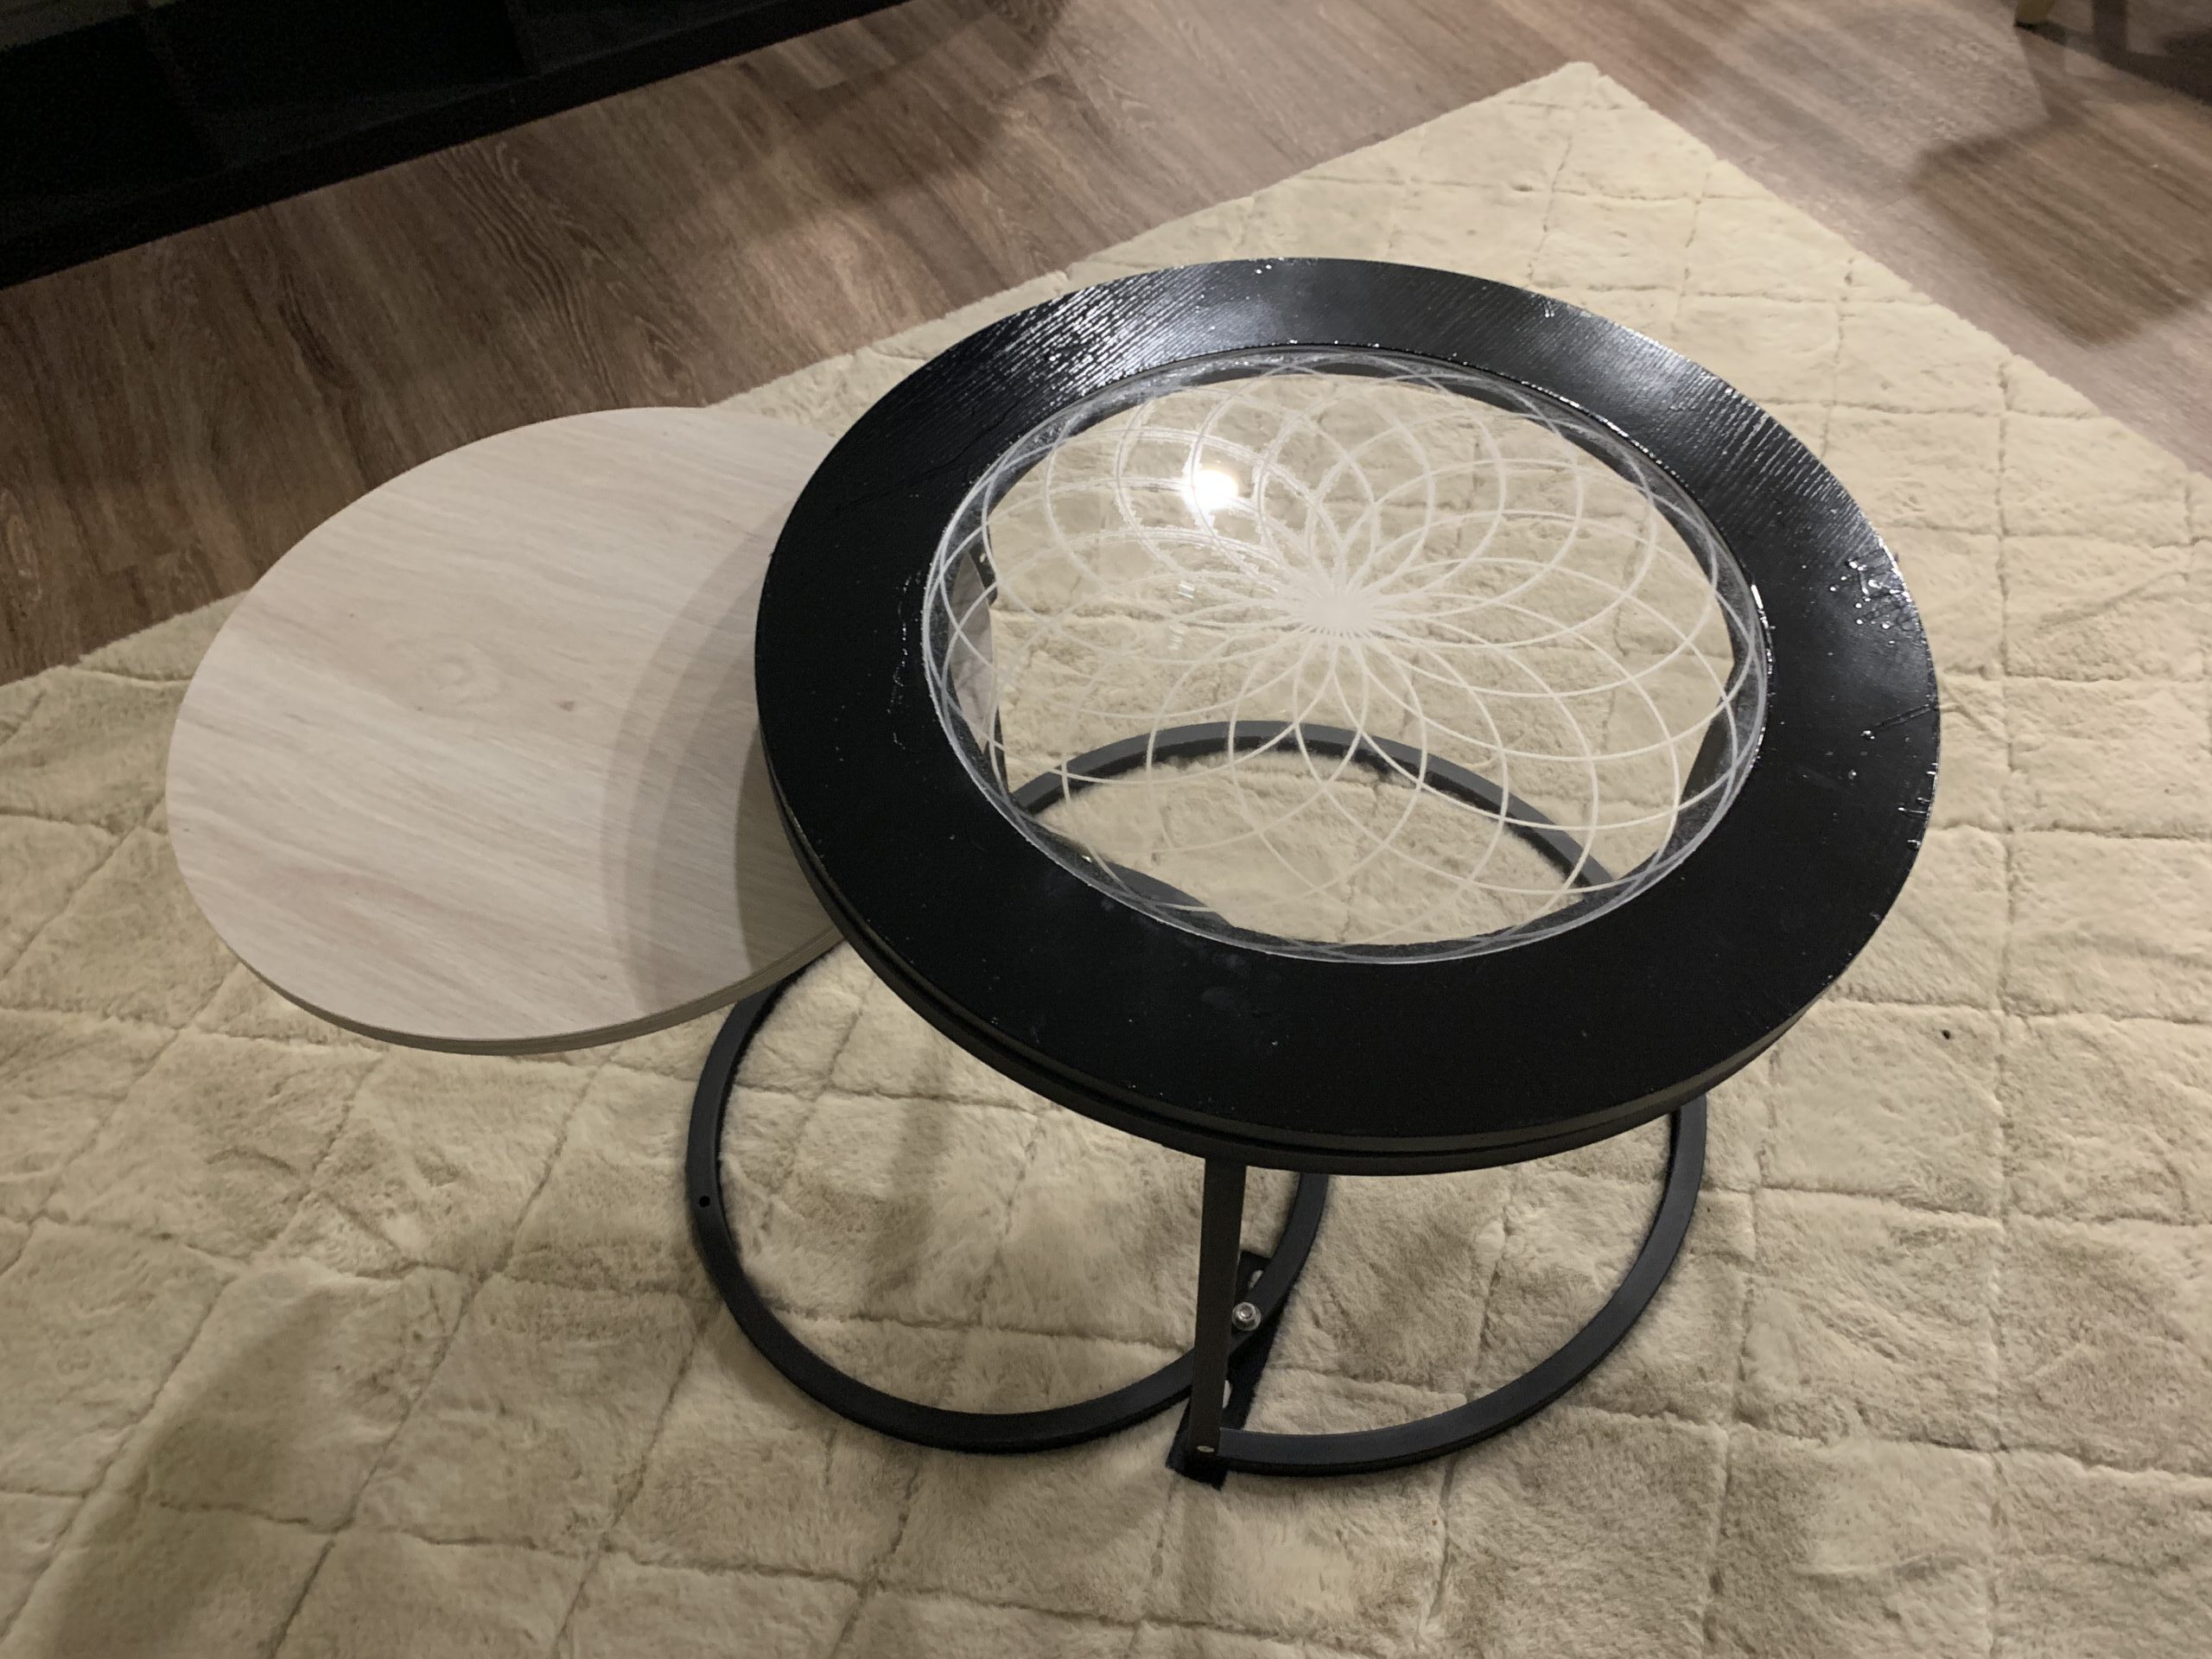
This week I am going to go through the design and fabrication of my final project I crafted over the last 3 months. As a reminder, my project is an American modern minimalist coffee table that has a hidden bottom table that can swing in and out to extend the surface area of the table.…
Post 12: How and What Next
The first thing I did was that I brought all of my materials into the lab and decided what the first thing to do was. I decided that the creation of the base would be crucial and should be done before any wiring was attempted. I decided to cut my wood and layout my idea…
Post 12: Utilitarian Modular Container Part 2
After I had a vague idea of what I wanted the container to look like and how I wanted to incorporate the dynamic aspect — having one of the panels opening up, bottom plates sliding out, and the doors opening — I started with a quick mockup. Having the container unfurl would provide access for…
Fountain Birdbath Final Report: Part 2
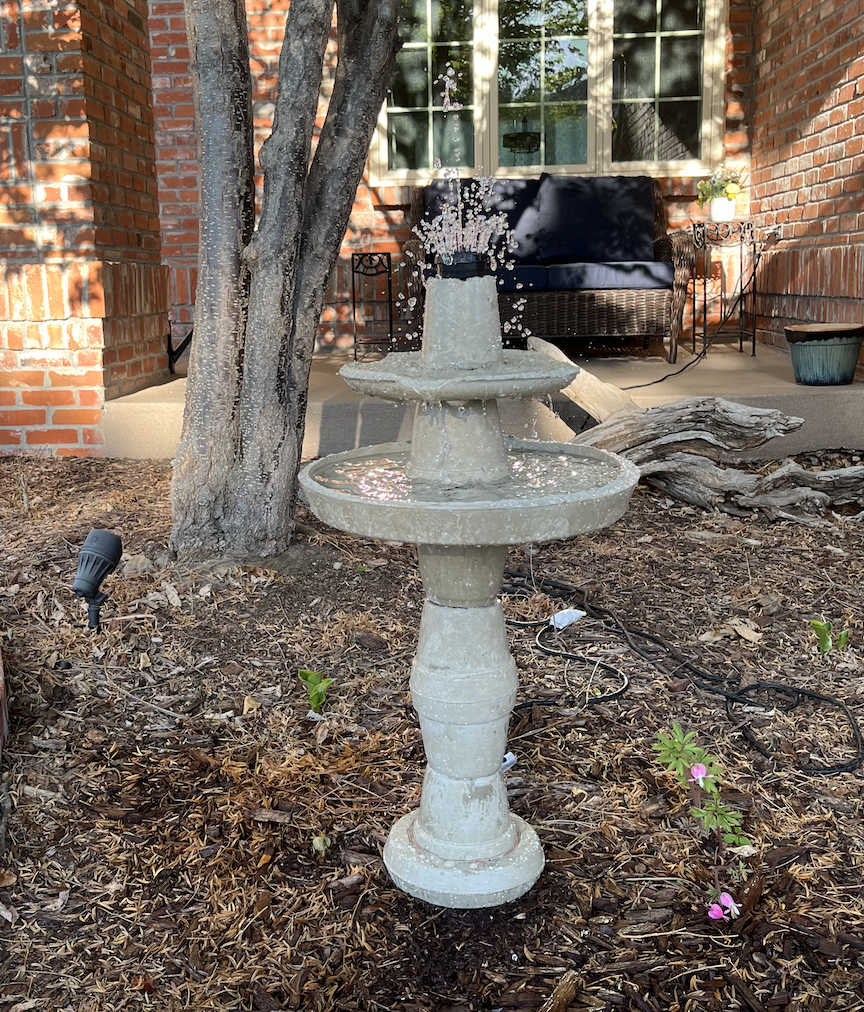
My final artifact is a fountain birdbath, designed based on the cottagecore aesthetic as a gift for my grandparent’s mountain cabin home. The following images are the final product. This is the timeline that I followed in order to successfully complete the project. The first design week was when I drew from existing inspirations and…
Final Report II: Car Camping Table, How and Why?
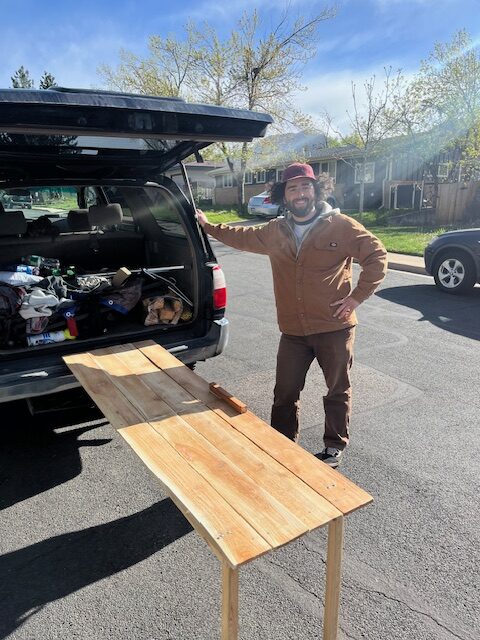
For my final project I decided to build a camping table for my car. I have wanted one for a while because I camp a good amount over the summer and never have a good time cooking when I am camping because of a lack of space to pack a table in my car. I…
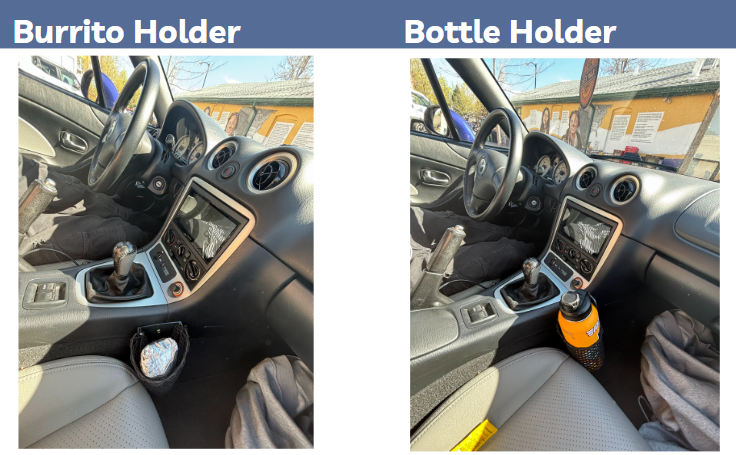
How? Mx5 Cup Holder
From my post 8, I developed a timeline that I wanted to follow for the design of this project. This can be shown below. Originally I had developed this plan to create my spring design but as mentioned in my previous posts, I switched directions. I ended up going with the netting idea instead which…
Final Report Part 2: Abstract Structural Art
In this post, let’s answer the following questions: The Artifact: Final Artifact A. How? In the journey of creating my artifact, I embarked on a meticulous process that involved dividing the design into five distinct modules. Each module served a specific purpose, contributing to the overall structure and functionality of the artifact. Here’s a detailed…
LED Matrix Final Report Part 2
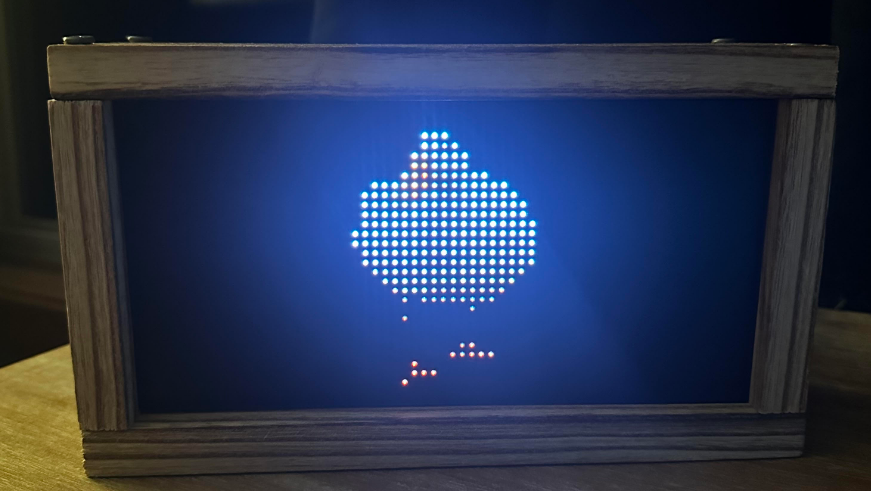
Made by me Starting on the twentieth of March I finished finalizing my CAD model and ordered all my materials, my materials being wood, LEDs, and cables. I also ordered a raspberry pi and soem things to make soldering eaiser. Simultaneously I learned how to code on a controller for the panel.I used a Raspberry…
Post 12: Final Report Part 2
Making my final product combined a number of processes from the initial brainstorming and concept generation stage all the way to the final completed assembly that I have today. To make my plan for the project, I decided to split my process into the following categories: Brainstorming and concept generation Sketching Modeling Individual Part…
Rotating Lamp Final Report Part 2
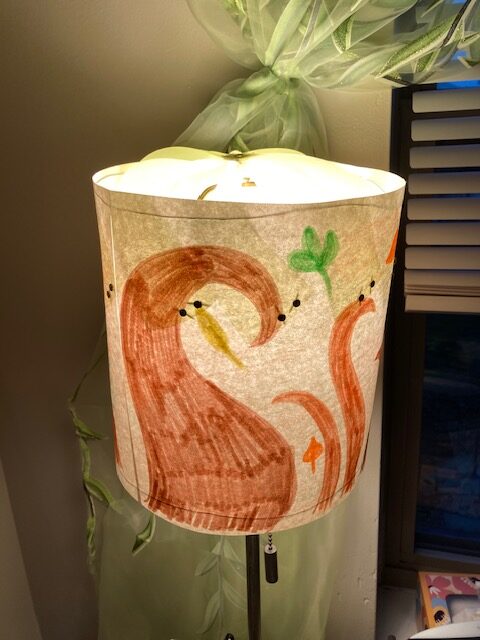
I made a lamp shade that rotates from the rising heat of the light bulb. It’s designed to be in a Goblincore or Cottagecore type aesthetic. I didn’t take any progress photos but it took about 2 days to complete. However, the process of creating this lamp shade is very simple and easy to describe.…
Final Report: Industrial Style Lamp
The goal of my project was to create a visually interesting conversation piece that will illuminate a space. An industrial aesthetic would convey my personal interests in engineering. Since industrial styles can be very linear, with straight lines and uniformity. I also wanted this piece to be organic in the way that it incorporated curves…
Project Ornithopter Post 12: Main Project Final Report Part 2 – Sophie Berry
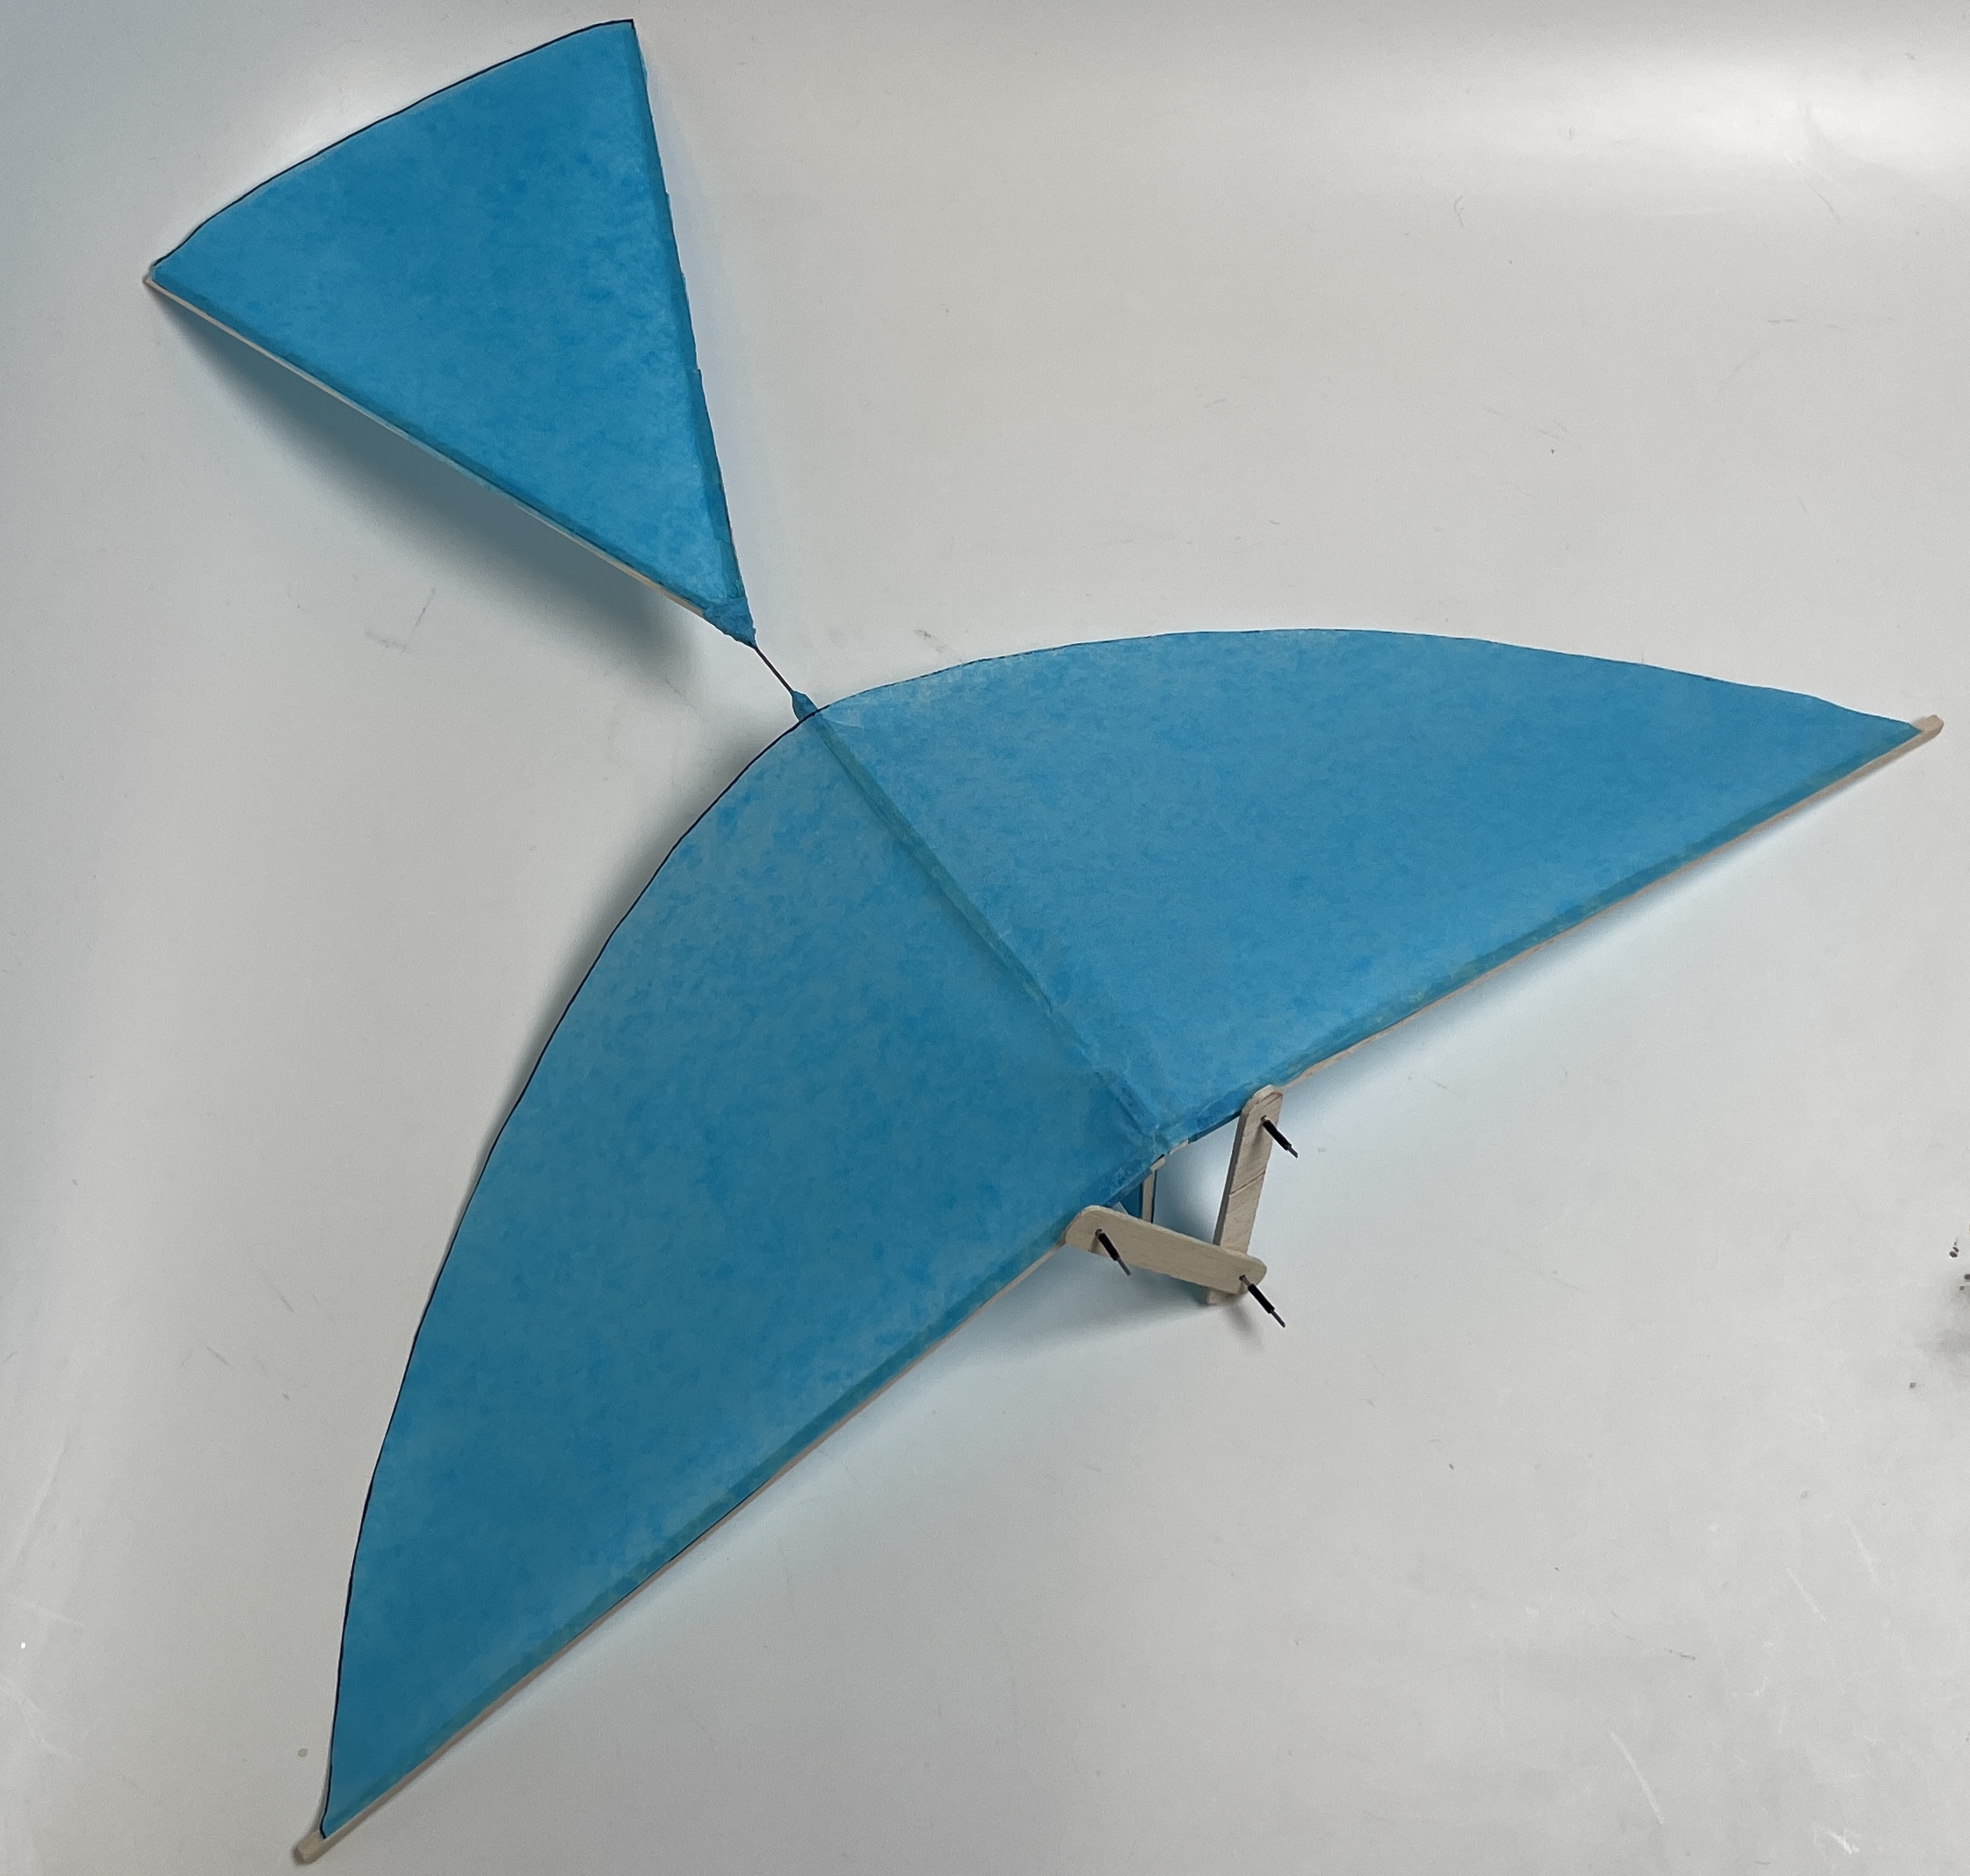
Timeline: W1: get the materials W2: start prepping them to be assembled easily later (cut wires, cut wood, glue pieces together etc.) W3:Catch up week W4:assemble 1+ ornithopters W5: Spring break – test, build larger model, TEST, film W6: test/ extra week W7:Build stand? __________________________________________________________________________ Getting the bits and bobs: In the instructions that I…
iSpy Pinhole Camera Final Report: How & What Next
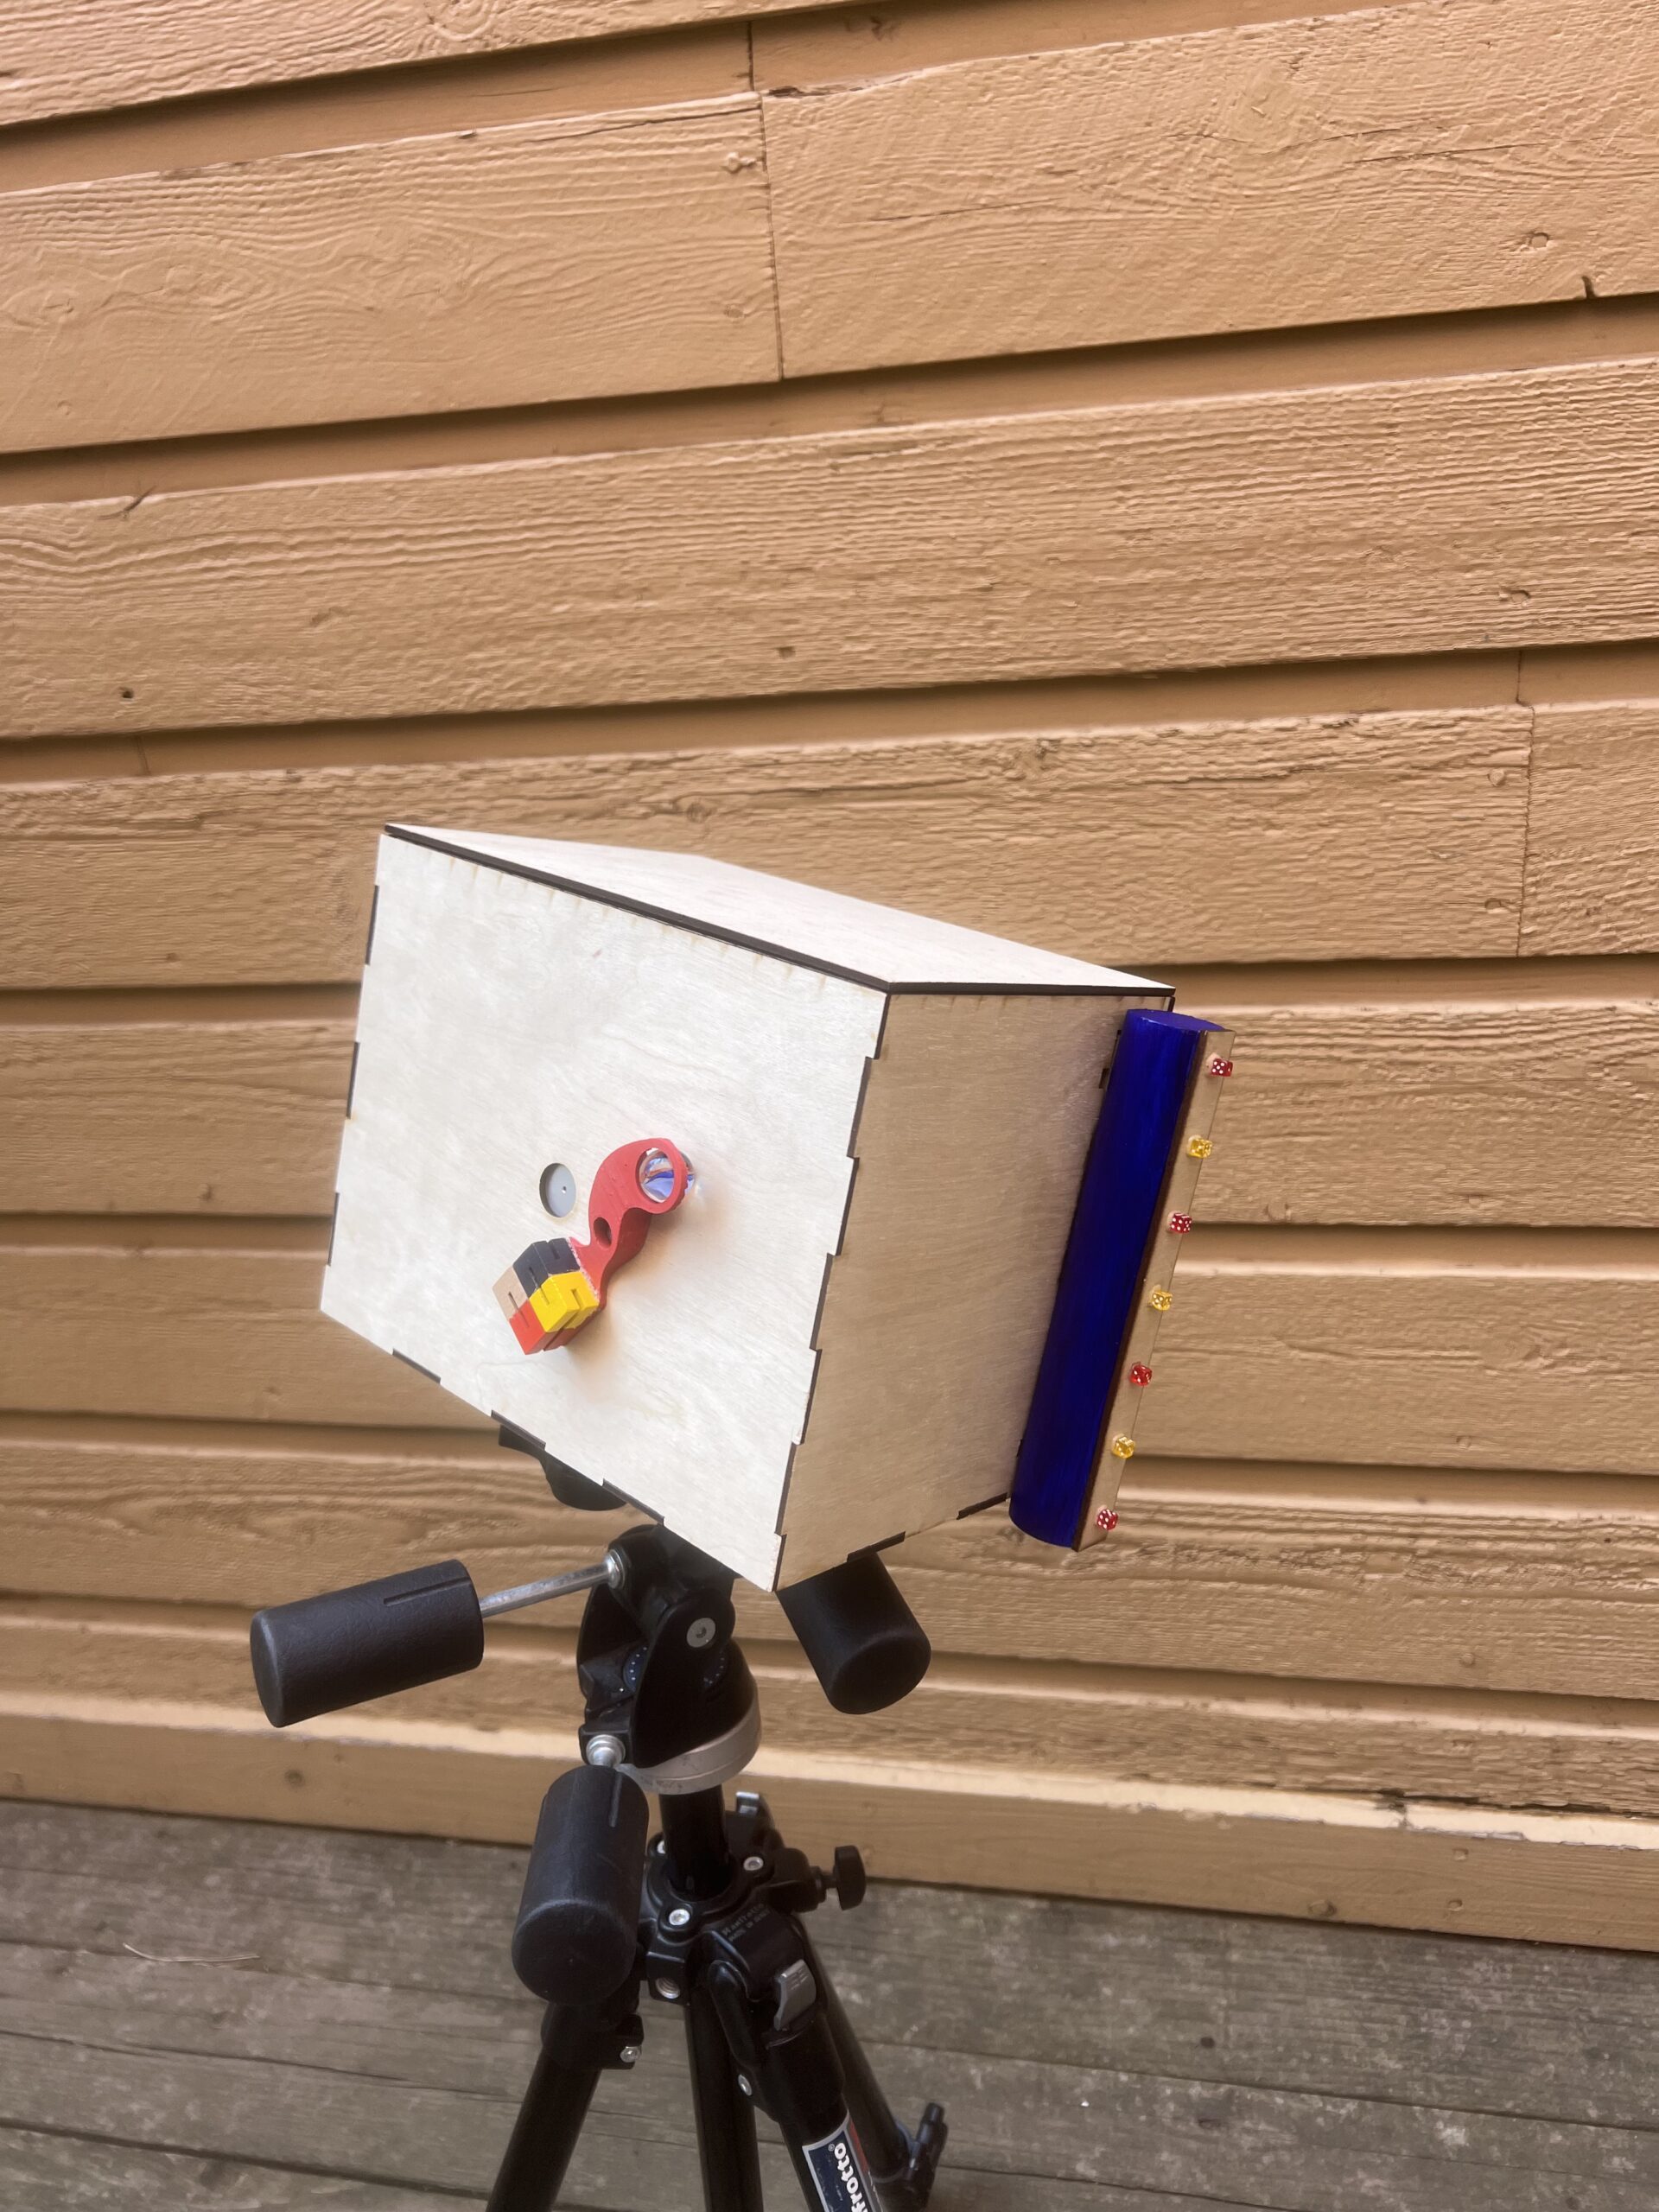
For my Aesthetics of Design final project, I made a large format pinhole camera in a toyshop aesthetic inspired by the iSpy books of the 1990s and 2000s. Introduction: What is a pinhole camera? A pinhole camera is a very simple image making device that relies on the “camera obscura” effect. It is essentially a…
Final Part II: NeuMouse
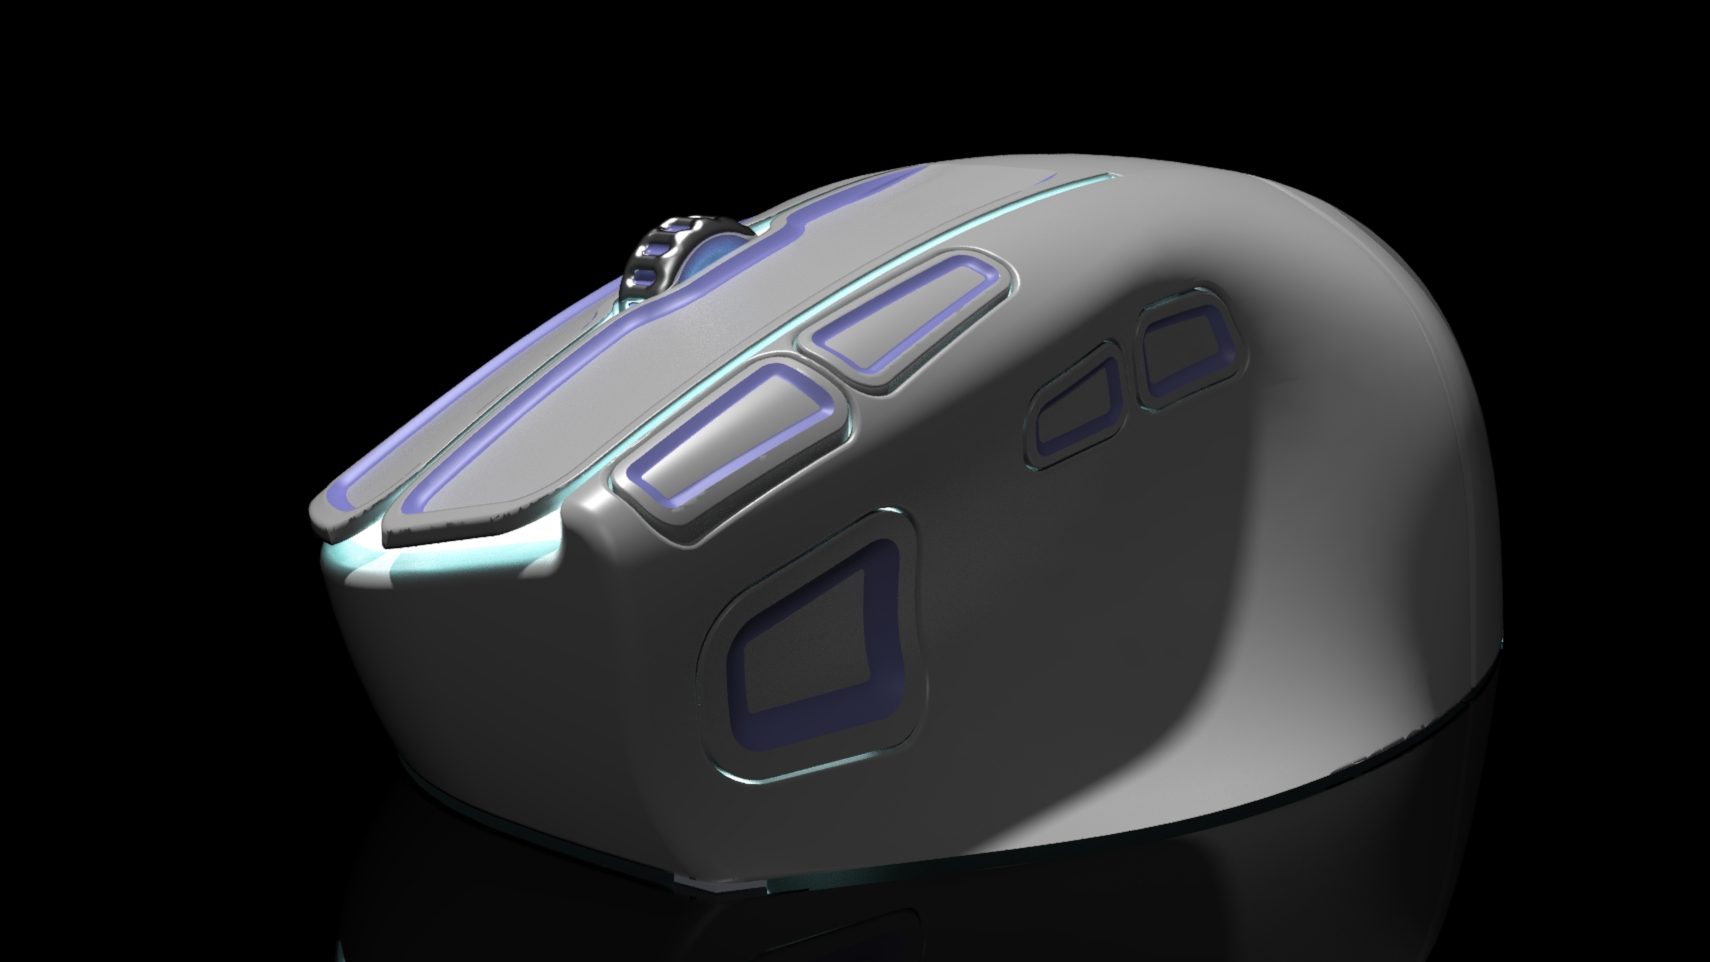
Timeline While I would not consider my initial timeline overly ambitious, it was definitely not helped by my lack of electronics experience, relative inexperience with surfacing, and delayed project switch. Despite all of this, I am still happy with my final result. The timeline below shows an ideal/initial schedule for my project, ignoring the time…
Post 12: Kinetic Wind Sculpture
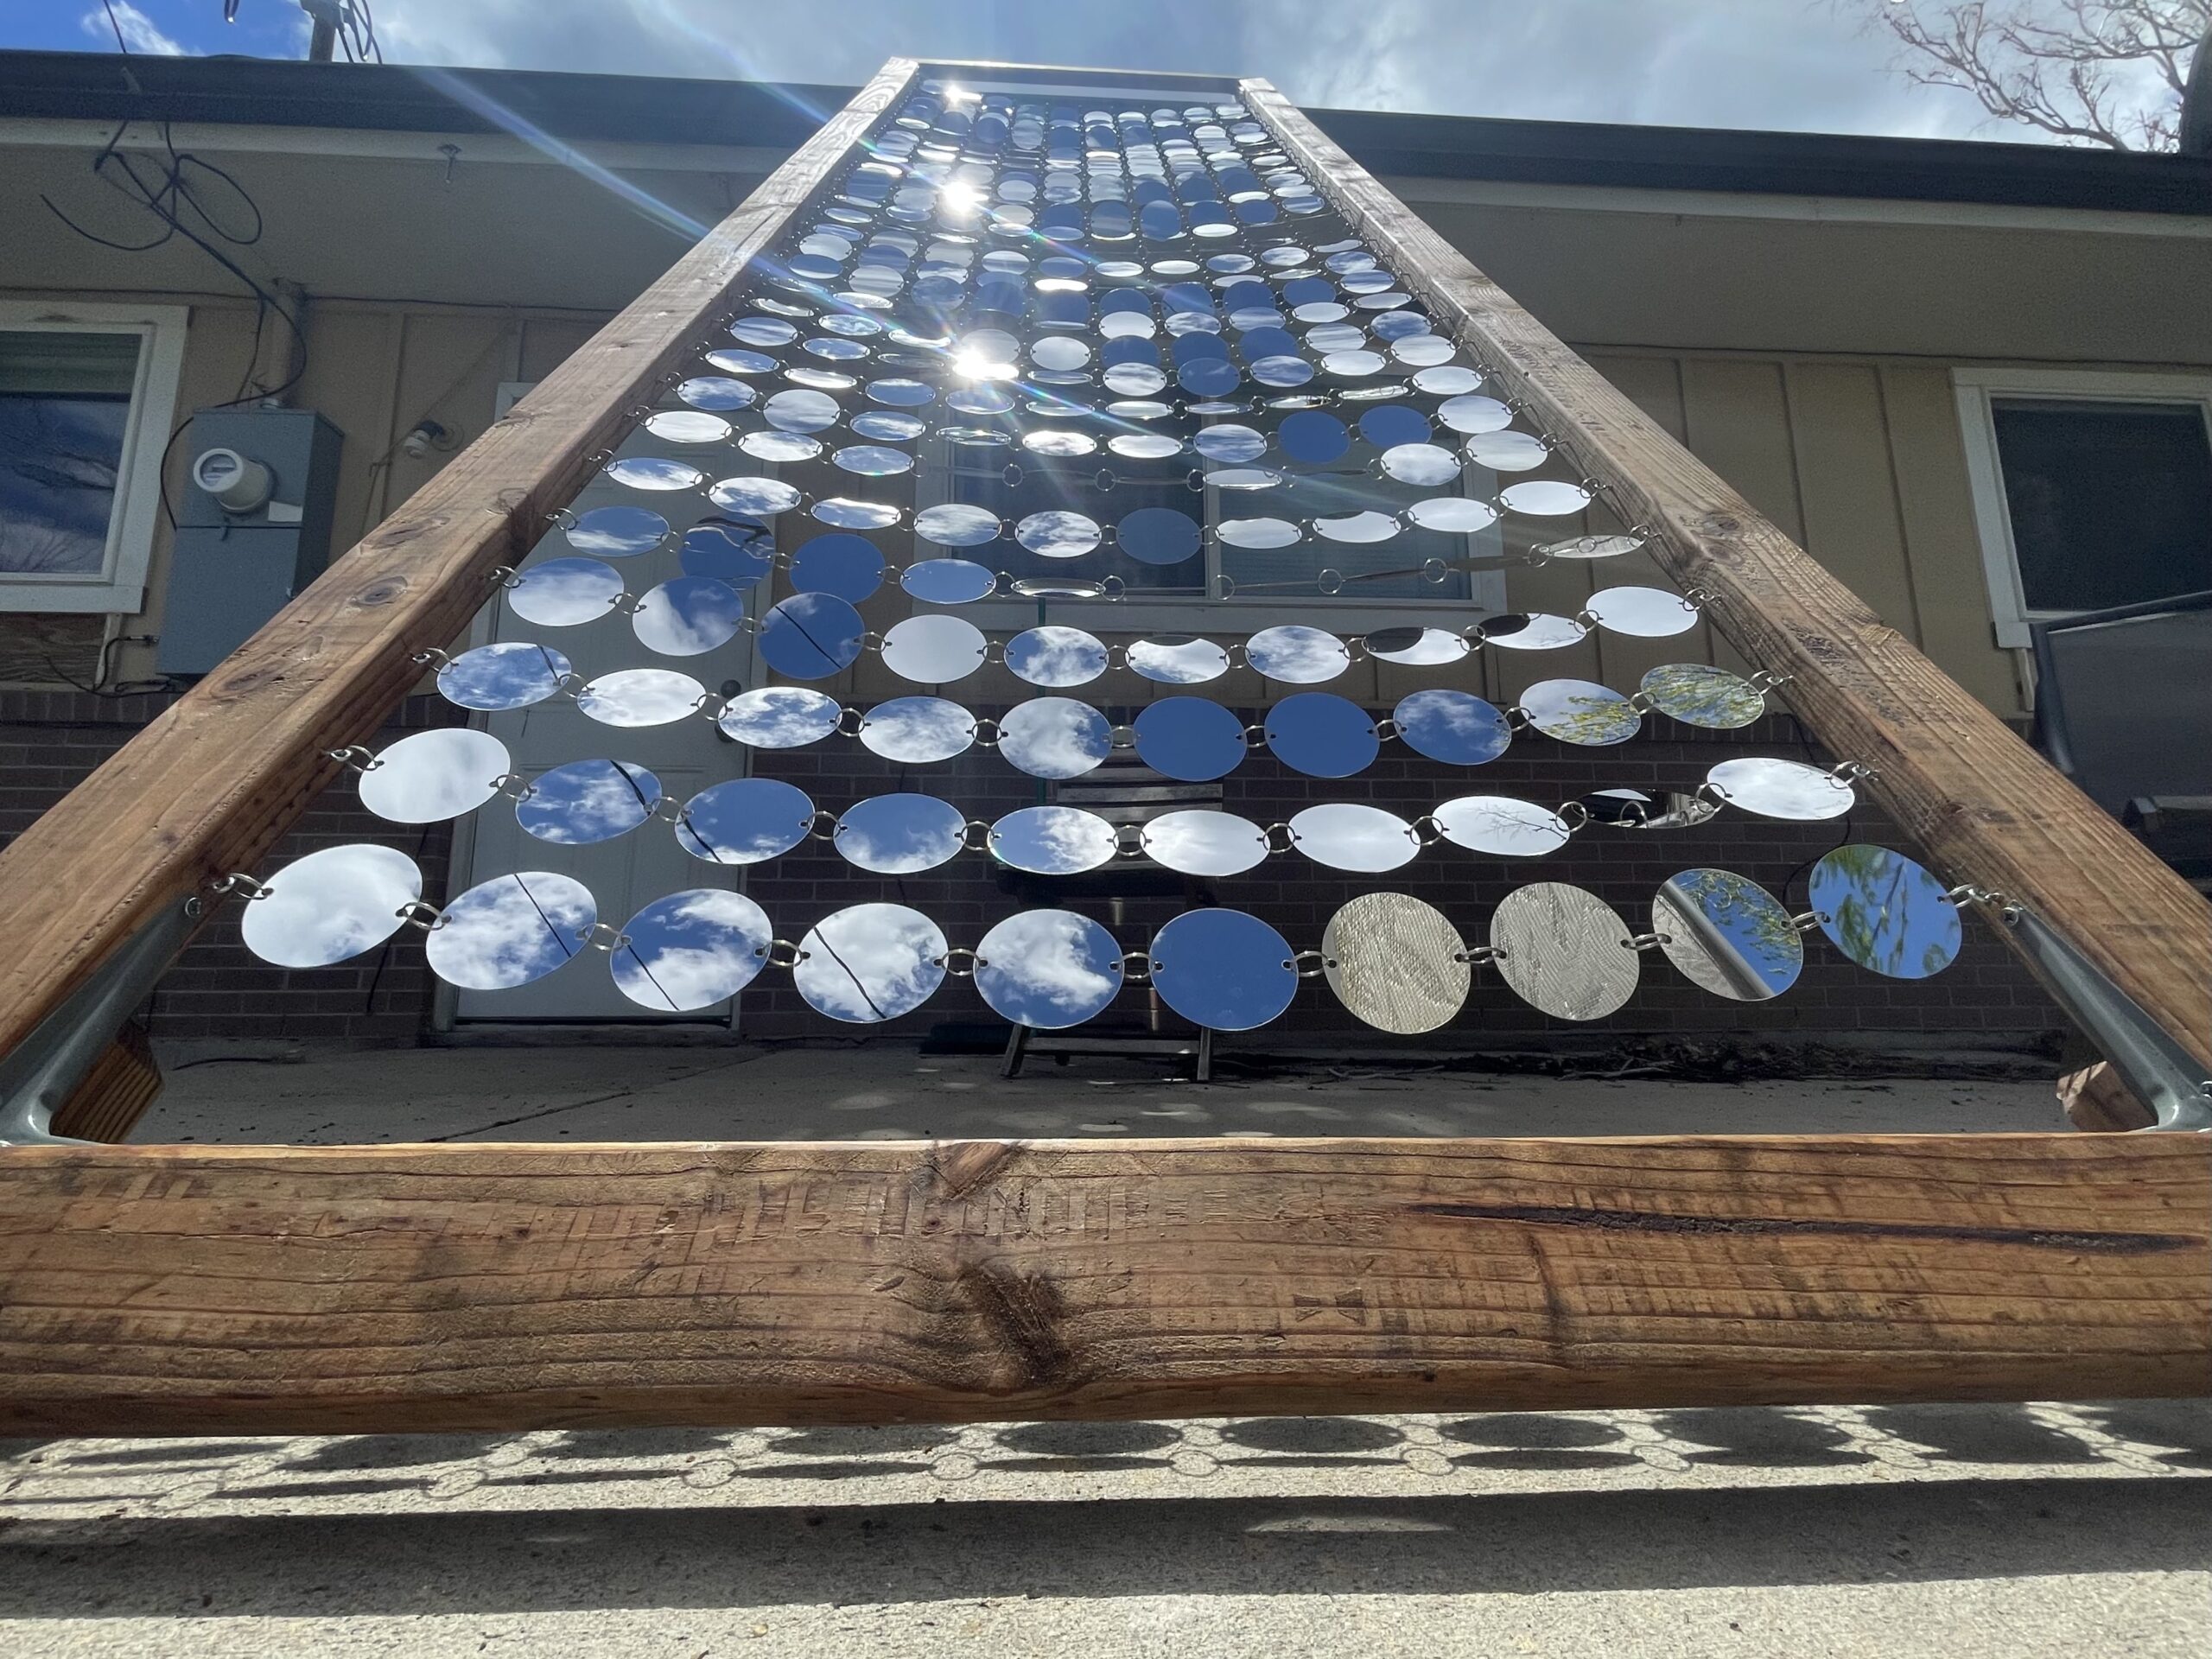
Kinetic Wind Sculpture by Alex Fitzgerald Kinetic Wind Sculpture in Vertical Configuration Project Timeline Project Timeline for Final Project This project spanned 9 academic weeks. The first few days after being assigned the project I spent a few days brainstorming ideas for what I wanted to see as my end product. This included spending time…
The Final Unveiling: My Journey from Roulette Inspiration to High-End Fashion Wristwatch
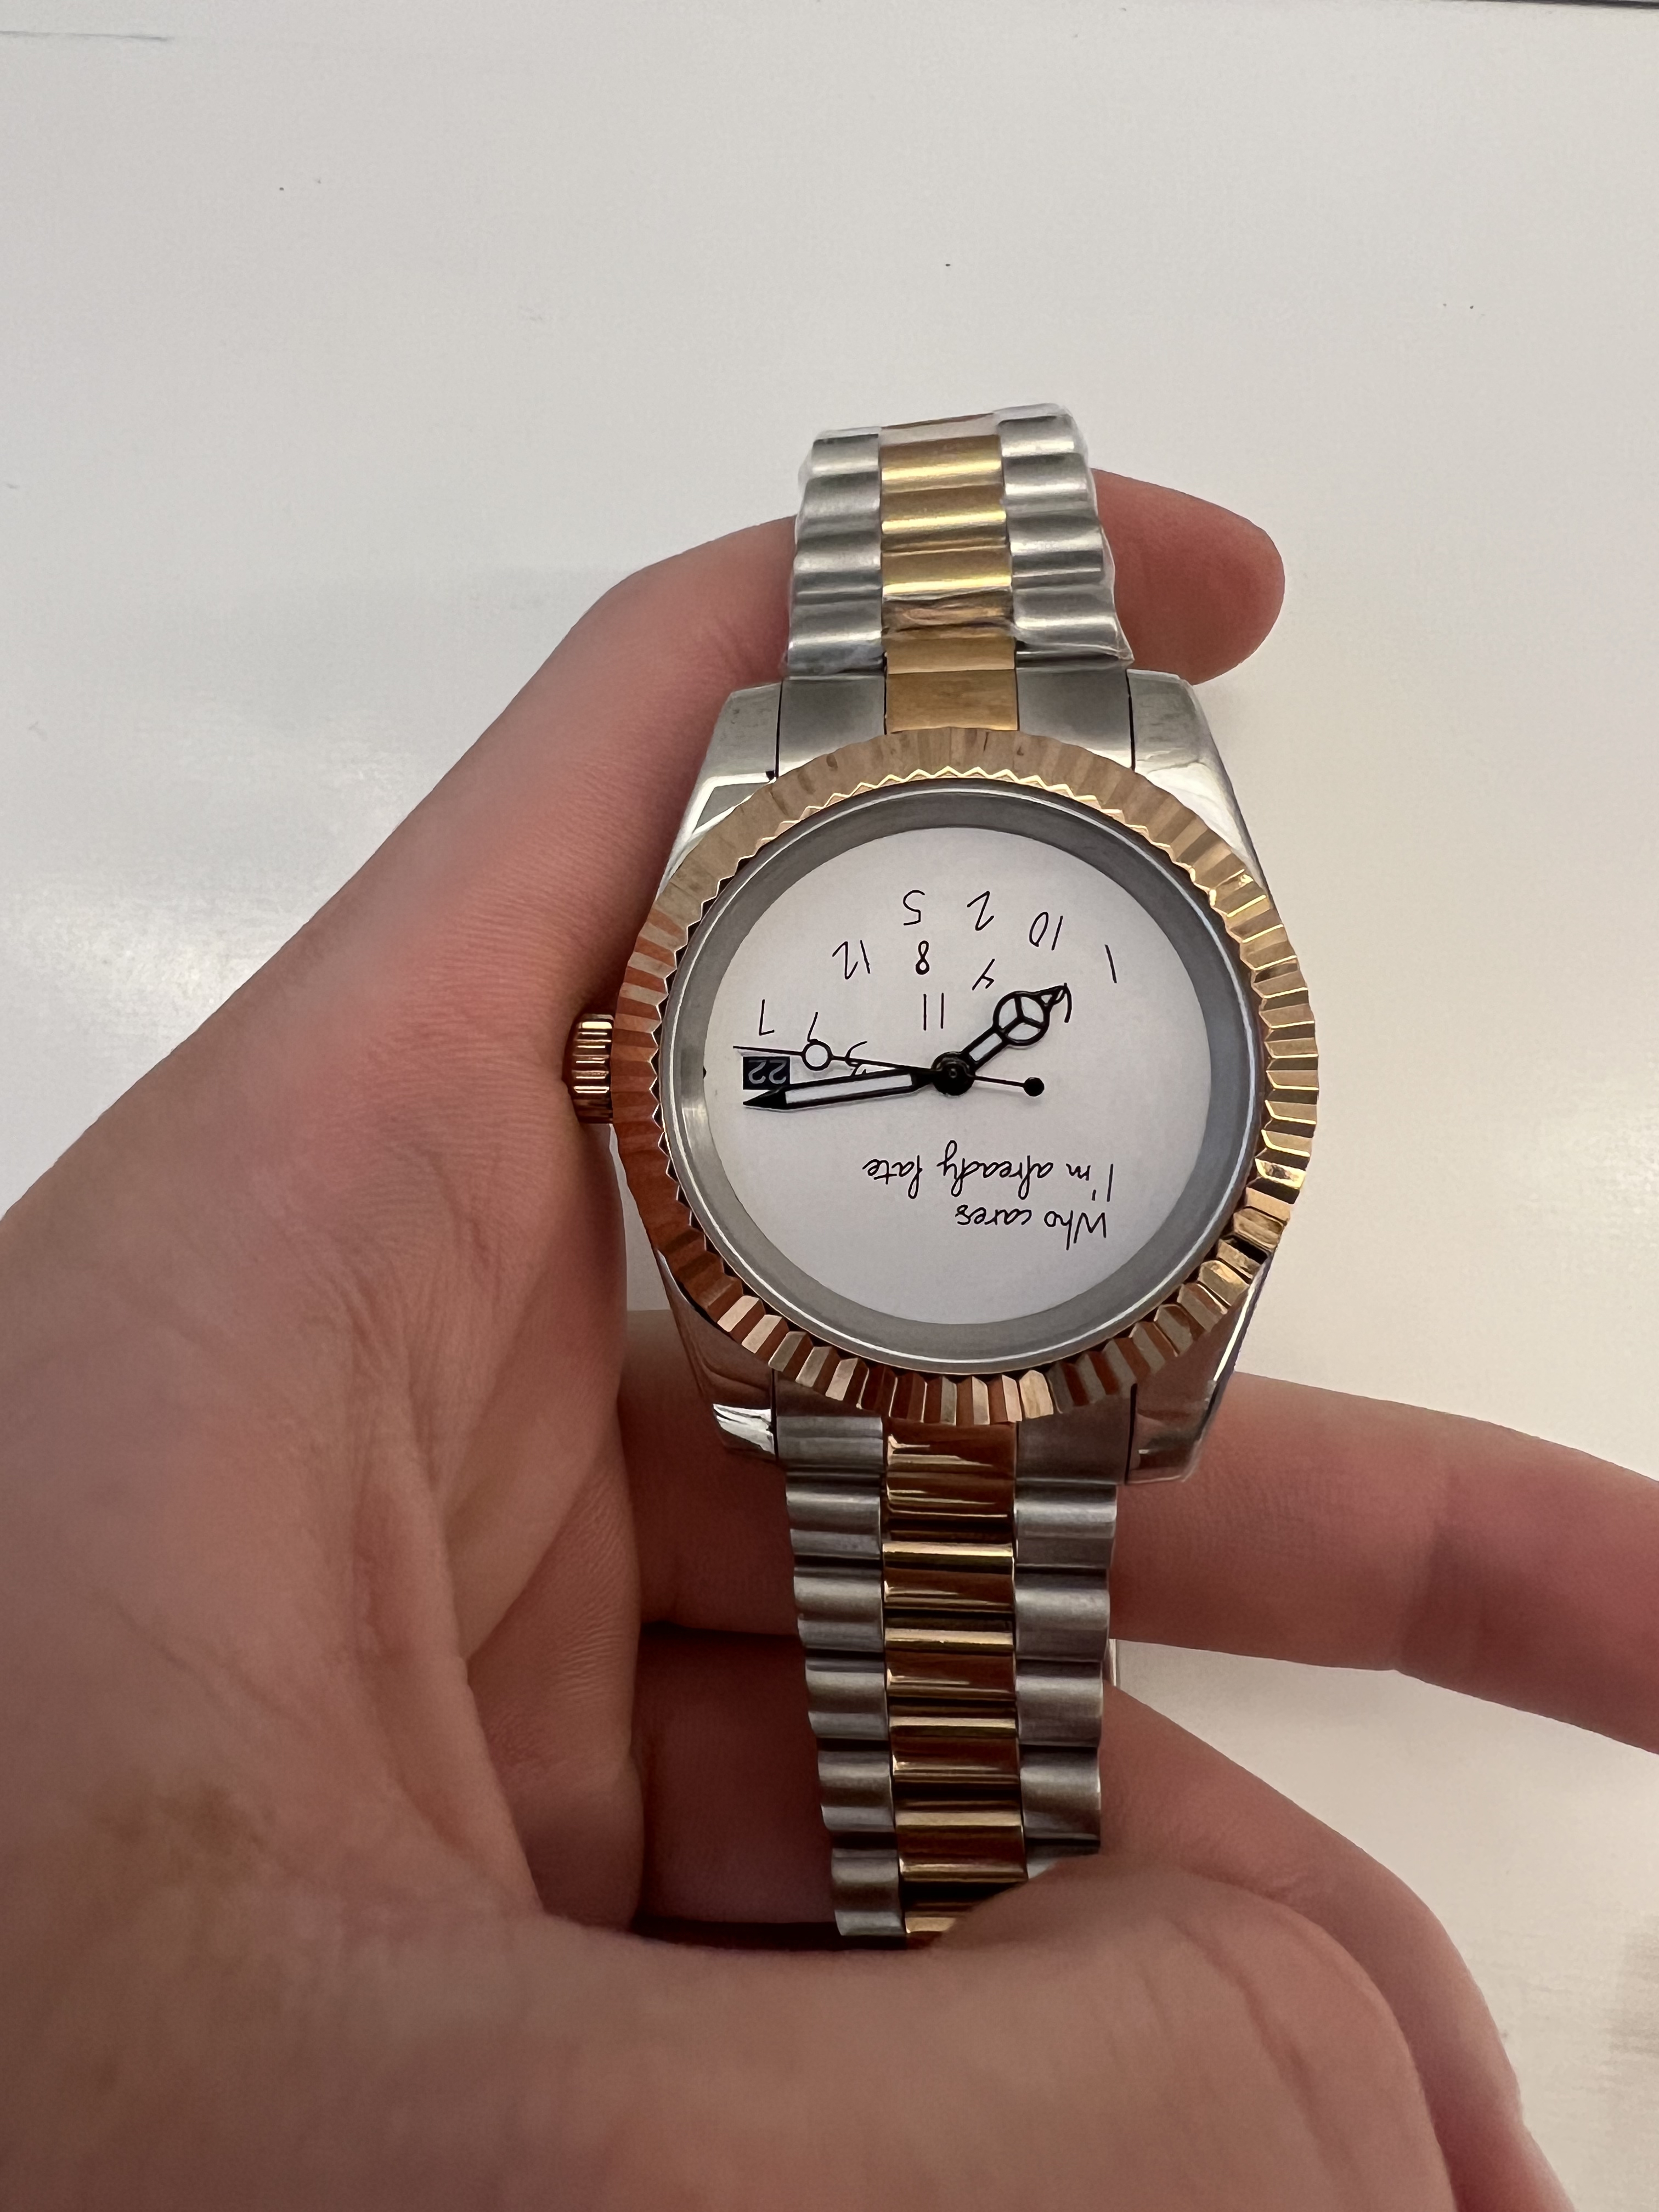
Introduction As this project comes to a finish and my time in Aesthetics of Design, I look back on my journey that began with the inspiration of having a project I could physically use or wear and from the vibrant allure of Las Vegas and how it evolved into the creation of a sophisticated high-end…
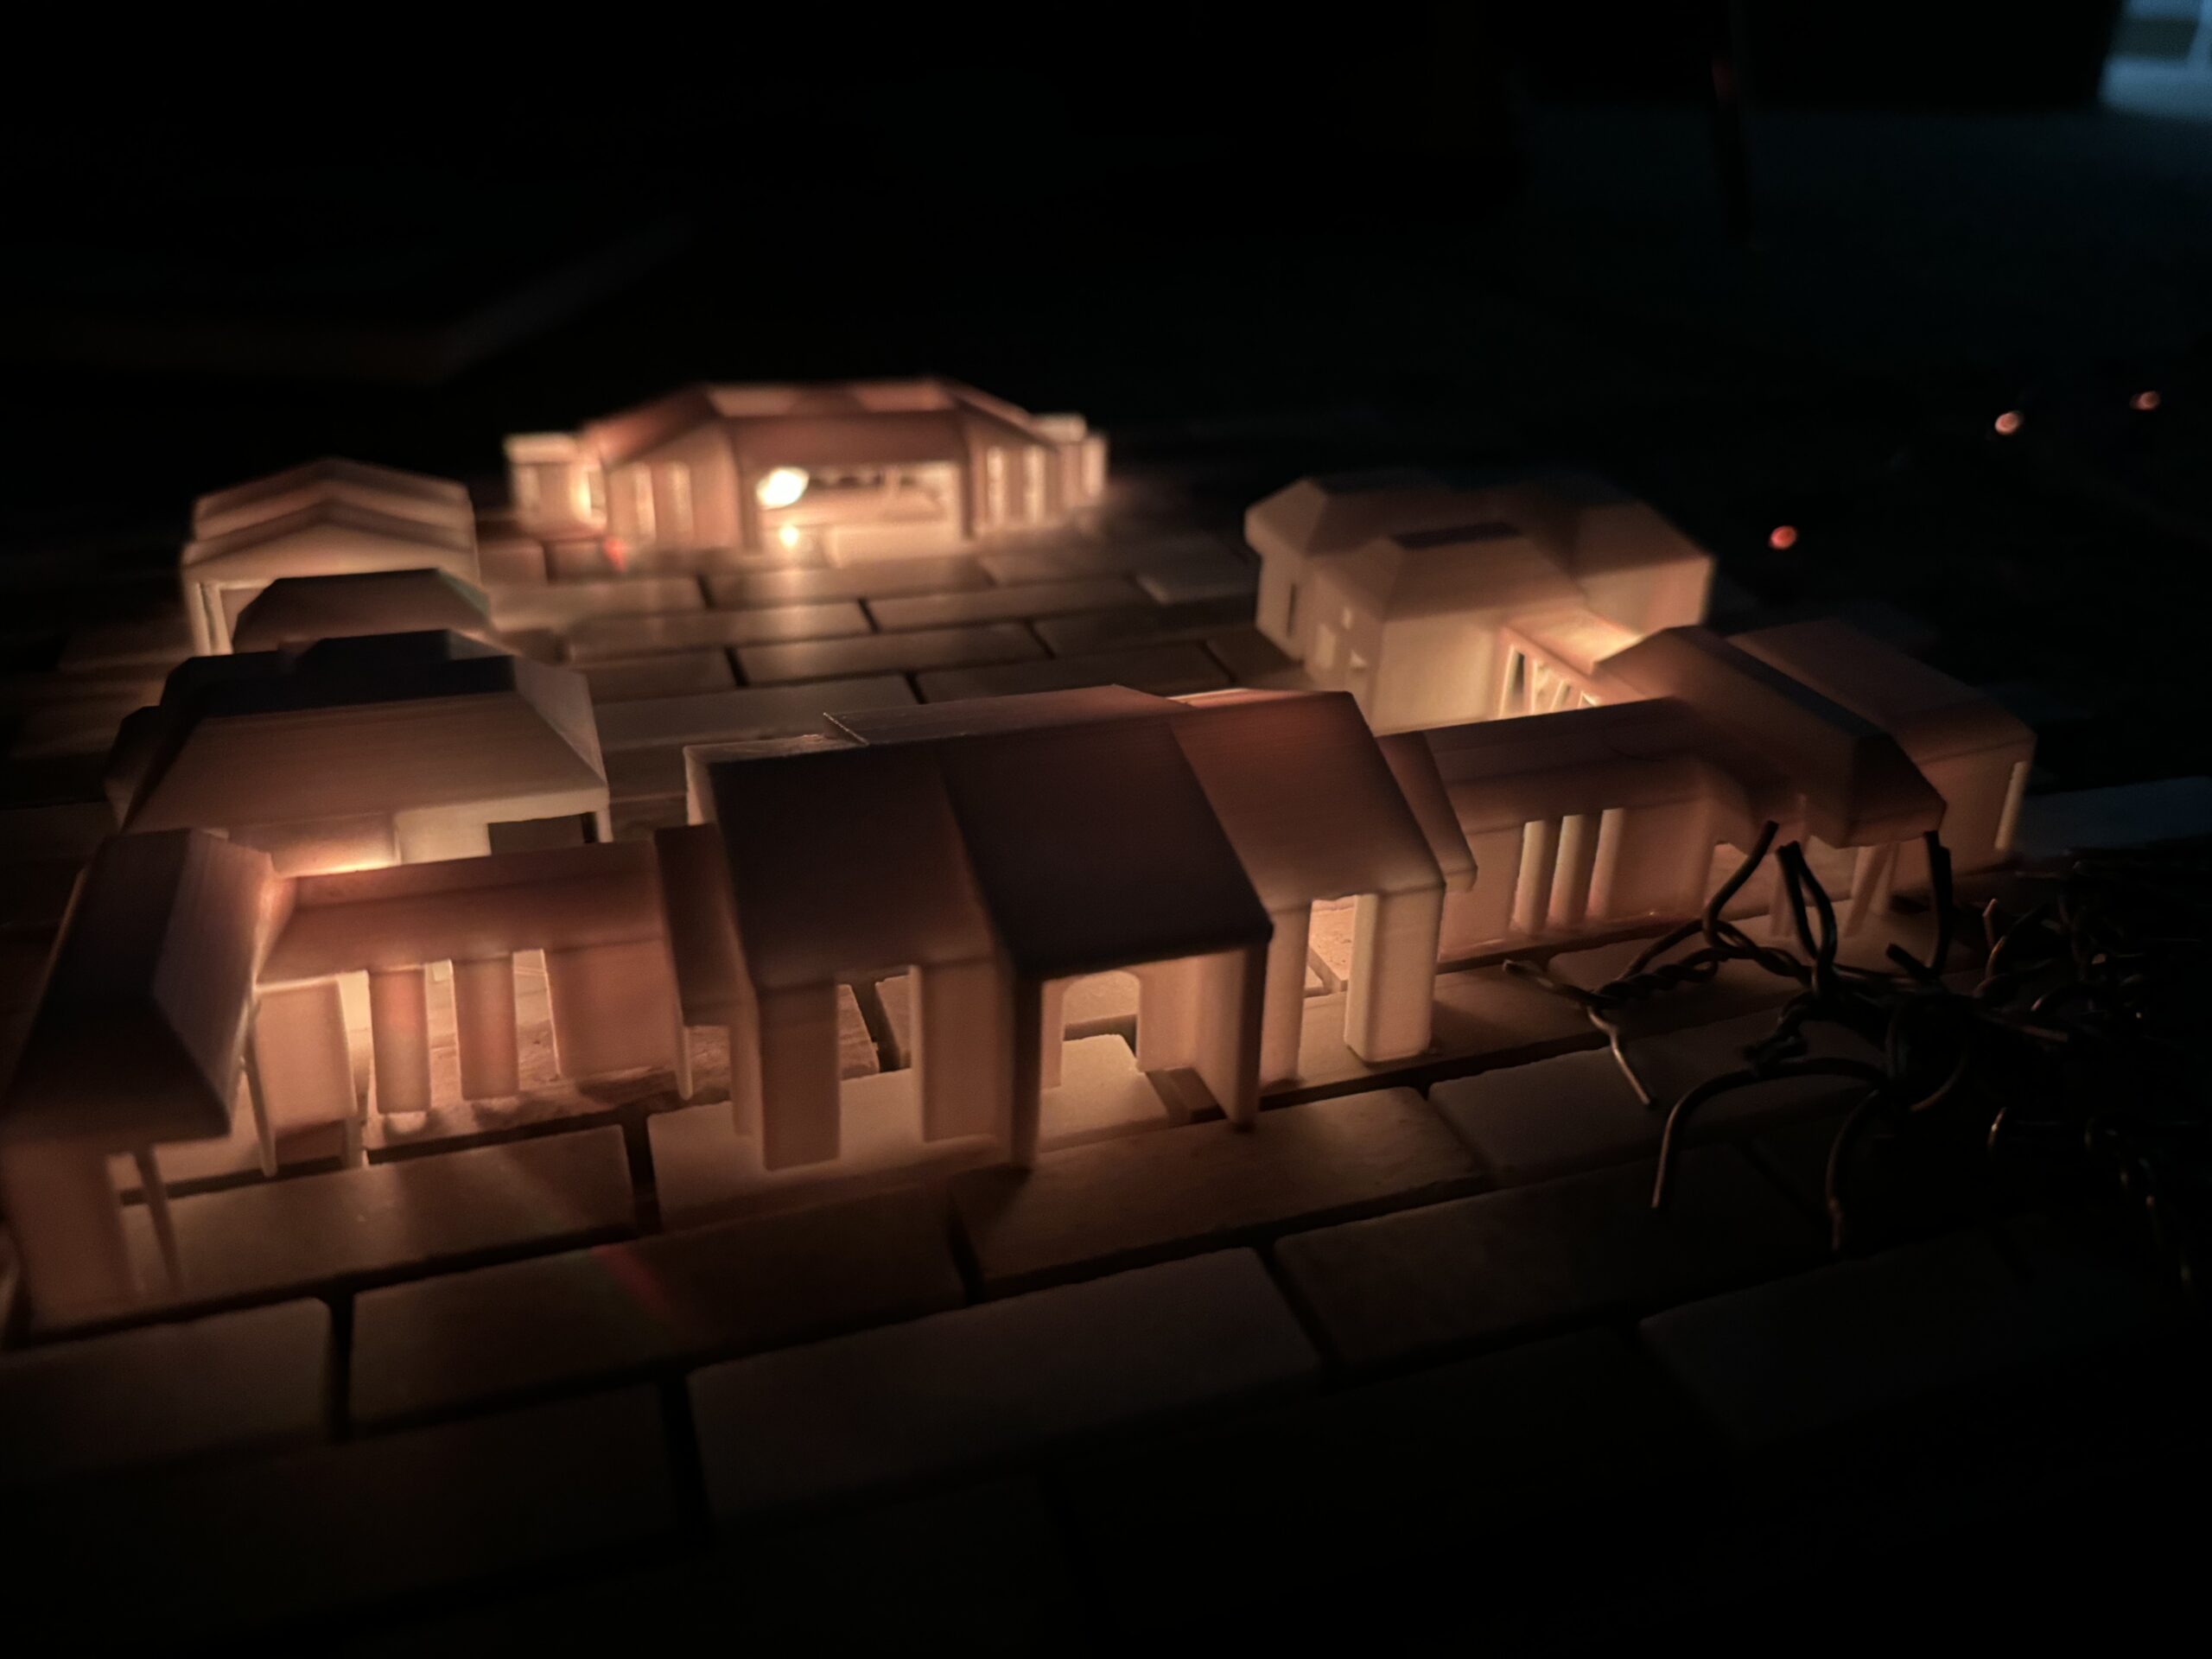
Final Report 2; Modern Chateau Customizable Display
My goal was to create a 3D dynamic house design in order to not only showcase my design, but to also allow for landscape manipulation through movable ferns and trees. Like I said in my last post, I have watched several YouTube videos where they make a 3D model out of concrete and wood. So…
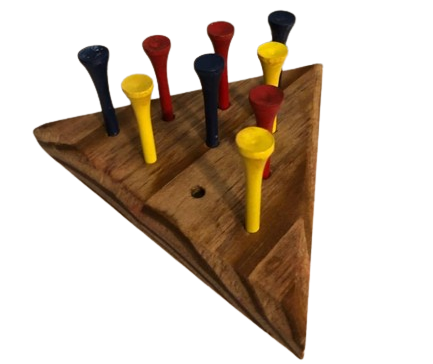
Final Report Part 2 – Game Board
After going through the process to pin down what I actually wanted to make, I was able to start stylizing my design to fit the ‘home-style’ aesthetic. As mentioned before, the decisions that led to this design were mainly due to my struggle with timelines. I had originally kept this more open ended for my…
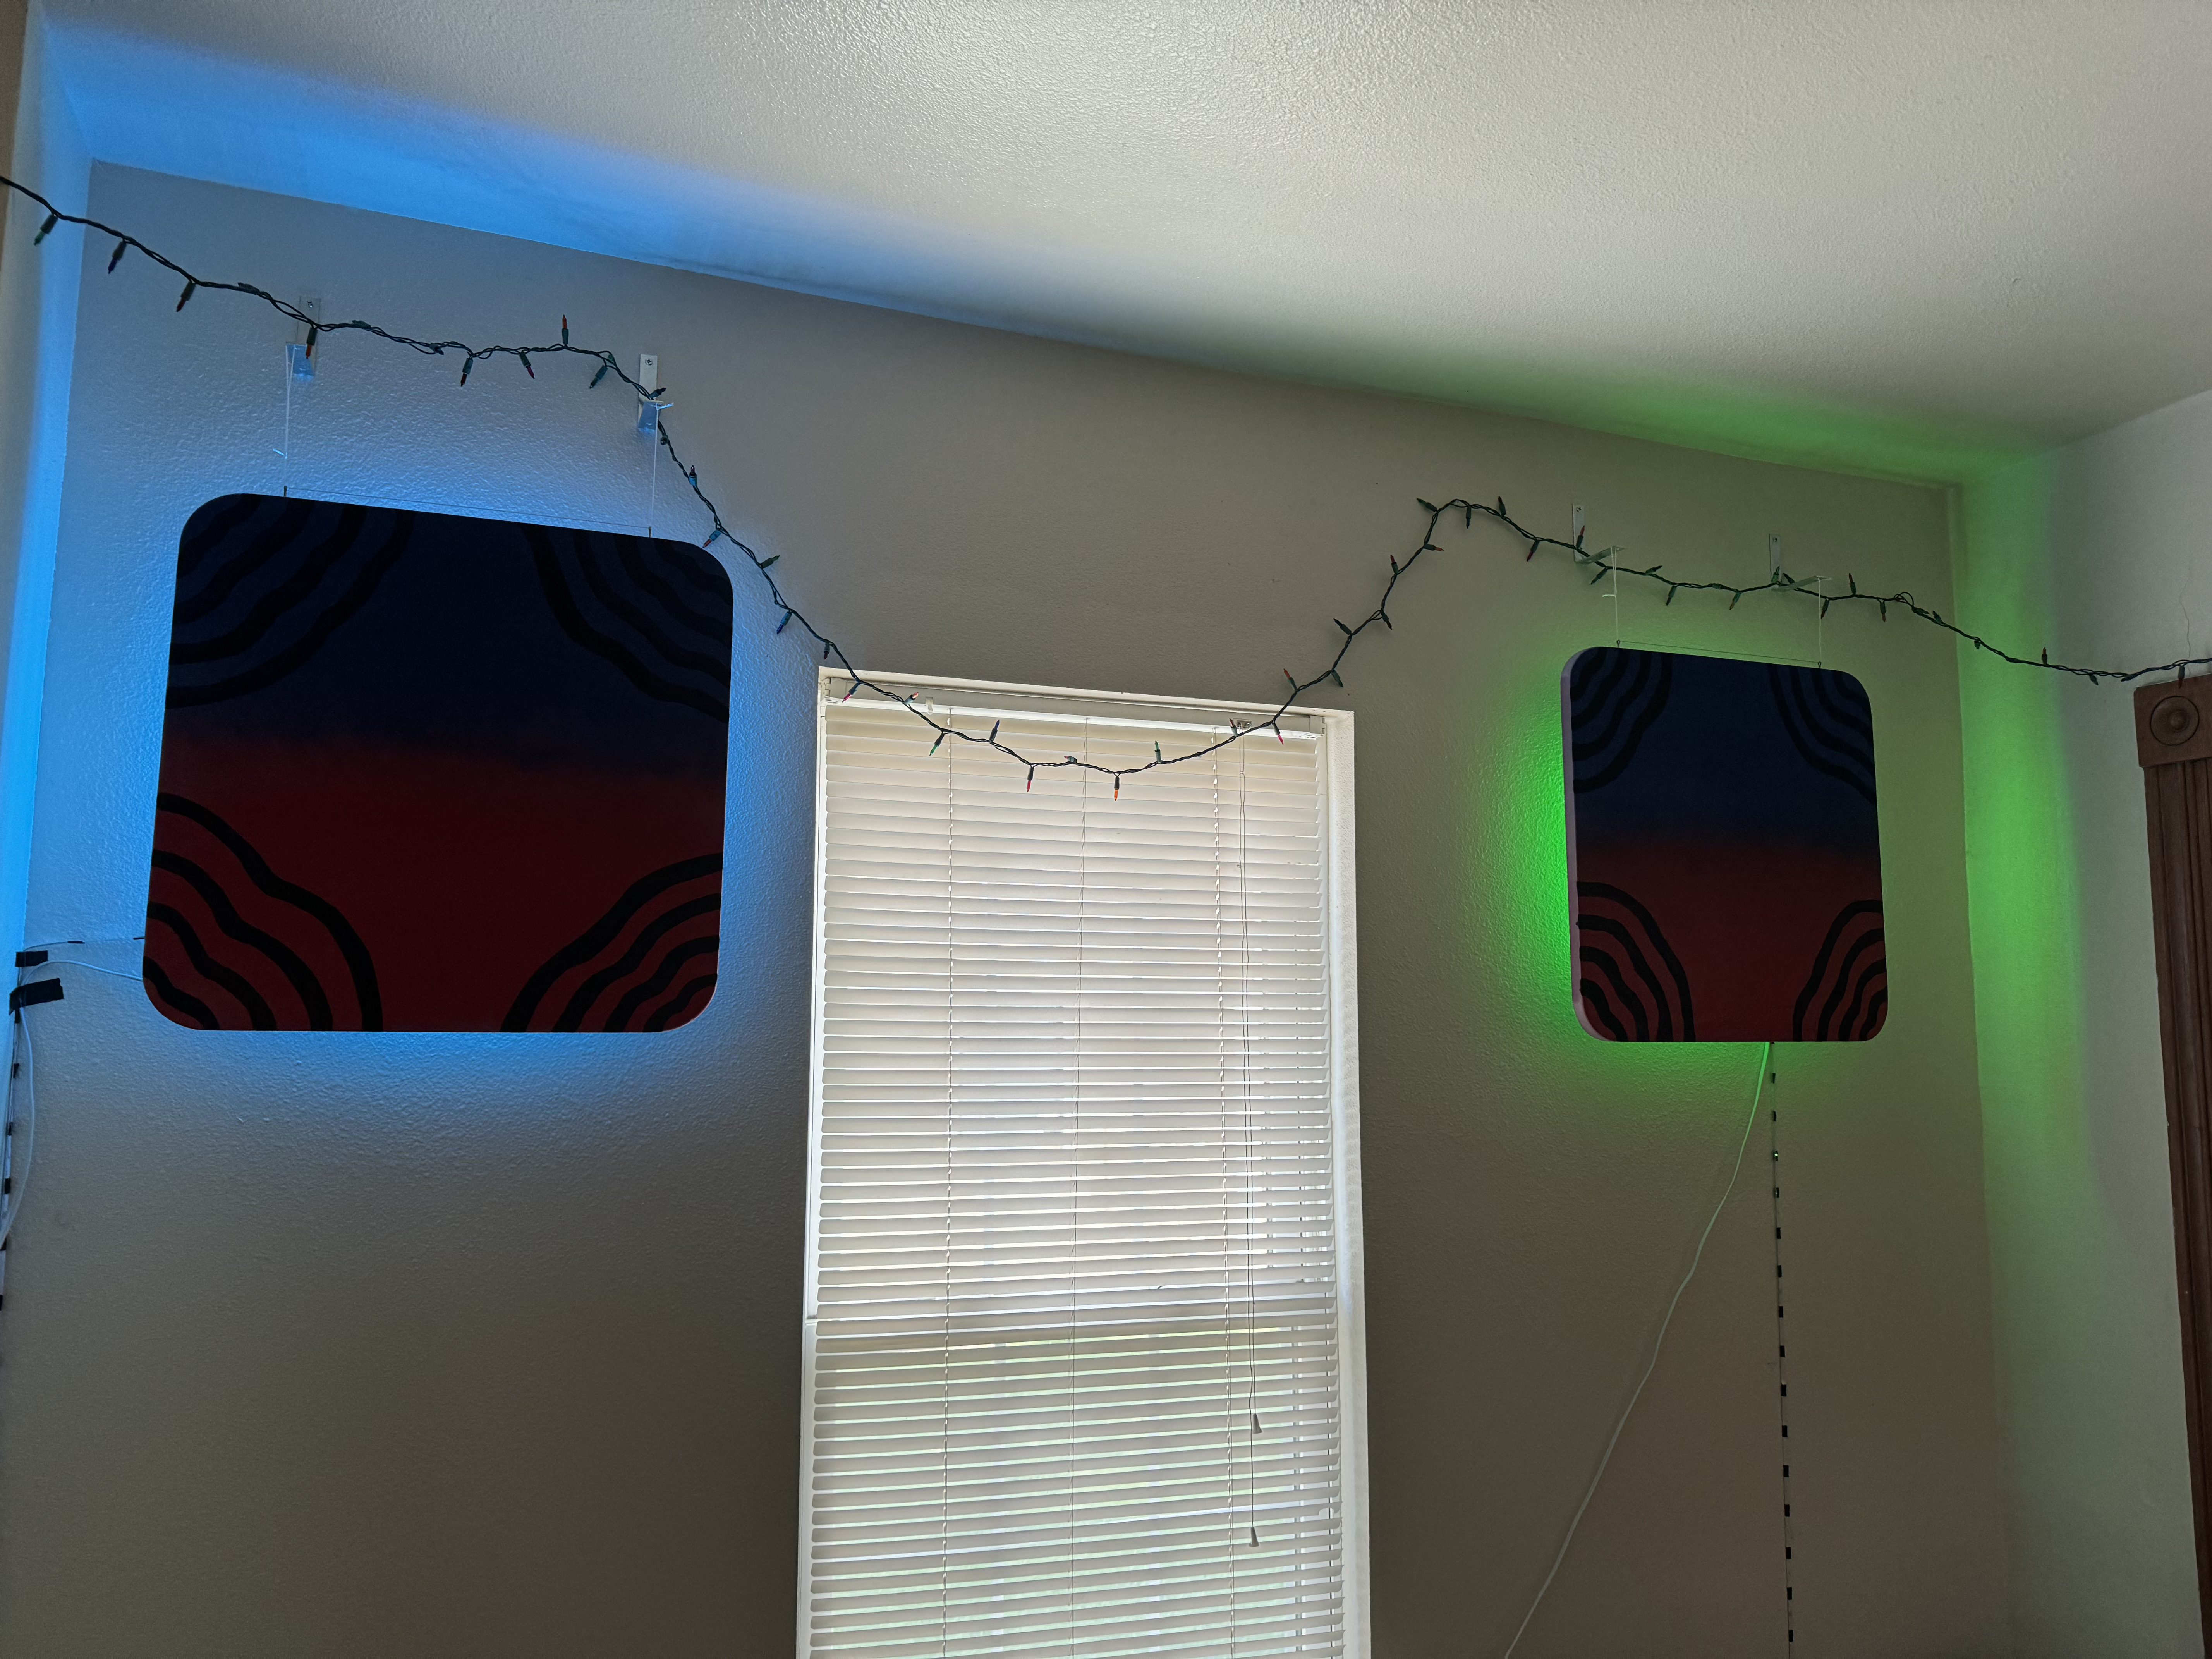
Final Report Part 2: Foam Exciter Speakers
For my final project I decided to build a set of LED backlit foam exciter speakers and hang them in my living room. A foam exciter speaker is a piece of foam, in this case a 2’x2’x1” board of polystyrene, with an exciter speaker mounted on the back, that is hung by thread or wire.…
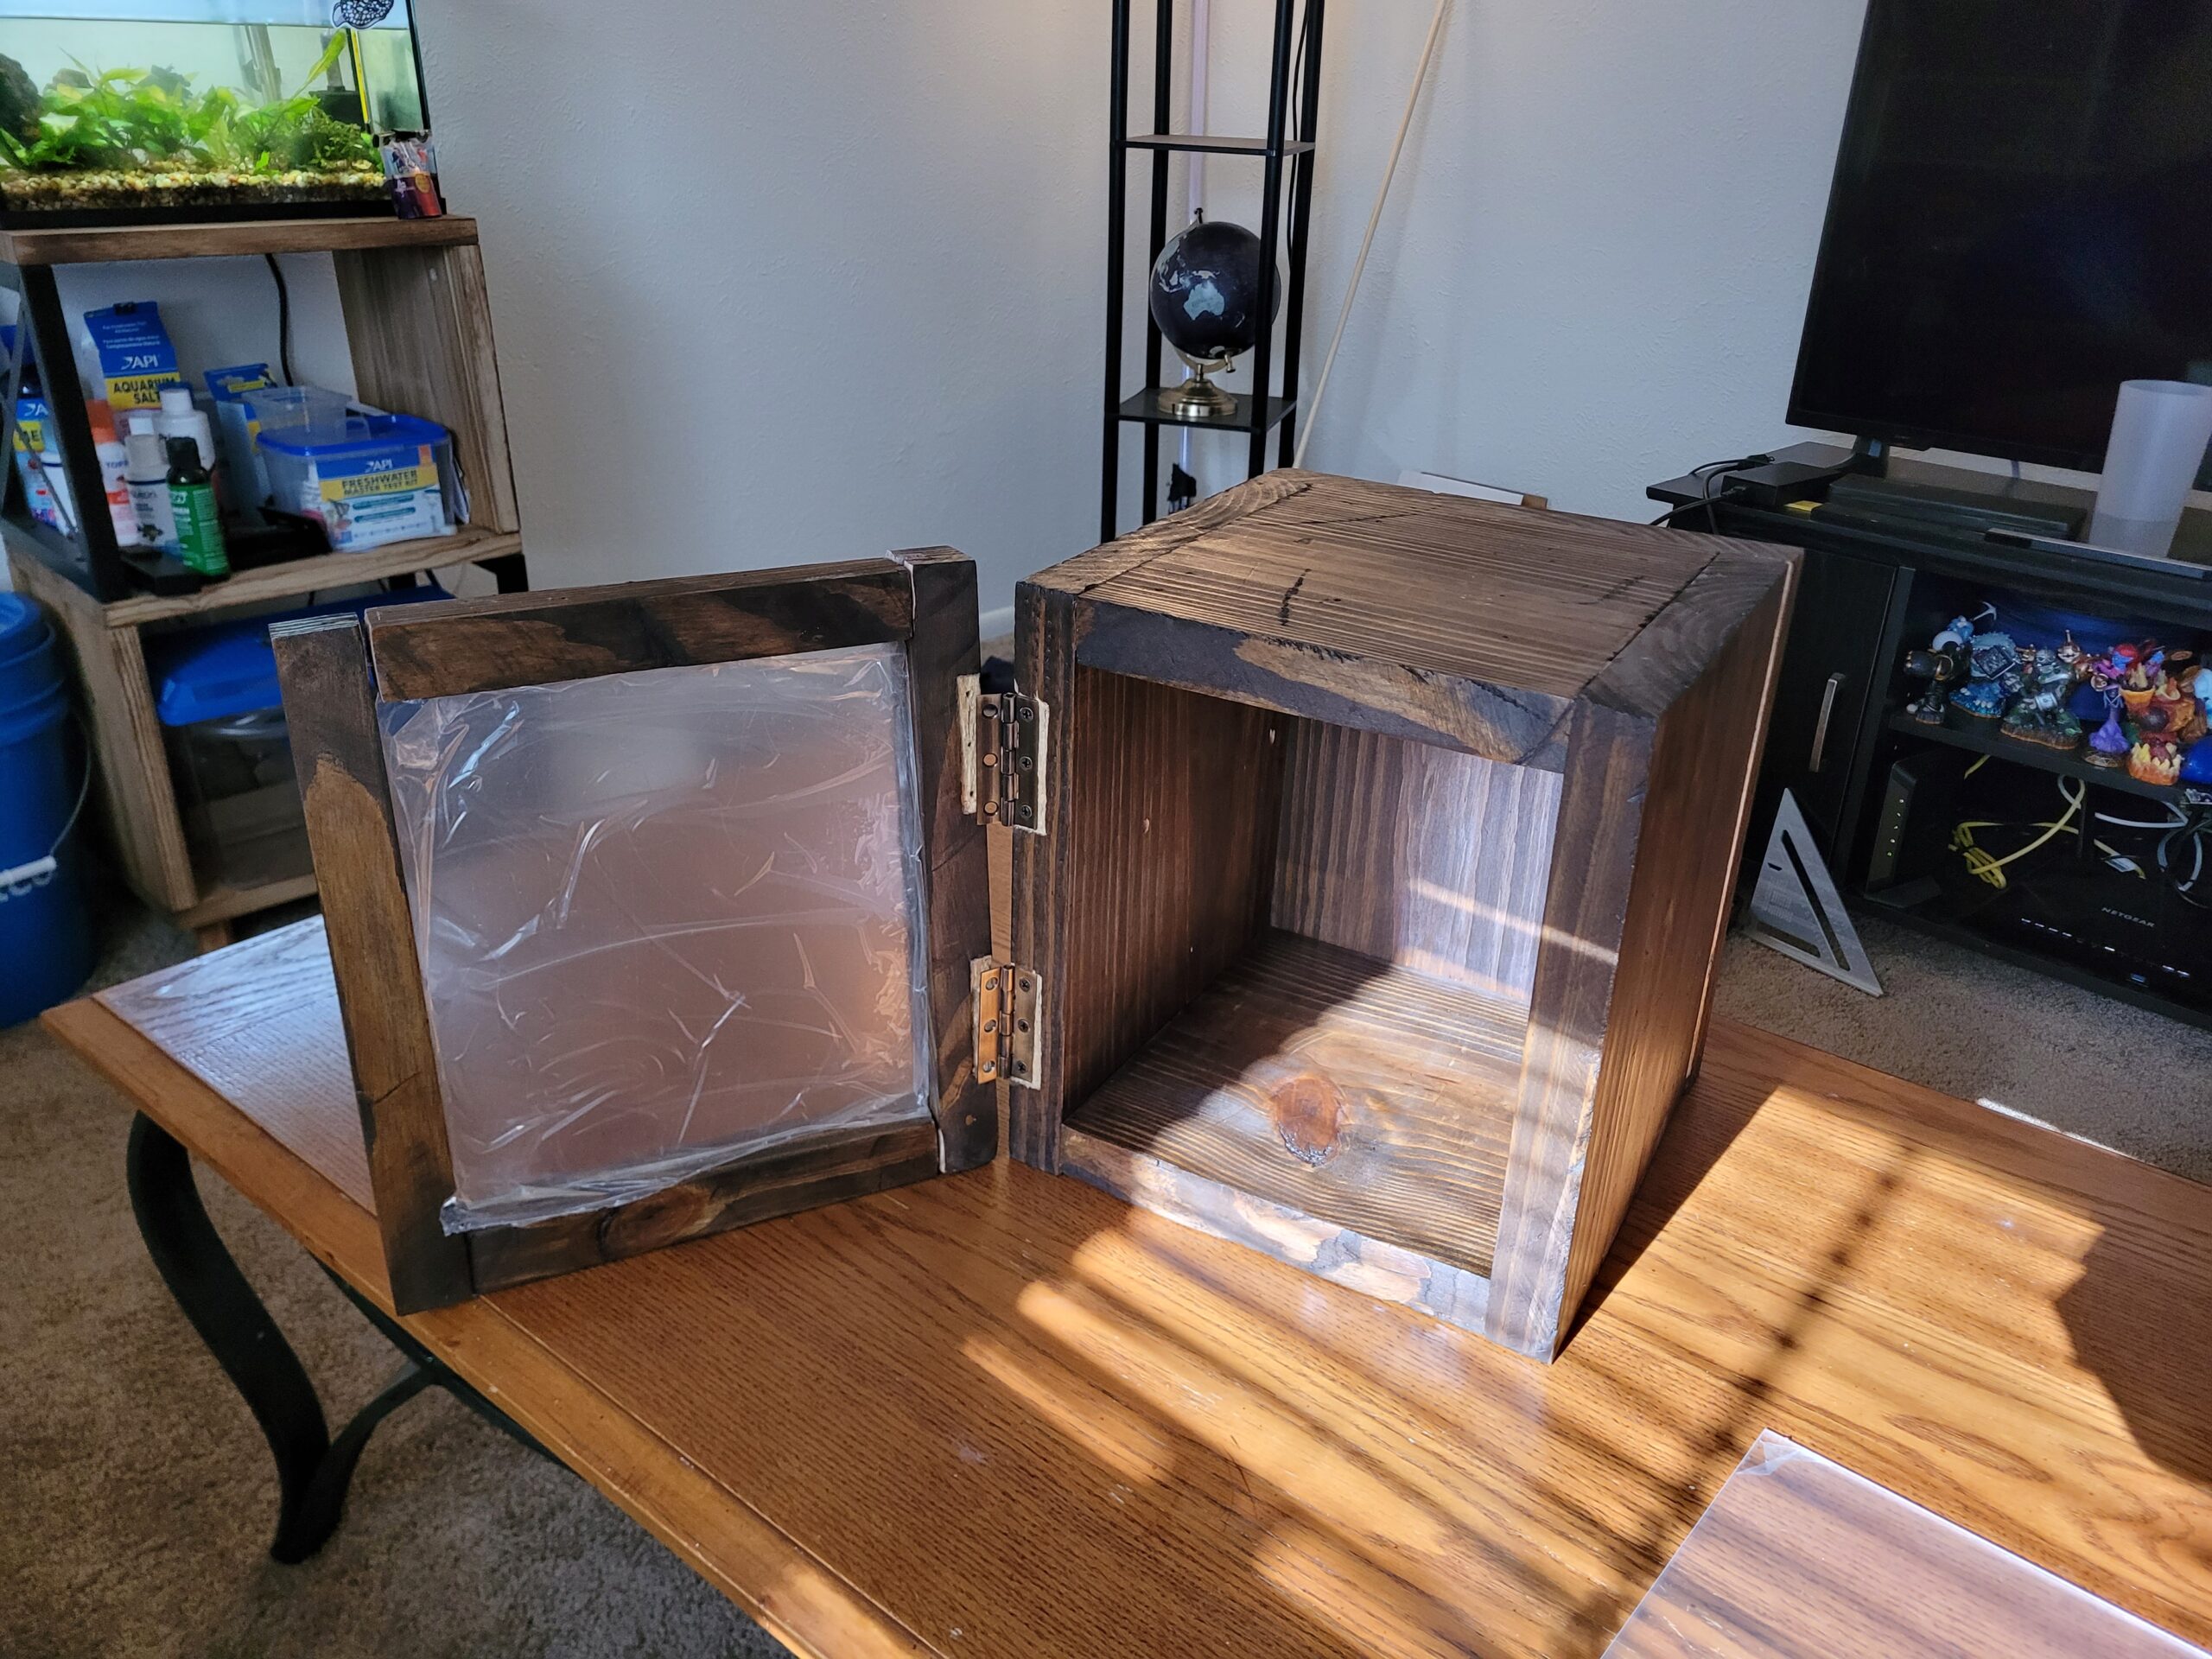
Final Report Part 2: Photography Equipment Cabinet
Intro Since this post is related to the previous one, I figure I should give a bit of a recap on what my final project is. For my aesthetics final project I decided to build a photography storage box. The reasoning behind this is because photography is such a large part of my life and…
Post 12 – How and What Next – Gauge Cluster Cover
The final project for Aesthetics of design was a very fun one. Like the upcycle project, you can choose what your project will be as long as it meets a few criteria, but for the final project those criteria are more limited. The only requirements are that the project follows a chosen aesthetic, and that…
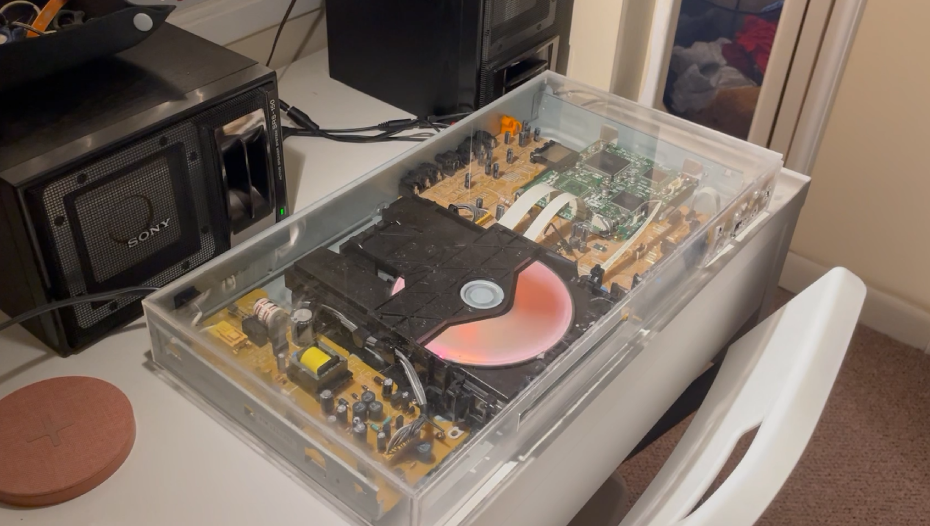
Final Product, Transparent CD Player
The process for developing the was broken down in several steps. First step was tearing the CD player down to see where I needed to design mounts for existing features. I then took measurements of the length/width/height of the device and designed a enclosure for it based on 1/8″ acrylic. Then became the tricky part,…
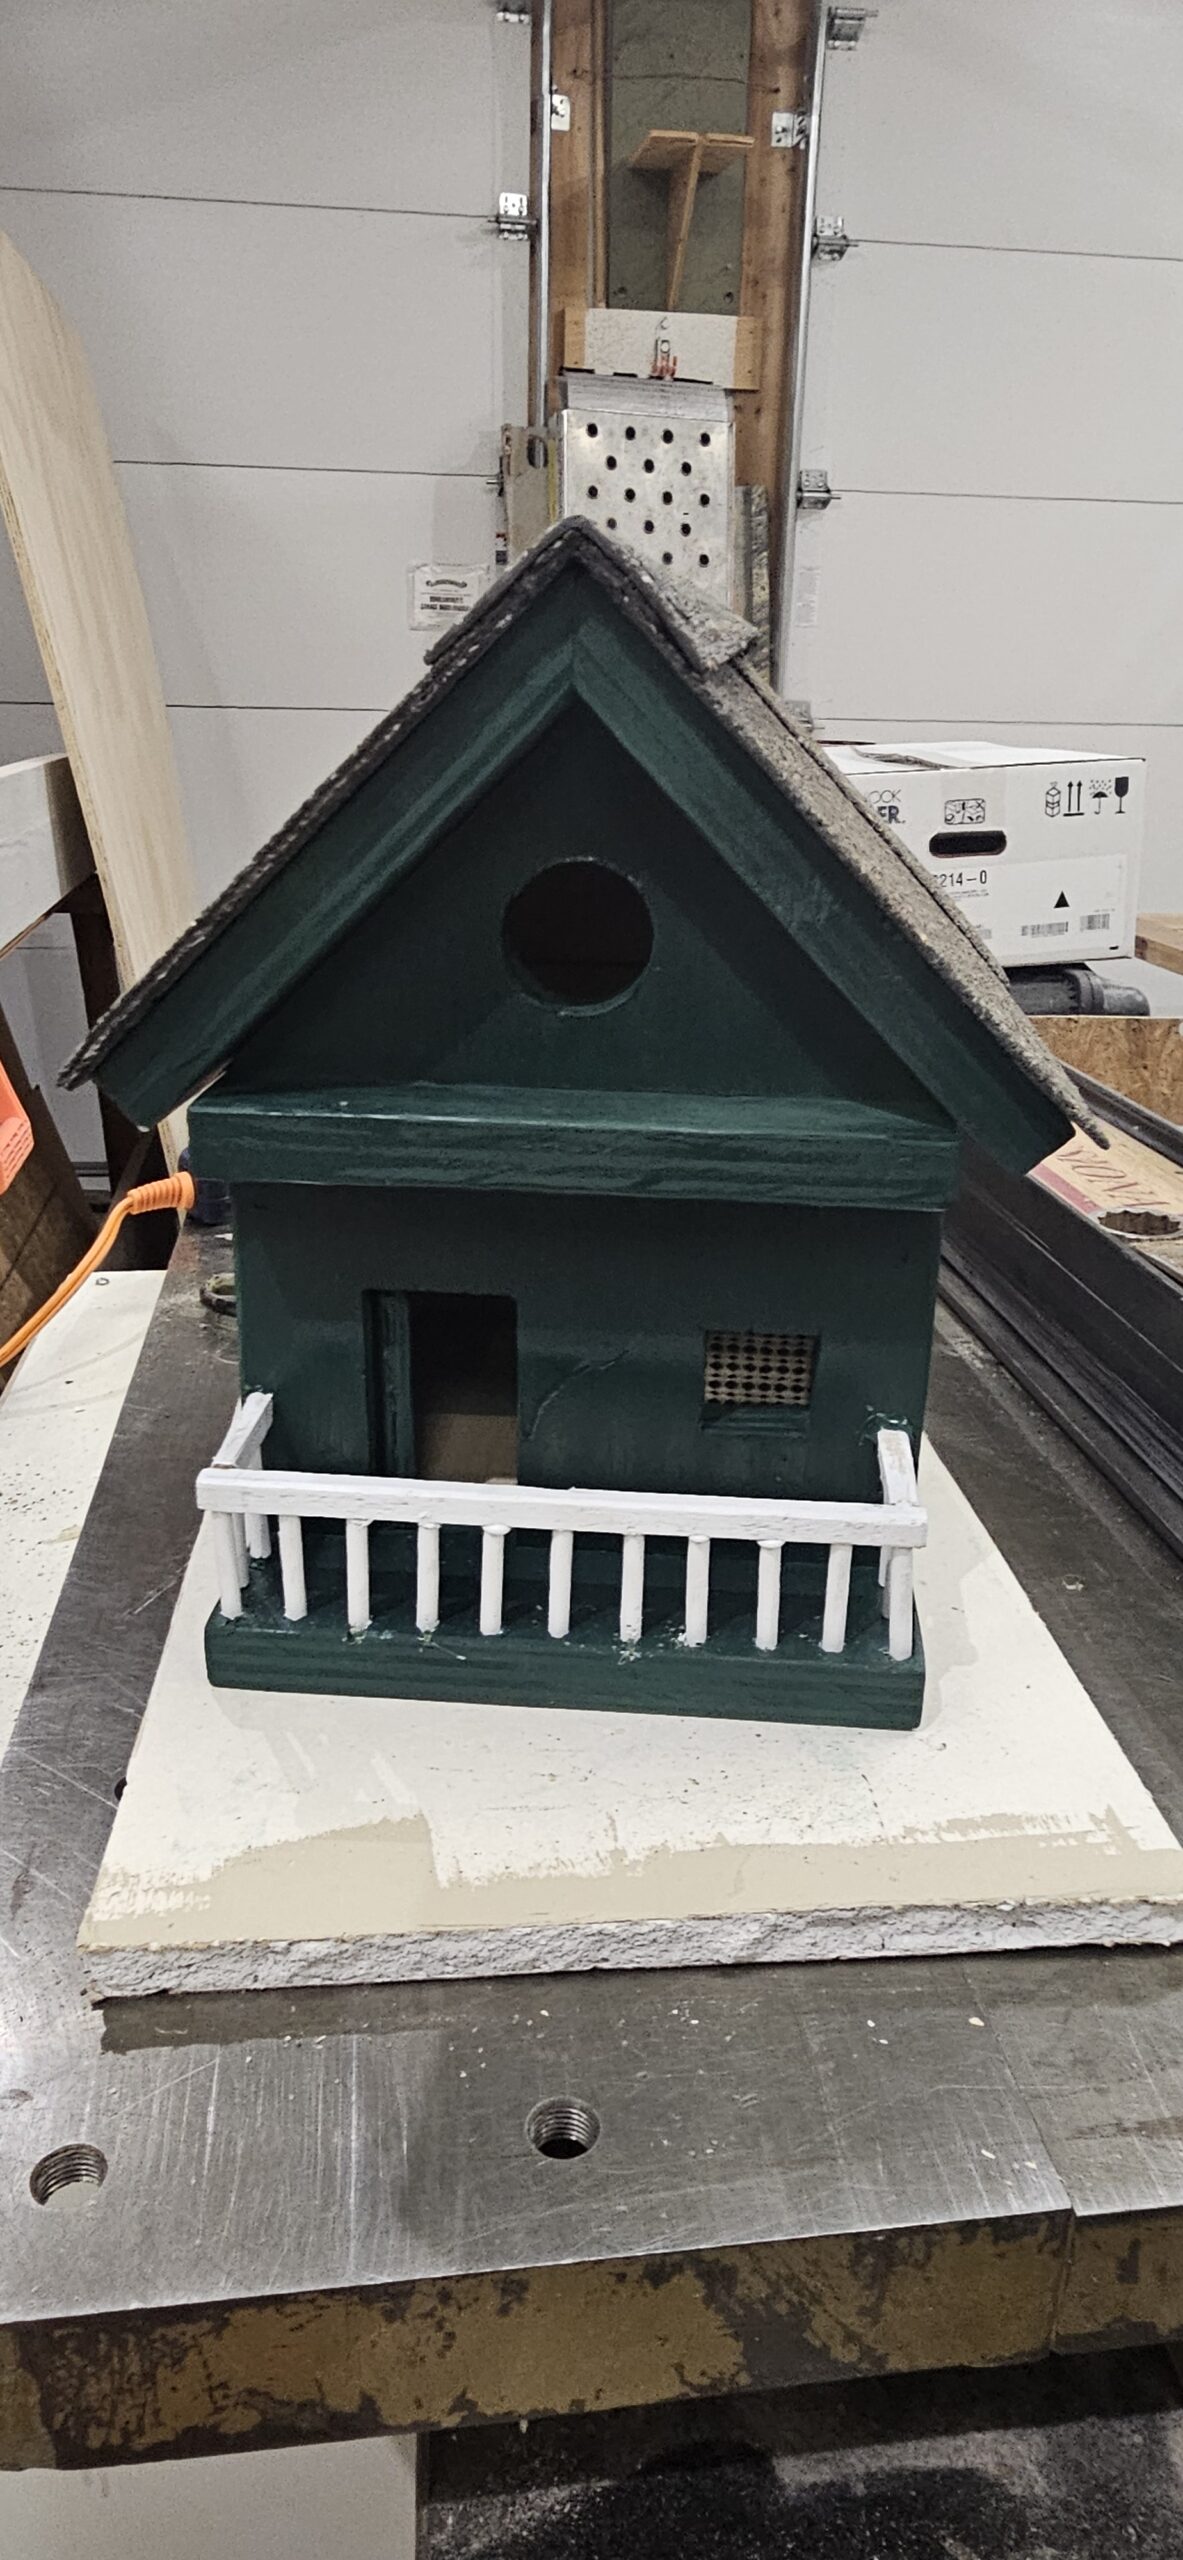
Bird House Final Report Pt 2
For my project, I built a bird house in a suburban style. The bird house has a moving front door, and a back panel that can be opened as well, so that the user can reach in and remove any nests at the end of the season. Additionally, I decided to put fabric over the…
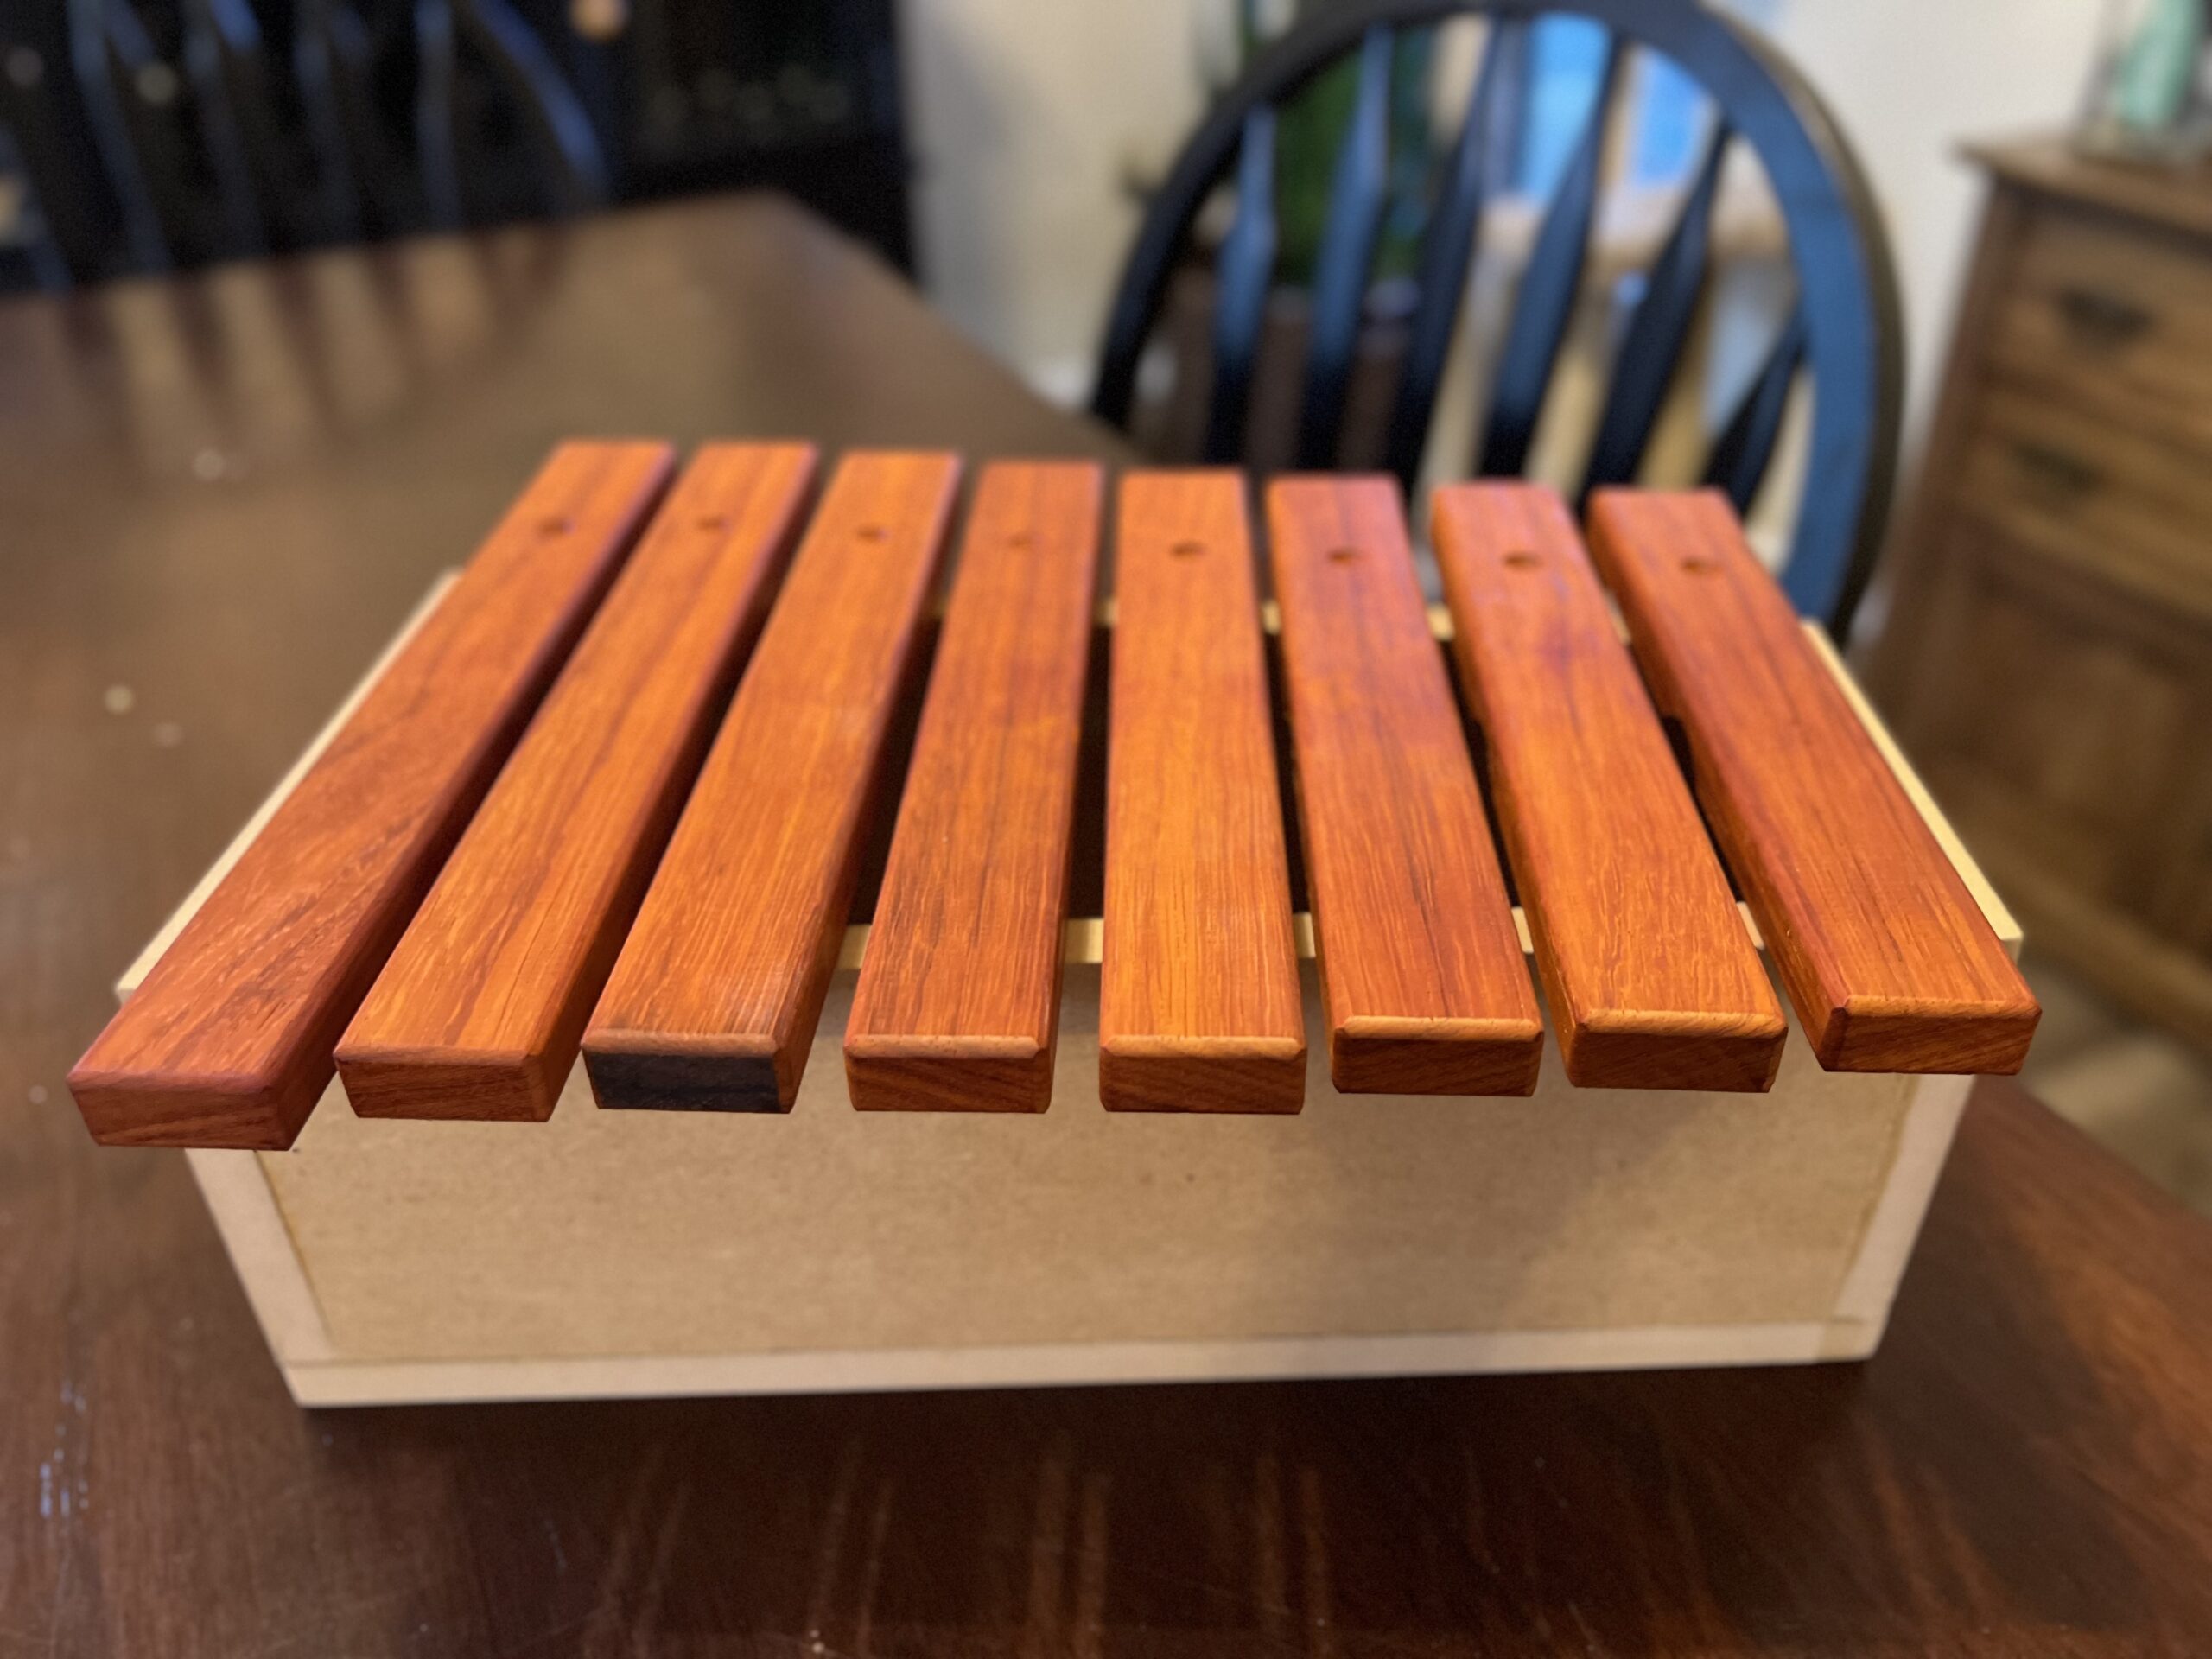
Midcentury Modern Xylophone: How and What Next
I knew from the very beginning of the semester that my final project was going to be a xylophone. I’ve tried to make a xylophone before when I was a sophomore in high school, and it didn’t turn out very well. When I attempted the project back in 2016, I chose a design to build…
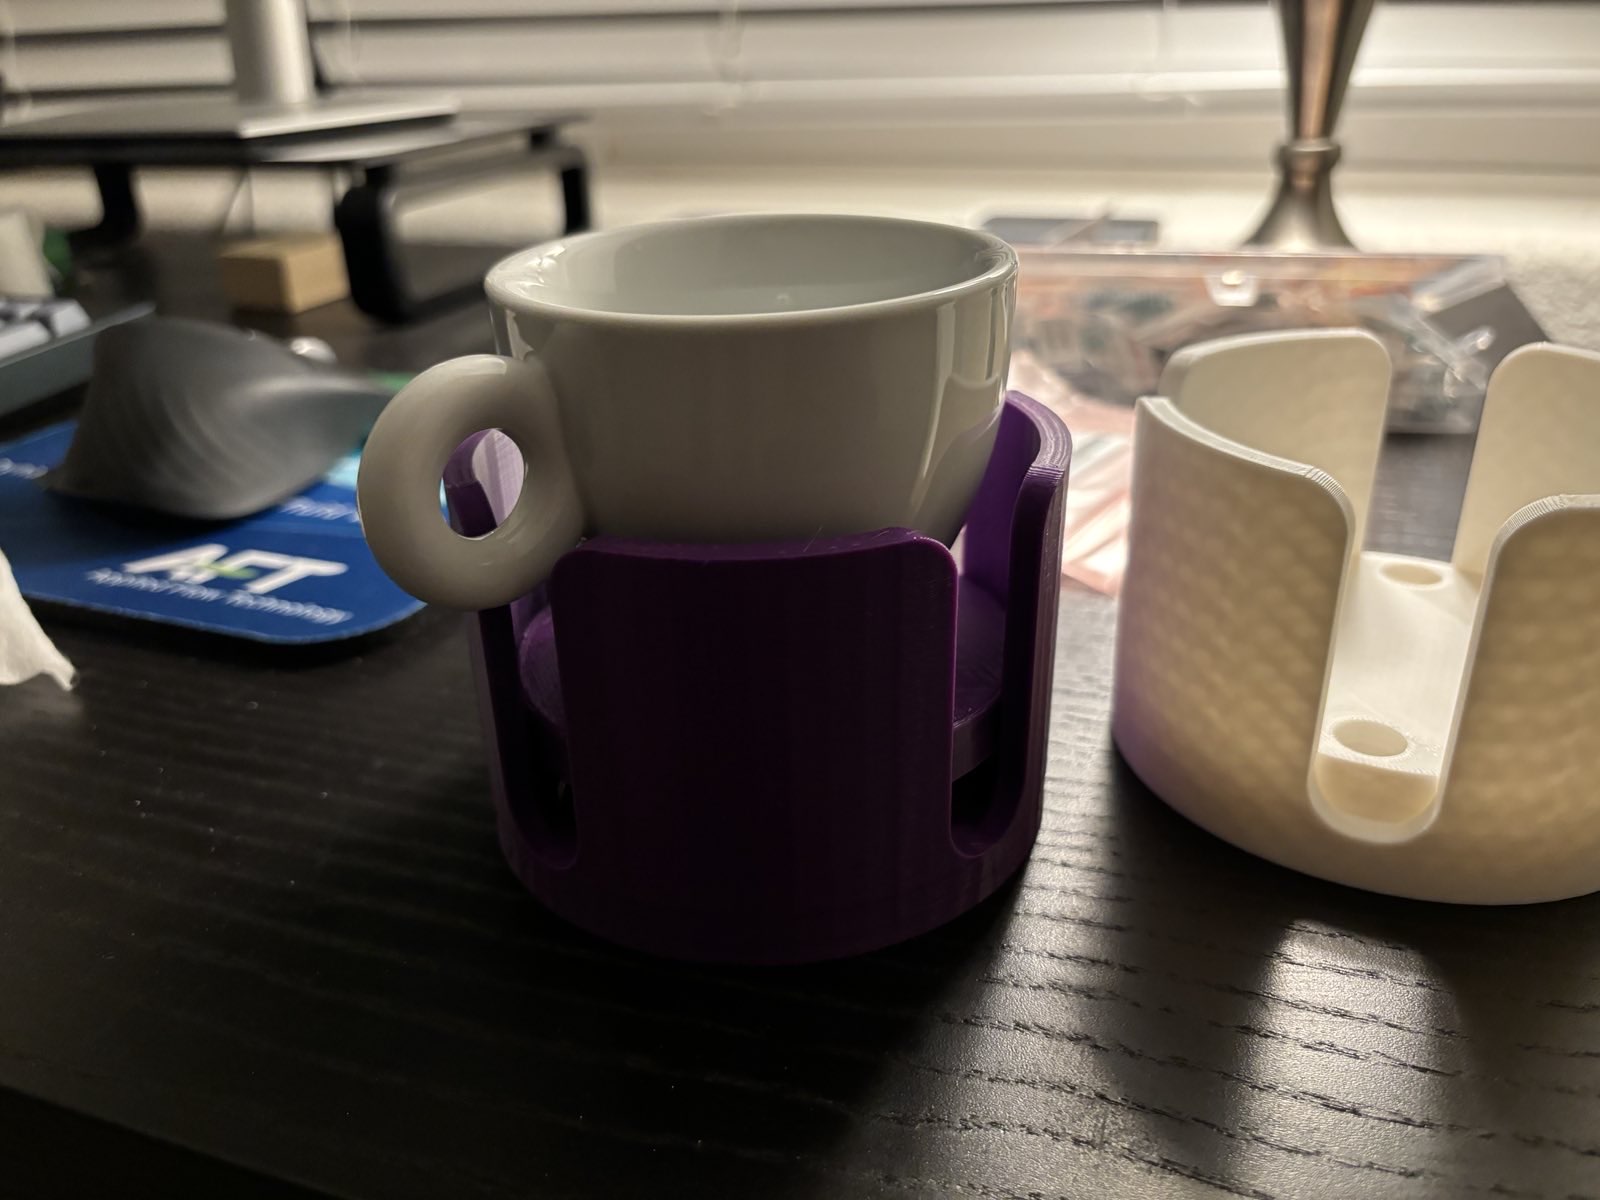
Cupholder Final Report Part 2: How
Things went quite wrong Initially, my design was going to be simple. Really simple, and, quite honestly, too simple. Initially, I was going for something that held cups that looked like this: First coaster render from SolidWorks. The original plan was to improve upon this design, adding room for the handles of various cups. While…
Raspberry Jam: Final Report Part 2
Since the last post, I have finalized the remaining hardware for my project and tested its full functionality. In terms of a timeline, the image below displays how I progressed through this project. Getting the software to work definitely took up the most amount of time but I am pleased with the final result. Project…
Guinea Pig Castle – Final Report Pt. 2
Materials For the project, I sourced most of my materials from Lowe’s and Amazon. Because I was going to be building my project at home, I was able to save some costs when using my stepdad’s tools and leftover materials from our home projects. The bulk of the costs came from the wood panels. Cost…
Final Project Part 2 (How): Alloy Aviator
As one can imagine, this was quite a large project and the “how” was the most difficult piece. I had made other sculptures before, many of similar size, but I had never made one that moved with such necessity for precision. Because the sculpture relies on balance to move gracefully, I needed to make each…
Final Project Part 2: Indoor Planter Box
Goal My goal was to make a functioning indoor planter box with a bottom drawer that was in the modern farmhouse aesthetic. My top 5 specifications were: Creating the planter in the modern farmhouse aesthetic Functionality of the planter box Functionality of the drawer Size requirements to grow plants Staining the box properly Below are…
Final Report Post 12: How? – Ari Matrajt
In this half of the report, I will go over the manufacturing of the final piece. I will also talk about the challenges I faced in building it and what I learned over the process. First, I created a timeline for the project, which looked like this: March 10-March 23: Finalize plans/design April 2-April 7:…
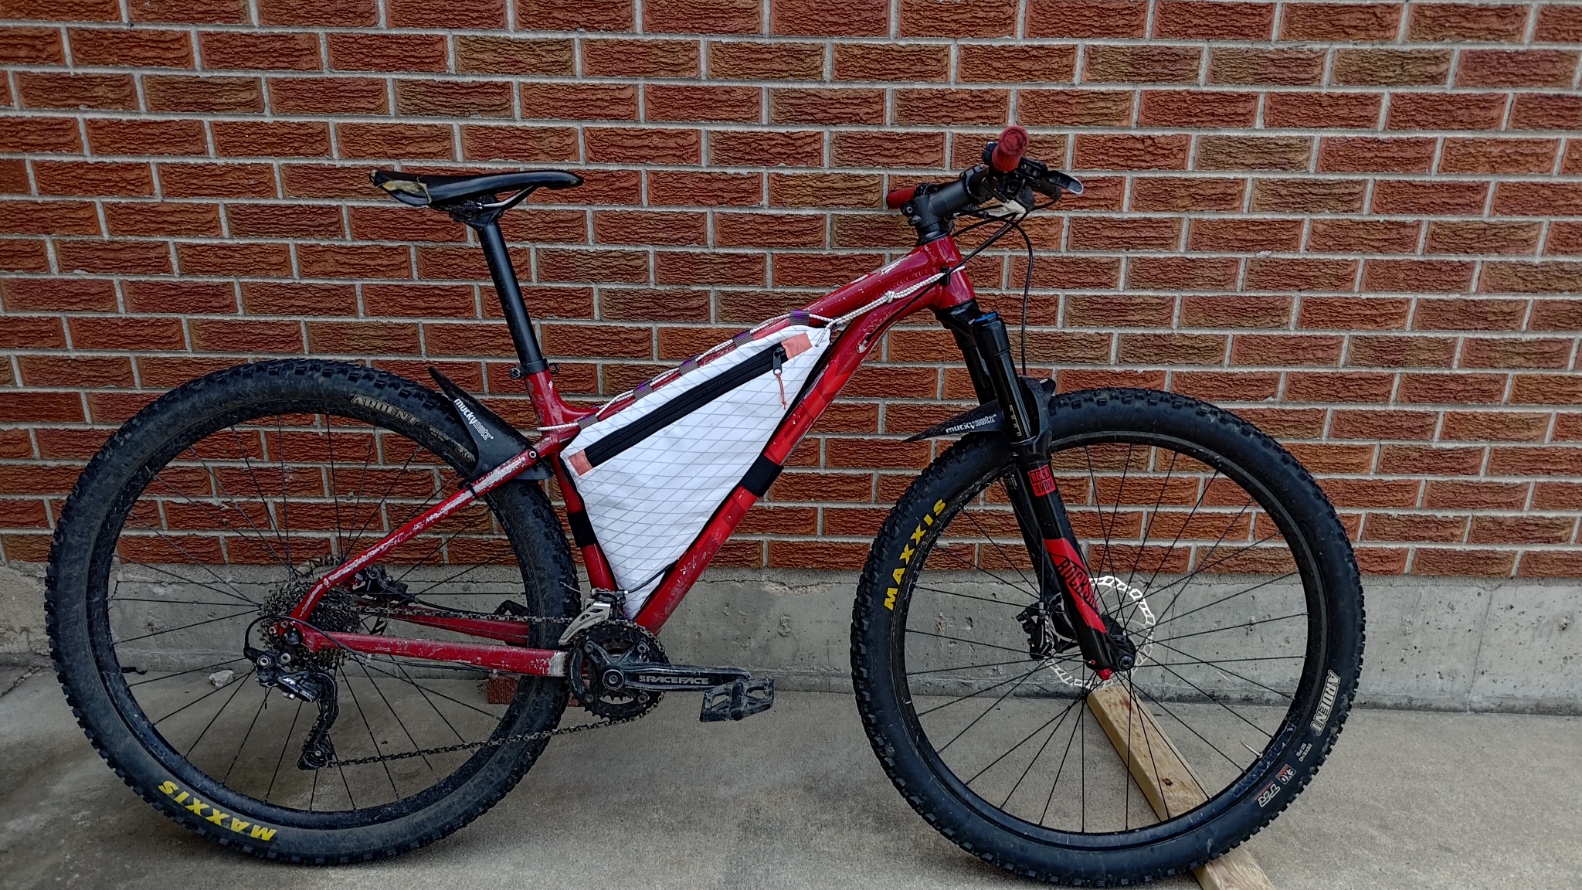
Post 12: Bikepacking Bag: How and What Next
To give some initial context for the final project, I created a bikepacking frame bag that will allow me to pack camping gear and food into my bike. This product is advantageous because I can take weight off my back to be more comfortable while I’m biking. I plan to use this bag on an…
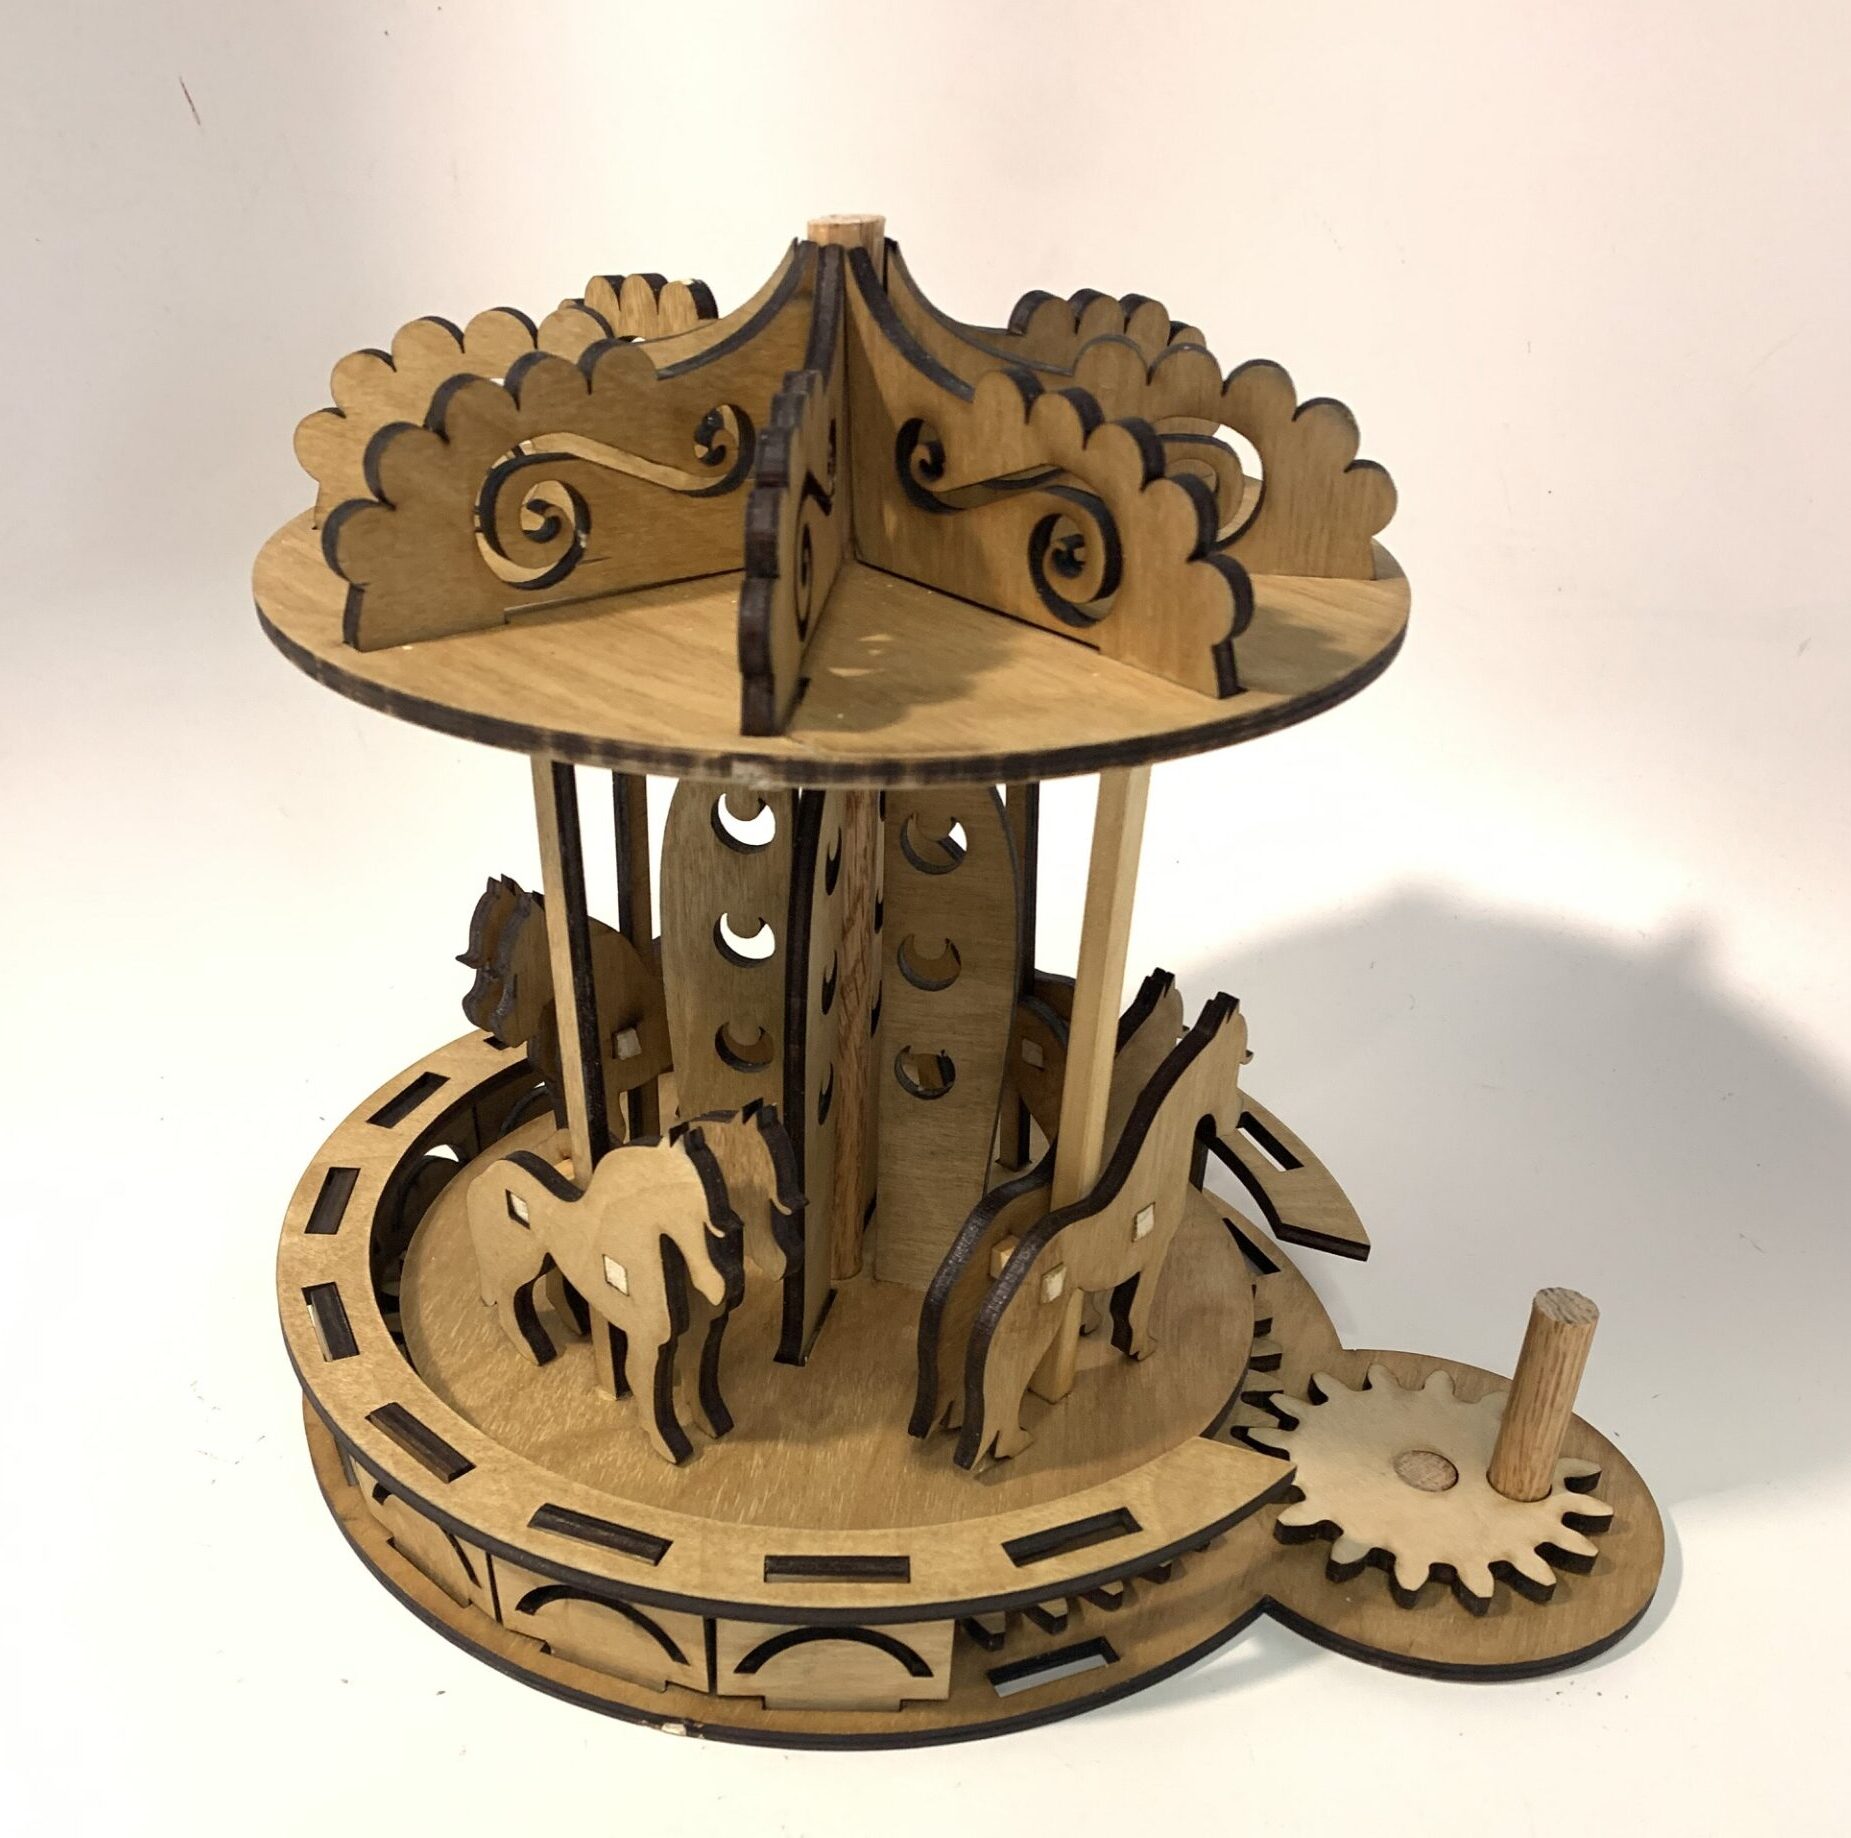
Post 12: Main Project Final Report Part 2
Introduction My vision for this project was to combine elements of the whimsical and steampunk aesthetics to create a mechanical wooden puzzle. The whimsical elements would be displayed through the design and embellishments of the carousel and the steampunk aesthetic would be carried through in the exposed mechanical pieces. In the end, I was not…
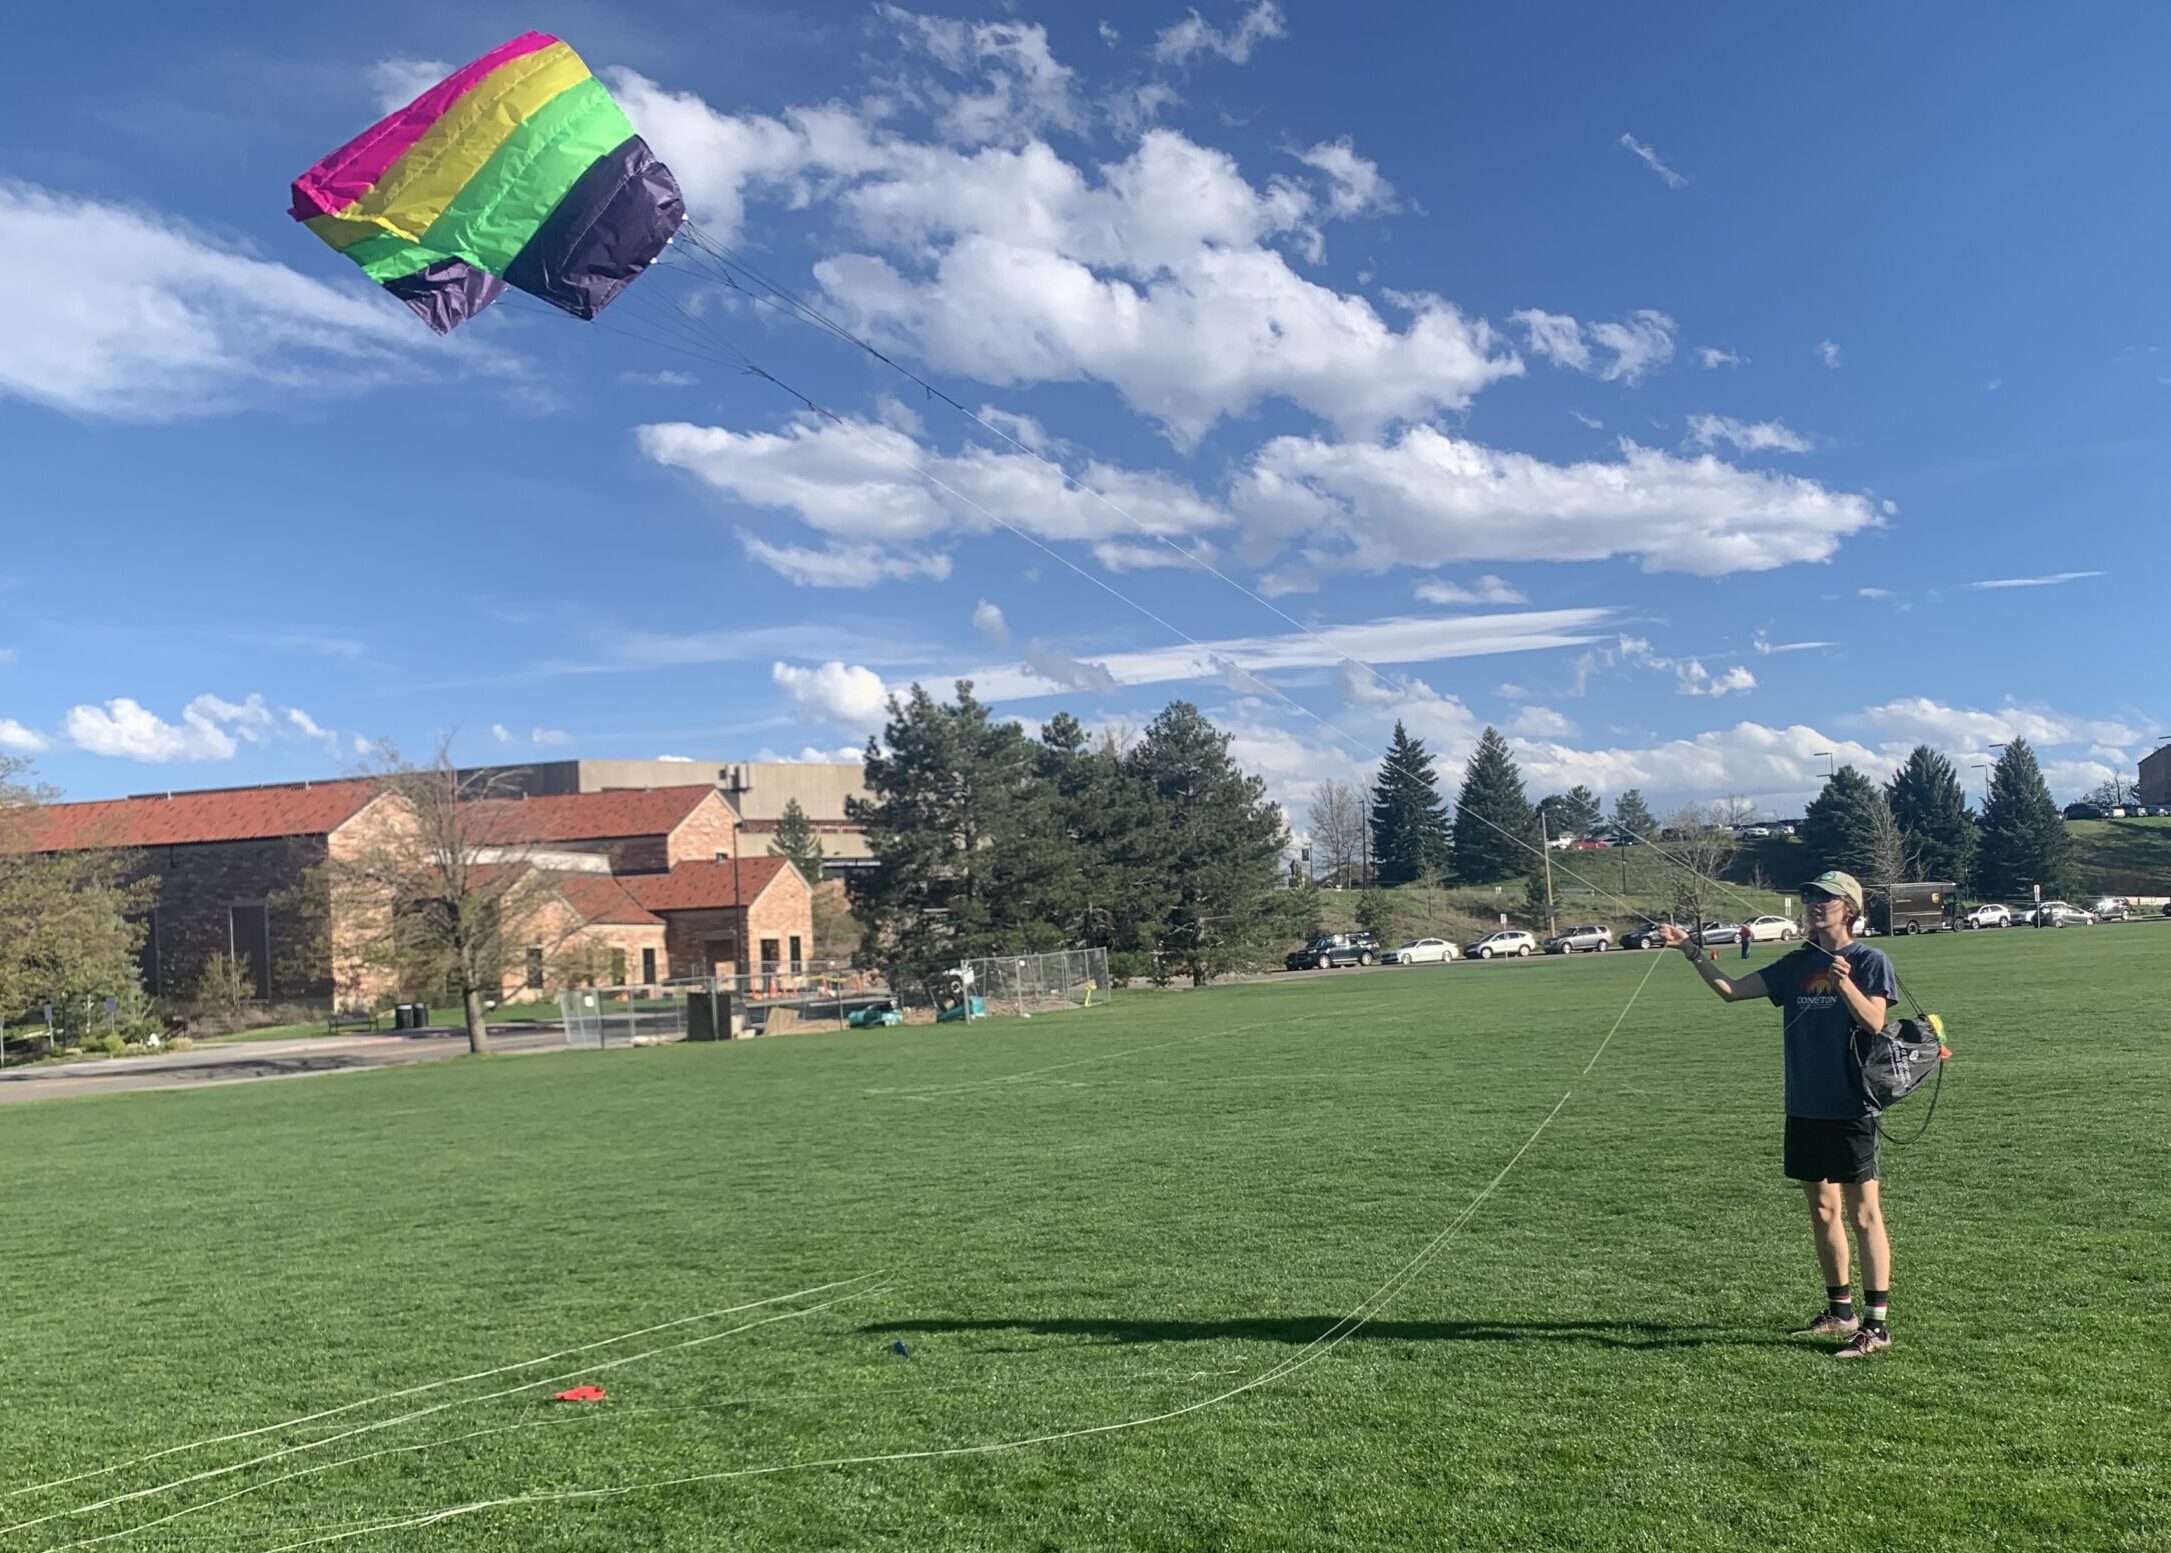
Stunt Kite – Final Report Part 2 – How
Step 0: Planning The first thing I did was to find a kite plan to follow. I eventually settle on the Sceptre Kite designed by David Holt. Using that plan I calculated how much fabric, bridle line, and ribbon I needed to purchase. Next I determined an order for what all the steps needed to…
Retro Ski Bench Final Report Part 2
For my final project I created a ski bench with vintage skis in the aesthetic of Retro Skiing. In this post I will document my fabrication process, from initial sketches to final adjustments. This process started after I realized my inspiration and landed on my aesthetic. This inspiration and aesthetic allowed me sketch my initial…
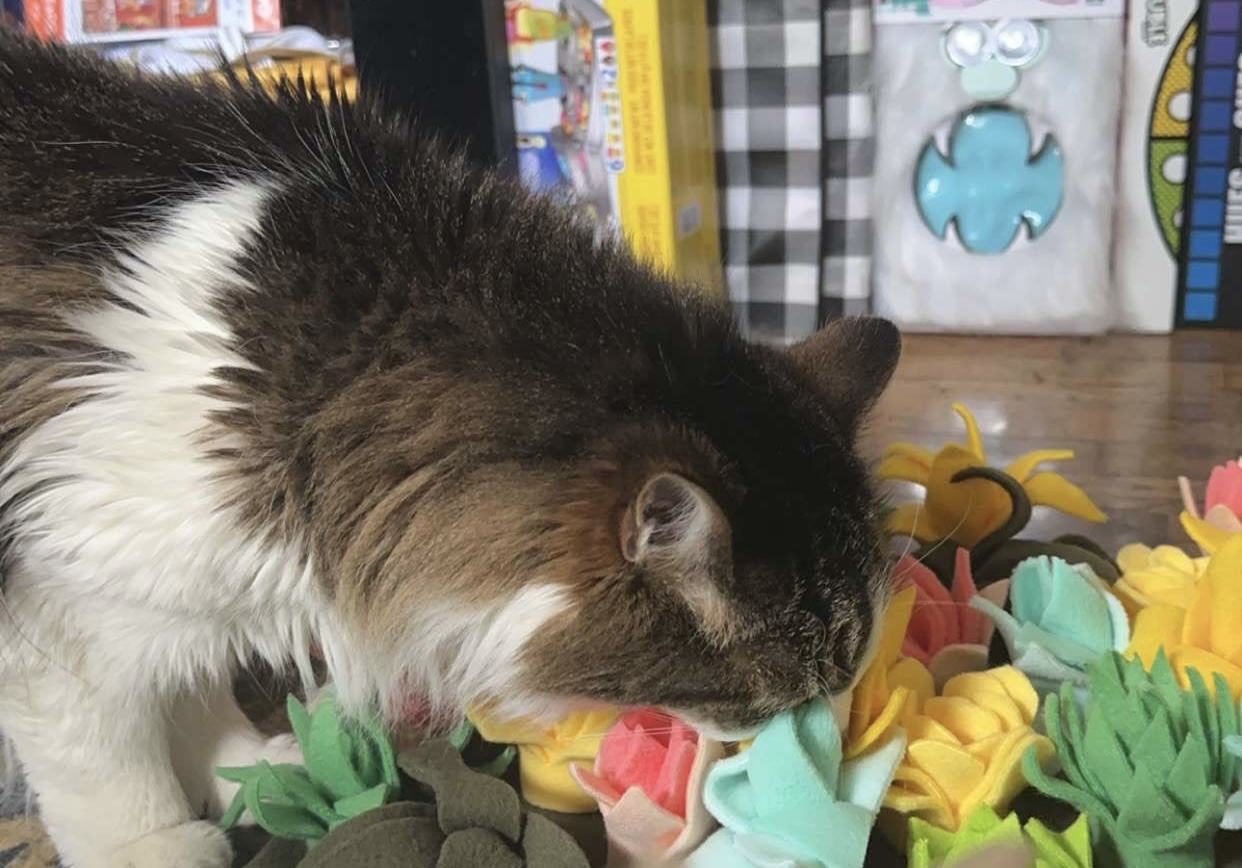
Final Report Part 2: Snuffle Mats
I want to begin by recapping my plan for the final design project. I planned to make at least one snuffle mat for my dogs. I was hoping to make three mats total, one for each of my two dogs and a smaller one for my cat. A snuffle mat is a flat mat that…
Post 12: Final Report P2 (Max Palish)
Abstract: My final project will be a simplistic, low profile wooden light fixture taking inspiration from the minimalist aesthetic. It will be constructed from a hallowed out 2×4 plank of wood, a 3/8th acrylic sheet and warm LED strip lights. The dynamic component of this project will be from the LED’s ability to change shades,…
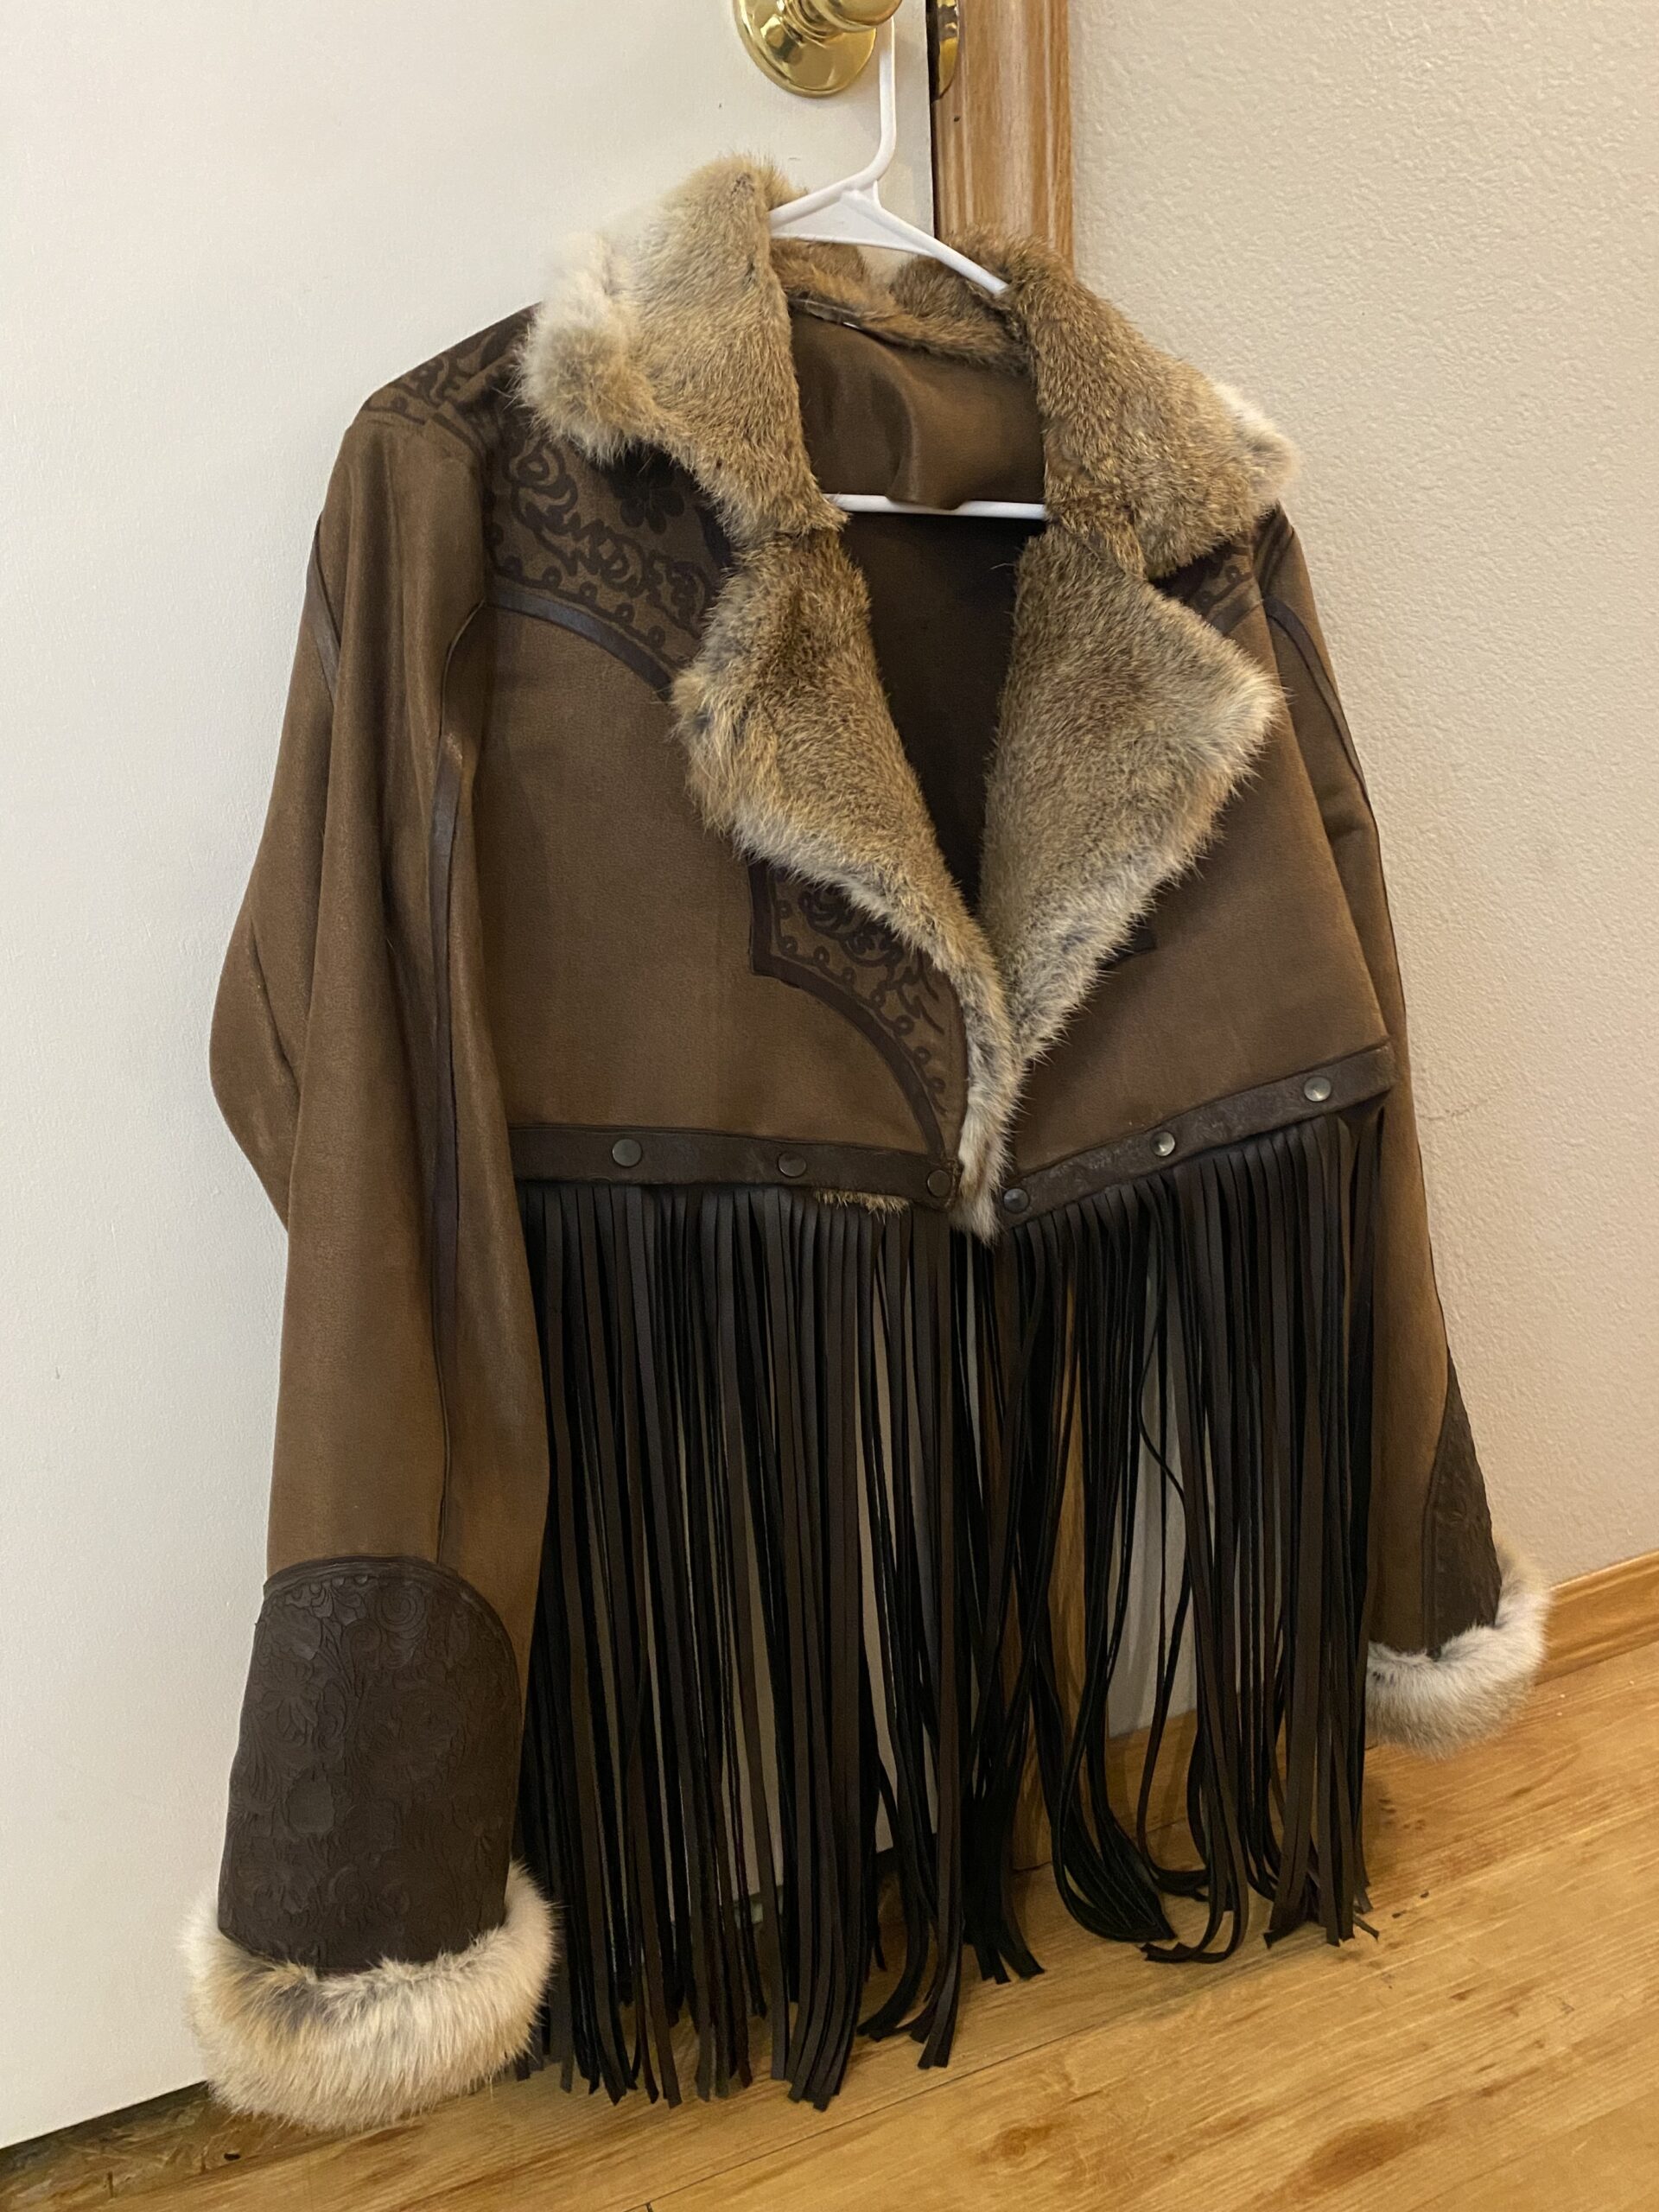
Final Part 2 – Western Jacket
The process of making this outfit was to make and solidify a template of the jacket, papercutting designs onto the jacket, sewing the jacket together, to then adding the fur, vinyl, and snap details onto the jacket. \ I started to laser-cut the floral design onto a pre-bought jacket and it was going great until…
Final Report Part 2: Scandinavian Lamp
I would like to begin by recapping my plan for this project. I planned to make a desk lamp with a sunrise/sunset feature. This would help me quite a bit both waking up and falling asleep. I want my lamp to slowly darken over time at night to help signal that I need to be…
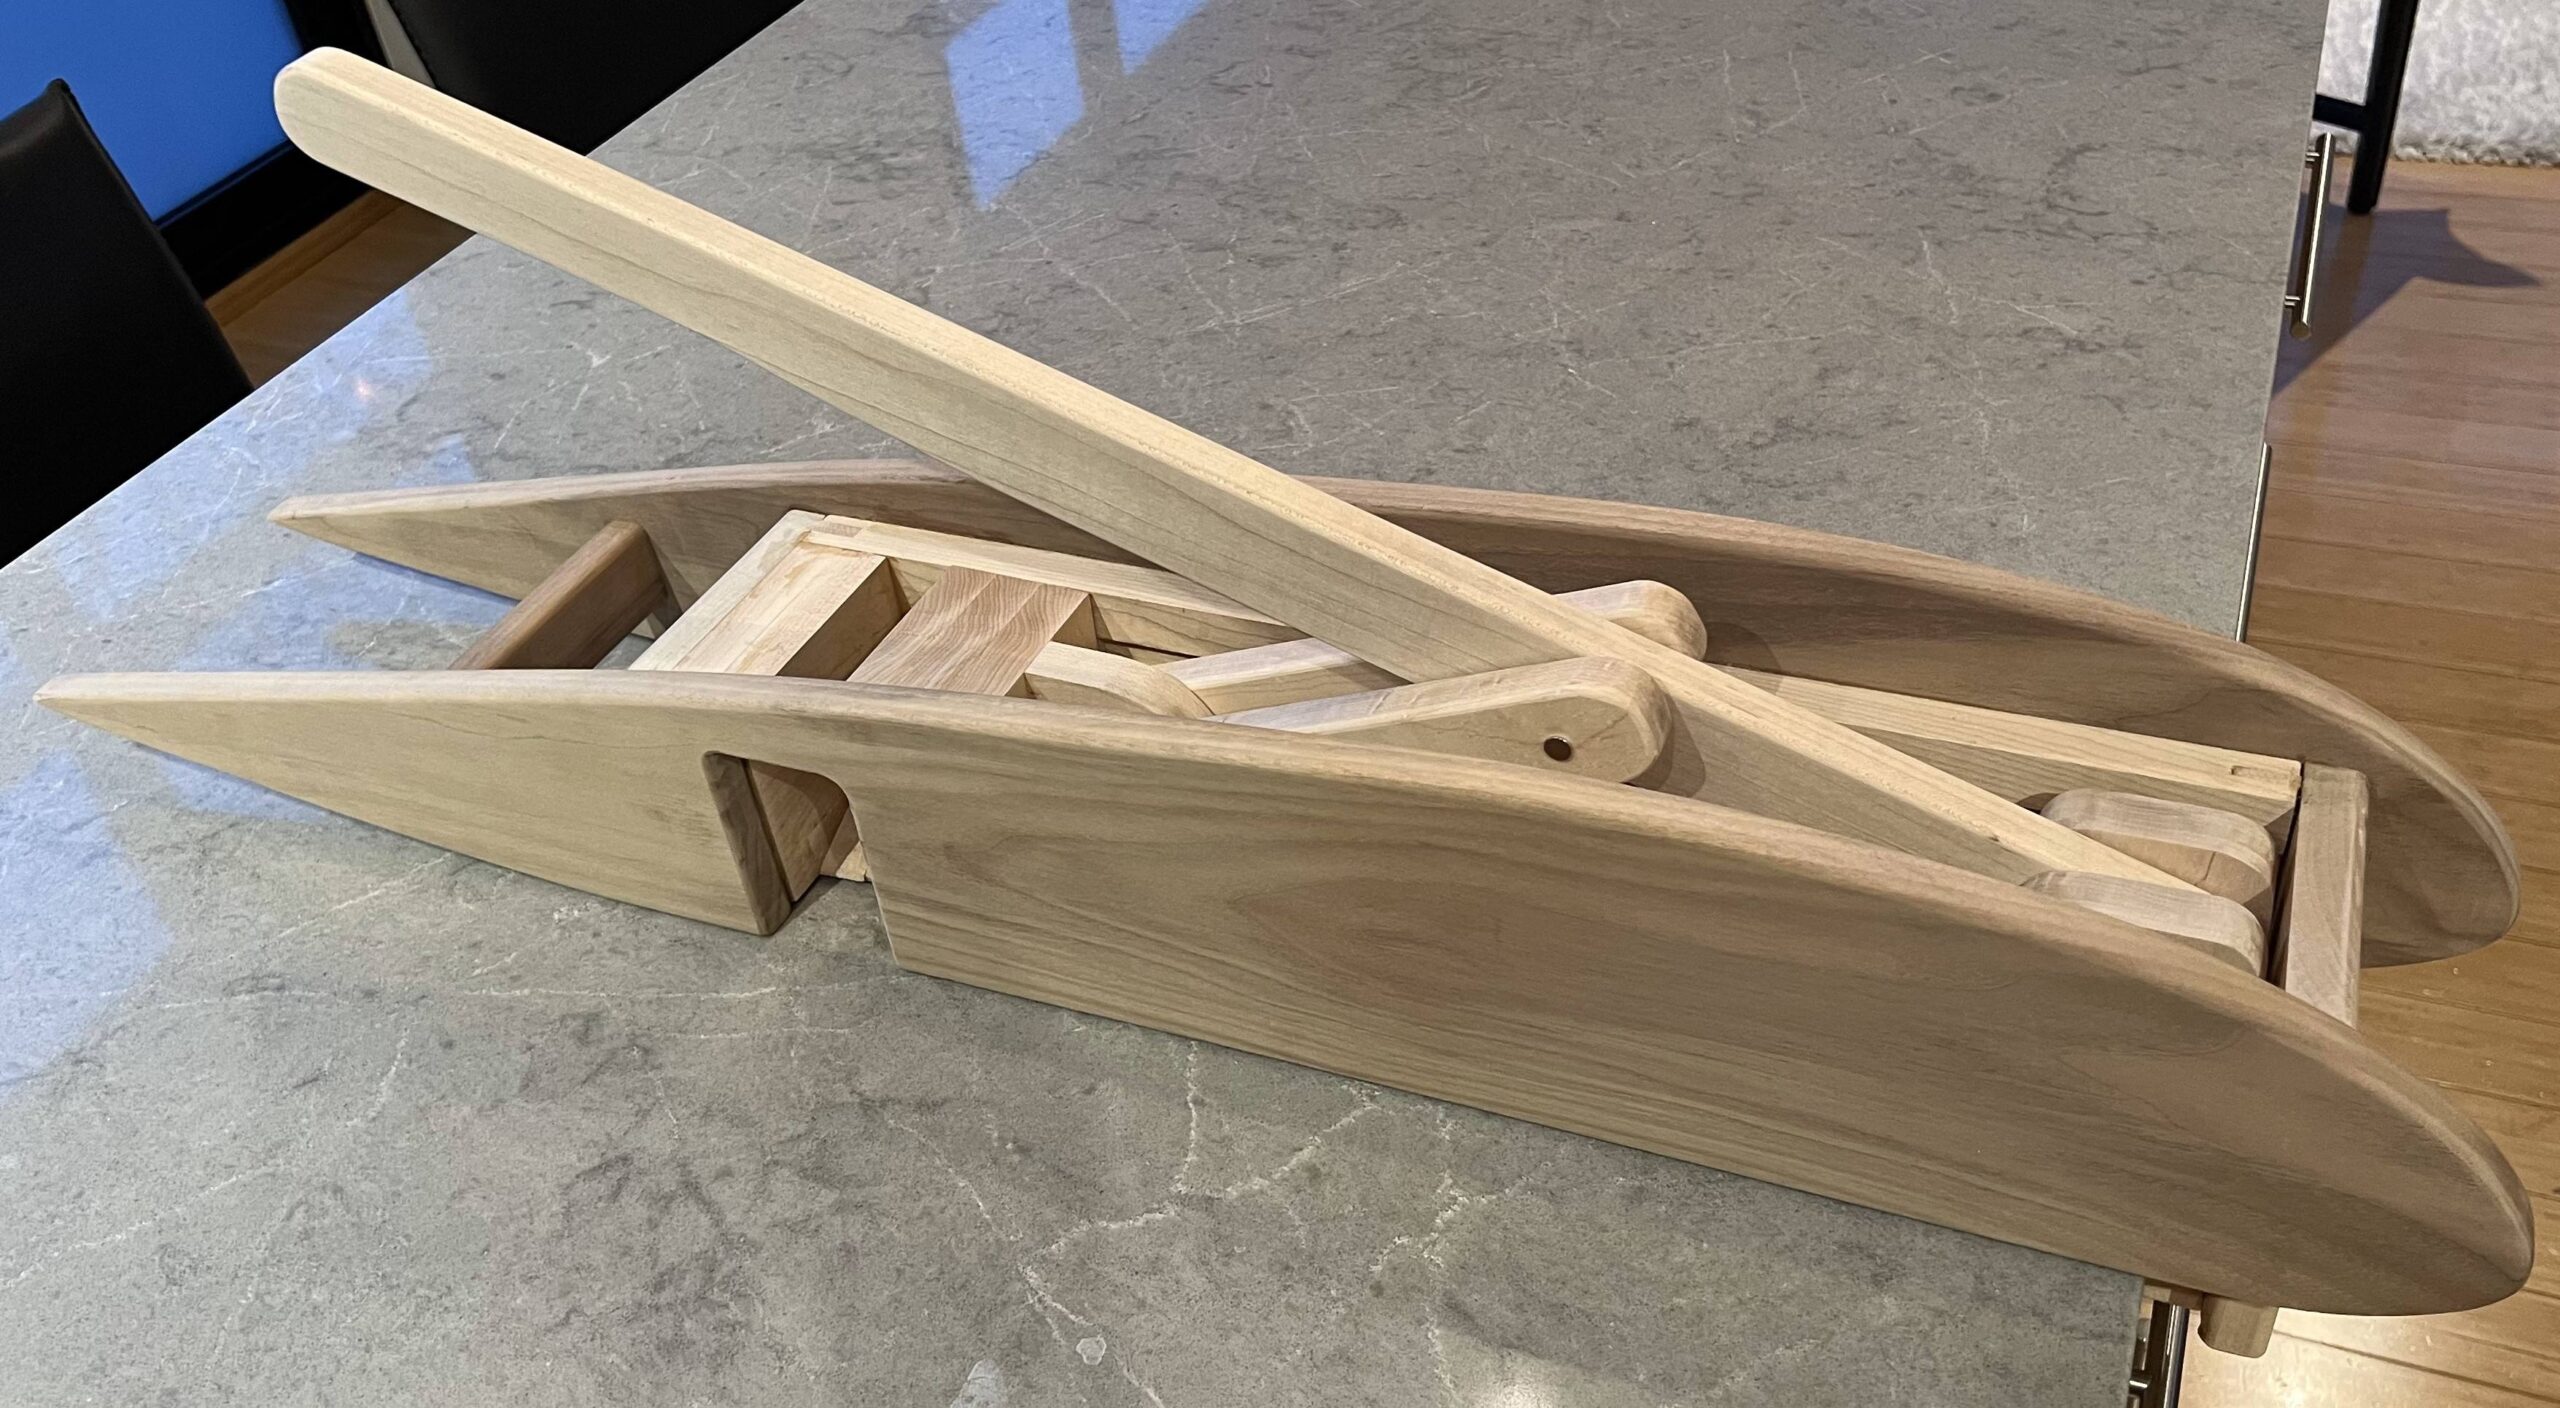
Post 12 (How?): Airfoil Crusher
Background and Purpose Growing up in a family with German roots, I developed a fondness for sparkling water, finding its refreshing taste irresistible. However, this preference led to accumulating numerous aluminum cans, all destined for the recycling bin. The sheer volume of cans occupied significant space, necessitating frequent emptying of the recycling bin. In contrast…
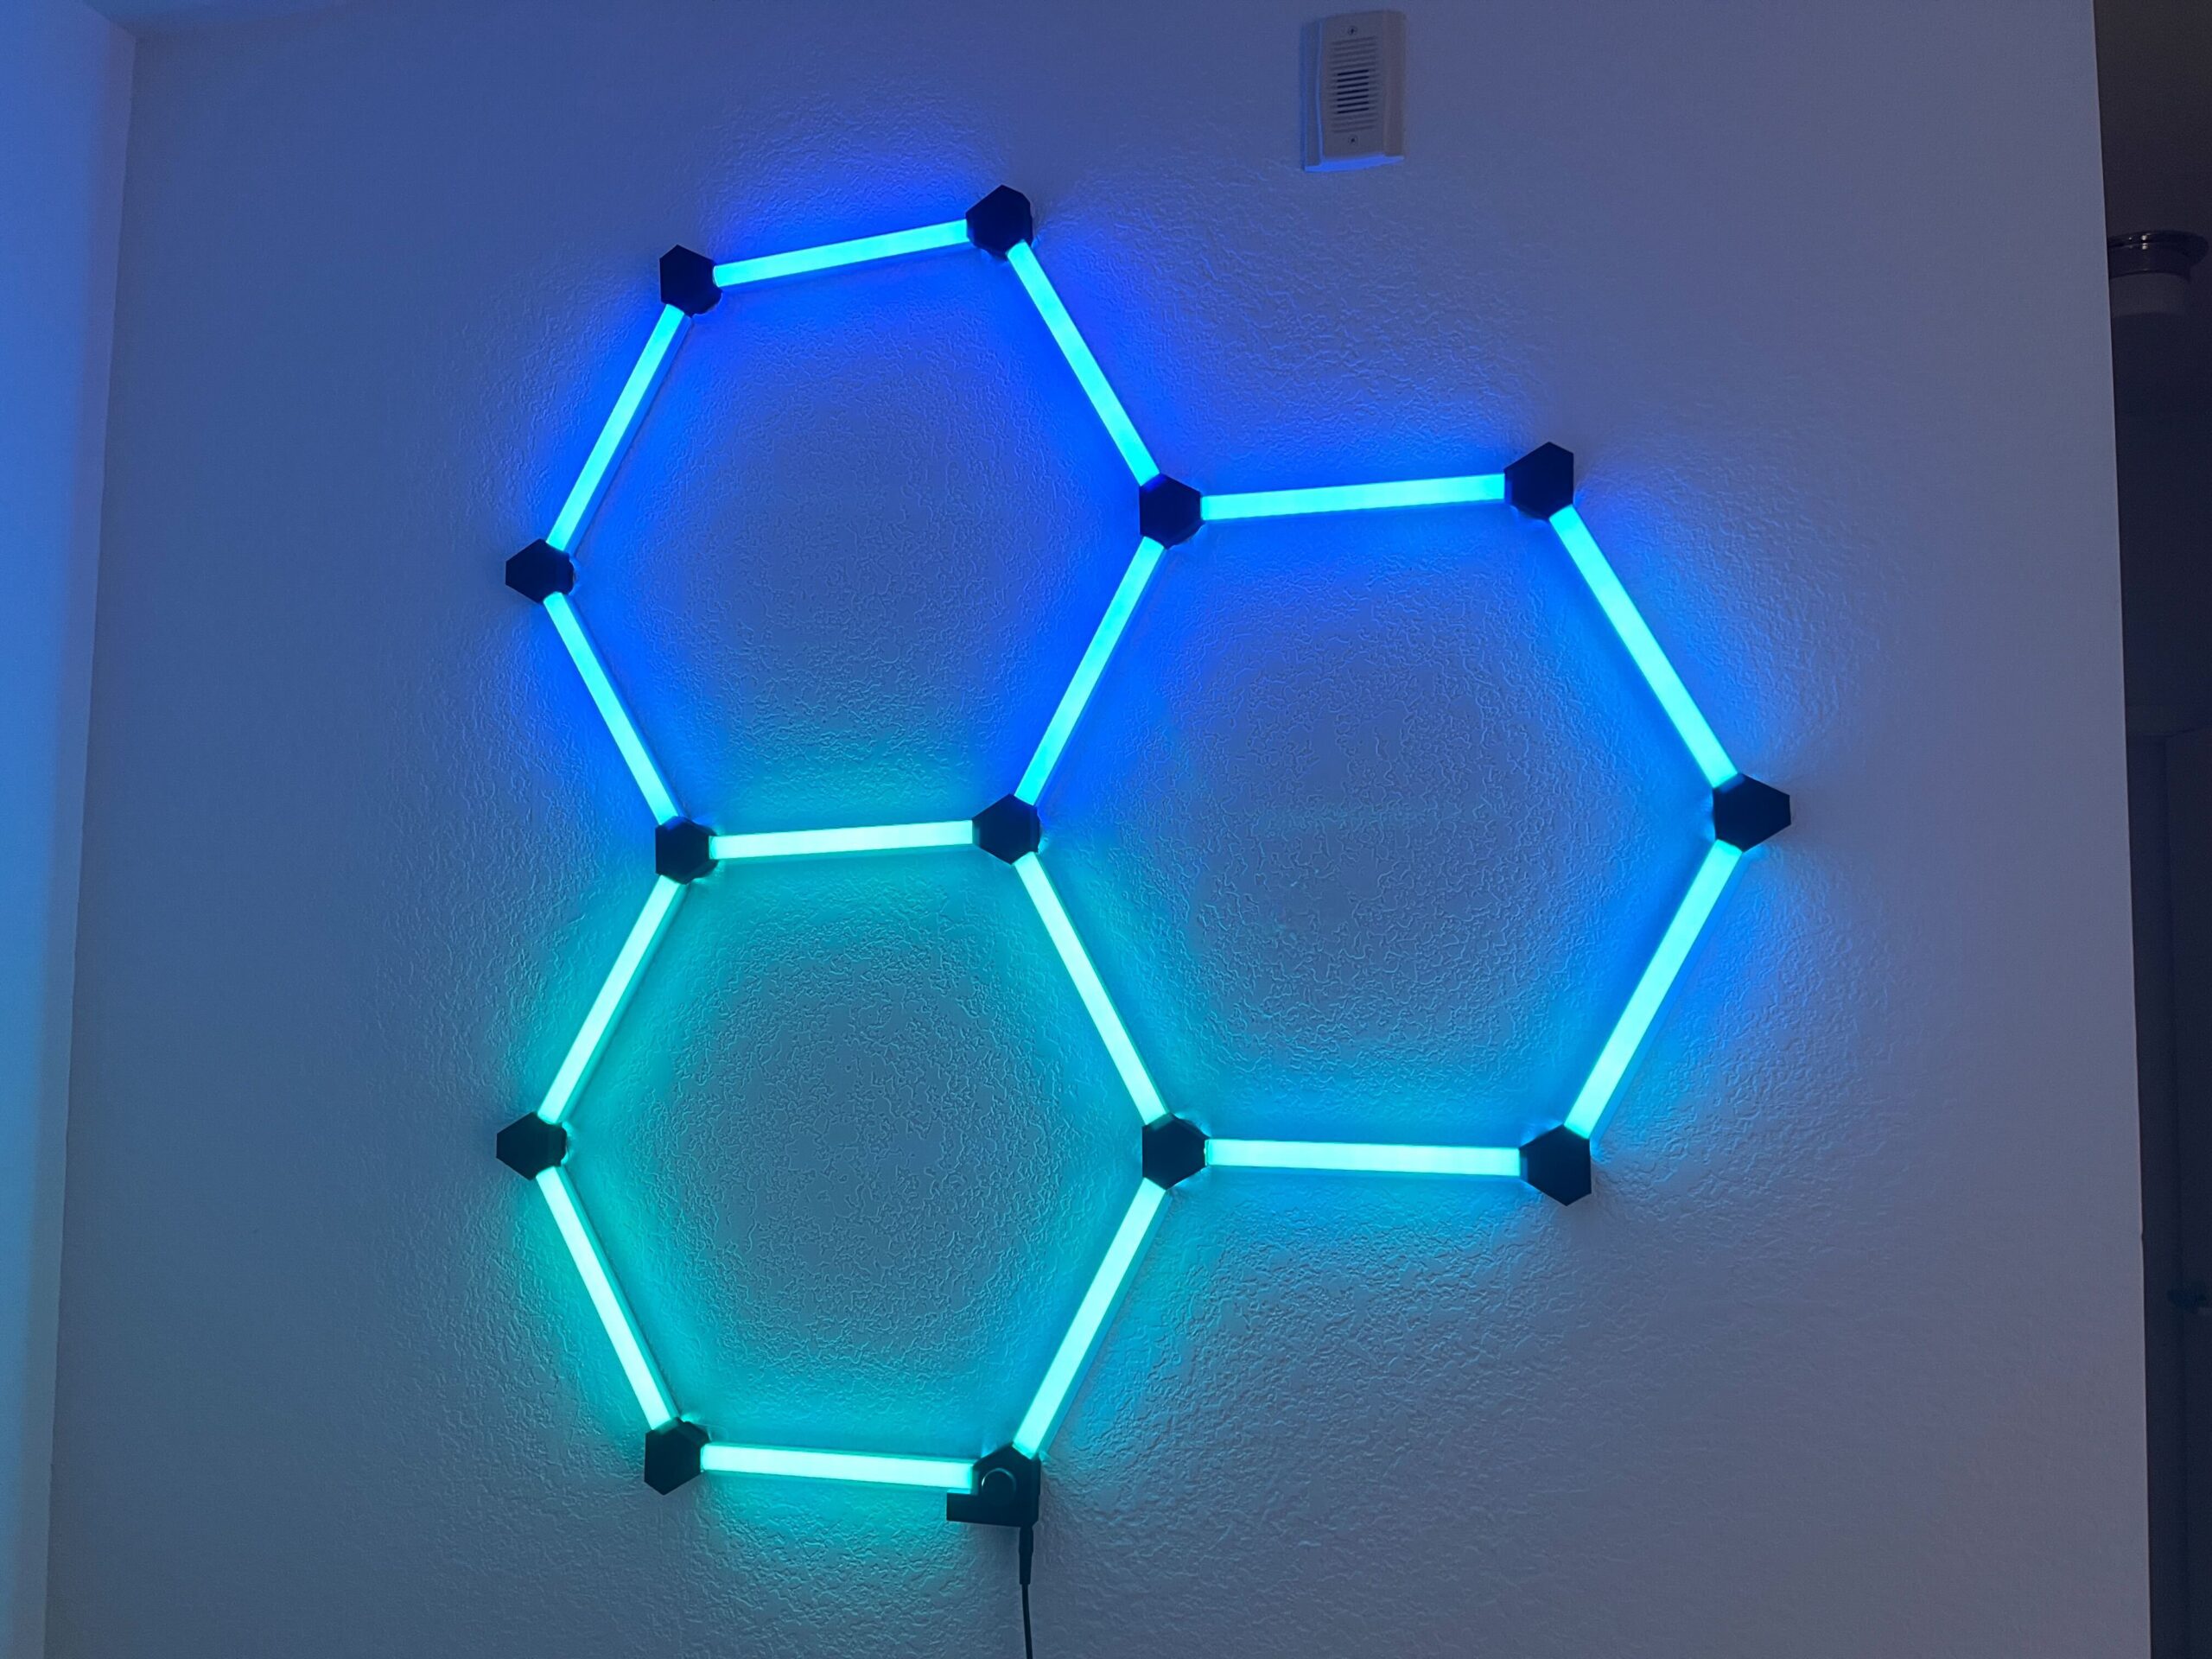
LED Lights – How
LED Lights For my project, I made these RGB LED lights for my room. It consists of a controller board at the bottom, LED segments, and nodes. The nodes are the black spots that connect everything together and the segments contain the LEDs. There is a rotating knob at the bottom with a pushbutton that…
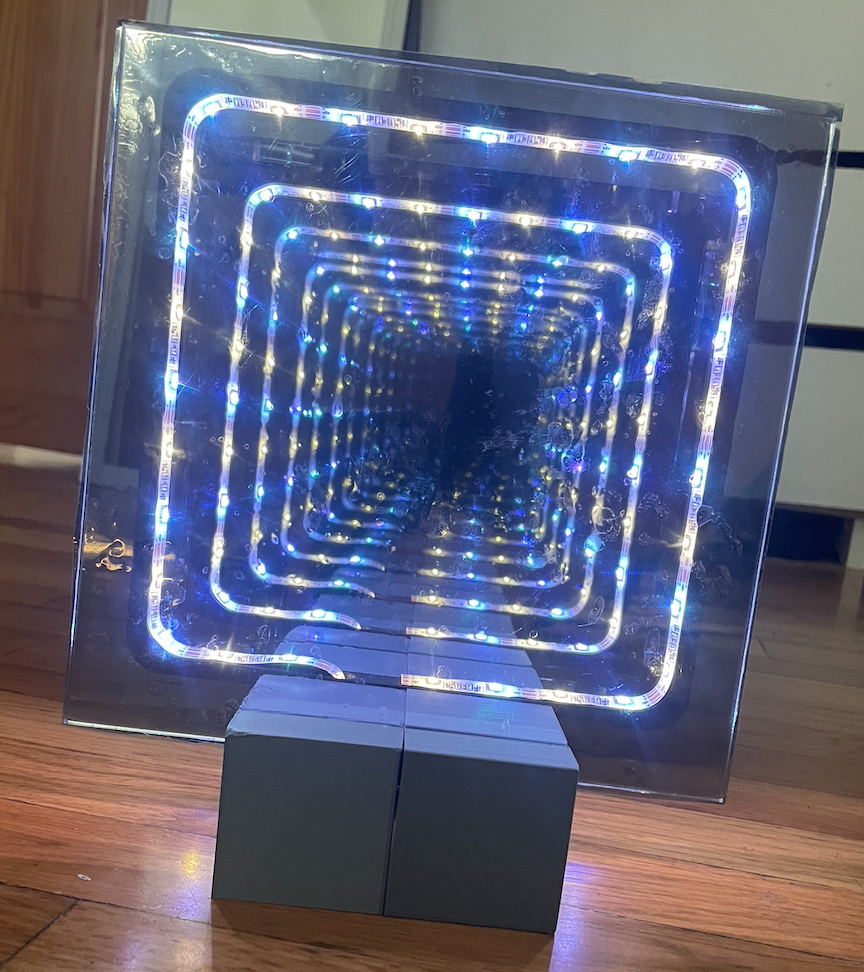
Infinity Mirror – Final Report
To overview my last post, I made an infinity mirror in the Abstract Tech aesthetic. In this post, I will detail my timeline and actual fabrication process of the project. The main theme of my design process was revisions. I had a total of 4 different revisions in order to adhere to 3D printer constraints.…
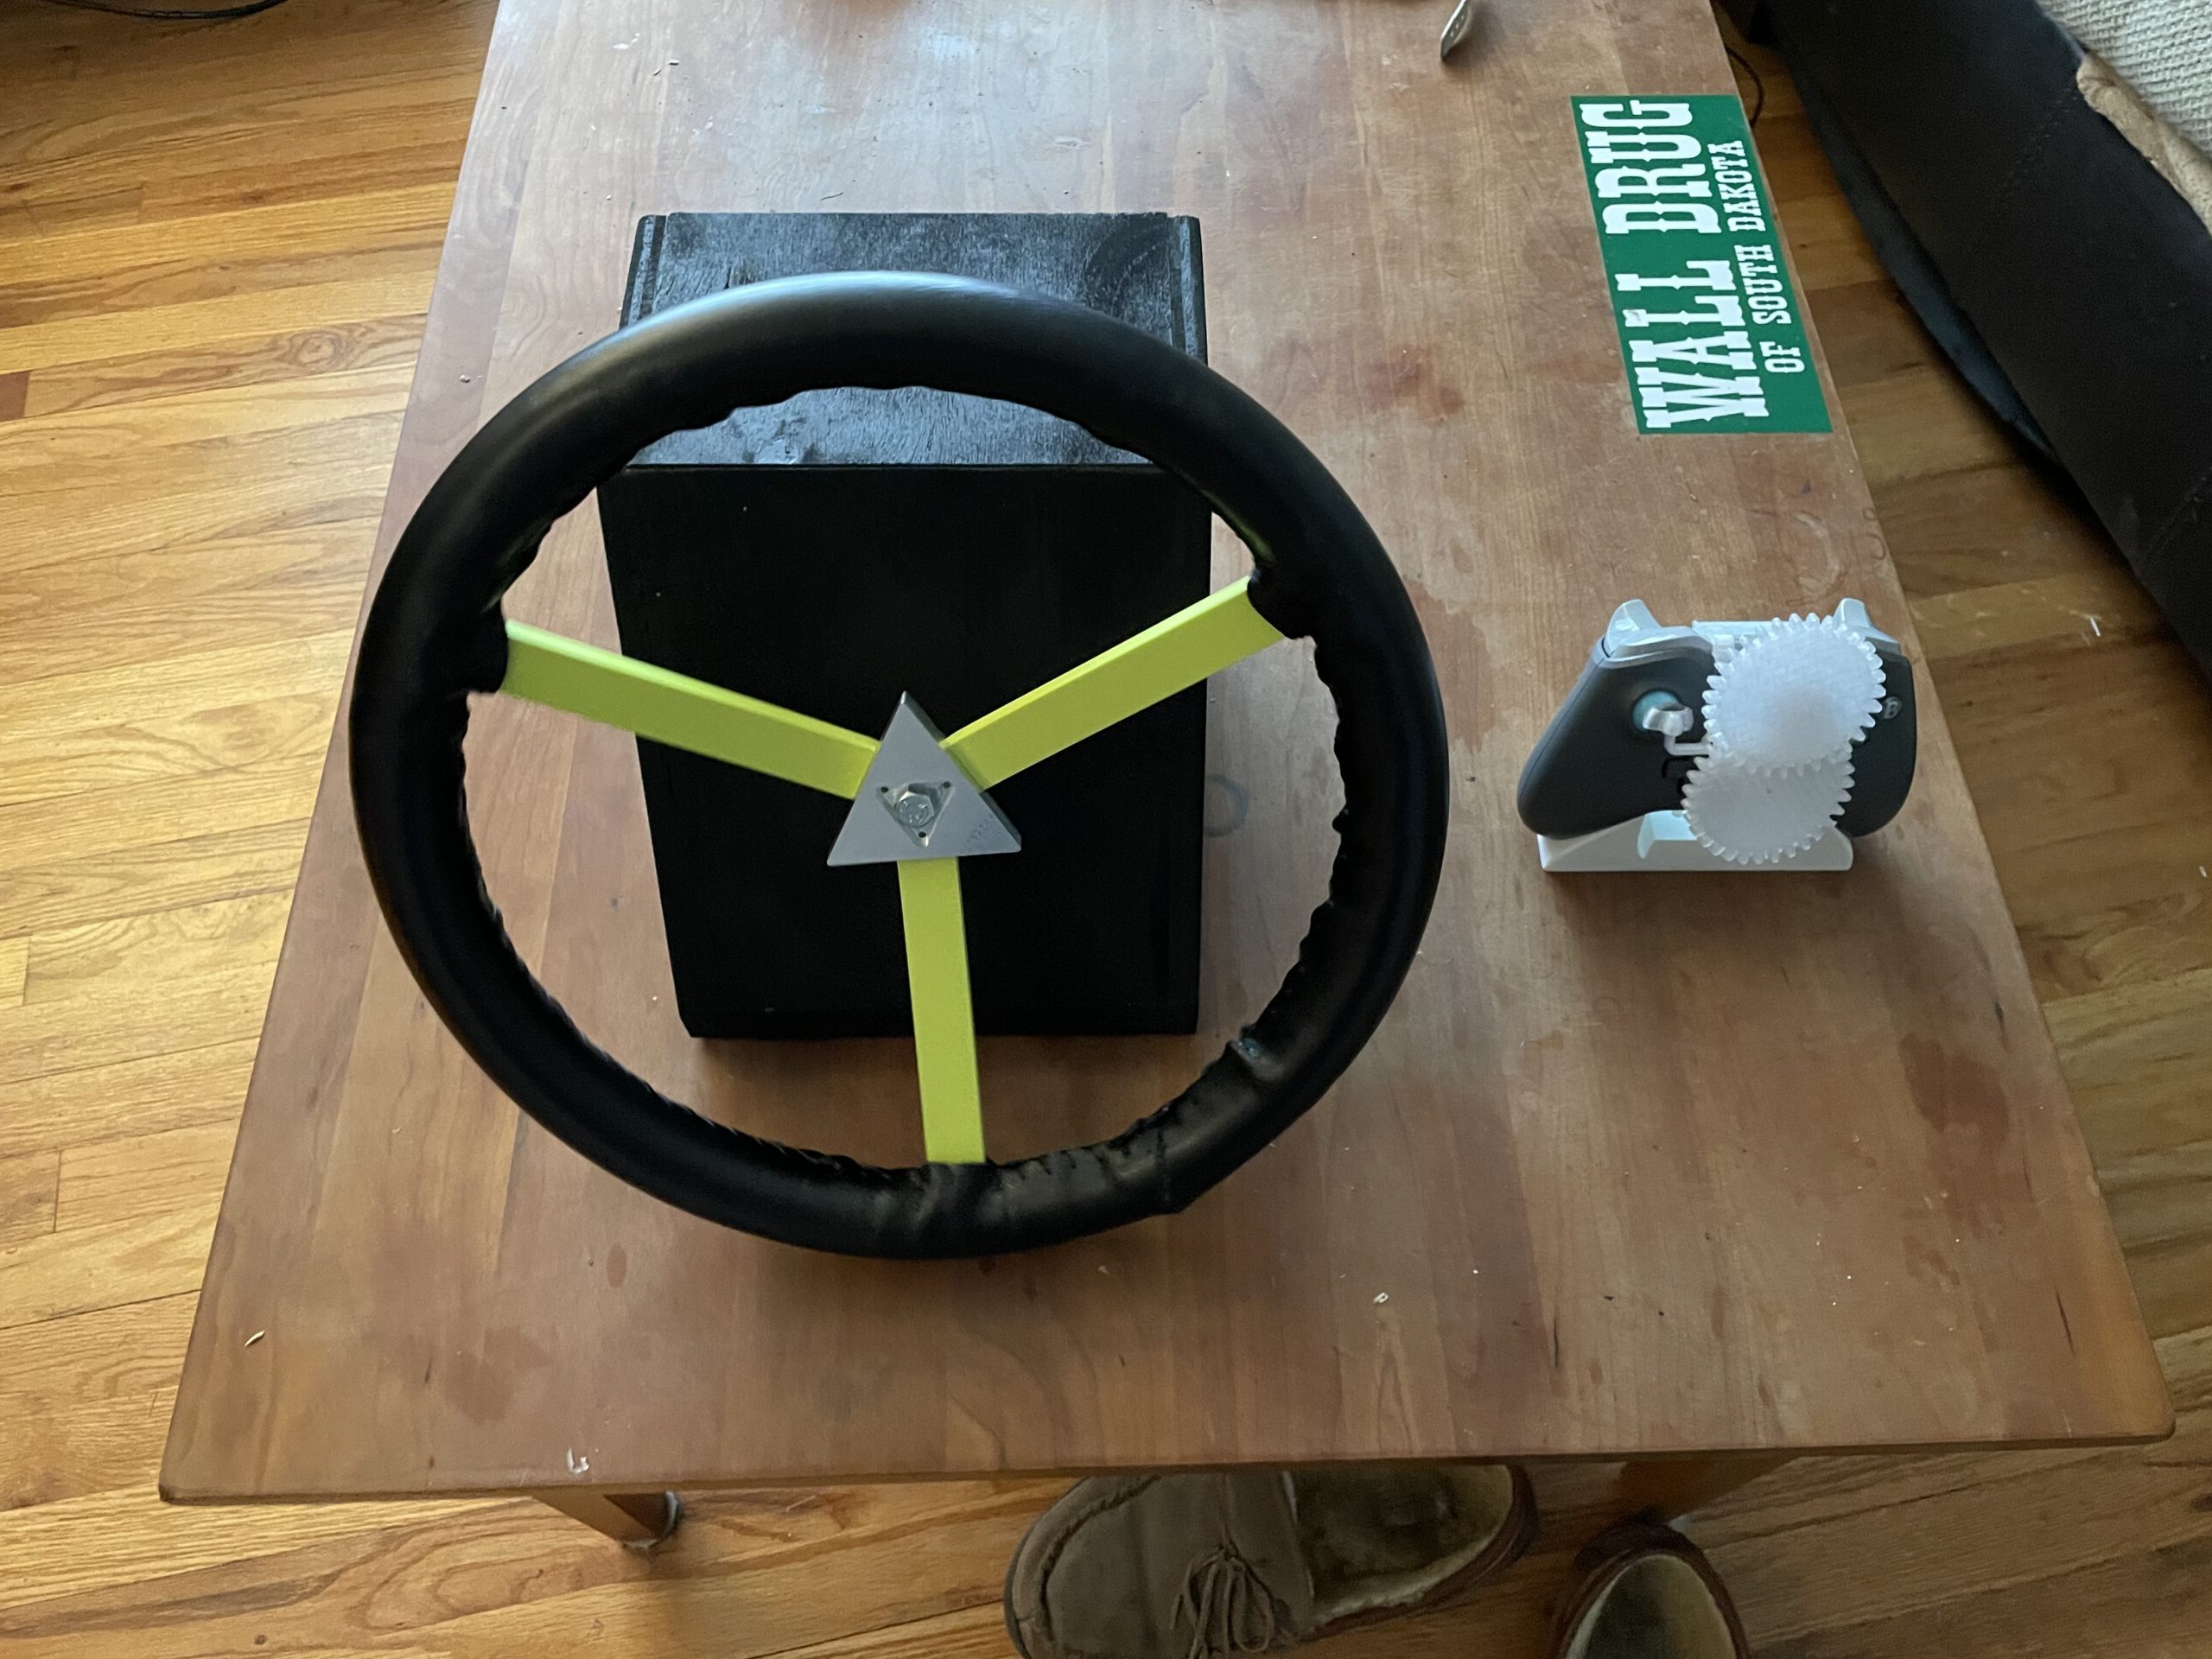
Street Racing Steering Wheel Final Report: Part 2
For my main project I decided to build an xbox controller steering wheel adapter. I got the idea last semester when I was playing a modded version of GTA that allowed you to adjust settings and drift cars. The game was fun, but I thought I could make it feel more like a drifting simulator…
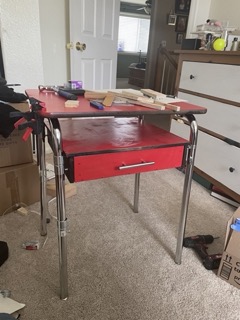
Bauhaus Table – How, and what Next?
Hello everyone, as a quick recap for my final project I up-cycled an old elementary school desk into an end table in the Bauhaus aesthetic. I chose Bauhaus because I felt I could use the bright color schemes to cover the imperfections in the desk, and because the legs would be made of steel round…
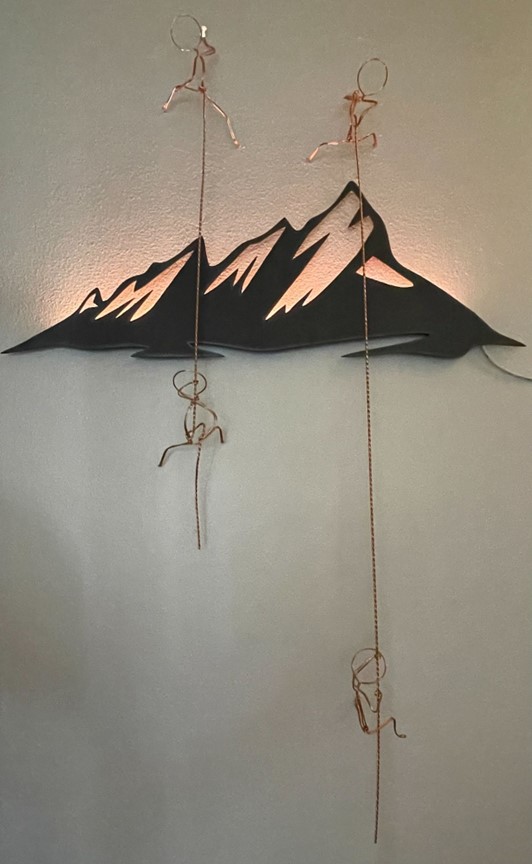
Minimalist-Nature-Aesthetic-Final-Report-Part 2
Throughout this semester I have had a great experience when it came to the process of coming up with and creating my final project. For those of you who may have not seen my project before, my goal was to take inspiration from the flat iron mountain range to create a dynamic piece of wall…
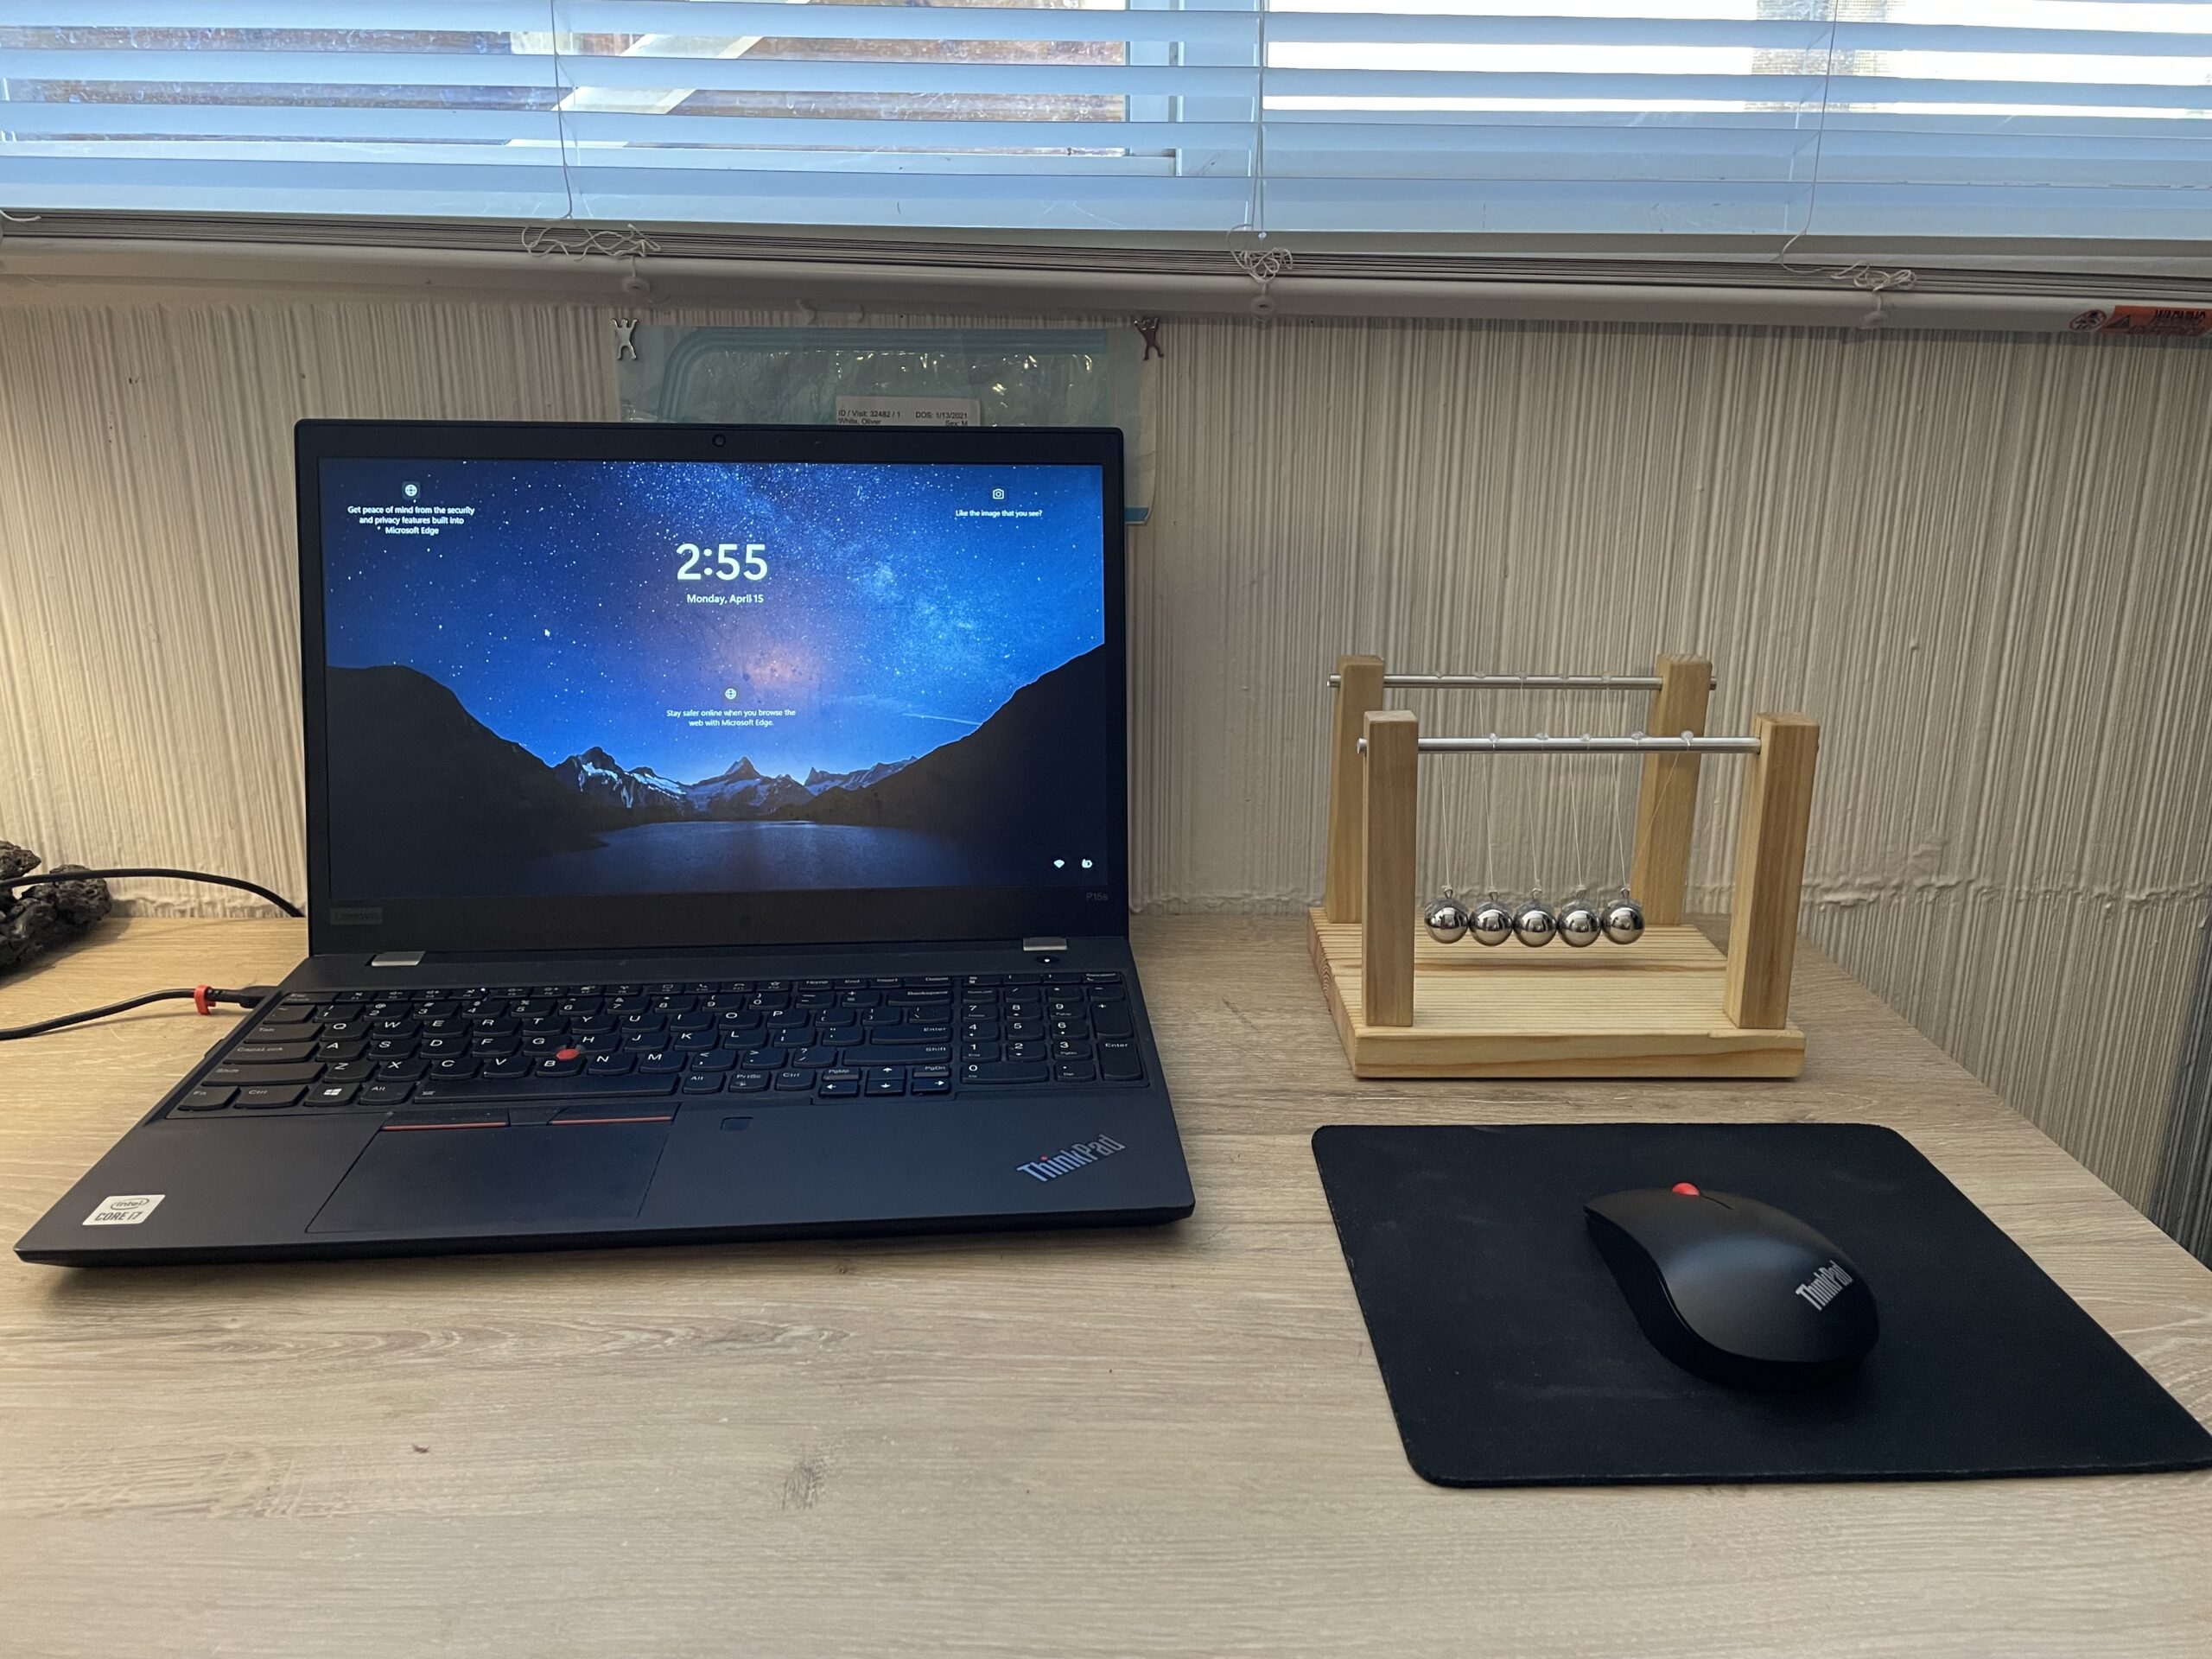
Final Project Part 2: Mid-century Modern Newton’s Cradle
I knew going into the manufacturing process that setting up a timeline for the project from the start would be vital in the completion of the project. I am one who works best with a strict schedule to adhere to. I have utilized planners all throughout my education to make sure deadlines are hit and…
Final Report Part 2, Fabrication & Future Plans: Scale Model Spaceship (NASA Pragmatism)
Now to talk about the experience of making the scale model space craft! This entire process was on the larger side of volume of projects I have singlehandedly undertaken, especially in this small of a time frame. But the entire time it was a labor of love, and it will continue on that way since…
The How of Making a 3D Printed Shoe Midsole
Hello everyone! Today I will be walking you all through how I went about manufacturing my recyclable running shoe midsole. To review, I am making a 3D printed shoe midsole with a few goals in mind. The first is to achieve an organic and futuristic aesthetic in the look of the shoe. This can be…
Cooler Fan: How
The fabrication process of my cooler fan went better than expected. I was able to get a good first 3D print, my measurements were nearly perfect, and I was able to complete all my tasks on time. Overall, the project went very well from the design process to fabricating. A few issues did come up,…
Final Project: Part 2 – Brutalist Lamp
When presenting my manufacturing I will present a number of images in hope to better explain this entire process. When I initially designed my box I knew I must know my overall dimensions as they determine weight, cost, and drive logistics for getting to expo. Therefore, I created a wooden box that acted as my…


