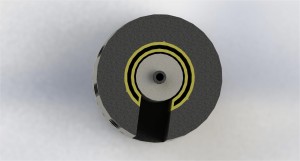
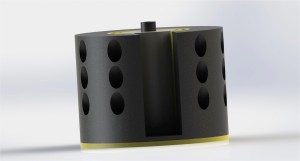
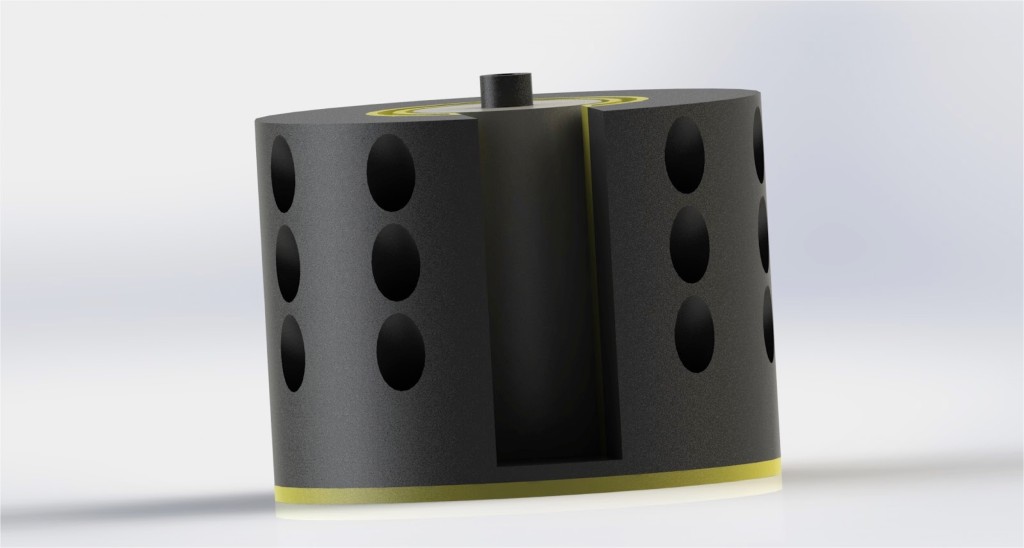
When seeing this Lazy Susan Kitchen Device (LSKD), the user will think: “that is so convenient!” They will also think that this is an exceptionally useful and space saving Lazy Susan.
The LSKD will act a rotating paper towel, spice, and kitchen utensil holder. It has four components: a base plate, a bearing, a frame/outer spice rack and an inner utensil rack. The frame/outer spice rack will hold both the spices and have long extrusion in the center that allows a paper towel roll to be placed in the center. It will have a removable circular inner piece that is hollow and allows the user to place kitchen utensils in it. The bearing and bottom plate allow the entire piece to move.
As a college student, I have slowly begun to understand how important the kitchen is over the years. When searching for apartments, the kitchen size tends to be a large factor. I have been lucky enough to have a nice kitchen, but even then size is an issue. 1 of my cabinets is mainly filled with with spices and another shelf is filled with utensils. Then I saw a lazy Susan spice rack and a lazy Susan utensil holder. I immediately wanted them, since I enjoy the lazy Susan aesthetic, unfortunately I did not have the cash at the time and rarely buy objects for myself. This project helped inspire me to create a lazy Susan of my own design.


The hardest part will be the centerpiece. I shall attempt to 3D print it, but it is a large piece and this may not be feasible. If this fails, then this project will require major redesign and time in order to adjust. If it is possible to 3D print, I am willing to spend 50$-100$ at max for this project. Hopefully it can be printed for less than 40$, but this shall be determined as the project moves forward.
I plan to spend the next week redesigning the LSKD in order to minimize weight and include other design integrations. After that I plan to meet with the idea forge and see what they expect the cost for 3D printing this object to be. If it is feasible, I plan on 3D printing it then and there. If not, I will check with other facilities to see if it is feasible for them. If they are unable to 3D print this object, I will spend 1 week redesigning it. From there I will try to find parts at Home depot during the next week and start manufacturing until the project is finished or due.
Once the product has been made, I plan on placing it in my kitchen and seeing how functional it is. If there prove to any major errors with it rotation, I will attempt to place small metallic balls in the inset of the base plate and grease to the frame to fix this problem.
See the video of me presenting at:
https://youtu.be/8NqFNJ4yBe8


4 Comments. Leave new
Cool idea! I think a combination of 3D printed parts and parts made from different materials could significantly drop your printing costs and add a nice look to the project.
I like the idea of combining all the kitchen storage devices. This thing seems like it’s going to be incredibly bulky, with all the spice containers and utensils sticking out. You might want to find exactly where in your kitchen you’re going to put it, and figure out if you have enough space to rotate it and access all the stuff in it.
Maybe instead of slots for the spices, you could use shelves. That would save a lot of material and probably give you more room for spices. I like the center; having the paper towels and utensils there seems like a pretty good use of space. I also like the color scheme. Black and yellow will look pretty classy.
I was also thinking you could use wire frame to hold everything. That probably wouldn’t fit your aesthetic, but I think it would use the least material. You could modularize a frame so that it would be easy to 3D print everything.
I can’t wait to see what you do with this, I’m sure it’ll turn out pretty cool and functional!
I think that the name of the game for you will be smart 3D printing – how can you break up your model to make it easy and cheap to print? Also choosing a material, like we talked about in class (for temperature concerns).
Make sure you set/tell whatever 3D printing company (or ITLL printer) to use the lightest fill- you’ll be able to cut down on your material significantly by making the print mostly hollow.