
For my final project, I wanted to make a sturdy piece of furniture that I can feature in my home for years to come. This piece of furniture would not only have to mesh well with my current aesthetic and existing furniture, but also work well with whatever I choose to buy in the future.
The first step I took toward achieving this overall goal was to define my personal interior design aesthetic. Upon some introspection, I found that personal aesthetic does not adhere strictly to any specific movement, but it strongly favors minimalism and utility. I gravitate toward earth tones, black and white, wood grain, and white lighting—colors and textures that provide a sense of calm, balance, and functionality. When it comes to furniture specifically, I find myself drawn to pieces that emphasize clean lines and practicality. This preference has led me to collect Scandinavian modern and Mid-Century Modern pieces whenever possible. Both of these styles emphasize function and beauty, with a focus on natural materials and timeless silhouettes.
At this point in the project, I decided that Scandinavian modern would be a great aesthetic to pursue – anything I made would obviously mesh well with the lower-end IKEA furniture I have at the moment, and the clean design language and neutral color palette could mesh well with a plethora of other modern design styles I may decide to pursue in the future. Additionally, the clean lines and light wood highlighted in Scandinavian modern design will help me to simplify the woodworking process and save money on wood (the darker hardwoods common in MCM furniture are prohibitively expensive).
Once the overall aesthetic and theme were chosen, I had to identify a specific need for furniture in my house. I have gradually acquired nice furniture at low prices through platforms like Craigslist and Facebook marketplace, but have yet to find the following: end tables, lighting, a desk, and a TV console. Building any of these four options could help me to add some utility to my house or replace a cheap piece of furniture made of engineered wood. I initially decided that an end table, floor lamp, or combination of both could be a good candidate, but eventually decided against it, as the scope of the project seemed more in line with the expectations and timeline of the course. When choosing between the TV stand and desk, I considered both the current quality of my furniture and the potential for replacement in the future. These factors led me to decide upon a TV stand, but this did not happen before I began searching for inspiration.
My initial inspiration for this project began with the existing furniture I have in my house. Below are two examples of furniture that my TV stand could be displayed alongside, if placed in my bedroom. Both of these pieces feature simple, sweeping lines as well as light wood tones. While the Ethan Allen Radius does feature filleted corners, the majority of the silhouette is still fairly straight.
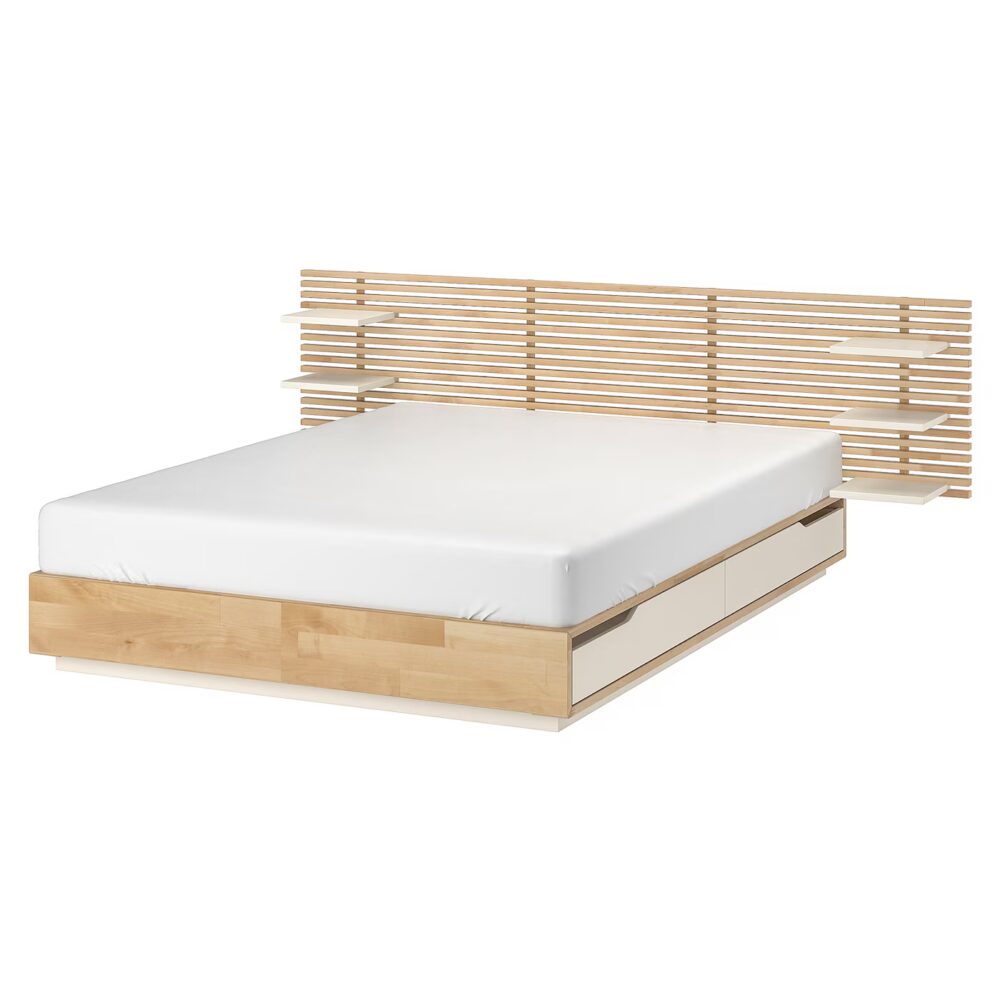
[1] The IKEA Mandal Bedframe
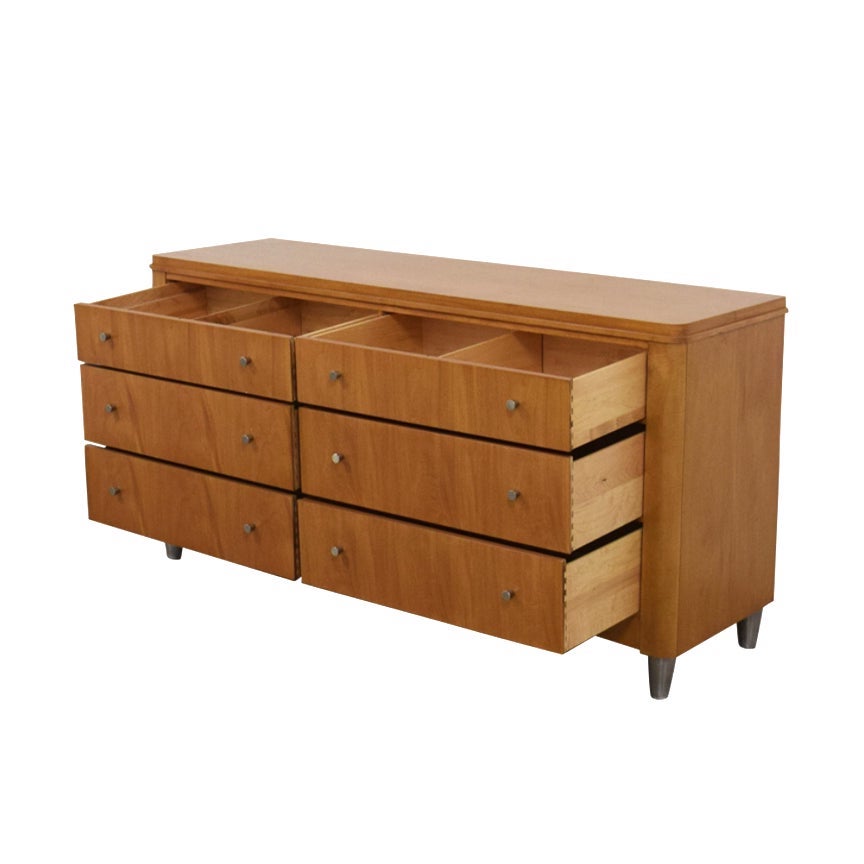
[2] An Ethan Allen Radius low dresser
After looking at my existing furniture, I decided to begin to search online for inspiration. The first place I decided to look was for side tables, as that was my original plan for this project. Below is the Scandinavian Modern end table by Stockton Heritage, featuring an incredibly streamlined, angular design, white oak legs and a contrasting dark wood table top. This beautiful piece of furniture was what really set my mind on using the Scandinavian modern aesthetic for my final project.

[3] Scandinavian Modern End table by Stockton Heritage
After looking at some other Scandinavian modern end tables, I eventually decided that it would be best to pivot and make a TV stand, for the reasons described above. This led me to draw inspiration from a new set of sources, most notably living room consoles from IKEA and Etsy. This process was somewhat difficult, as the majority of the modern TV stands on the market are what I would consider modern (featuring glossy finishes, glass, stainless steel hardware) or Mid-Century-Modern (Darker woods, peg legs, extensive use of radii). Because of this, I took a lot of dimensional/scale inspiration from these products, and used general Scandinavian interior design photos to choose an initial material/color palette.
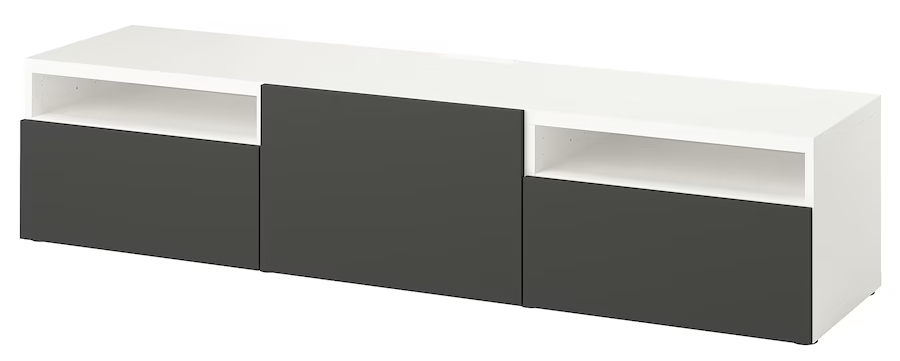
[4] The IKEA BESTA TV console
After some inspiration was taken, I did some research on what I would consider the opposing design language – Brutalism. While this isn’t entirely a perfect antithesis to Scandinavian Modern design, I would argue that the emotions that the two aesthetics attempt to evoke are perfectly opposite. While the use of minimal, harsh shapes and light, matte colors in Scandinavian design create a simplistic and cosy feel, the use of intricate harsh shapes, dark colors, and industrial materials in Brutalism evoke feelings of power, or even discomfort. I created some initial sketches for my design in both the Scandinavian modern and Brutalist aesthetics, and decided it could be interesting to blend the two, incorporating the design language from Scandinavian modern with the materials found in Brutalist design. The result was the following sketch, which blends clean lines with the use of a concrete waterfall, as well as the light wood found in both industrial settings (framing) and Scandinavian design. After making this sketch, I also found a few sellers on Etsy making modern furniture with concrete waterfall designs. I really liked the unique aesthetic of these, and they helped to further convince me to go this direction with my project.
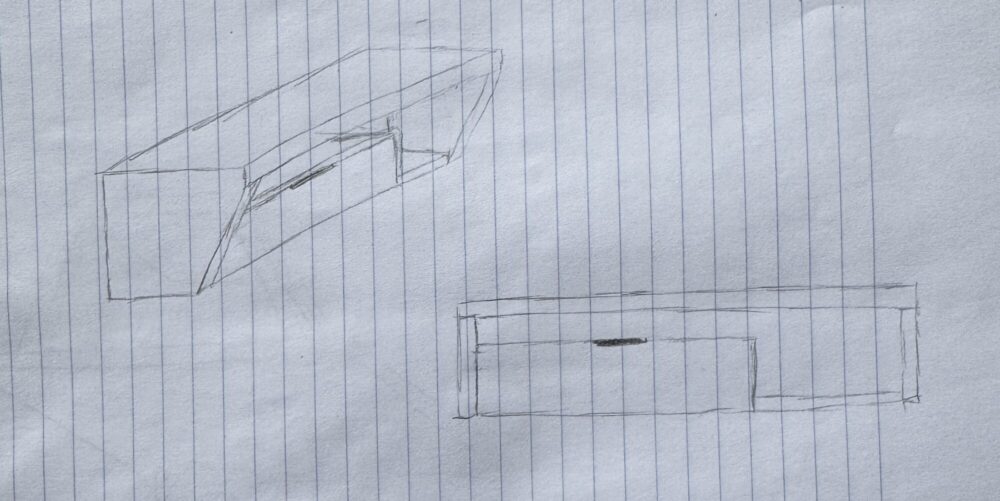
Initial sketch of Scandinavian Modern TV stand with Brutalist inspiration.
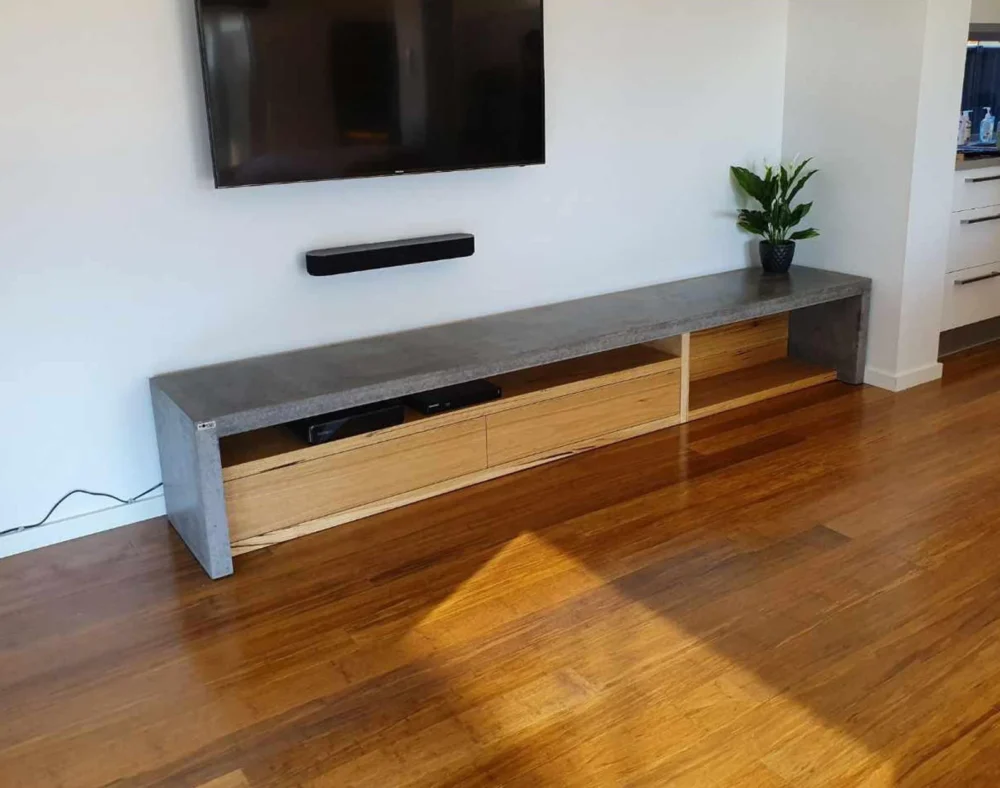
[5] Etsy Modern Concrete TV stand
While the resulting sketch didn’t exactly capture the ethos of Brutalism, I really liked the aesthetic of the concrete and light wood combined with the simple asymmetry, and decided to go this direction with my final project. At this stage, I would classify the aesthetic as Industrial modern and not brutalist, as it didn’t have the complexity needed to be imposing.
After the general form of my project was decided, I began to think about how I was going to actually build my project. While I have some experience pouring concrete slabs and doing stucco work, I have no experience making concrete molds or doing complex structural pours. This, combined with the weight of making a solid concrete waterfall design, scared me away from creating a solid concrete TV stand, and led me to search toward other options. Through this, I found some online tutorials on making durable concrete overlays over plywood, specifically with a product called ‘concrete microtopping.’ This microtopping material is made for refinishing smooth slabs, so it is much thinner than typical cement, contains no sand, and is packed with polymers that help it to adhere well to a variety of surfaces. This finish can also be darkened using a charcoal additive to create a slate-like texture, akin to what is found in some Scandinavian modern designs. I decided that this would be a great way to not only help reduce the weight of the project, but also to tailor the manufacturing process to my existing skills.
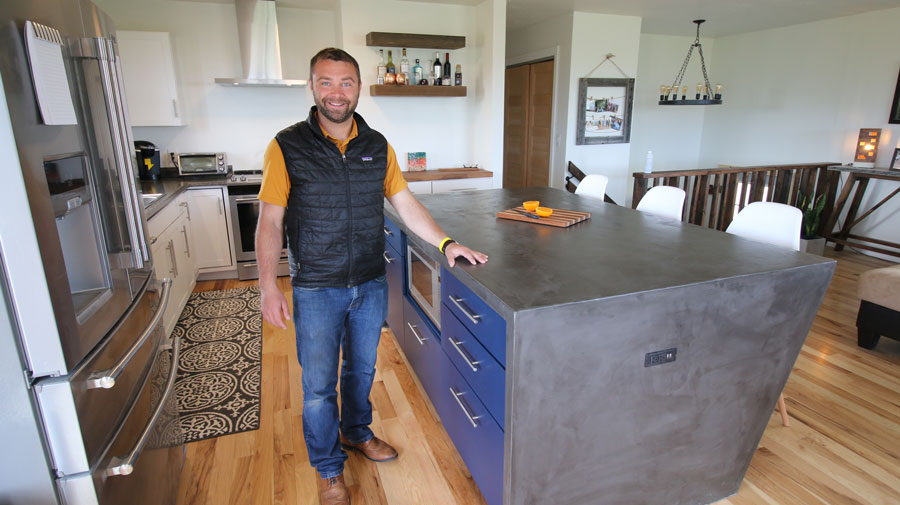
[6] DIY Pete’s Concrete Overlaid Countertop
During this time, I also did some research into drawer-making, and decided that I would use pocket screws to make them. I’ve always wanted to try using a pocket screw jig, so I decided to incorporate butt joints into my entire initial design.
After this was done, I began to mock up my design in Solidworks. I had continued sketching and tinkering with the design in an effort to both simplify manufacturing and increase the functionality of the TV stand. Instead of having an asymmetrical design with two cubbies, I decided to ditch this for a singular large cubby on top. I also decided that a white front fascia with a pass-through cutout to the pine drawer box could help to reintroduce some of the visual interest that was lost with the elimination of the asymmetry.
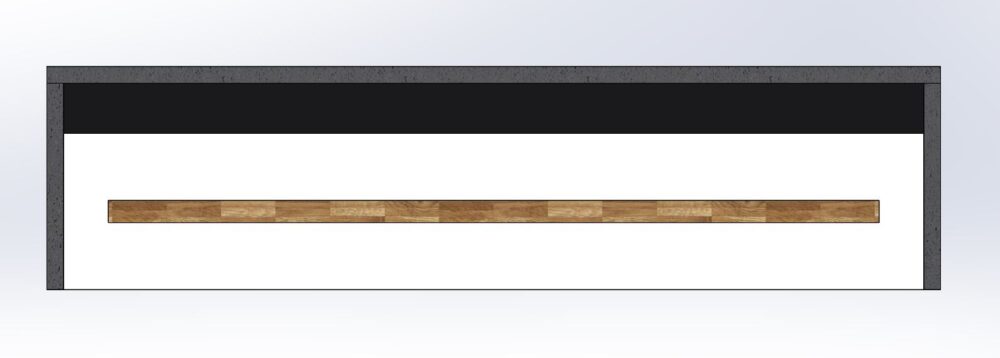
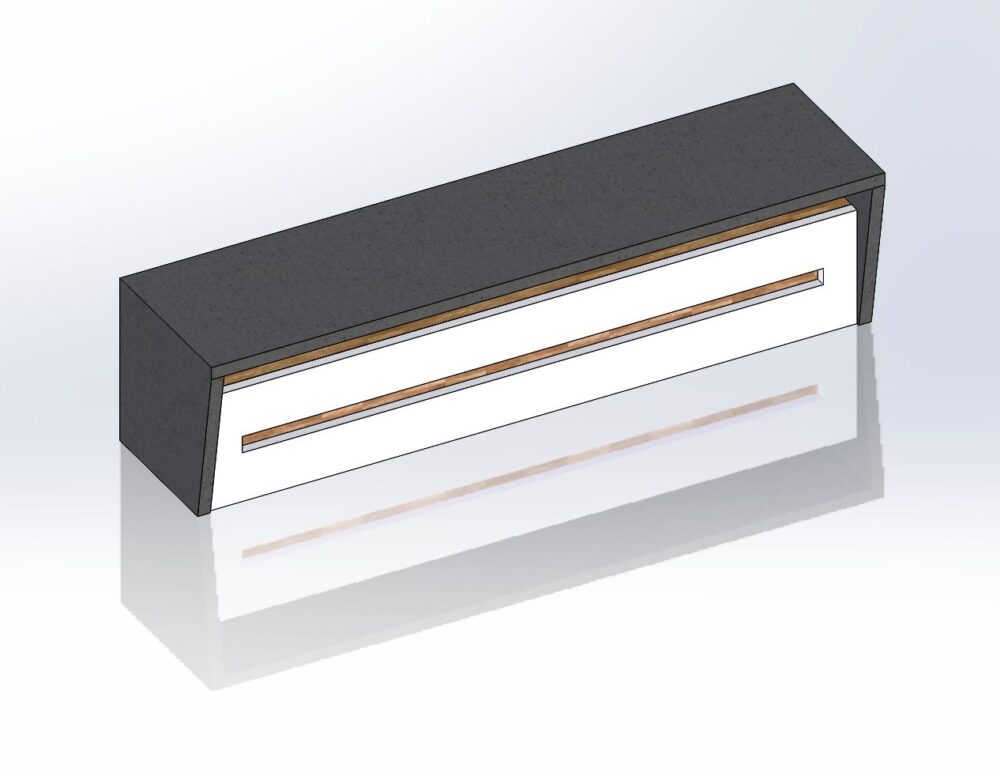
Initial CAD Model of the design.
I presented this model to my pod group for the design preview assignment, and while it was fairly well received, the general consensus was the following:
- I should bring back the asymmetrical design
- The white fascia was not attractive
- The concrete overlay will likely be harder than I anticipate
Following this discussion, I went back into CAD and started creating a new design. This one incorporated a lot of rabbet and dado joints instead of butt joints, as one of the other worries brought to my attention was the problems I may have with alignment and keeping the entire product square during assembly. This design was very similar to my initial sketch, with the following five changes:
- I reversed the asymmetrical portion, to match the location of the HDMI ports on my TV.
- I mounted the drawer on the top rather than the bottom, so that another plate isn’t needed to hide the underside of the drawer.
- This also eliminates the need to paint the underside of any surfaces.
- I added a back plate for stability that will also hide the mess of cords and baseboards behind the TV.
- I added front and rear lips to the top sheet of wood for both stability and to increase the perceived thickness without adding weight.
- I added a hidden compartment to the back of the drawer.
These design changes helped me to better capture the aesthetic I was after, and proved to be very helpful when I began assembling the stand.
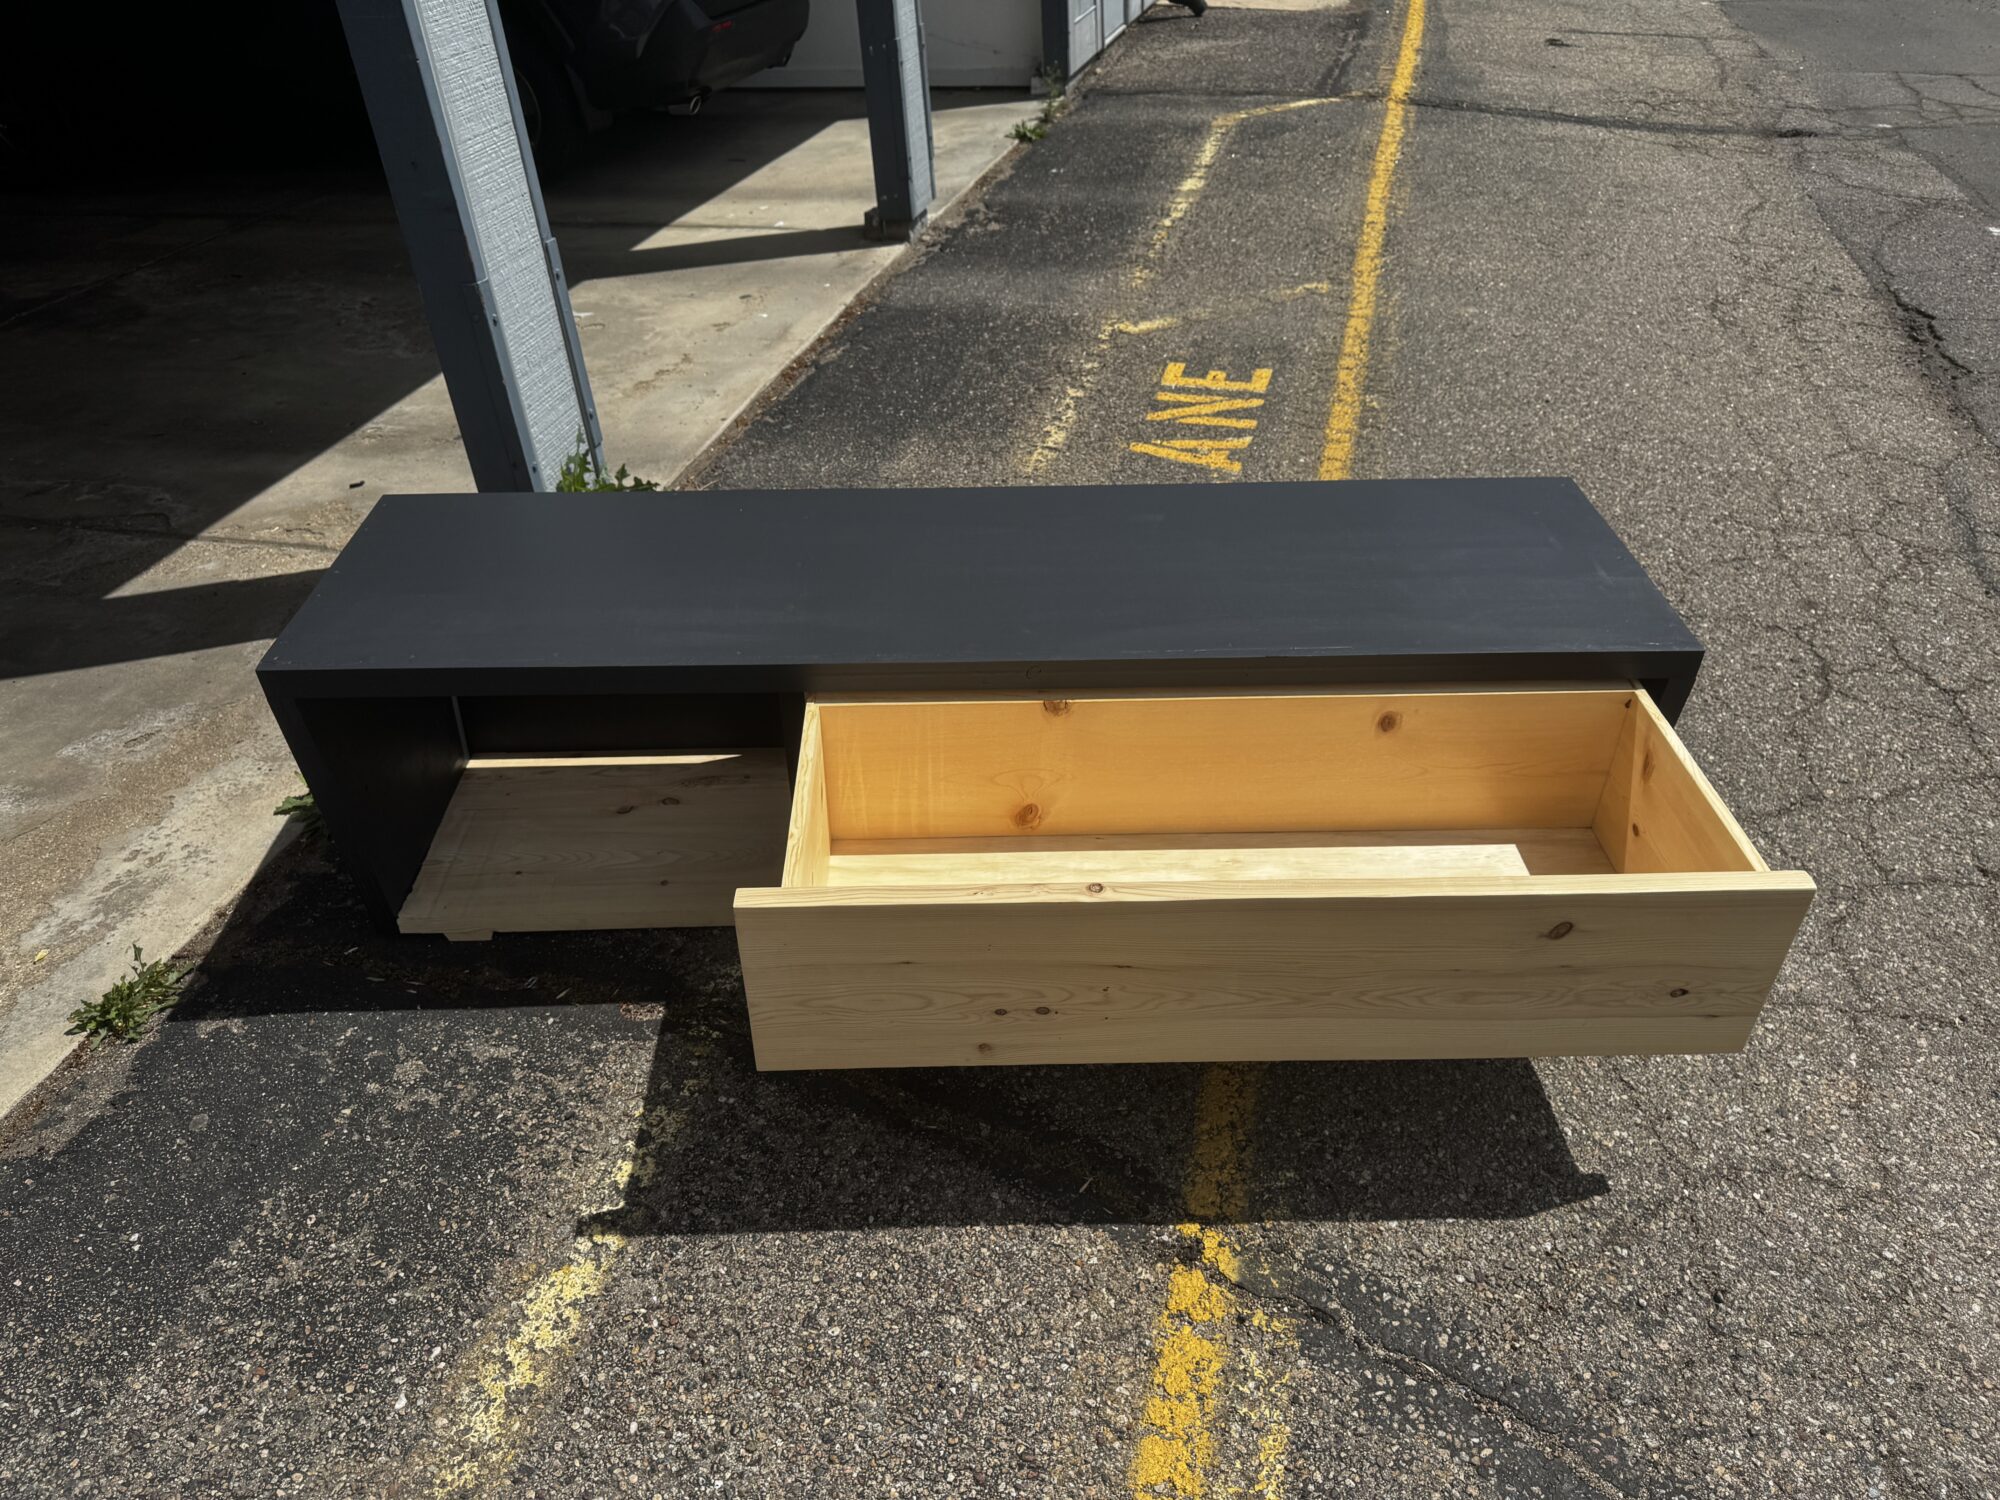
After this final design was chosen, some additional adjustments were made during the manufacturing and assembly process due to necessity. Due to the dimensions of a standard sheet of plywood, the overall width of the TV stand was shortened from 80 to 76” to allow me to build it out of a single sheet. More notably, I could not get access to the high-end concrete micro topping products recommended by DIY pete within my budget for the project, and had to settle for Rapid Set’s NewCrete. I was not able to get this product to look or adhere the way I wanted it to, and was forced to use paint instead. While this doesn’t capture the industrial aesthetic I became attached to halfway through the project, the paint I chose still adds a ton of contrast to the light wood grain, and fits both the Scandinavian modern aesthetic as well as my personal aesthetic.
Image Sources:
[1] https://www.ikea.com/es/en/p/mandal-bed-frame-with-headboard-birch-white-s89094948/ [2] https://www.designplusgallery.com/product/ethan-allen-radius-six-drawer-dresser-original-price-2600/ [3] https://www.stocktonheritage.com/shop/minimalist-end-table-mid-century-modern-end-table-scandinavian-side-table-minimalist-nightstand [4] https://www.ikea.com/us/en/p/besta-tv-unit-with-drawers-and-door-white-lappviken-dark-gray-s09572981/#content [5] https://www.etsy.com/listing/704744462/3m-modern-hardwood-and-concrete-tv-unit [6] https://www.diypete.com/diy-waterfall-concrete-kitchen-island/
4 Comments. Leave new
Hi Jacob, this is so impressive. doing a woodworking project myself, I can appreciate how much thought and fabrication went into this. I am super excited to see the process. I like how much inspiration sources you drew from, really getting a diverse perspective on what you want to create and what aesthetic you aim to convey, super good job.
Thanks Joe!
The manufacturing process actually went a great deal smoother than I was expecting – somehow things ended up pretty straight and square. I definitely pulled inspiration from a bunch of sources – the aesthetic had to have changed at least 4 times through the course of the project.
Hi Jacob, I thoroughly enjoyed reading your post! I read one of your previous posts and was really looking forward to seeing your final design. I liked how you used the feedback from the design previews to ideate on your design and improve it for feasibility and style. Based on your feature image, it turned out great! I also like how you problem solved with painting the piece when the concrete didn’t work out. Great job!
Thanks Taylor!
I was pretty bummed that the concrete didn’t work out, but have been happy with how the paint ended up. I tried to incorporate as much feedback as I could so that I could have a project I’d be happy to display in my home!