
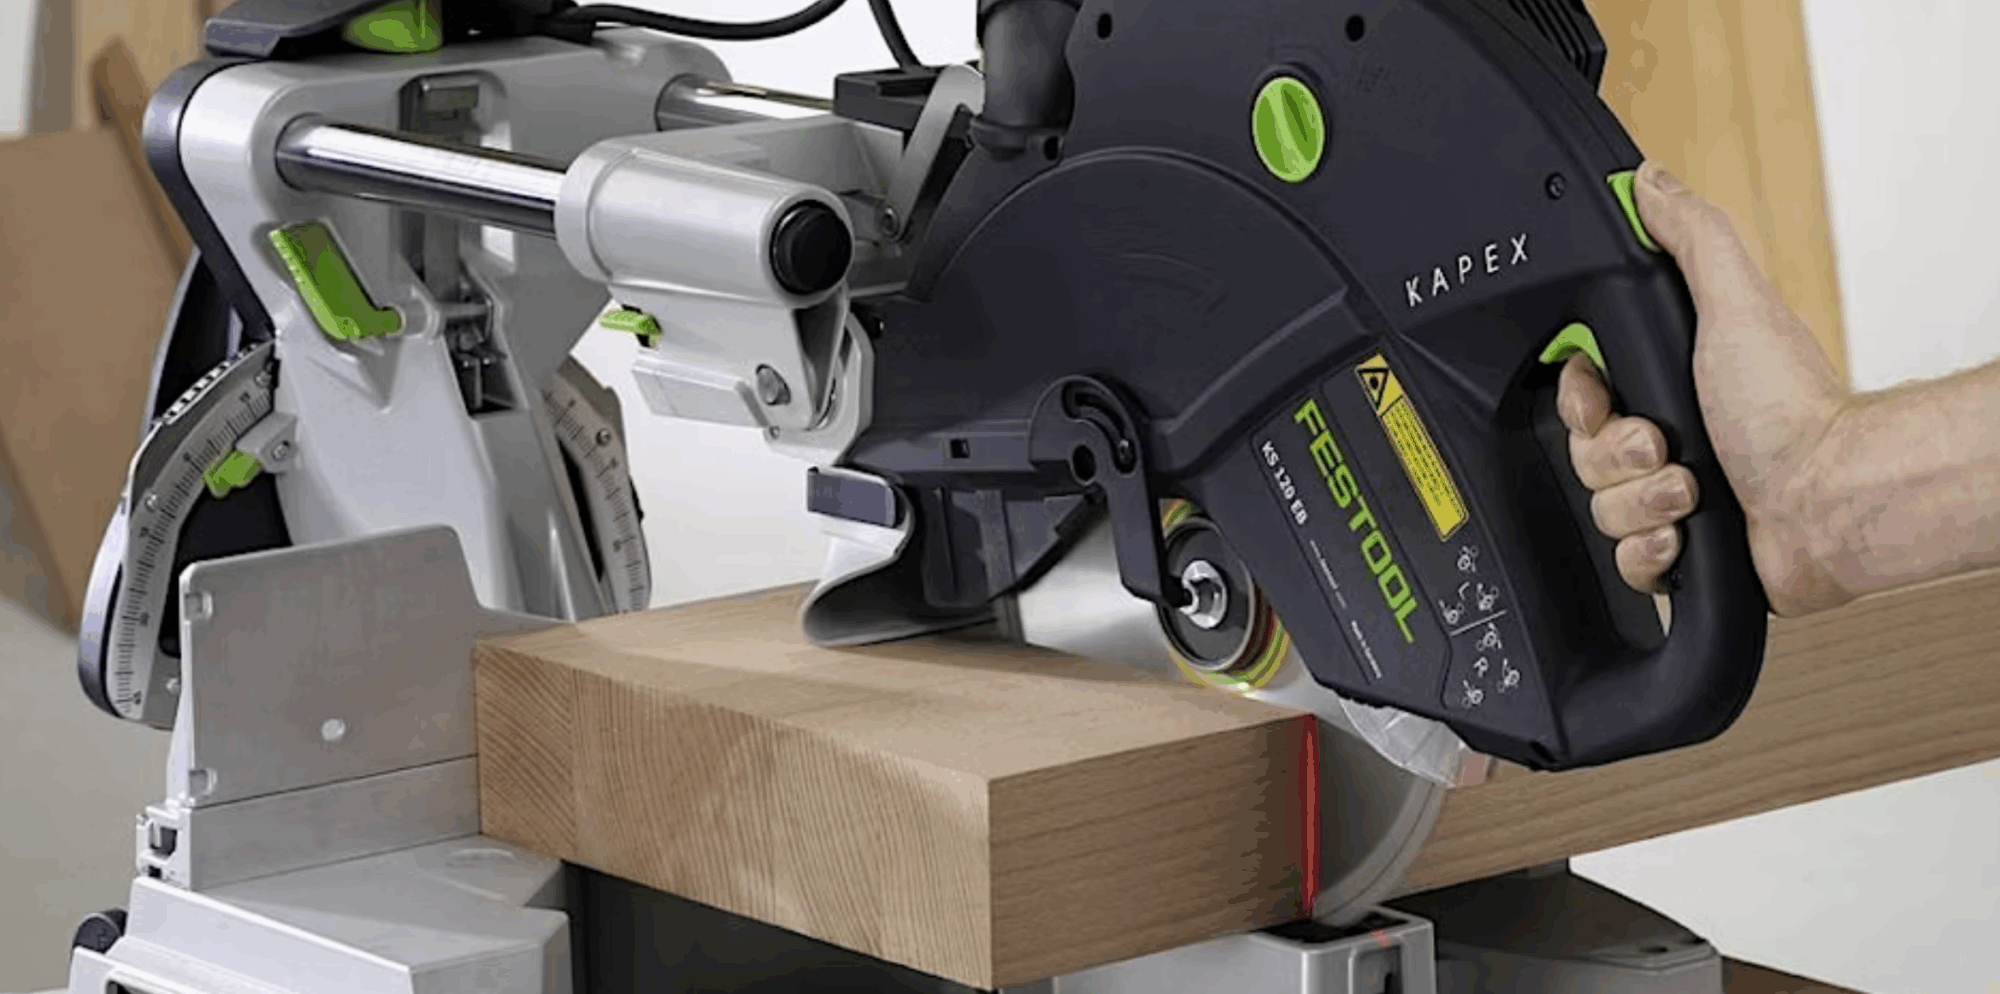
Since beginning my final project, I think I’ve made steady progress transforming concept into physical form. This project started as a sentimental idea inspired by my dad’s lifelong passion for skiing and his large collection of vintage skis. Now, it’s taking shape in many ways, with key milestones completed and clear steps ahead. The first major phase I completed was cutting the skis with a sliding compound miter saw seen in Image 1 (Featured Image.)
This was both exciting and nerve-wracking, as I wanted to preserve the graphics and natural curves of each ski while making sure they fit the design dimensions I created in my preliminary CAD sketches. Using a combination of a jigsaw and an angle grinder, I trimmed the skis for the seat slats, backrest, and legs. Making these cuts through composite and metal-layered skis presented unexpected challenges, especially when dealing with differing internal materials like wood cores and fiberglass. I appreciate the ITLL for allowing me to do this with the skis, given their somewhat unknown material. Some skis cut cleanly, while others splintered or frayed at the edges, requiring careful handling. I made adjustments to my cutting technique along the way, learning to minimize chipping and to cut slowly to avoid overheating the blades.
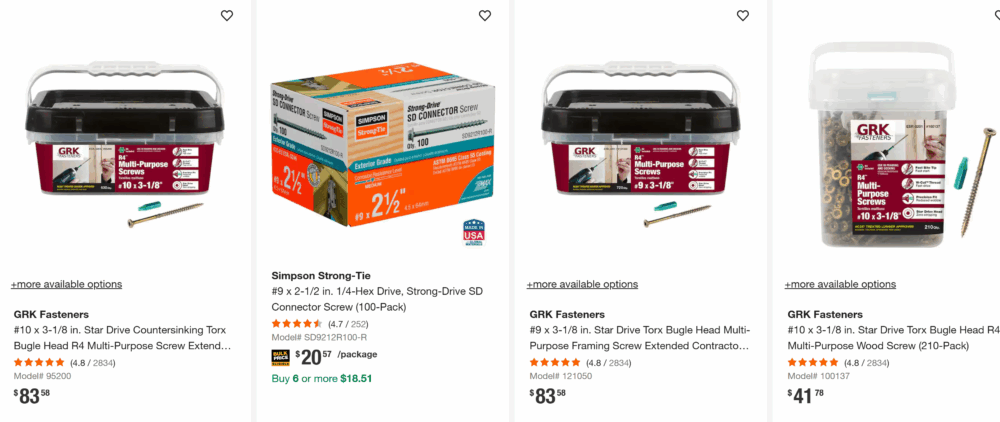
Next, I moved on to material sourcing and prep. I made a trip to Home Depot to purchase assembly materials, including stainless steel fasteners, outdoor wood screws (Image 2), high-strength bolts, and additional weatherproof brackets for reinforcement should I find them necessary.
 I also plan on purchasing a waterproof wood sealant for the finishing stages. These steps felt like real momentum because it marked the transition from design and prep into physical assembly. Following this, I began the initial assembly phase. I laid out the skis for the backrest, aligning them by height and width, and began attaching them to the horizontal support frame. Getting consistent spacing between the skis was not easy, given their varying shapes and widths, but I tried to use spacers to maintain uniform gaps. The backrest is hopefully going to come together as a visually striking piece which shows the unique colors and logos of each ski which gives the chair a distinct personality.
At this stage, there’s still a lot of work ahead. The next immediate task is to complete the full assembly of the chair frame. This includes attaching the seat skis, securing the leg structure, and reinforcing stress points with (maybe) extra brackets and possibly welded joints. Once assembly is complete, I plan to do some light sanding on the ski edges if I have time, where cuts caused roughness or splintering. I want to keep the character of the skis intact but remove any sharp or uneven edges that could cause injury or make the chair uncomfortable.
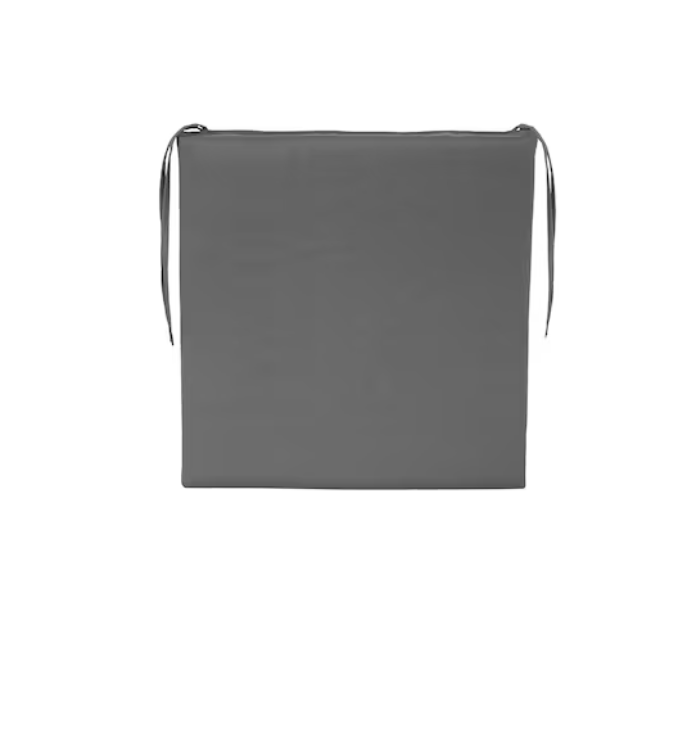
After assembly, one of the most important steps will be weatherproofing the entire chair. Right now, I am keeping the chair in my garage, but I would like to be able to keep it outside with no consequences. I may apply a UV-resistant, waterproof sealant over both the skis and any wood or metal components to protect against sun damage, moisture, and temperature changes. I’m debating whether to use a satin or glossy finish—satin would preserve the worn, vintage look, while glossy could enhance the colors and logos. Either way, I think waterproofing is essential for both aesthetics and durability. If time permits, I may add outdoor cushions (Image 3) to increase comfort and contrast against the hard ski surfaces. I’m considering using weatherproof canvas fabric in earthy tones to complement the rustic, mountaincore aesthetic of the chair. If I include outdoor cushions, I am thinking of just adding a seat and no back to make sure the skis are completely visible.
I’ve faced some challenges in material handling and assembly alignment, but I think the project is progressing well. The cut skis are prepped, materials acquired, and assembly is underway. The coming weeks will involve final construction, finishing touches, and protective treatments.
Works Cited:
Image 1 and Featured Image: Sliding Compound Miter Saw found in the Idea Forge, 2025: Intro to Woodworking – Saws and Drills Tickets, Multiple Dates | Eventbrite
Image 2: Some of the Screws I Purchased from Home Depot, 2025: Exterior – Wood Screws – The Home Depot
Image 3: Potential Addition of Outdoor Cushions, 2025: Outdoor Cushions – Patio Chair Cushions – Homedepot.ca
1 Comment. Leave new
Hi Luke,
It sounds like you’re progressing well with your project. I really like your idea of using a seat cushion and no back, as well as using a UV-resistant varnish. It seems like most of the ski chairs I’ve seen are typically pretty cracked and weathered, and a few layers of PU varnish might’ve helped them to last a bit longer. It was also pretty cool to hear how you cut the skis – I had never considered how difficult that could be with all of the layers of fiberglass, aluminum, wood and resin. The only things I might recommend adding could be using either a semi-gloss or gloss varnish to help make the skis look new for as long as possible, and maybe adding two old binding toe pieces as a cupholder. Great work, I look forward to seeing your finished product.