
INSPIRATION:
I personally love designing, it’s a skill of mine that I’ve been honing for years. I’ve always wanted to work on a lot of fashion projects and I’ve never designed or made a hat in my life, so I decided to challenge myself into making one. The type of hat I specifically chose to make is a bucket hat. This is because I wanted to make one that fits perfectly around my head and face shape.
BACKGROUND:
WHAT IS A BUCKET HAT:
Is a hat with a narrow, downward-sloping brim. Typically, the hat is made from heavy-duty cotton fabric such as denim or canvas. It first originated as a fisherman’s hat in the early 1900’s then adopted as a high fashion item in the 1960’s.
PARTS OF A BUCKET HAT:

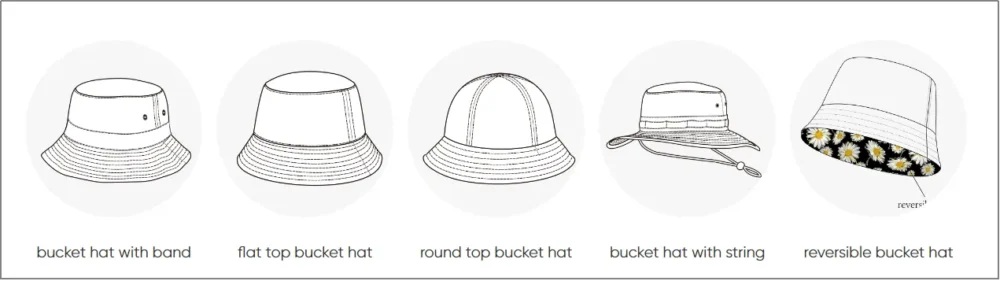
TYPES OF A BUCKET HAT:
THE PROBLEM:
I love bucket hats and I think that they serve a functional purpose with my everyday activities, but most of my bucket hats don’t look good on me, its either they’re too tall or too wide on me. One concern is that the brim is too long to the point where my eyes are covered. Another concern is that most crowns are too tall for my head which is why the brim goes down below my eye level.
THE GOAL:
My goal is to design a bucket hat whose brim is above eye level with an angle that still covers my eyes from the sun as well as getting a good height for my crown to perfectly fit my head.
THE DESIGN:
- I decided to go for a round top bucket hat for this project as the round top compliments my face shape well. As stated above, I wanted this to be a hat that I can wear on an everyday basis, so its important for me to select a form that suits me the most.
THE AESTHETIC:
- Denim & Beige – One side would be blue-wash denim, a laid-back yet classic material I love to wear, while the other would be beige. For the beige side, I’m considering either nylon for a sleek, lightweight feel or beige-colored denim to maintain a cohesive look.
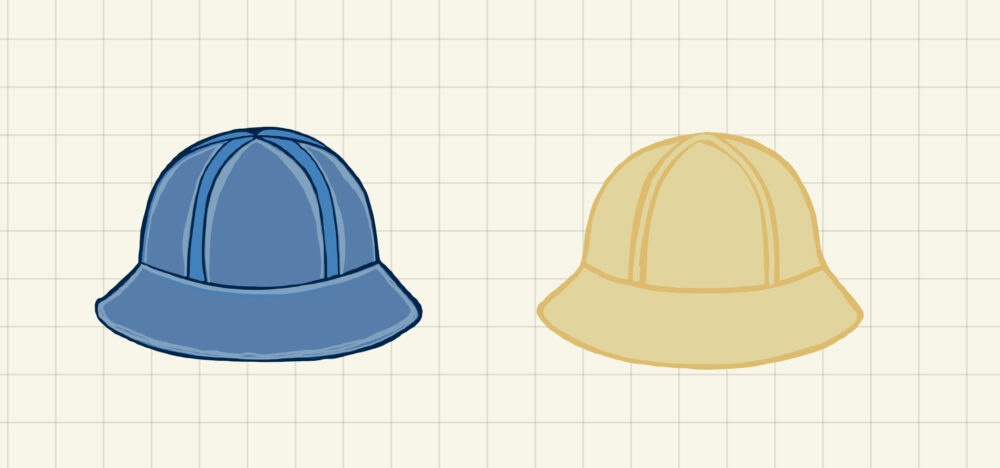
Figure 3: Denim and Beige design
- Black Leather & Army Green / Black Nylon & Velvet – One variation of this design features black leather on one side for an edgy, polished look, while the other side is army green nylon, giving it a rugged, utilitarian feel. My other idea within this color scheme is to use black nylon on one side and army green velvet on the other. The black nylon would add a sporty, durable quality, while the velvet would bring in a rich texture and a touch of elegance. Both fabric combinations would be easy to stitch together and offer a nice contrast in texture and style.
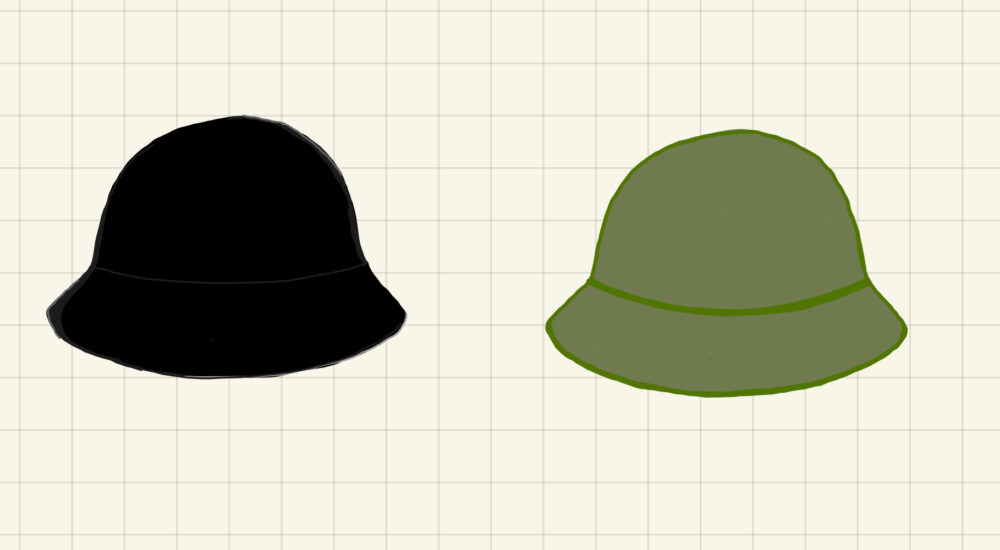
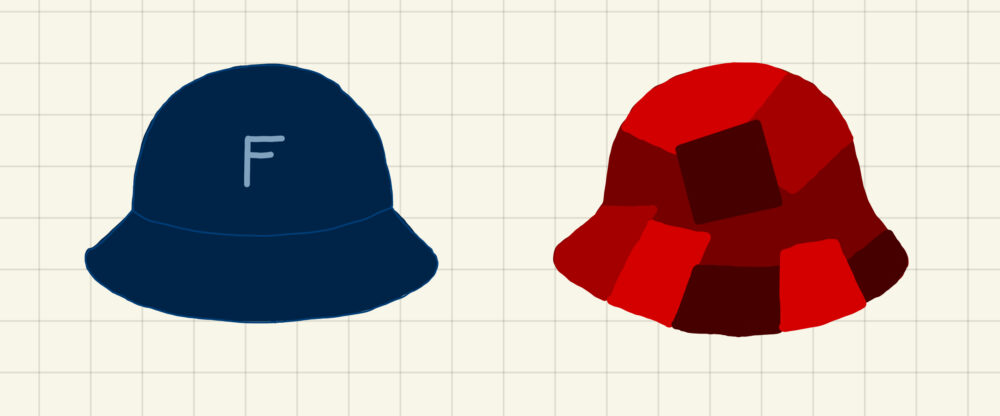
Figure 4: Black and Green design - Red Patchwork & Navy Blue – This design would feature a patchwork of various red shades on one side, creating a unique, handcrafted aesthetic, while the other side would be a deep navy blue, similar to the classic Ralph Lauren shade.
THE FABRICATION PROCESS:
FABRIC
- Thrift my Beige, Navy, and Army Green fabric and Leather from Art Parts.
- Thrift clothes from Goodwill that uses the same material.
- Using old jeans that i’m not wearing anymore.
MEASUREMENTS
- Measure circumference of my head = 22 inches
- Measure height of desired crown = 5 inches (measured right above my eyebrows)
- Measure height of brim = 3 inches
PATTERN
- Divide the patterns into 3 parts
- A – Top Crown, B – Side Crown, C – Brim
- Draw using desired measurement
OPTIONAL
- Grab tiny accesories for the denim design if needed
SCHEDULE:

The goal is to hopefully spend more time on making sure that the inner fabric is stitched up well so that its easier to implement the aesthetic I want.
2 Comments. Leave new
Hello! I’m back at it again with the comments. I really appreciate that you drew and provided a visual for the options you are considering. I saw that you were trying to explain these in your last post with the alternative version of the project, but this really puts it into perspective regarding the aesthetics you are aiming for. But here’s the real question: which option are you going to choose? Or are you planning to create all of them at some point? (Though I do understand that I’m late to commenting, so you may have already made a choice.) I also really like that you are using software to build out a timeline for this project and help visualize (again) how this project is progressing. Either way, I am looking forward to the final product.
Your project sounds fascinating! I love how you’re taking on the challenge of designing a bucket hat that actually fits your face shape and personal style. Your analysis of the problem is spot-on – many mass-produced bucket hats don’t account for different head shapes and heights, which is why customizing your own is such a smart approach. One question I’d like to ask is: have you considered how the weight and stiffness of your chosen materials might affect the drape of the brim? Different fabrics will hold their shape differently, which could impact whether the brim stays above your eye level as intended. Maybe exploring interfacing options or testing small swatches might help ensure your final hat maintains the perfect shape you’re aiming for.