
This week’s progress has been good in terms of planning. I spent most of my time learning to hydro dip and checking the quality of the hydrographic paper. Overall, I’m pleased with the advancements I’ve made.
Quality of the Hydrographic Paper
I assessed the quality of the hydrographic paper applied to a plastic cup, paying close attention to its drying consistency. The paper dried within 4 to 5 hours; however, using an applicator spray is essential for quicker drying and more efficient application on the desired surface, ensuring optimal results.

Image 1 : Hydrographic Paper testing on Plastic Cup
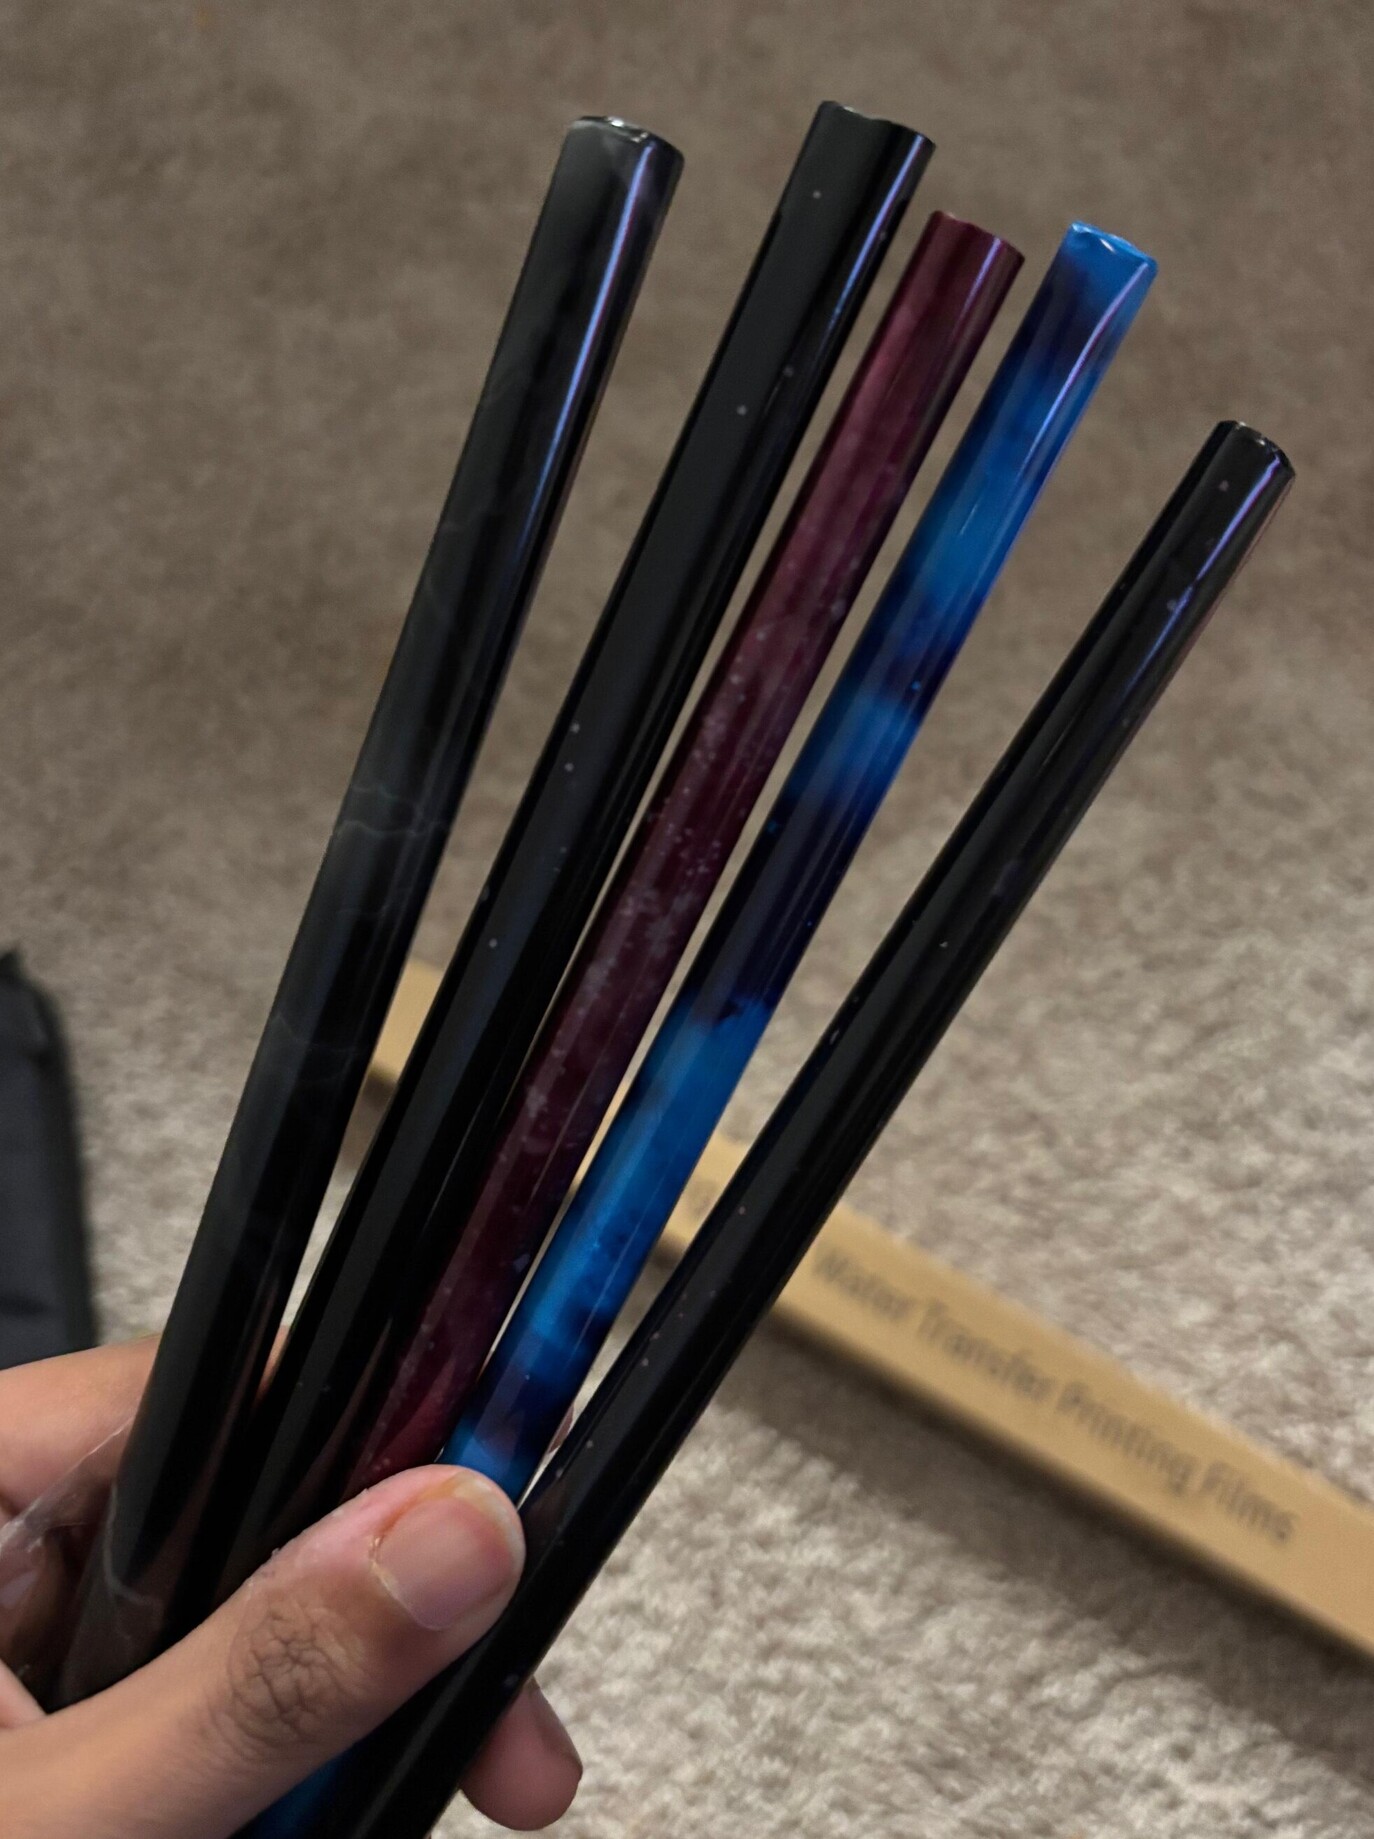
Hydrographic Paper/Films
Hydrographic Activator
Currently, I’m waiting for the activator to arrive by April 23rd. If it doesn’t arrive on time, I will have to consider an alternative solution, which involves painting directly on the keyboard keycaps. I hope the activator arrives soon to avoid any delays in my project.
Testing Functionality and Wrap-up
Once the Process is complete, I’ll have to check for testing for durability, including resistance to wear from regular use, as well as exposure to moisture, to ensure longevity and performance. After hydro-dipping, a curing time is necessary for the finish to harden properly without affecting the functionality of switches or circuit boards. The temperature during the hydro-dipping process should be carefully controlled to avoid warping or damaging the keyboard components.
2 Comments. Leave new
Hi Tammay,
Glad to see you’ve been experimenting on different materials before using the actual keycaps, I think that was a smart idea to avoid mistakes. I have a couple questions for the next steps of your project. Have you considered that the paint won’t adhere to the keycaps without some kind of scoring or sanding of their protective layer? Also, are you going to dip all the keycaps separately? I think finding some way to dip them all together would create a design that is congruent between keycaps and across the keyboard.
Hello Tanmay,
It looks like you have made good progress on your project so far. Have you thought about how different surface materials or textures might affect the adhesion or finish quality of the hydrographic paper?