
Two weeks ago, I picked up 2 slabs of cherry wood from a lumber yard. I choose this wood because it was the most reasonably priced. but still had the quality I was looking for in terms of strength. Additionally, as I would find out, Cherrywood is the easiest to work with, so as long as I can stain it before it becomes too dark, it will be the perfect wood!
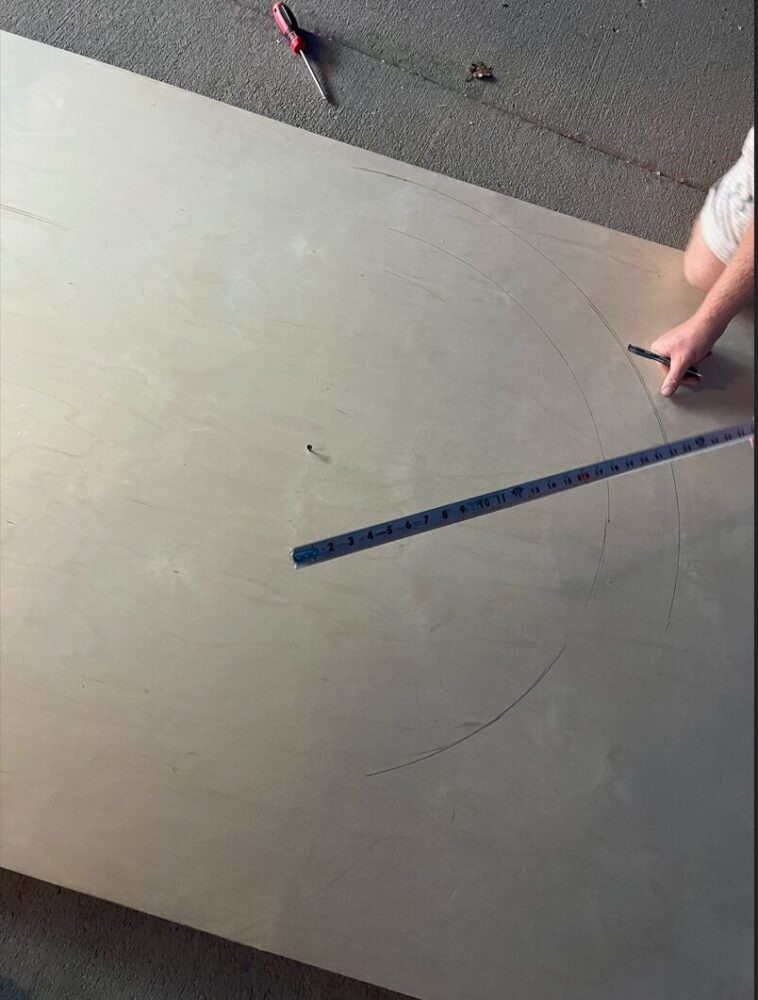
Before we got started, I had to map out the size and dimension of the wood table. As it would turn out, I unfortunately did not have enough wood to make it circular, so I had to transition to a rectangular base at the top.
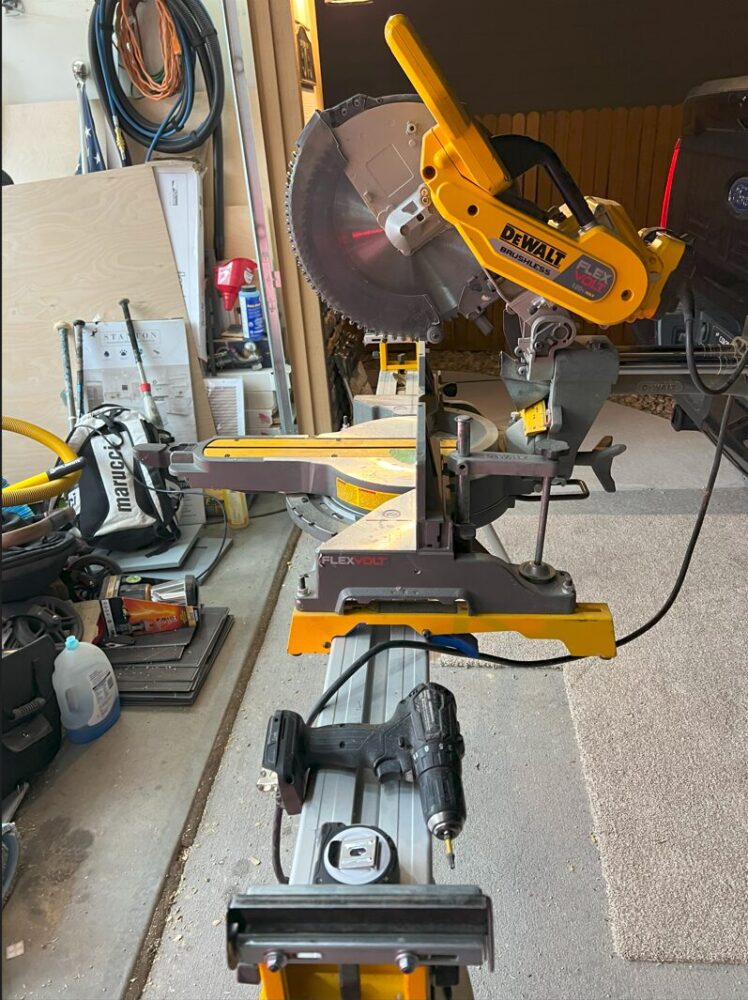
After figuring out the dimensions, I cut the top boards to length using a miter saw. The middle board is in the picture that will be seen below will appear longer as I initially thought of doing an oval instead of a rectangle.
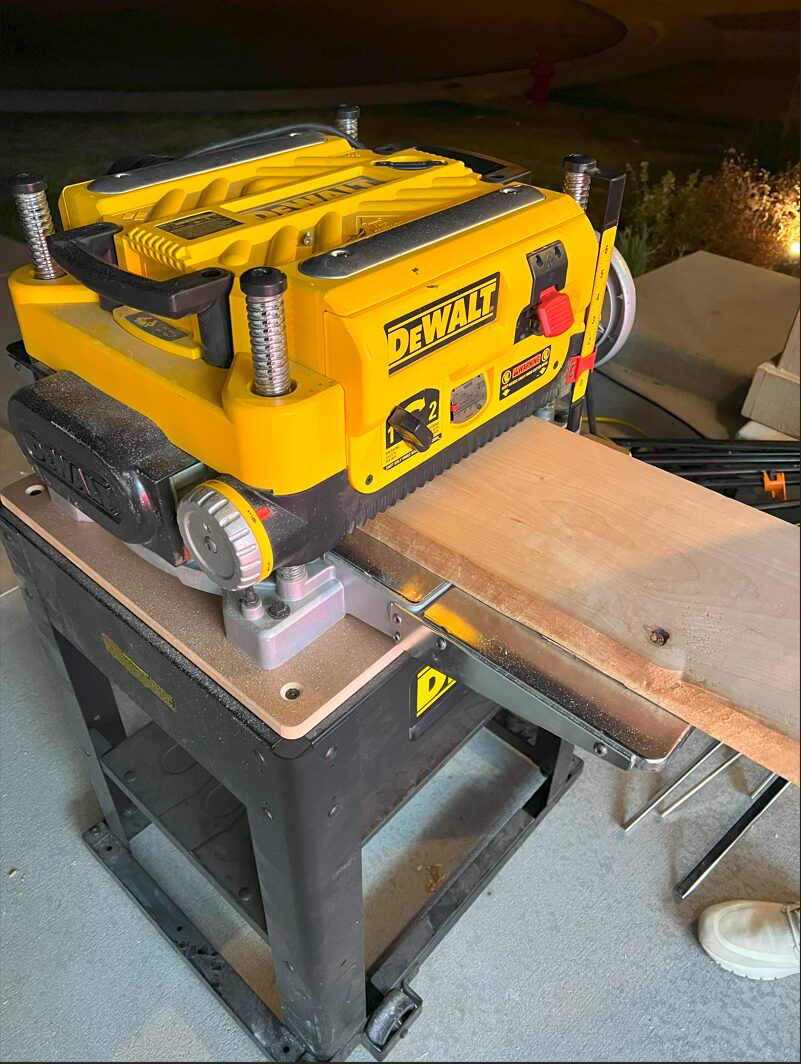
From there we ran the boards through a planar to make sure all the different boards are level. I did probably 6 total passes, flipping back n forth between each side. I believe overall, we took down a .25 of the woods thickness.
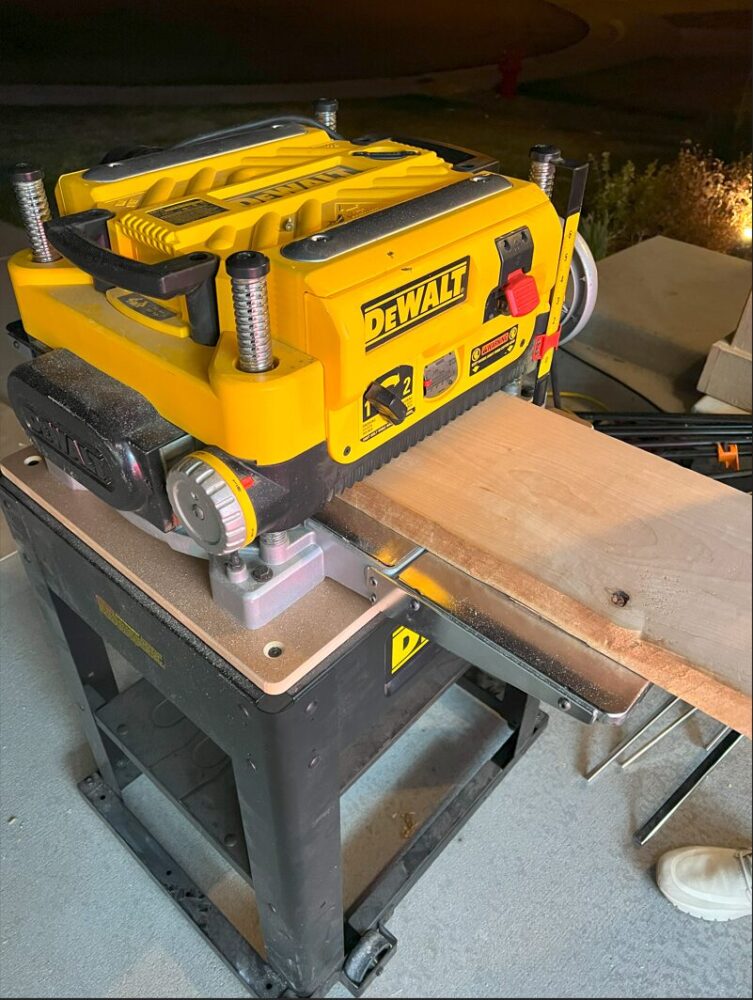
One issues that we had was some of the teeth were potentially chipped. You can see where they dug into the wood below. This overall did not affect the planning of the wood.
I 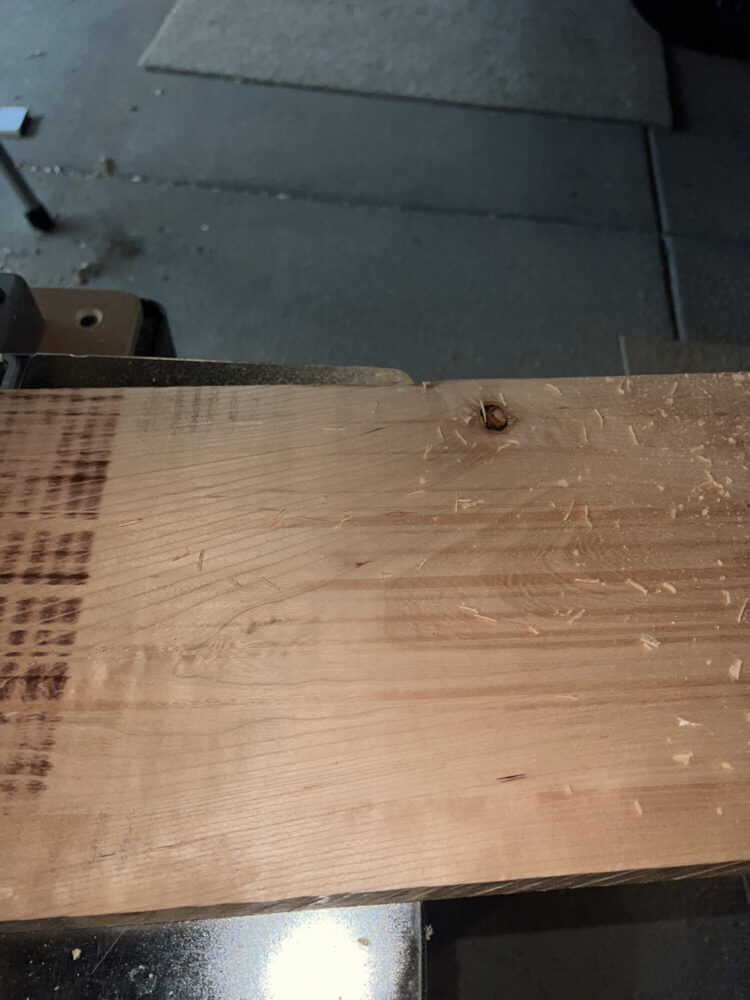
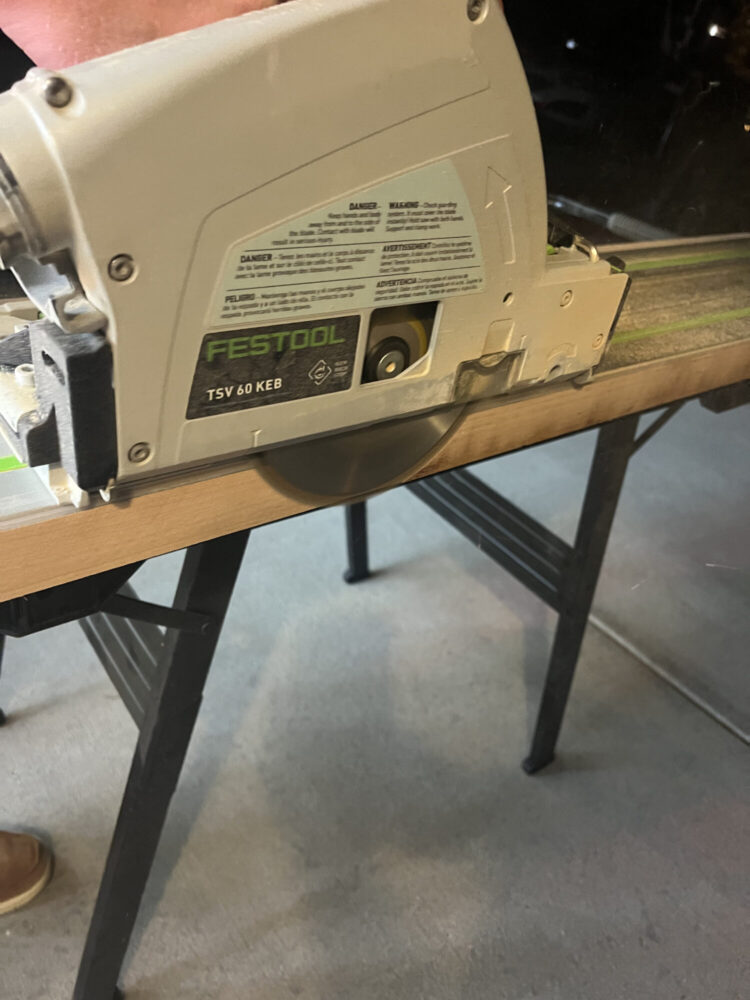
After planning the wood, we took a trac saw to both sides of the wood to make sure the wood was straight. We did several passes on both sides to ensure this was the case.
2 Comments. Leave new
Hi Matthew,
Super cool project! What color are you planning to stain the wood? And what do you mean that you need to stain it before it gets too dark?
Hi Matthew, I think your progress is coming along swimmingly, and I cant wait to see the final product. Do you have a lot more work to do this week or are you nearing completion?