
In the last couple of weeks I have been quite busy with other school and work assignments and haven’t made the progress I was hoping to make on my filter, luckily got started early so I am on track to finish in time if I get over the next few hurdles I have ahead of me.
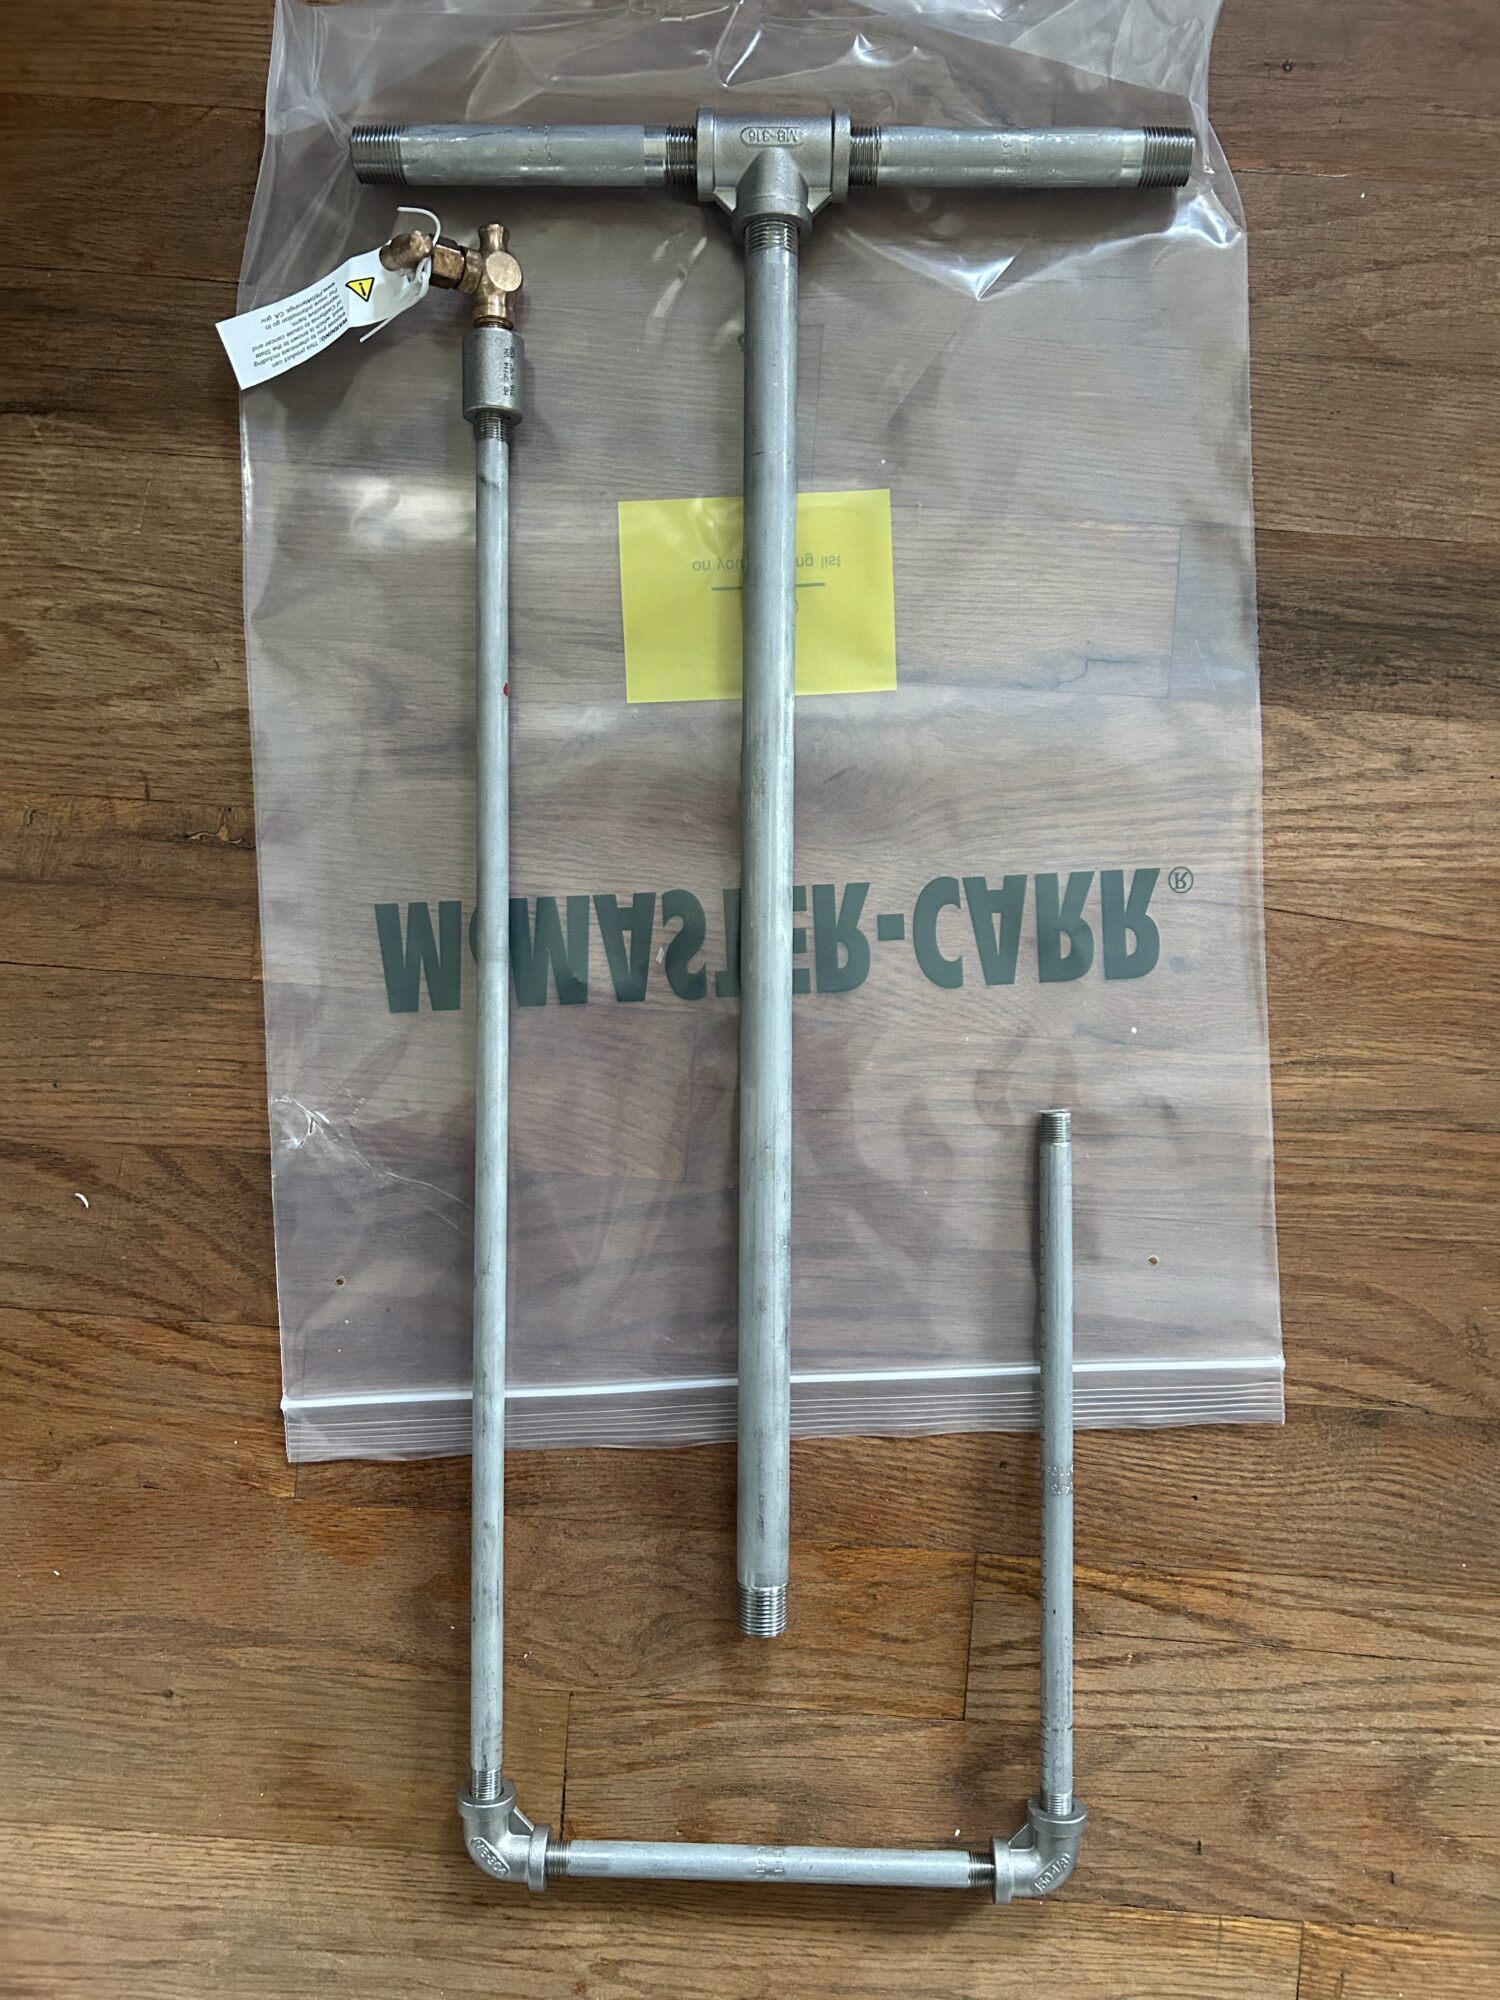
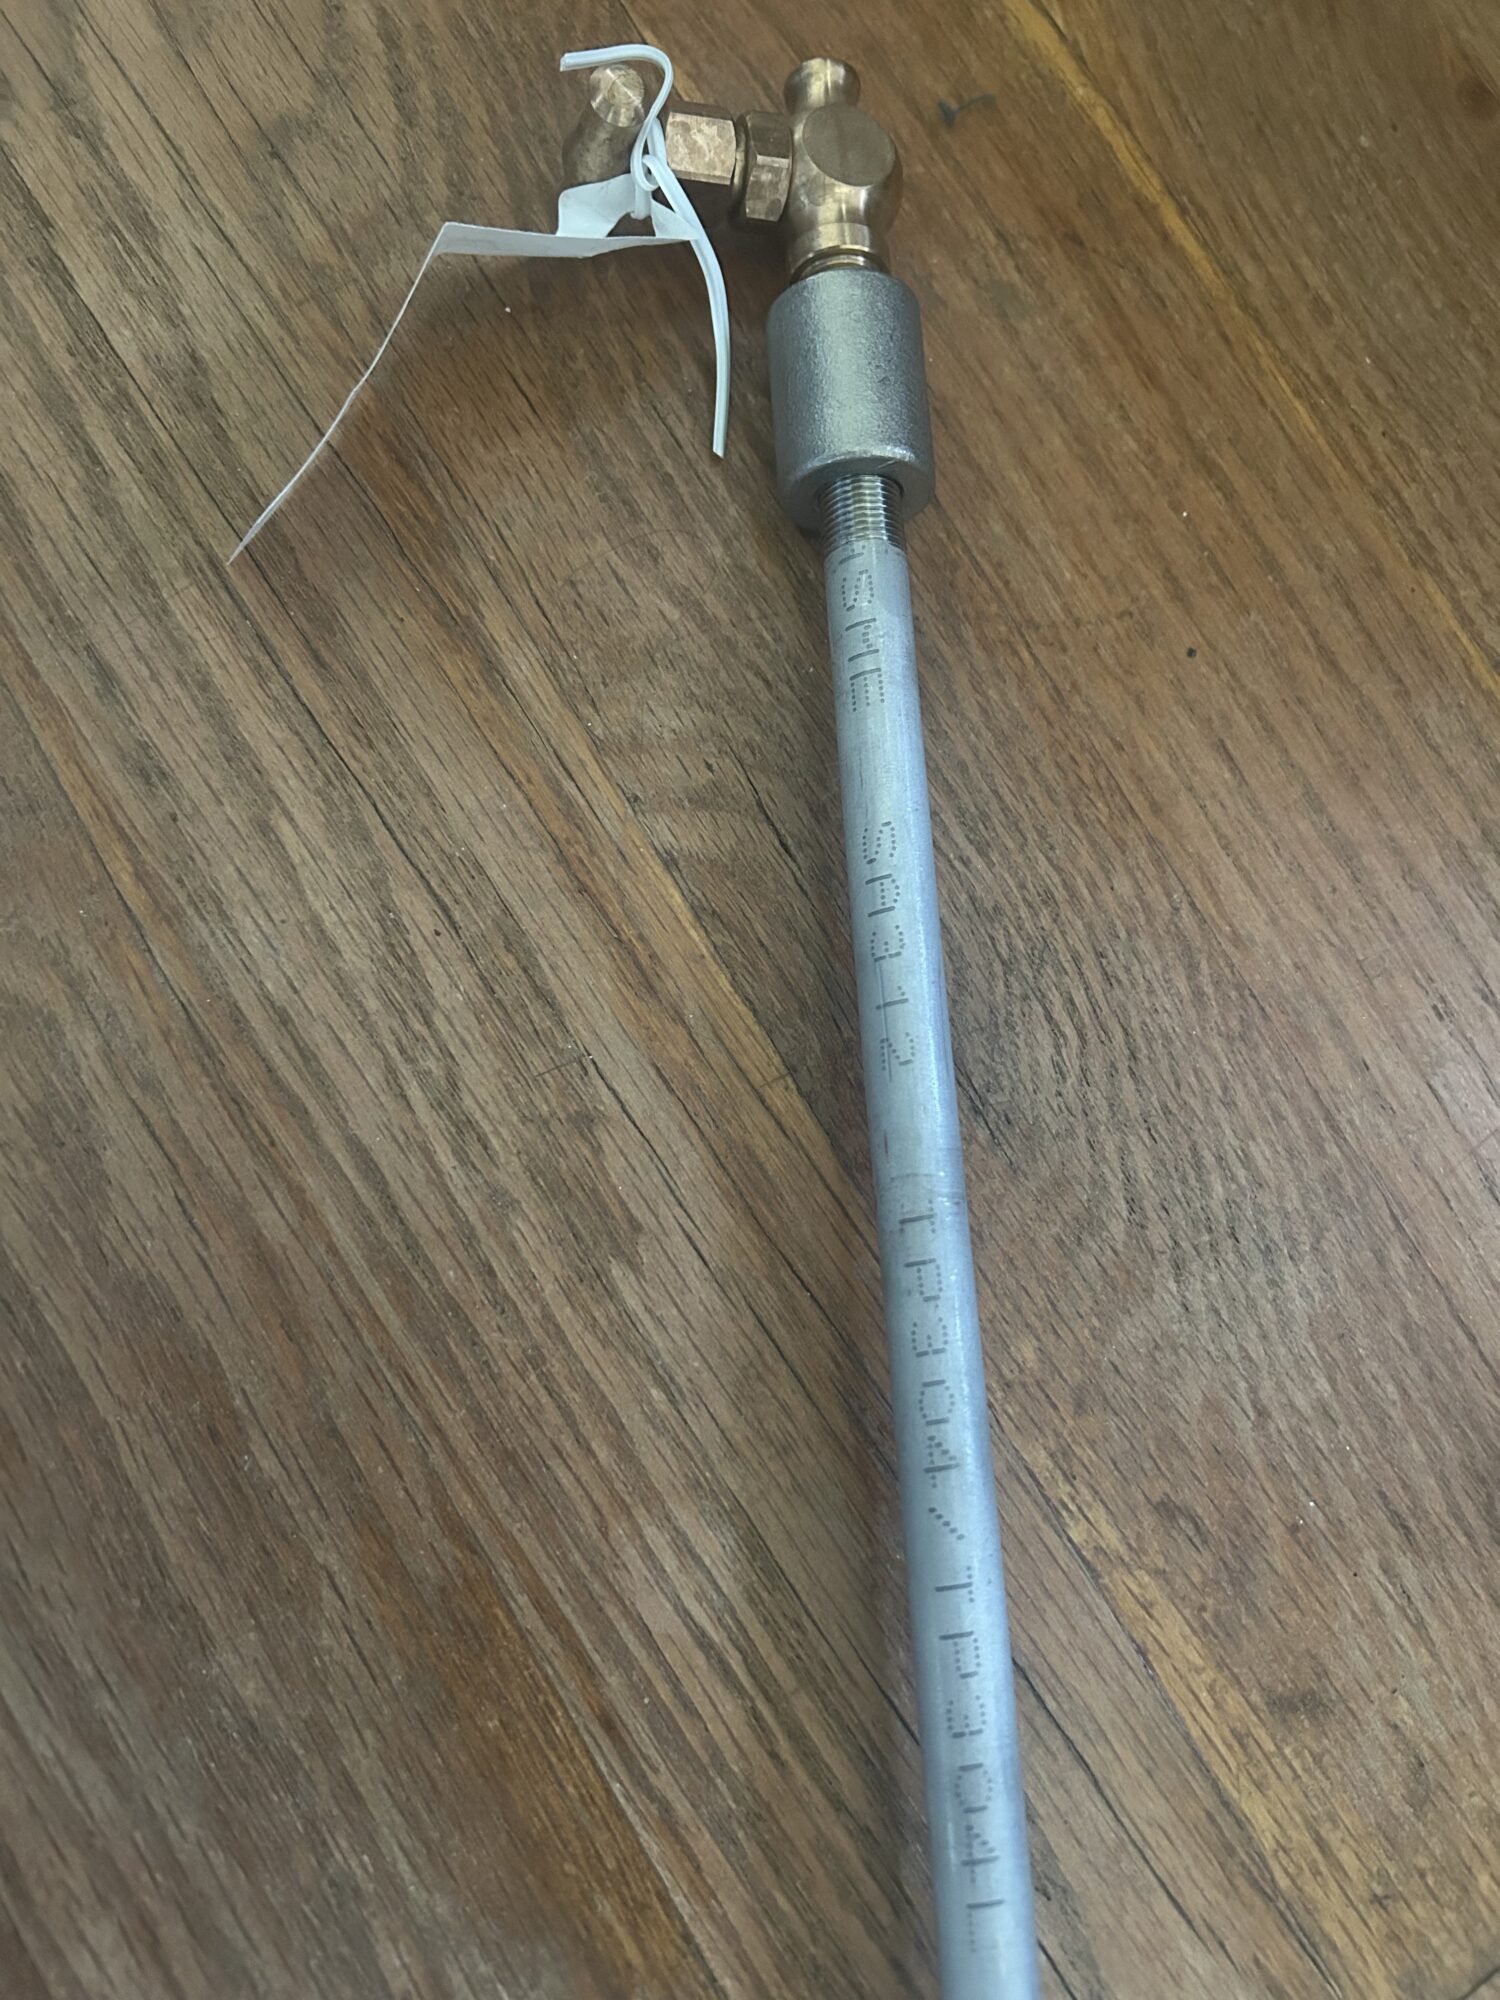
I ordered the necessary piping and a valve from McMaster Carr. It arrived very fast, and I (softly) put the pieces together to make sure everything would fit, I will tighten these pieces later when I have the other parts nearby. The pipes came with some writing on them which doesn’t fit my aesthetic and so I am considering using sandpaper to remove these details and give the pipes a rough, matt finish instead. This doesn’t seem like it would add dangerous metals to the water as stainless steel doesn’t require any coating and shouldn’t corrode after being sanded.
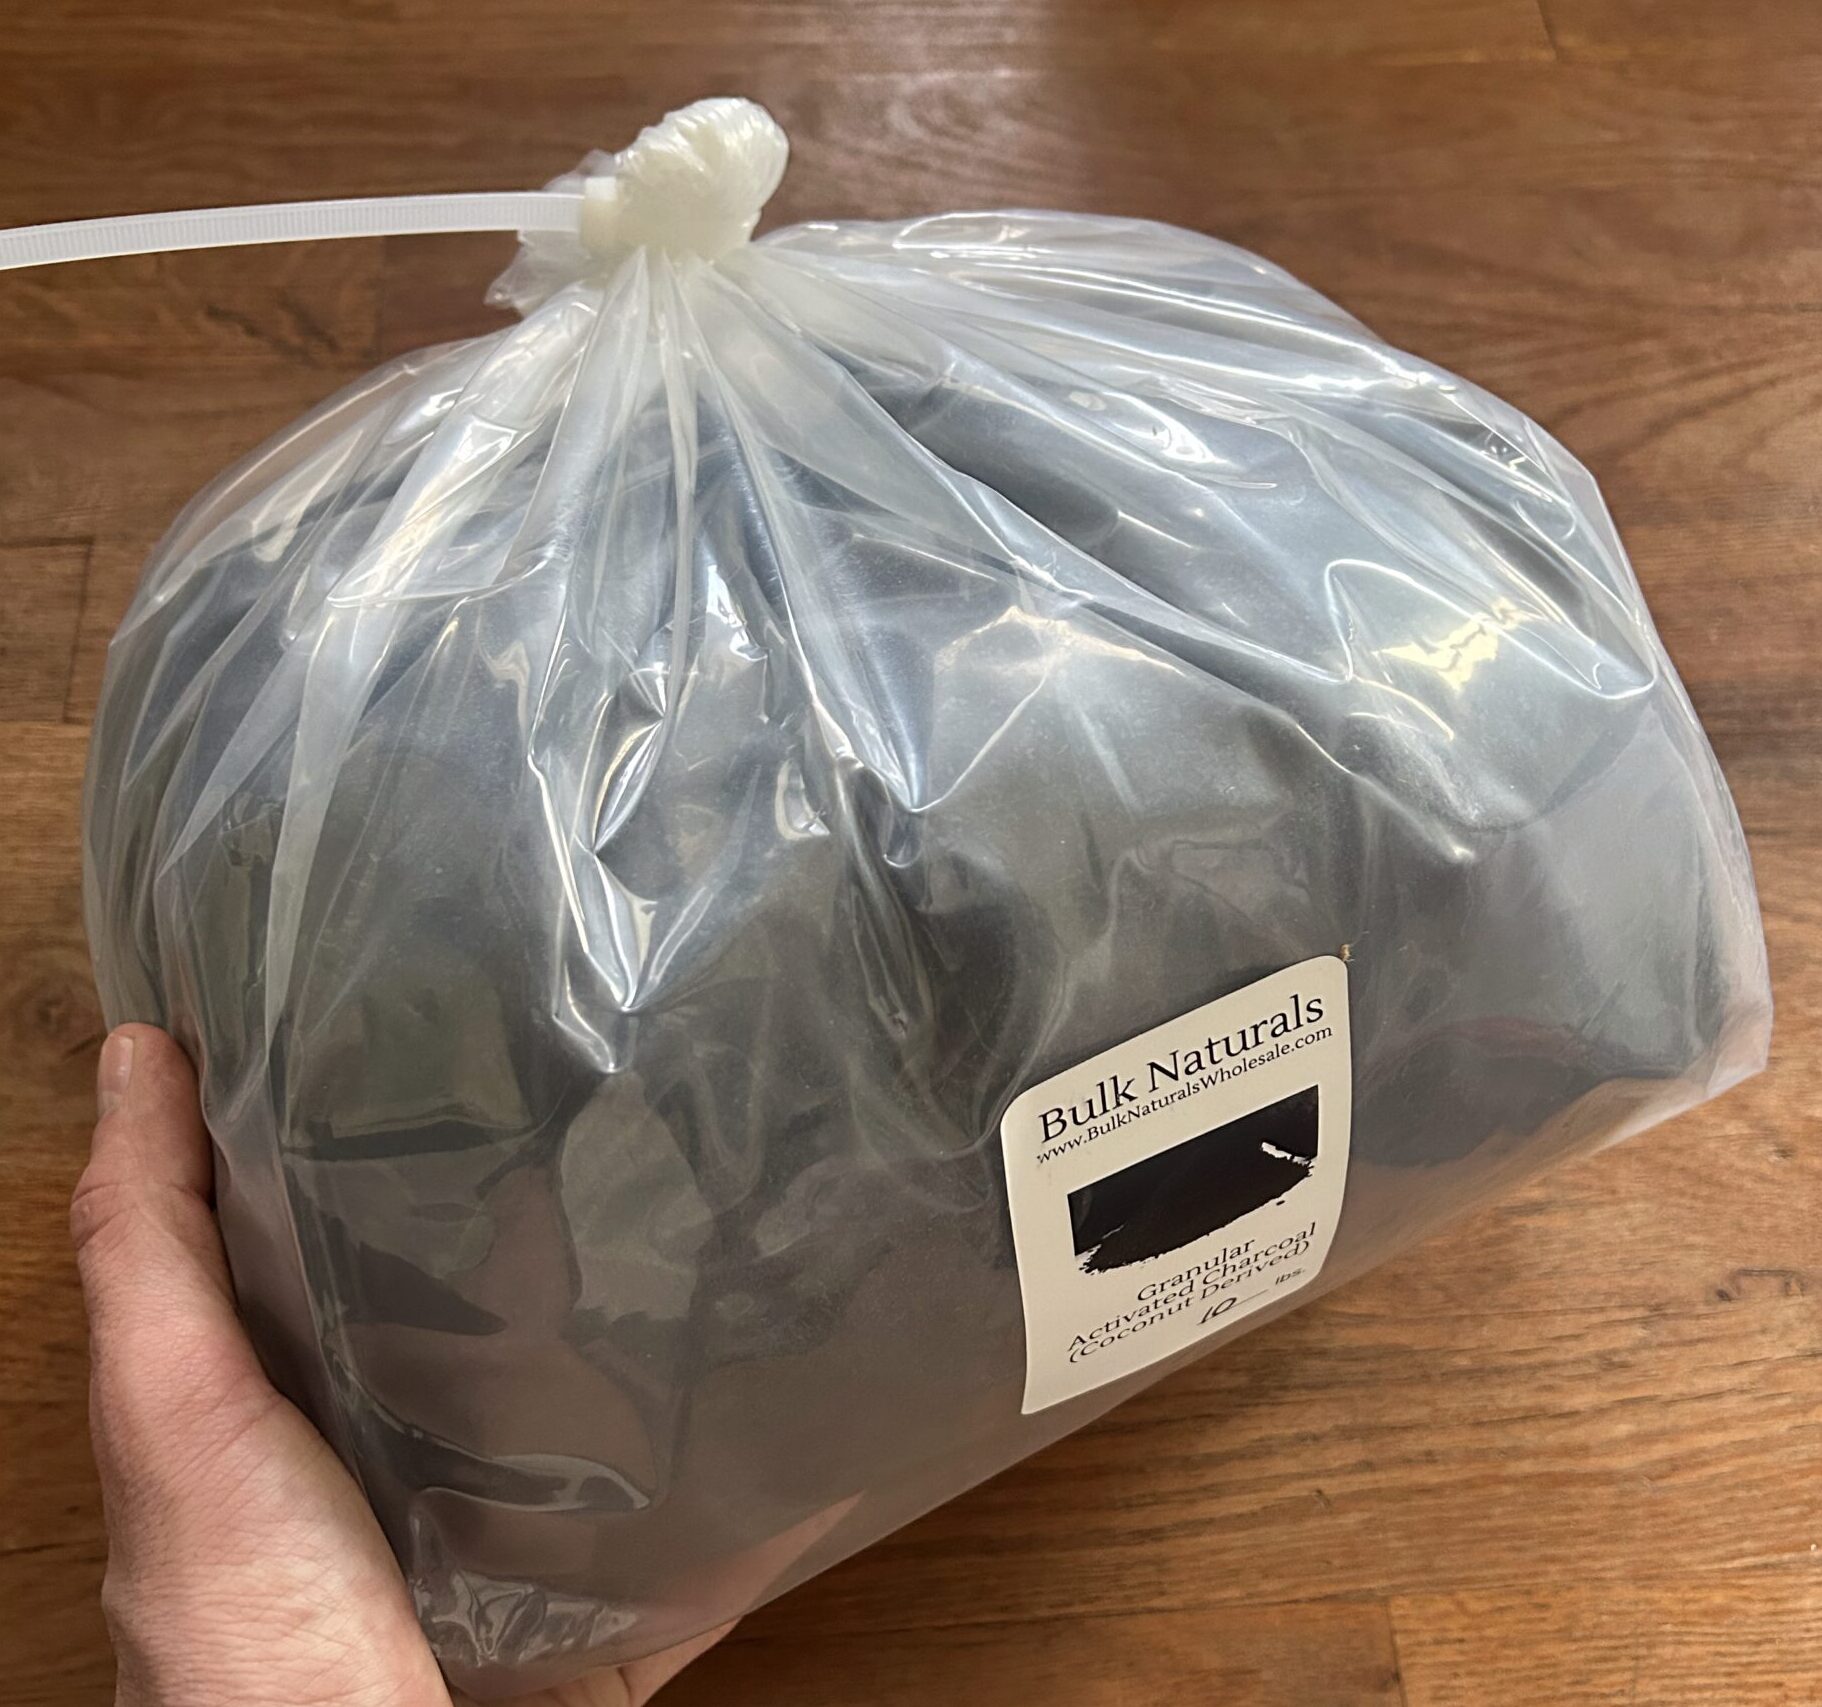
The 10 lb of activated carbon I ordered from Bulk Naturals also arrived, as seen below.
I also took a laser cutter course at the ITLL, which means I now have permission to operate their equipment. This is the first step towards making my laser cut base. In the laser cutting class, I etched a beautiful notch on a 2×2 piece of clear acrylic.

My next steps are to:
- Source and buy 5 gallon glass jug – I want to source this locally as I think I should be able to find one, possibly at the local fermentation supply store, and I don’t want to order it because it is heavy and fragile.
- Source and buy rubber stopper – Initially I planned to 3D print the connection at the top of the glass jug that holds the pipes and funnel, but my teammate suggested I use a rubber stopper, like the one shown below, and drill slightly-smaller-than-pipe-sized holes in it to create a tight, sealed fit. I will look for these locally first and then order them online if I don’t find them.
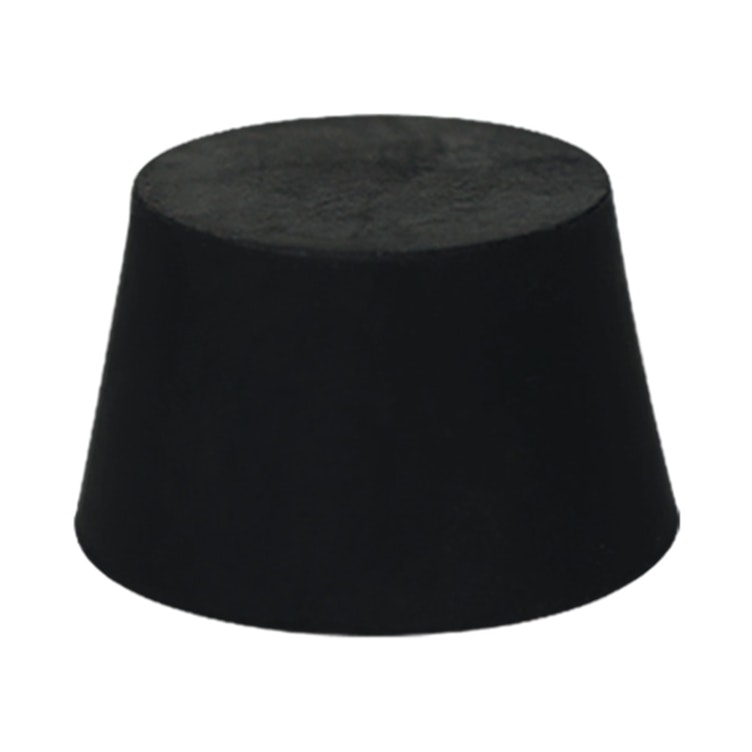
Rubber stopper example (https://www.usplastic.com/catalog/item.aspx?itemid=124582&catid=1363&clickid=popcorn) - Design and print base – I was blocked in a place of not knowing how to create curves for the design without going to the ITLL to use their computers, which is quite inconvenient for me. However, today in a breakout group I learned that I could use OnShape for free from my personal computer (using a student account) to create this design, so that’s how I’m planning on creating the base design.
- Design and print funnel – I plan to tackle this portion of my project last, as I could potentially use a store-bought funnel if I’m unable to make the onionoid art nouveau funnel that I’d really like to make.
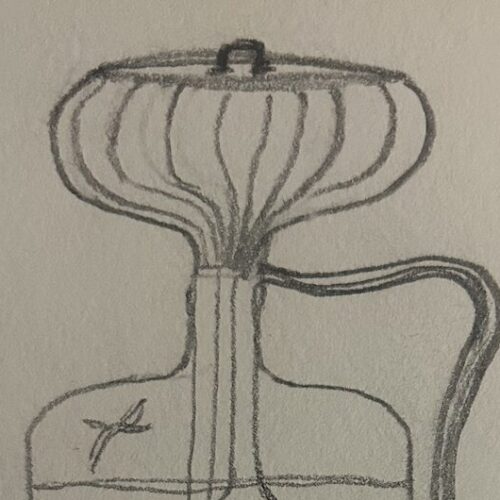
Closeup of the onionoid funnel that I would like to make
3 Comments. Leave new
Hi Jules,
This is a super interesting and unique project. cool work so far! It looks like you’re making great progress, and I look forward to seeing how it evolves. I’d be interested in getting a glimpse of your CAD model when it’s ready, just to get a better understanding of how everything fits together.
It is great to see that you have gotten most, if not all your parts. The laser-cut tile is one of my favorites. To get the writing off, you probably want to use a high grit sand paper if you want it really smooth, but if you want the pipes to look a little rough, go for a lower grit. Also, some iron wool might do the trick, too!
I agree about the sandpaper. The iron wool is a great idea to start with because it would be minimally invasive compared to sandpaper, thanks for the idea! I might also try isopropyl alcohol with the iron wool if it doesn’t work alone…