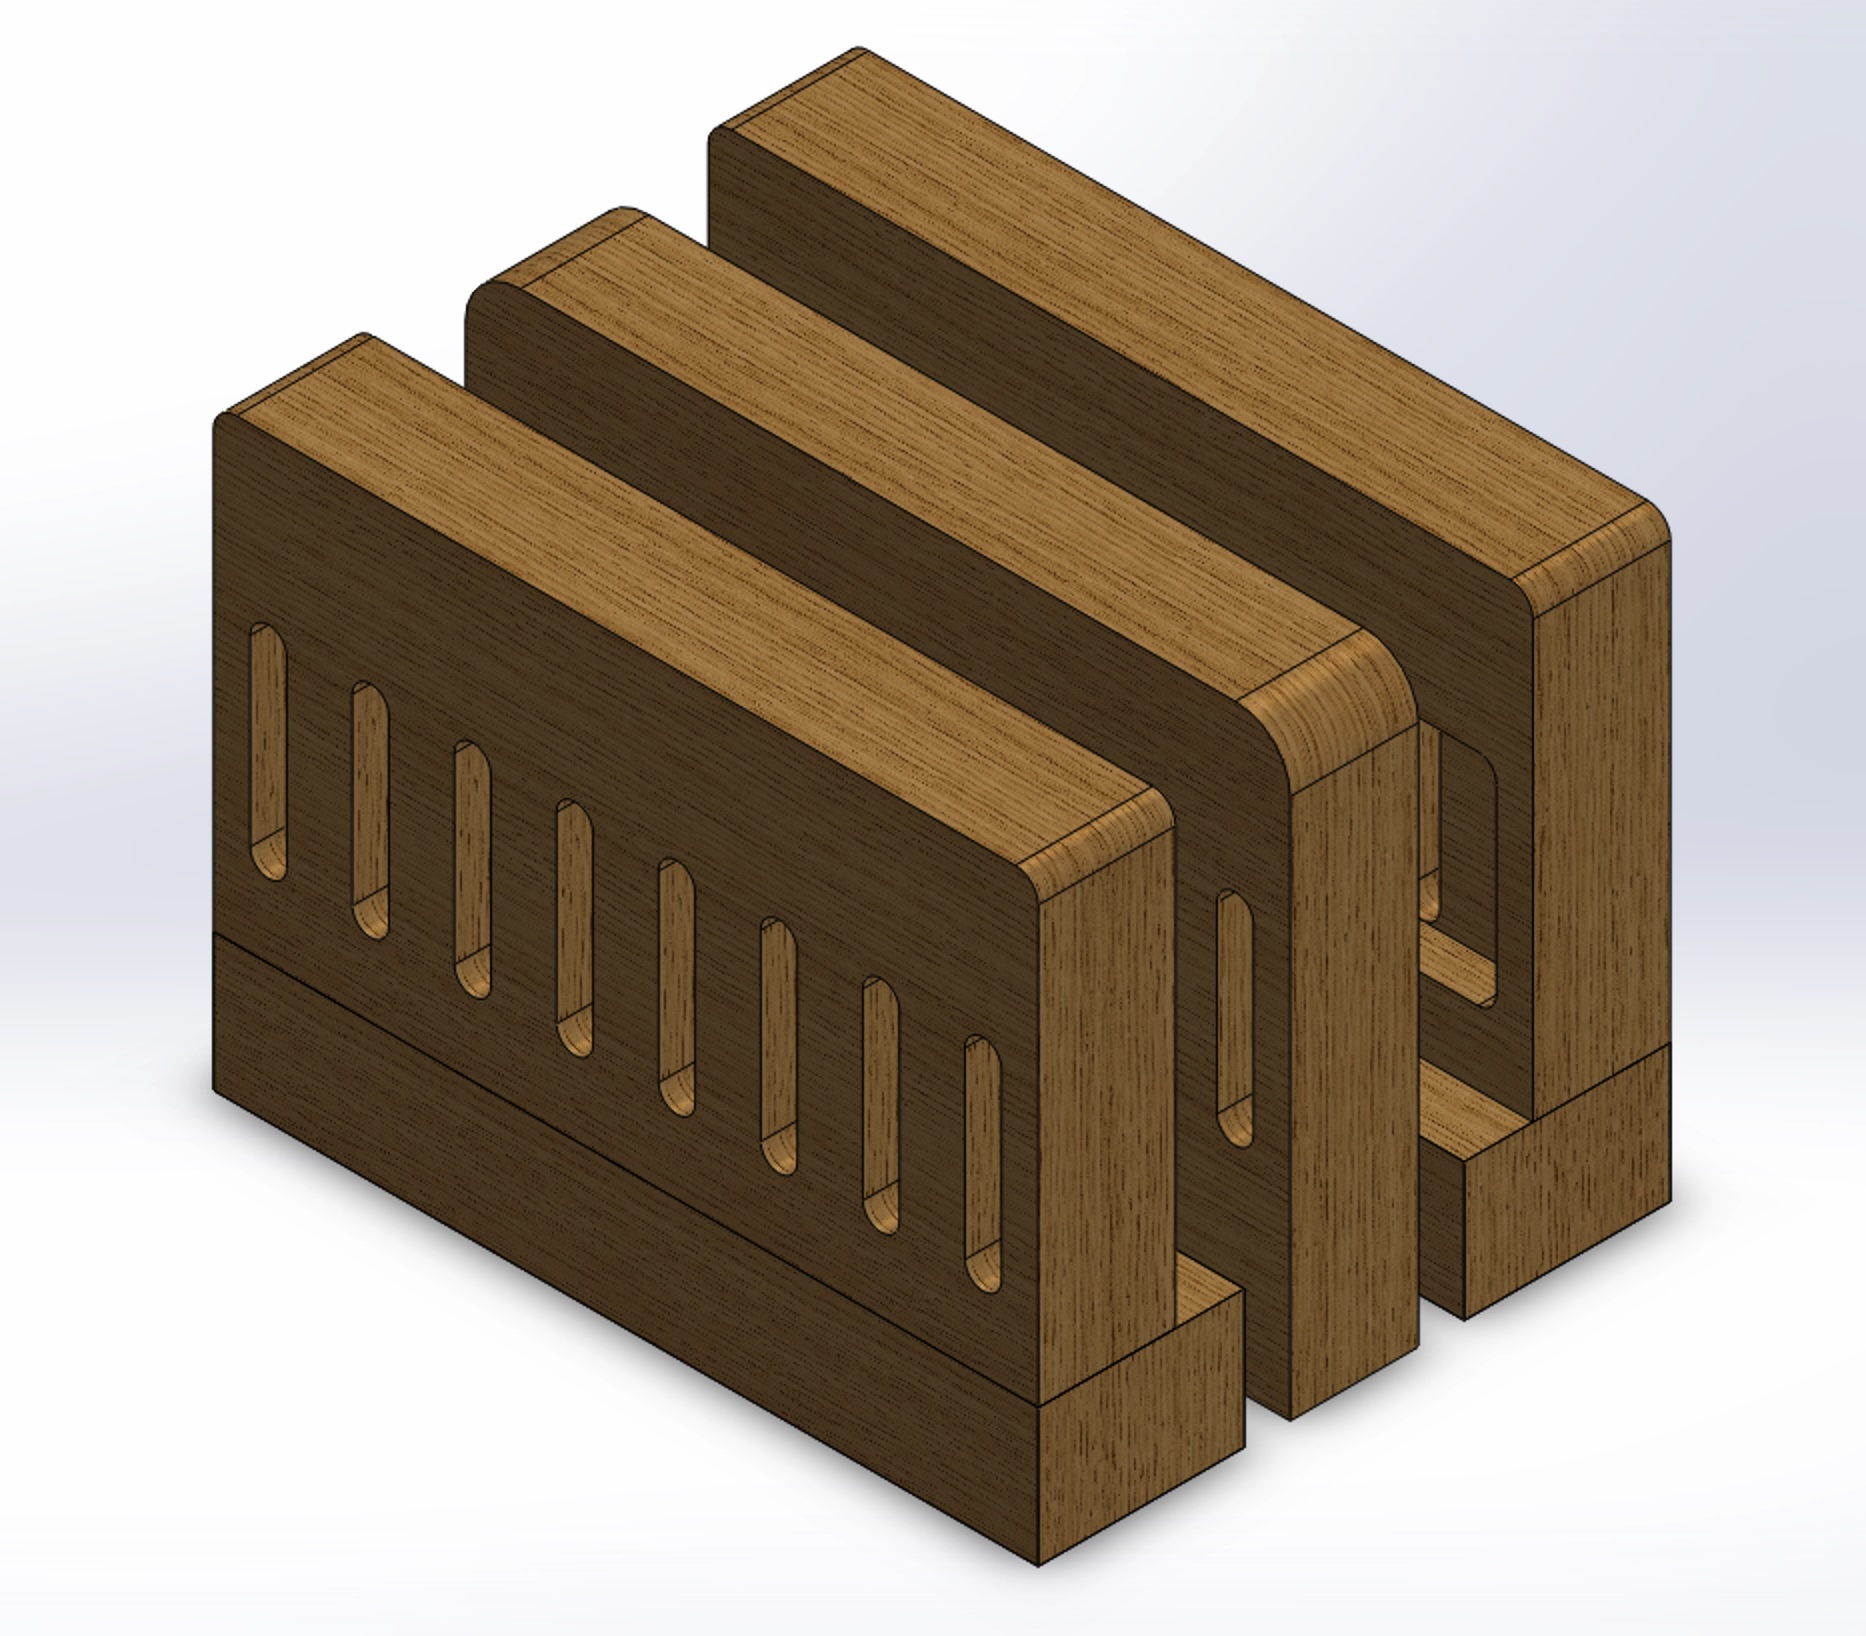
Over the last two weeks I have made quite a lot of progress on my vertical PC stand. I was able to source all my materials before the break, and I have spent most of the time iterating my design and making changes on the CAD model. When initially going to the woodshop, I noticed that the dimensions were smaller than I wanted and that some of the pieces were quite small. So I decided to go back and make all those changes to my design.

The original version of the stand looked fine in CAD, but once I started holding up the actual material and thinking about how everything would fit together in real life, I realized it needed some serious tweaking. The footprint, for example, was too narrow for a full-size PC—especially when factoring in airflow and stability. I also noticed that some of the alignment tabs were too short or thin to be reliable, so I strengthened those while I was updating the model. The overall shape hasn’t changed much, but I’ve made a lot of small refinements—adjusting thicknesses, clearances, tolerances, and slot placements—to make sure everything fits together cleanly and feels intentional.

This week I also worked with Pat to go over my designs and help him prepare the files for the router table. Since the router only accepts 2D DXF files, all the depths have to be programmed manually, which adds another layer of planning. I also made the decision to switch from using brass threaded inserts to just using wood screws. The inserts can be tricky to install cleanly and are easy to mess up, especially in plywood. Since I won’t be changing the thickness of the stand once it’s assembled, using wood screws will be more straightforward and totally fine for my use case.

Some of the design updates also involved reworking the slot and pocket geometry. In the original design, the slots went all the way through the wood, but I decided to only slot from the bottom instead. The outer face of the wood has a decent slant, and I was worried that cutting all the way through would leave the material too thin around the pocket area. Reducing the size and depth of the slots and pockets also makes machining way faster—the deeper the pocket, the more passes the router needs to make, so this change should save a lot of time during fabrication.

Looking ahead, the only component I still need to source is the felt lining for the interior. I’ve already found the perfect option online, a protective felt with a strong adhesive backing. This will help prevent any scratches or marks on the devices when they’re placed in the stand, while also giving the interior a clean, finished look.

2 Comments. Leave new

  • This looks great! I think you have a good plan going and you know what your next steps will be. I also agree that felt lining would be most suitable for your project!

  • Cooper Kramis
    April 13, 2025 10:38 pm

    Hi Clemens, this project is great! I can tell you have put a lot of work into the design planning, and I think it’s great that you have been able to iterate through your solution on CAD. This will likely save you a lot of time in the long run by avoiding having to rework the physical design. Excited to see how the rest of your implementation goes!

You must be logged in to post a comment.
Previous Post
Folds in Progress
Next Post
Progress Report