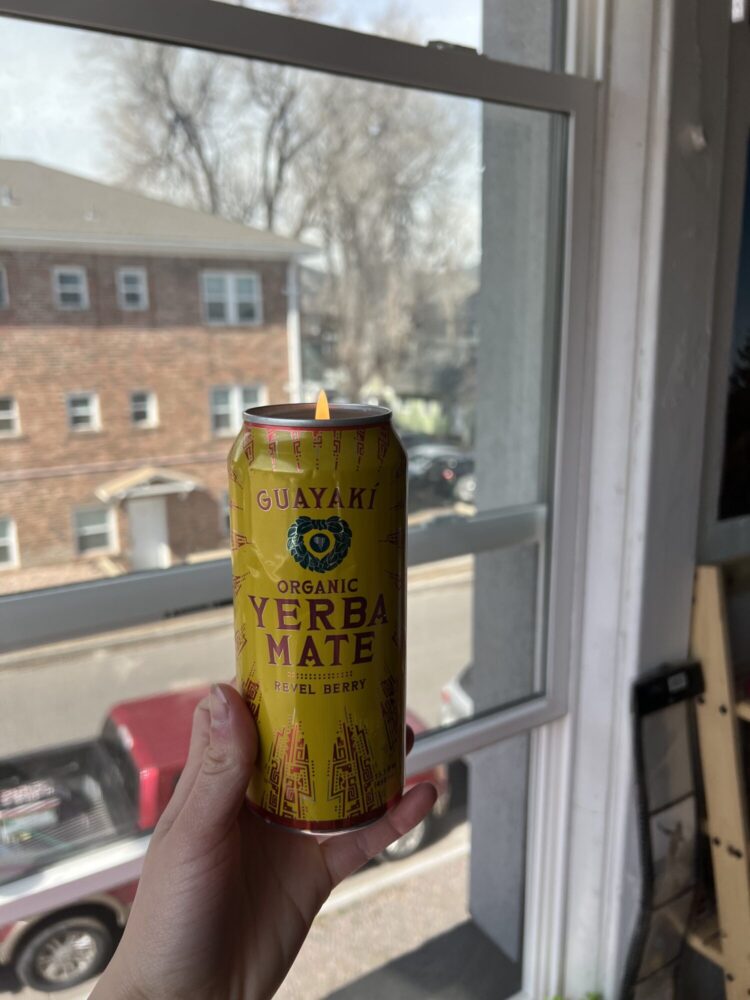
My vision for the Yerba Mate Candles was to create small, warm sources of light for my bedroom, housed in vessels that reflect my self-expression and demonstrate my care and devotion to the environment and sustainability. Being an art major, you can always count on me to collect random items that I feel could one day become part of a sculpture– whether it be old medication bottles, broken bongs, old CDs, you name it. On top of that, being an ambassador for Guayaki Yerba Mate, I am constantly introducing the beverage to my different communities, meaning I always have a surplus of empty yerba cans on deck as once more, the artist in me wouldn’t dare to throw out something with so much potential. And so, when thinking about a vessel for my small sources of light, the obvious answer is of course, to use guayaki yerba mate cans, as doing so would limit consumption as well as express who I am and what I am passionate about.
Onto the physical composition for the yerba cans, I would say that I definitely felt inspired by these bags made out of old caprisun pouches, which were made by a sustainable company called Terracycle. Growing up, my mom would always use these caprisun bags as one would use a reusable bag, and my sisters and I loved them so much because we loved caprisun, and why have a normal, boring bag, when you could have a fun and sustainable caprisun bag? This design style is very nostalgic to me as I assume it is for many in my generation, so my yerba mate candles are also paying homage to that little slice of childhood which also helps foster a safe space in my bedroom.
In considering the location of my bedroom, I definitely took inspiration from the culture of Boulder and my fellow peers. Whether we’re road tripping to California, hiking 14ers at the crack of dawn, or hitting some park laps at El Dora on a Tuesday afternoon, you can always count on a CU Boulder student to have a yerba mate on hand. Many would say that if there was a “starter pack” for a CU Boulder student, a yerba mate can would definitely be in it– along with red rocks, hiking, you get the hint. So, using yerba mate cans as my candles allows for these soft light sources to be designed in a way that naturally flows with the rest of my bedroom decor.
For my fabrication process, I began with heading to art parts, which is a local art supply store that sells second hand/gently used items. Not only does this place fit well within my broke college student budget, but it allows for me to bring my ideas to life while keeping sustainability as a main focus in my art. At art parts, I was able to find candle wicks and organic wax, which are two of the most pivotal materials for my project. Then, rather than going to the store to buy organic essential oils, I chose to look under my bed in hopes of finding some– as once more, I have a tendency to hoard items that could later be used for a creative project. Luckily, I found a bunch of gently used, lavender essential oil bottles under my bed that my mom had gifted to me with a humidifier earlier this year. And so, now that my materials have been collected, and in a sustainable manner, I am able to begin the fabrication process.
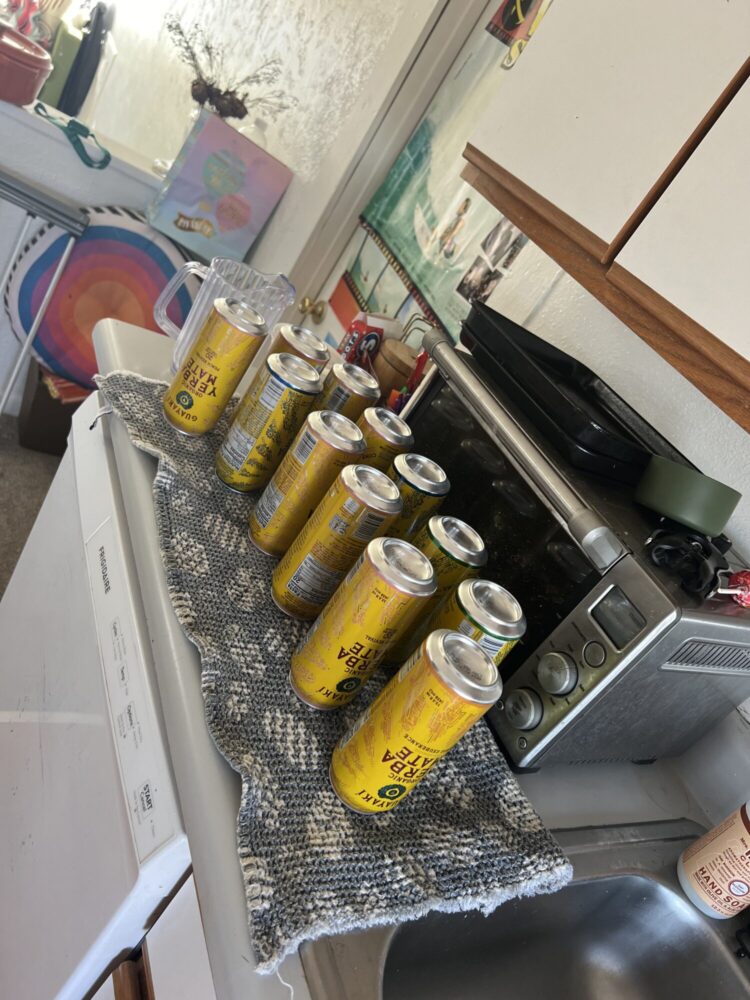
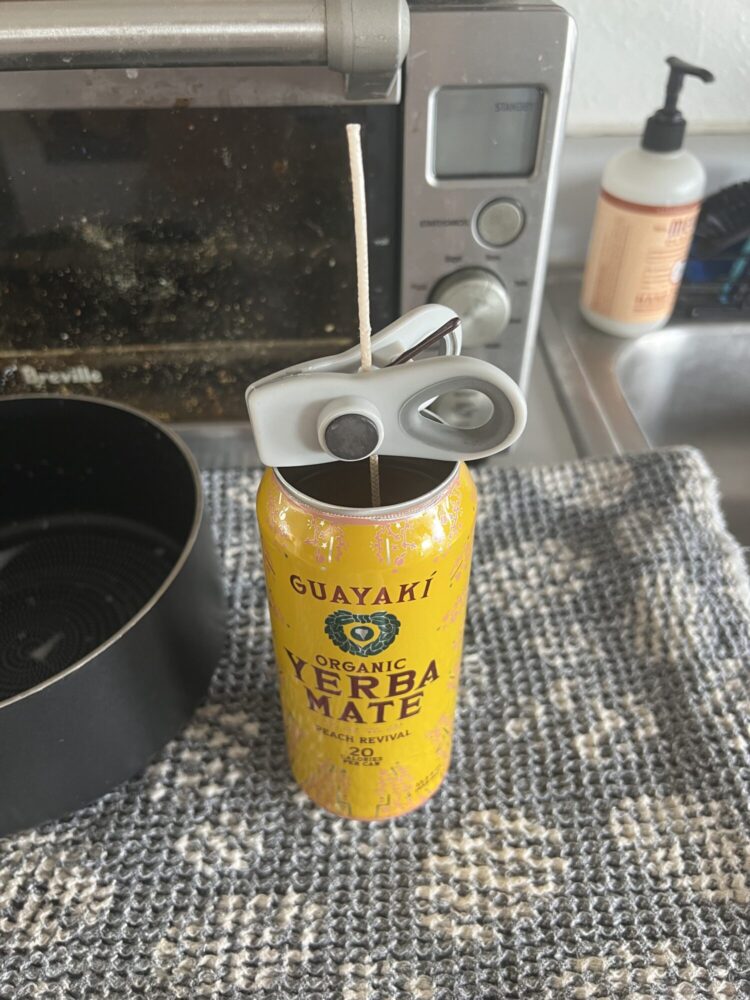
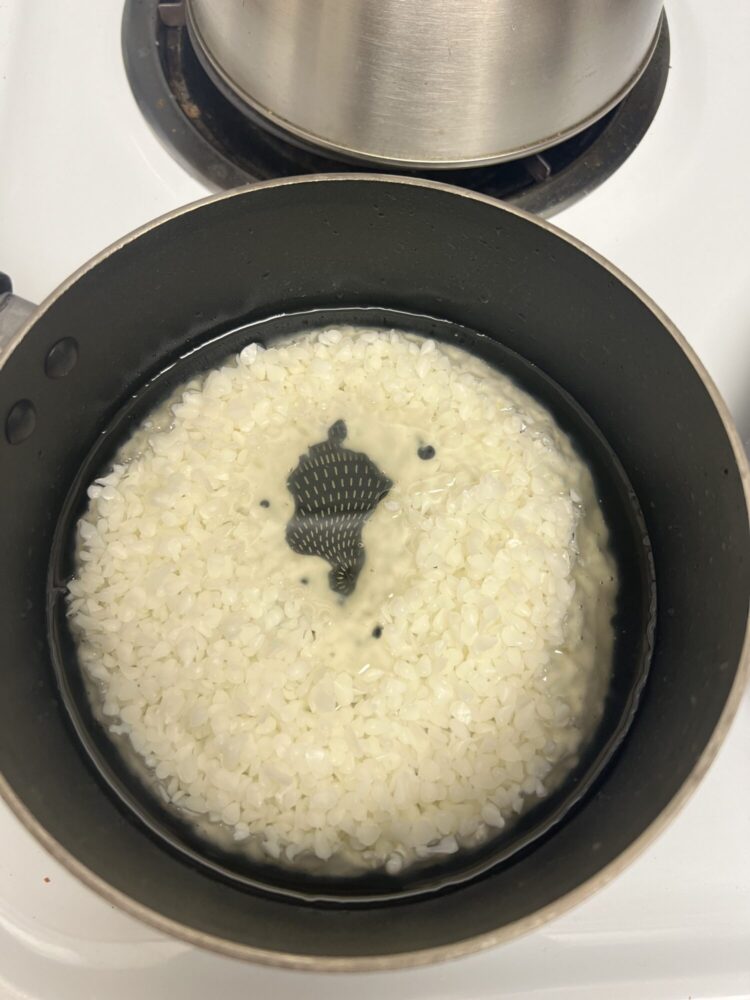
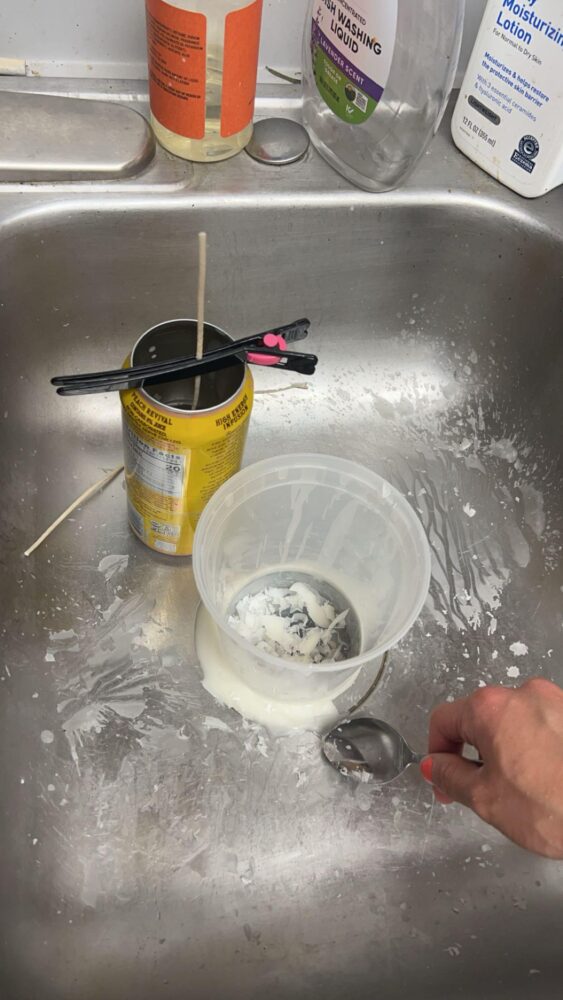
When beginning to fabricate my project, the first step ended up becoming the most difficult/time-consuming step, which was taking the lids off of the yerba mate cans using a can opener. Though it may seem like a fairly simple action, the reason it was much harder than expected was that even though I was able to take the lids of the cans relatively quickly, it was very difficult to do so in a clean, non-messy, professional manner. Each time I attempted to remove the lid from a yerba mate can, the cut was either super crooked or jagged. This frustrated me immensely, and I did not move onto the next step of the project until I had at least 10 cans with lids that looked as though they were removed and handled by a professional craftsperson. If I hadn’t figured out how long it would take to remove the lids of the cans in a clean, professional-looking way during the prototyping stage, I probably would not have been able to complete the entirety of the project by the time it was due. After, I stuck a long candle wick into each can, using some old bobby pins of mine as well as some old chip clips to keep them standing up straight so that the melted candle wax doesn’t collapse the wick. The next part of the project is melting the wax in a pot on the stove, mixing in the essential oils to add (natural/organic) fragrance to the candles, and then pouring the melted wax from the pot into a yerba mate can. Once more, though this step seems relatively straight-forward, I faced some difficulty dealing with a medium (wax) that I do not have much experience with. When I went to pour the wax into the first yerba mate can during the prototyping stage, I just took the pot right off the stove and began pouring. As soon as I began to do so, the wax began spilling on the edges of the pot and all over the kitchen counter instead of directly into the yerba mate can. This was very frustrating because the wax began to stick all over the place, making it very difficult to clean up, and then in addition to that, because so much wax had been poured onto the counter instead of inside the yerba mate can, I realized that even though I didn’t have to spend much money in purchasing these materials as they were second-hand, they had still essentially been wasted. However, there was no way of knowing how the wax would react when pouring it into the can until I actually did so, so even though it didn’t happen the way I had planned for, I was able to learn how to do better the next time I would pour the hot wax into the can. Once my prototyping stage was over, I filled each can with wax over the course of two days- leaving room for unexpected errors. I have already collected all of the materials I need, which are: the empty yerba mate cans, the candle wicks, the sticky dots to stick the candle wick inside of the can, the organic wax to melt, the organic essential oils for natural fragrance, and a thrifted pot to heat up the wax on the stove. The rest of the journey would primarily be spent on doing my best to deal with unexpected incidents that inevitably occur with using new materials and allowing them to take form as they please.
Although my fabrication process was relatively messy, I am very pleased with how my yerba mate candles turned out. The softness of the light that the candles give out function exactly how I intended, and if I were to have used synthetic or led lights, I don’t think it would be able to give off the same natural, organic effect that I was going for. On top of that, the form and final design of my yerba mate candles blend so fluidly with the rest of my bedroom decor. It almost gives my room a more wholesome feel– probably as a result of associating my yerba candle inspiration with the terracycle caprisun bags from my childhood. It also gives my room a more grounded energy, which is fostered by the earthcore/granola girl aesthetic that Guayaki yerba mate package design automatically provides. My favorite part about these candles is that they look homemade. Being an avid artist as well as an art major, something I really appreciate in other artwork is when it has a homemade touch and feel to it– when it feels like a human made it rather than a computer. And coincidentally enough, that is a huge part of Guayaki Yerba Mate’s business model. The founders make a point to educate the public on the South American Native peoples who have been drinking mate for years, and their role in helping harvest the Guayaki Yerba Mate plant to provide a wonderful, organic energy drink accessible to those of us not able to travel to South America everytime we crave a nice glass of yerba. Hence, the execution of my yerba mate candles is also paying homage to the brand itself, and making sure every step that goes into its creation is aligned with one another, keeping sustainability a central point.