
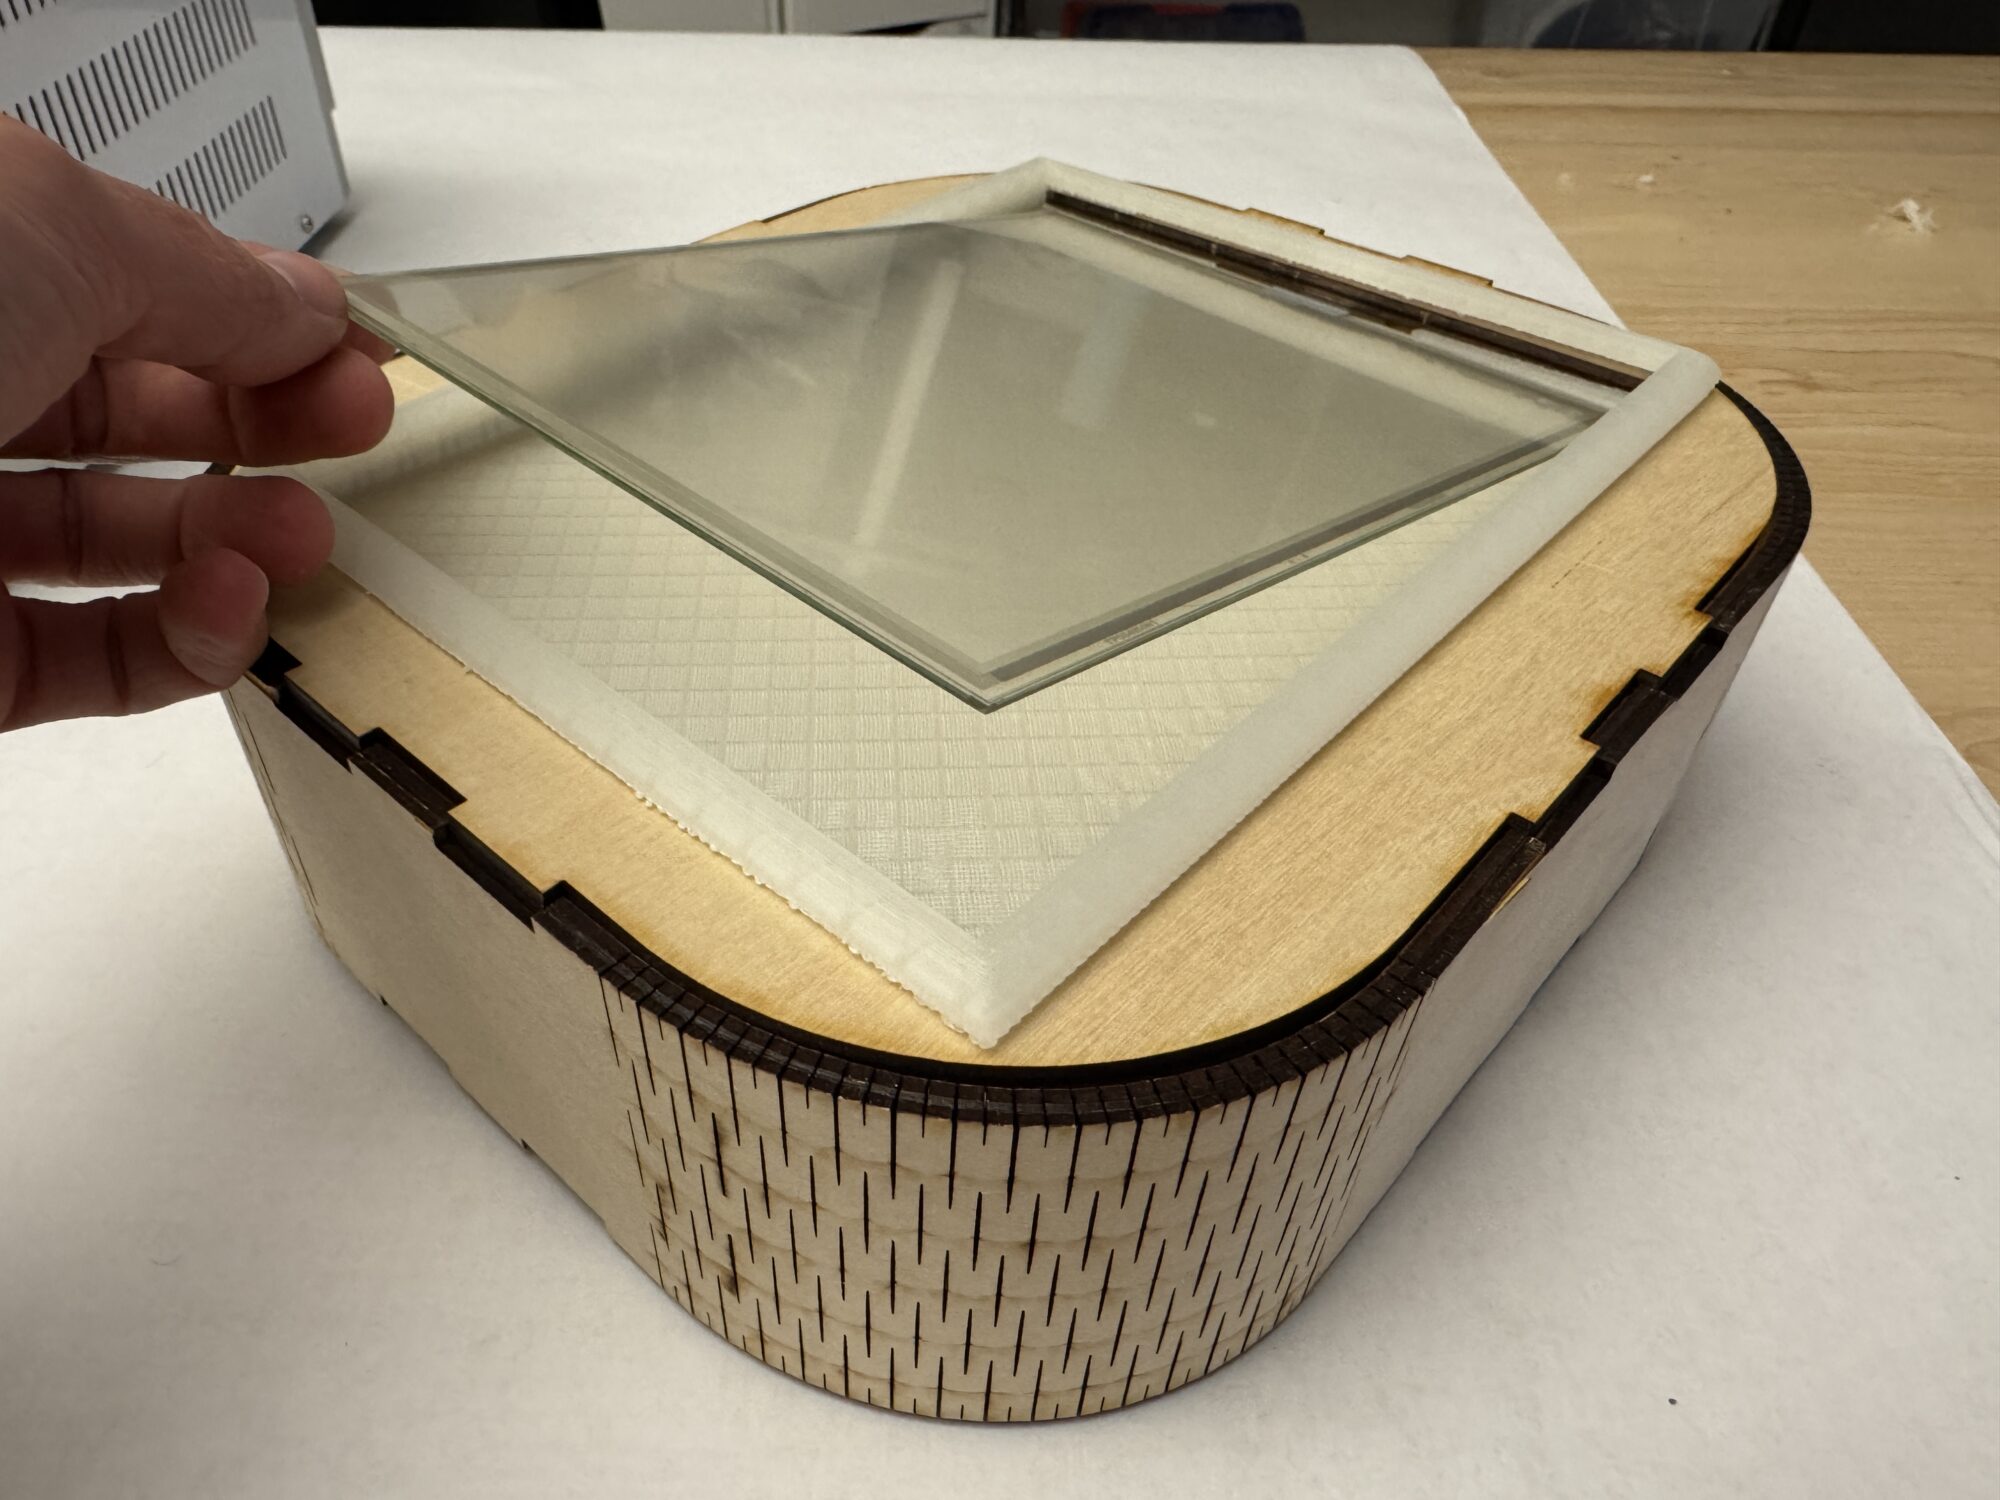
Over the last week, I’ve made significant strides in the creation of the Wöddha Board. When it comes to materials, I have all but my external power source in hand as well as all of my fabricated elements completed. This includes the laser cut housing with curved edges and a 3D printed touch screen holder (as shown below).
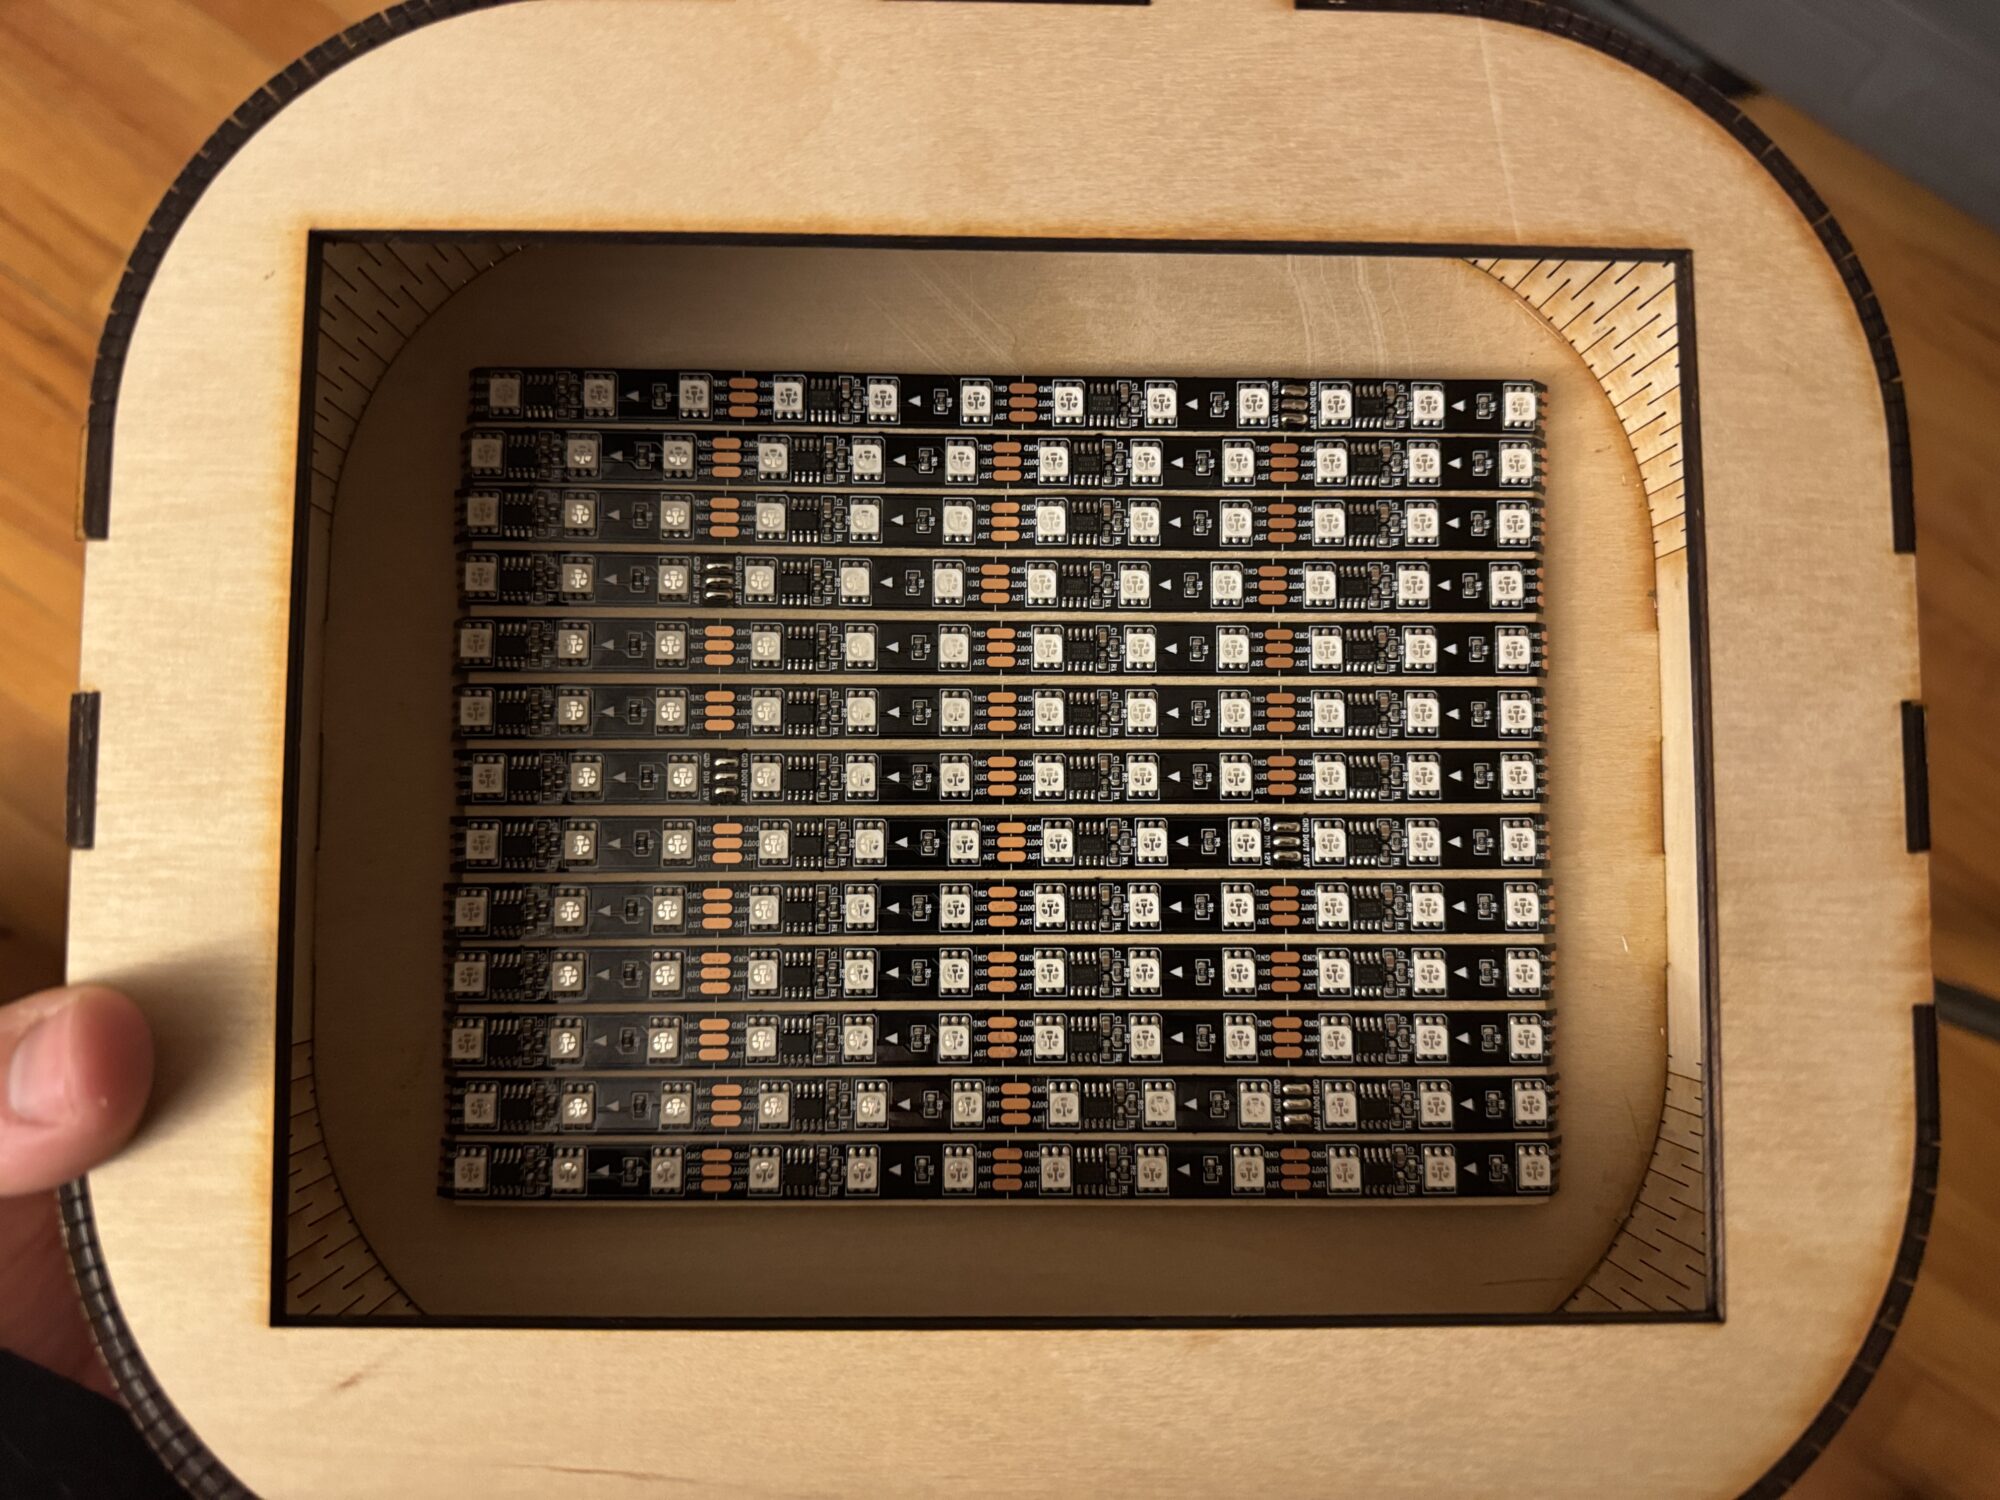
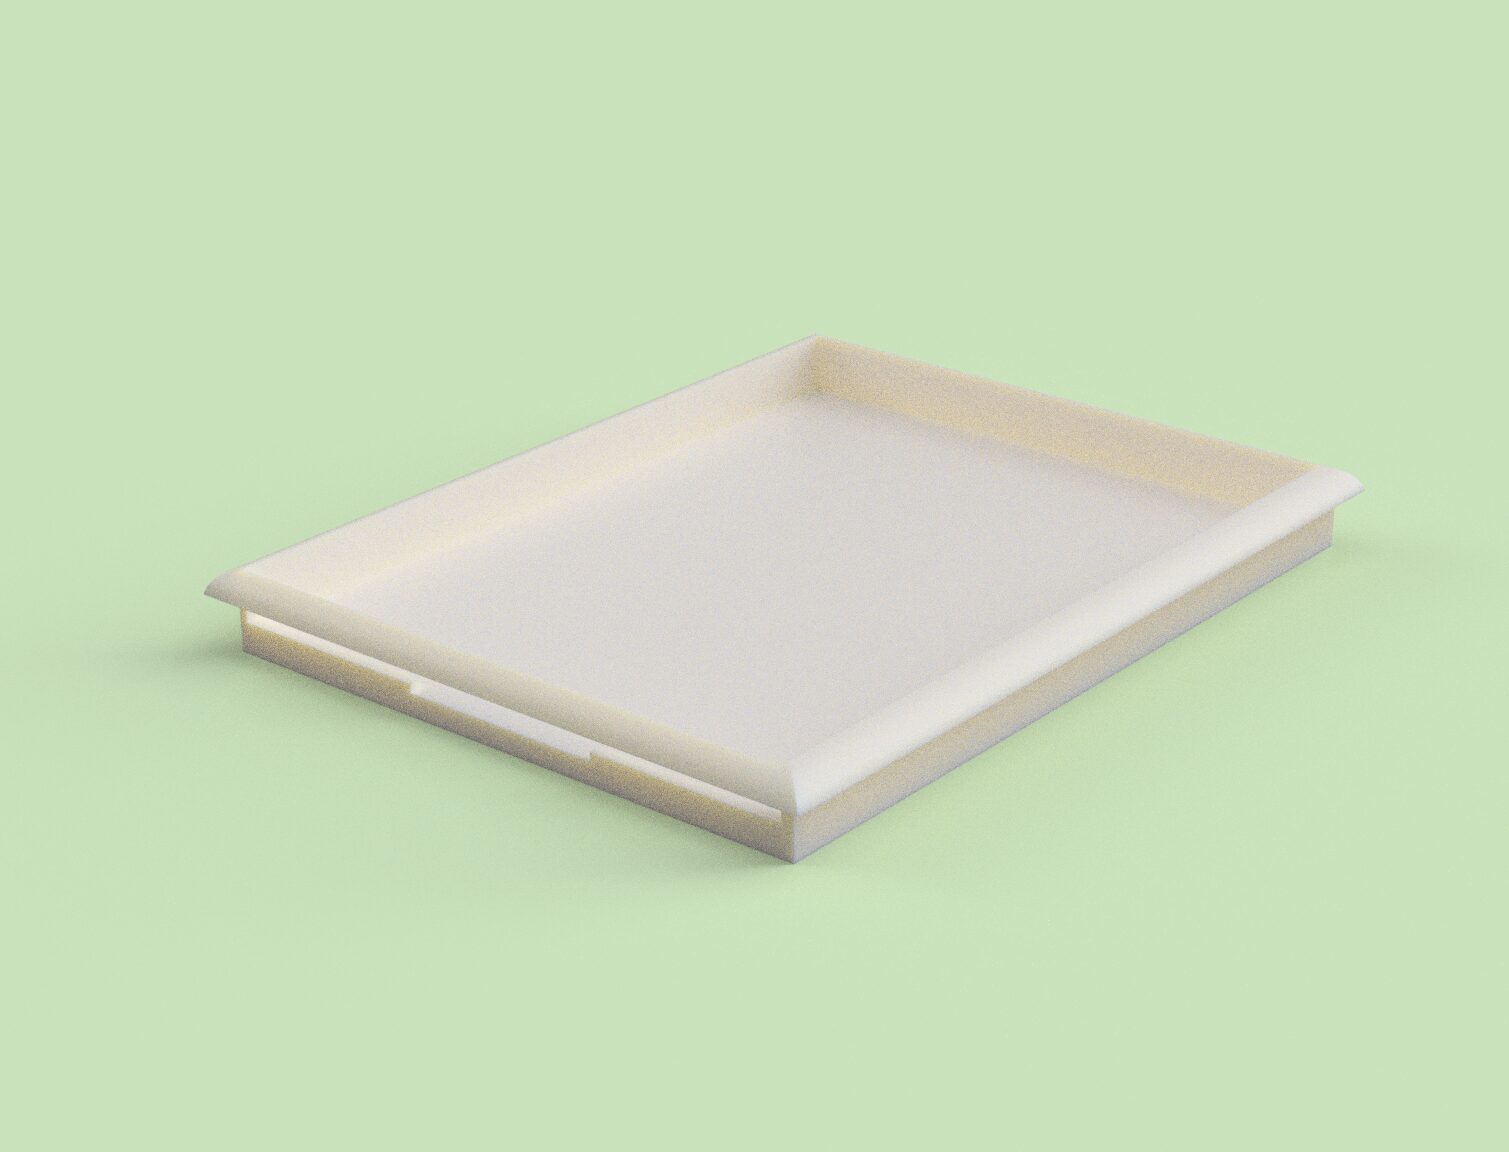
To elaborate on the design of the touch screen holder, this piece allows the resistive screen to ‘sit’ inside the top face of the box and is made from a cloudy PLA that will help to diffuse the LED lighting. There is also a small opening on one side of the board to allow for the touch screen’s analog wires to go under the top wooden face and be added to the internal circuitry. Speaking of, perfecting my circuitry is the last big puzzle piece left.
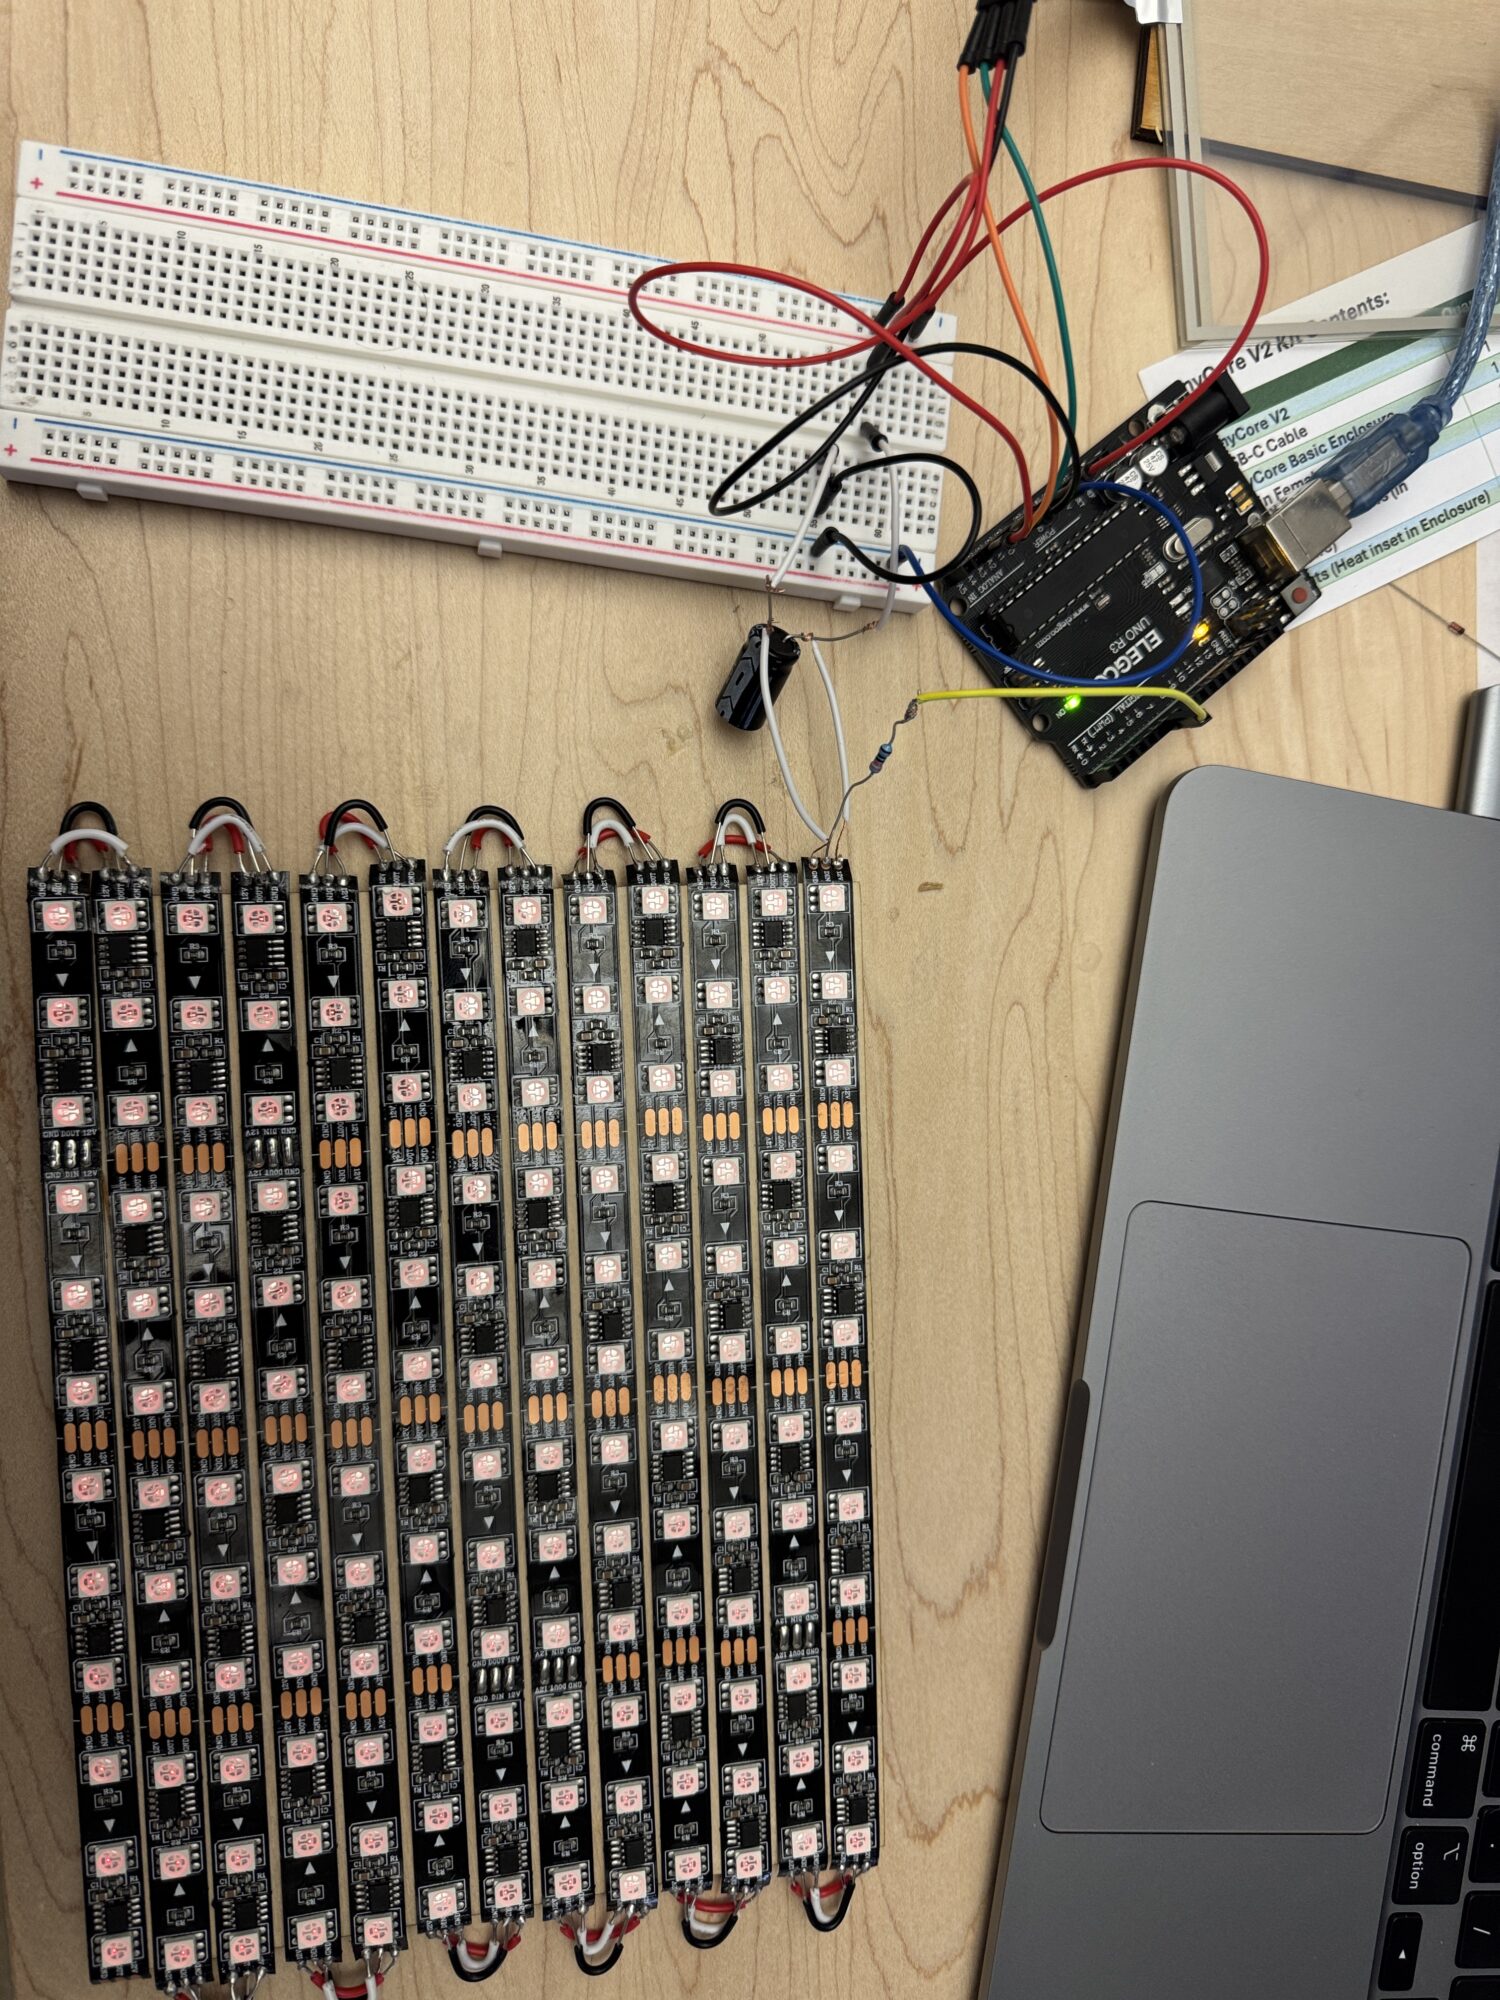
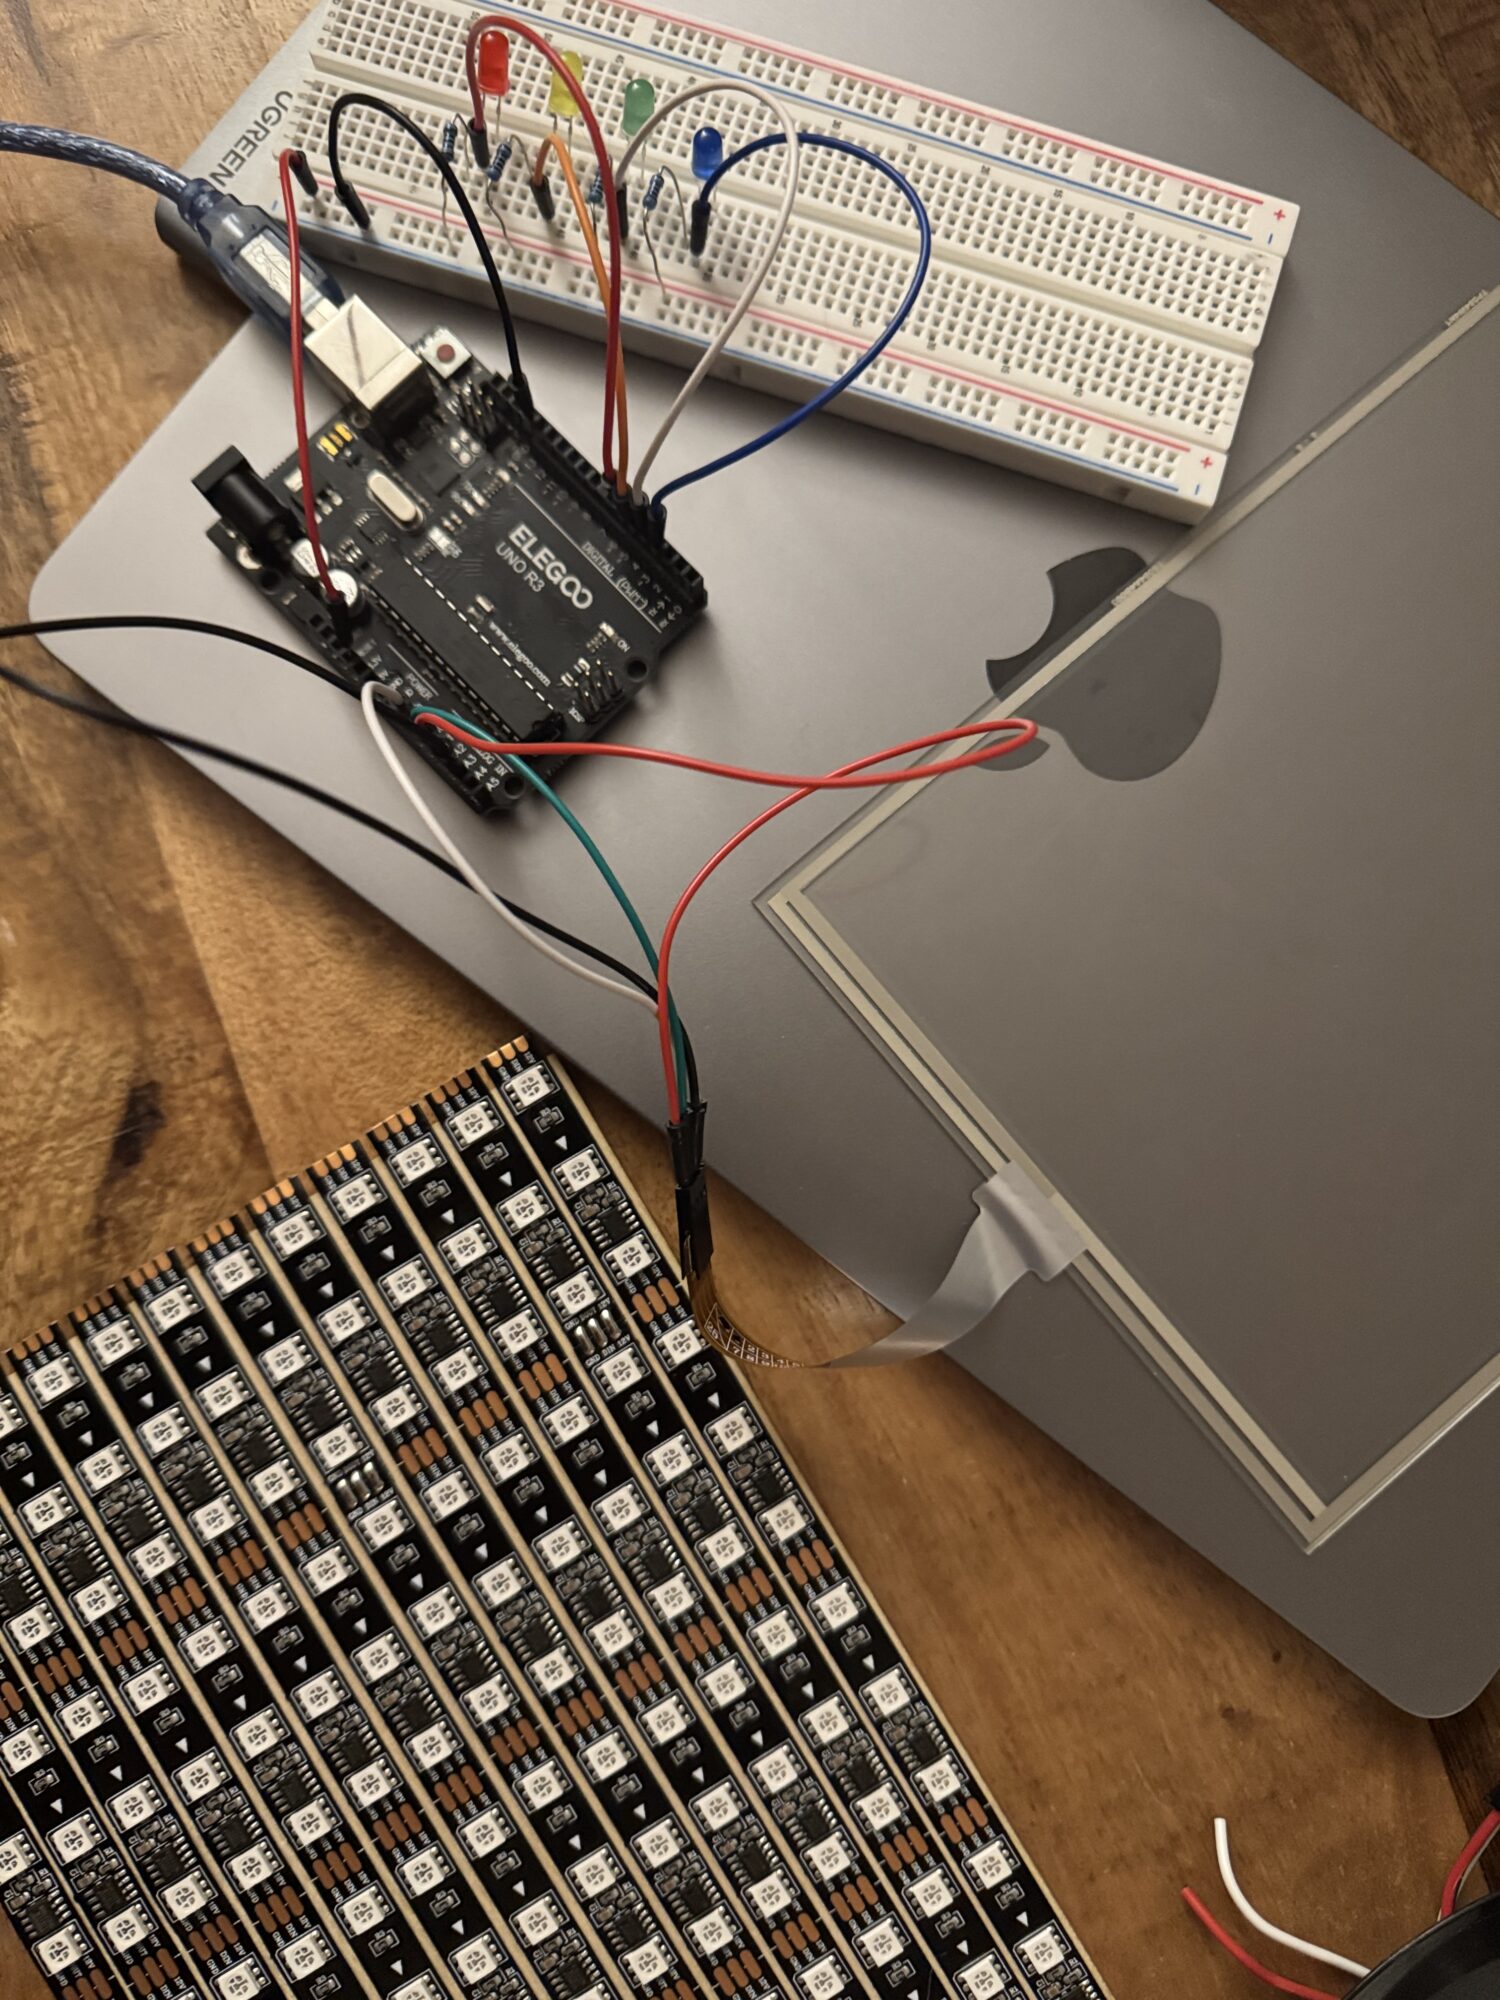
In an earlier blog, I elaborated on some of my concerns about the electronics of this project, only because it would require more time for me to learn some new skills. That’s exactly where I am in the fabrication timeline of this project as I now try to solder everything together after a test run with just four LEDs. Unfortunately, I killed some time by wiring my LED strips in parallel rather than series, so had to desolder quite a bit, reverse the direction of half of my strips, and resolder. After this tedious step, I am now experimenting with the right amount of voltage, resistance, and capacitors to get the LEDs glowing based on where the user touches the screen along X and Y coordinates. This is what I will spend the bulk of my remaining project time on, as I have high hopes for how the user experience will contribute to the overall aesthetic of the Wöddha Board.
Next Steps
As I work to finish up the Wöddha Board with what’s left of the semester, here is my current task list:
- Finalize LED panel and touch screen in circuit. I’m waiting for my 5V/10W external power source to arrive in the mail, but have tested each piece’s function individually on Arduino in the meantime;
- Consider last-minute touches like an on/off button or wood stain;
- Add finishing touches like wood veneer, sanding of the plastic and wood, and final gluing.
I look forward to seeing if this project can come together as planned! For added incentive, I submitted the following project description to the ATLAS expo on May 1st:
“The Wöddha Board reimagines the traditional zen drawing board by blending natural wood with LED lights and touch-sensitive capabilities, allowing users to create glowing, ephemeral art with just a touch. Rooted in mindfulness and inspired by Wabi Sabi aesthetics, the Wöddha Board fuses craftsmanship and technology to celebrate the beauty of impermanence.”
2 Comments. Leave new
Hi Eli – your project looks great! If you were to add a stain, do you know what color you would do? I can’t wait to see the final project!
Hi Taylor! If I do choose a stain, it’ll probably be something closer to walnut or a darker oak, only because I love both colors. I hope to stick with the birch for some reason, just liking the lighter grain and the way the laser cut edges contrast. Open to your thoughts on the best stain for the wood!