
Here is my update timeline. My timeline is very flexible and I made it like this because there are a lot of steps where I have to wait and let stuff dry. I planned it this way so I can work on other parts of the project while something else is drying. I also wanted to give myself some buffer time in case something doesn’t turn out the way I expected.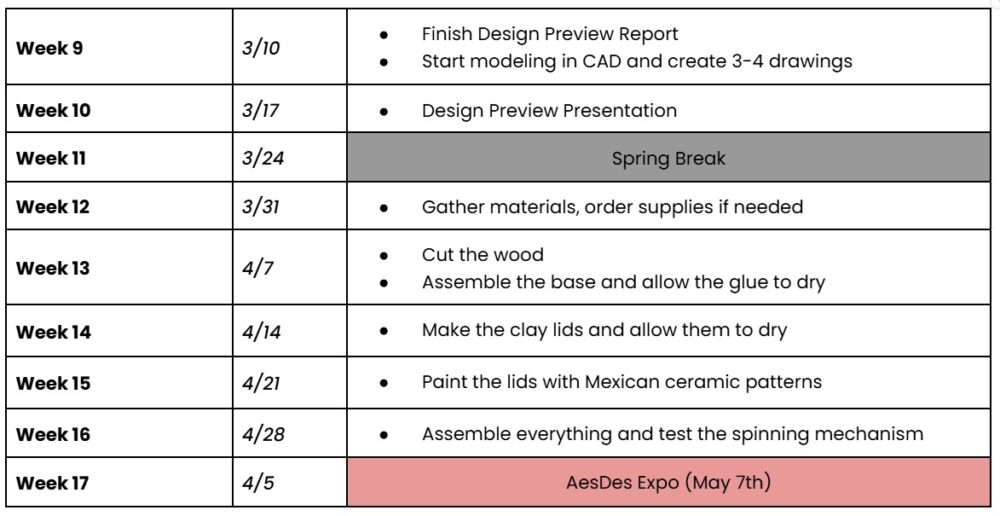
Before spring break, I had to push my timeline a little because I was still figuring out what materials I needed. Last week I finally finished gathering everything. I ended up ordering a few things on Amazon and going to Home Depot and Michaels for the rest. Based on the feedback I got during my design preview presentation, I decided to make a few changes to my materials list. I added a few things I hadn’t originally considered, like polymer clay instead of air-dry clay. I also chose to go with a stronger adhesive. Below is my updated materials list:
- Plywood (Bought at Home Depot)
- 24 pack of 4oz Glass Jars with Lids (Ordered from Amazon)
- 6’’ Lazy Susan bearing (Ordered from Amazon)
- Sculpey polymer clay (Bought at Michaels)
- E9000 Glue (Bought at Michaels)
- Acrylic Paint (Already had)
- Water Resistant Mod Podge (Already had)
This week, my main goal is to cut the plywood. I got a question during my design preview presentation, asking why I don’t laser cut my wood pieces. I thought about it for a while, but to laser cut, the wood has to be really thin. I’m using thicker plywood to give my spice rack spinner more structure and a sturdier base. So instead of laser cutting, I will be using power tools to cut all the shapes. I am going to cut my base piece first so I can get a better idea of how big the whole structure will be once it is assembled. Once I have that done, and once the rest of my parts arrive, I am going to start working on the clay lids. I am hoping to start shaping those soon because they will need time to bake and cool before I can paint and seal them.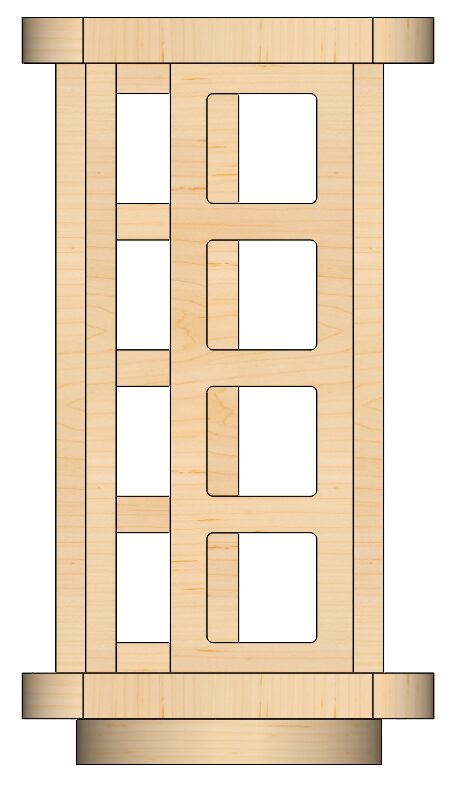
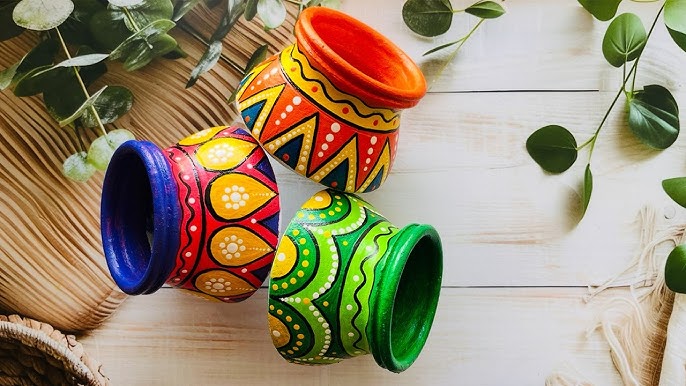
Cutting the wood pieces won’t take too long, so I also plan on spending time this week learning more about how to work with polymer clay. I found a couple of YouTube videos that show how to shape and bake the clay properly. They also include painting techniques that I think could help me with the detailed designs I want to do. Since painting is one of the skills I am not very confident in, I want to practice on a few test pieces before painting the final ones. I want to make sure the design really captures the look and feel of traditional Mexican pottery. I’m feeling pretty good about the progress I’ve made so far and I’m excited to see how everything starts coming together. I think this week will be really important for getting the foundation of my project ready.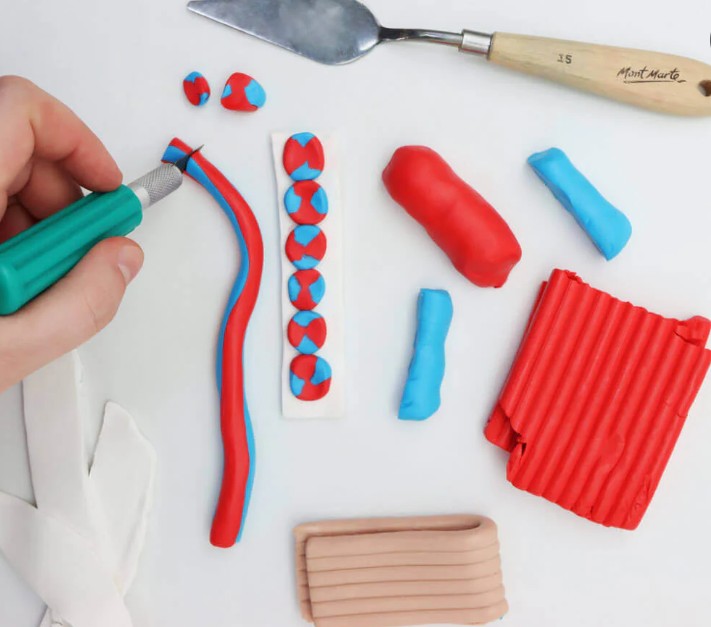
Citations
[1]. https://www.youtube.com/watch?v=7u43dPzcZxM&pp=0gcJCdgAo7VqN5tD
[2]. https://www.montmarte.com/blogs/tips-techniques/20-polymer-clay-tips-and-tricks-for-beginners
[3]. https://thefusioneer.com/blog/a-guide-to-paintbrush-types-for-beginner-artists/
2 Comments. Leave new
Hey Ariana – I’m excited to see the end result of your project too! You are achieving both aesthetic and function through your project. What specific skills have you noticed an improvement in through your painting practice?
Hi Ariana – I am looking forward to seeing your final product! What is the benefit of using polymer clay instead of air-dry clay?