
As a reminder of what I happen to be doing for my main project, I happen to be making a minimal aesthetic low profile microphone boom arm that is meant to be mounted to my table. I will be making model of it in SOLIDWORKS and then print a working model in the ITLL using the MarkForge printer onyx material. This is a multiple part build, with the parts consisting of (at the moment) a table mount and the first/second swivel arms. The first arm is around 10 inches long and the second arm is around 4 inches long. All these pieces are then to be painted with a cream color spray paint and having some type of pencil marking to mimic the patterning that is already present on my table, with then a clear coat used to seal all the detail and color that is added. Additional rubberize and foam like material is to be placed on interfacing faces so that the system is able to absorb vibration, hopefully preventing the microphone from picking up all the extra sounds.
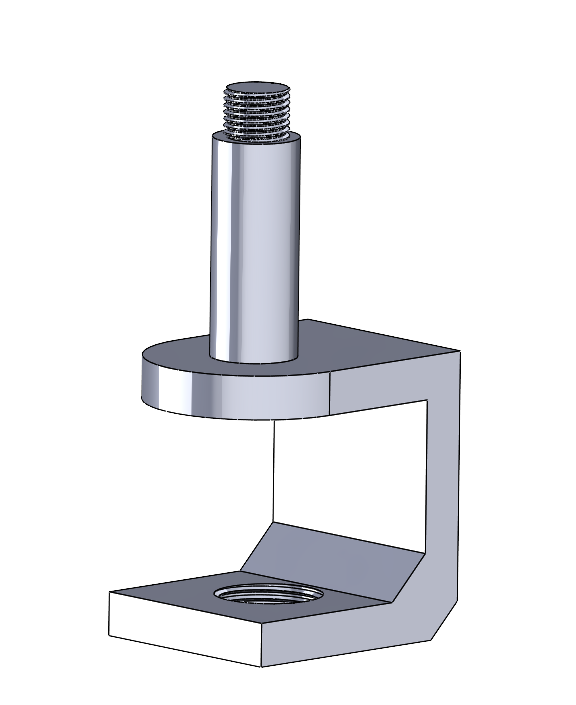
Image [1]: Model of Table Mount
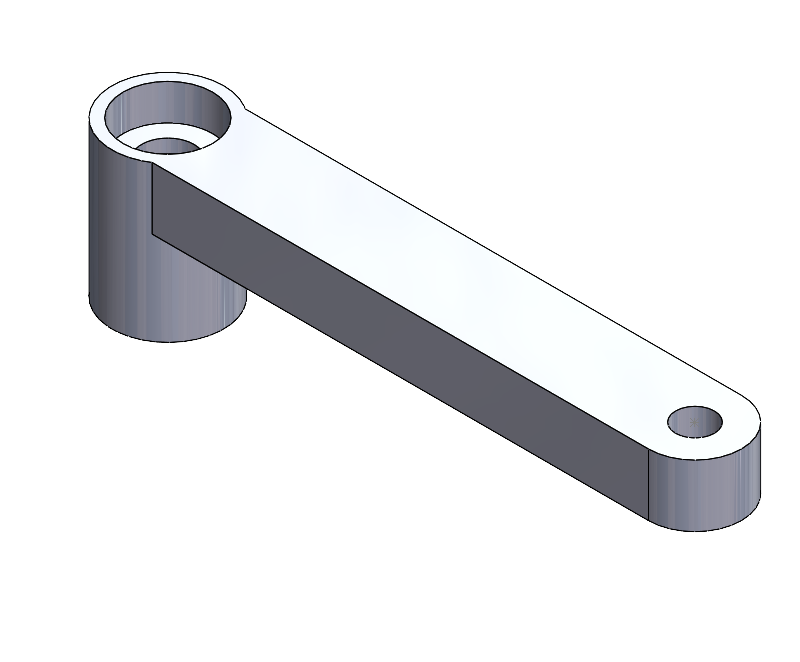
Image [2]: Model of First Arm that Connects to table mount
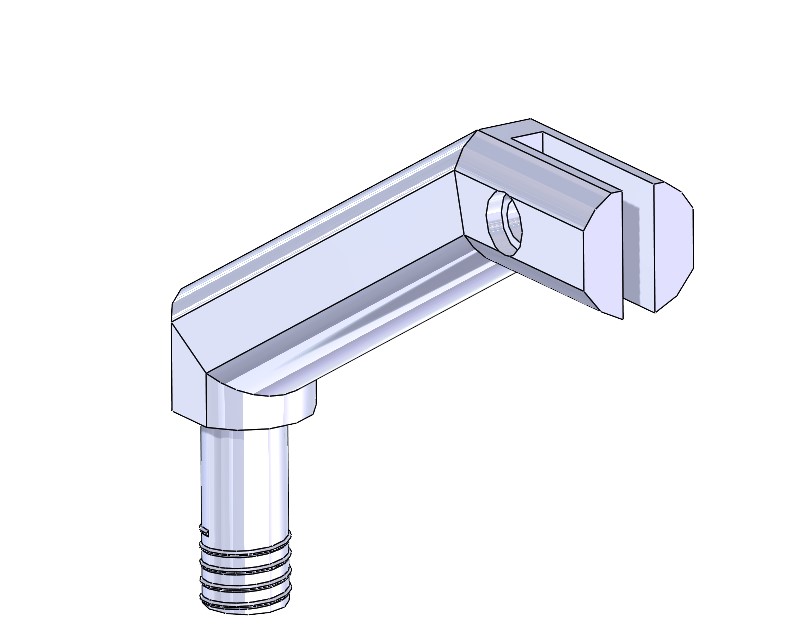
Image [3]: Model of second Arm that connect to first arm and microphone
Below are the top 5 specification and constraints for my final project:
Top 5 Specification:
- Not standout: For putting a lot of work into this project, I don’t want my project final build to stick out that much from the rest of my desk setup and my room in general. I want it to kind of blend into the background, to not be a large piece that sticks out and gets in the way of my normal everyday activities. That is why it is being designed with the minimal aesthetic in mind.
- Match the patterning of my table: Even though I am not a professional painter or artist, I want to be able to mimic the marble/granite patterning that is currently on my table setup. I saw on my last project that it is possible for gray-ish patterns to show up easily with the cream paint that I have chosen for my last project and it similarly reminded me how my table ended up being.
- Size and Scaling: Based on the modeling, my project is about 14 inches in length and about 6 inches in height. I might need to make some adjustments to the height of the second arm to make sure that it sit at a correct height where it can correctly pick up my voice clearly along with modifying the threads that are currently on the prints to allow bolts and hex nuts to fit better and secure the pieces together.
- Adjustable: Though my design that I currently am making for is my specific table set up, I want to be able to just modify the length of it of the second arm to making it fit for different table width, allowing my to be able to hand this of to my brother once I know that the design is able to function properly.
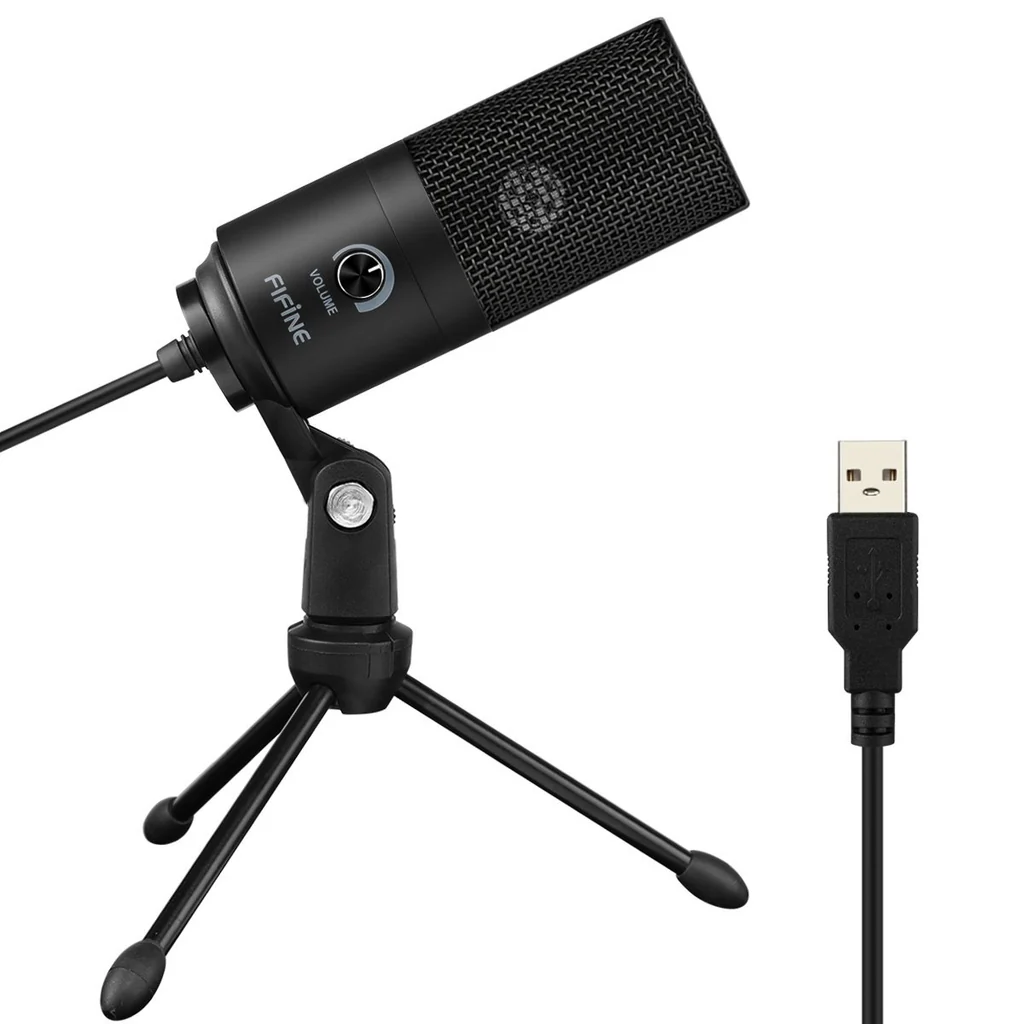
- Weight requirement: As for my microphone that I am currently using, I happen to be using a Fifine k669, which has a metal build which can make it a bit heavy, weighing at a 600 gram, which isn’t that heavy for some microphone, but that might change considering that my brother has a different microphone that has a different weight. So it must match the weight of the two.
Top 5 Constraints
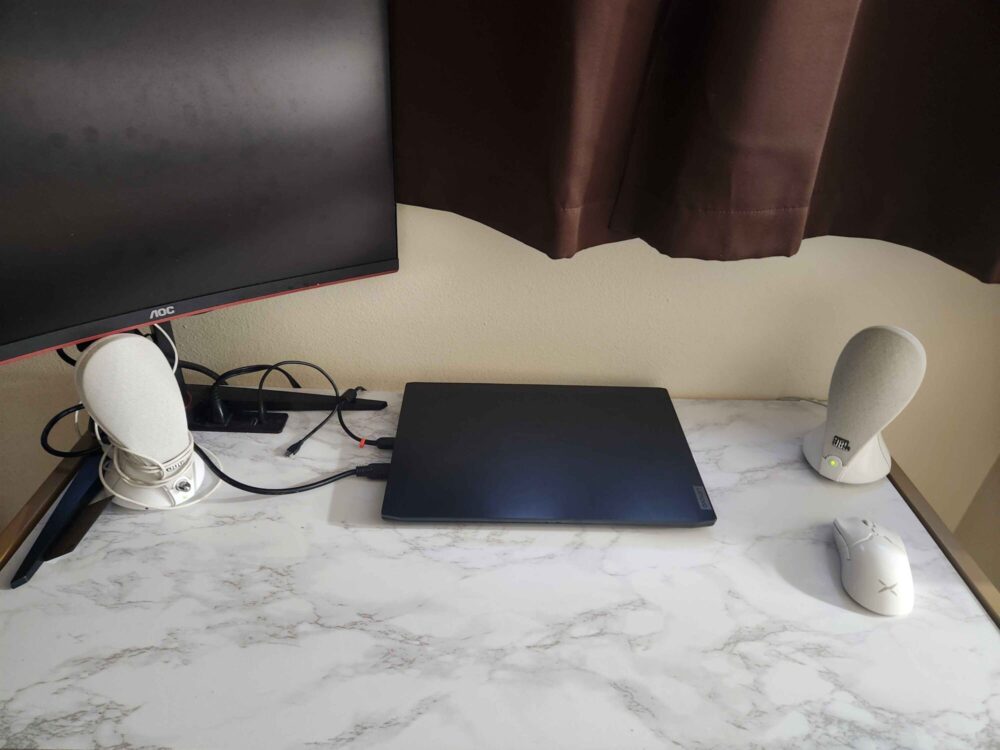
- Spacing: Looking at the image below of my set, it is possible to see that my desk happen to have very limited space, making it hard to design boom arms section that will achieve the goal of placing the microphone near my mouth and away from the keyboard along with not getting in the way of my space for typing or space for mice movement.
- Material Choice: Although onyx is a lightweight and strong material, from previously working with it in other project, it doesn’t happen to be brittle, so in the process of tightening down the hex bolt for the section, I must make sure to not over-tighten otherwise I risk a crack foam from the load the material is to take one.
- Paint: Although I wish to be able to paint the pieces of the boom arm to better fit my minimalist aesthetic, I do know that if paint does get to areas such as the printed thread or tapped hole, it will added a amount of thickness that may mess with the tolerance and interfacing of the pieces with each other, making it more difficult to fully assembly the piece.
- Cost: Though I want to be able to make piece perfectly in one go, I do know that I am not to best at tolerance with 3D printing, making it so that piece might not fit together or hardware may not match with the print result, making it so I have to make the hard decision of ordering bolts that do fit or remodeling a new arm that has a properly tolerance hole/thread, both of which cost money, and currently the project with materials sits at around $60, which is fine but I wish not to exceed $200.
- Time: In between my senior design class, Design of coffee and this personal project, it is sometimes a bit hard to find time to be able to sit down to model a proper arm that will properly fit together with my hardware and other 3D printed sections that I have already made and stepping away from the project for a few day make the flow process that I previously had when making certain part go away, making me take longer to design than i normally would have if I was just to do this project without the other things to be worried about.
Image Cited:
Reference image: https://fifinemicrophone.com/products/fifine-k669-669b-usb-microphone
2 Comments. Leave new
I love this project; I like how you are able to incorporate some of your previous experiences into this design. I look forward to seeing your final product.
I believe this will turn out awesome! do the IF printers have big enough beds to complete this?