
Goals
1. To look like the plans that I have
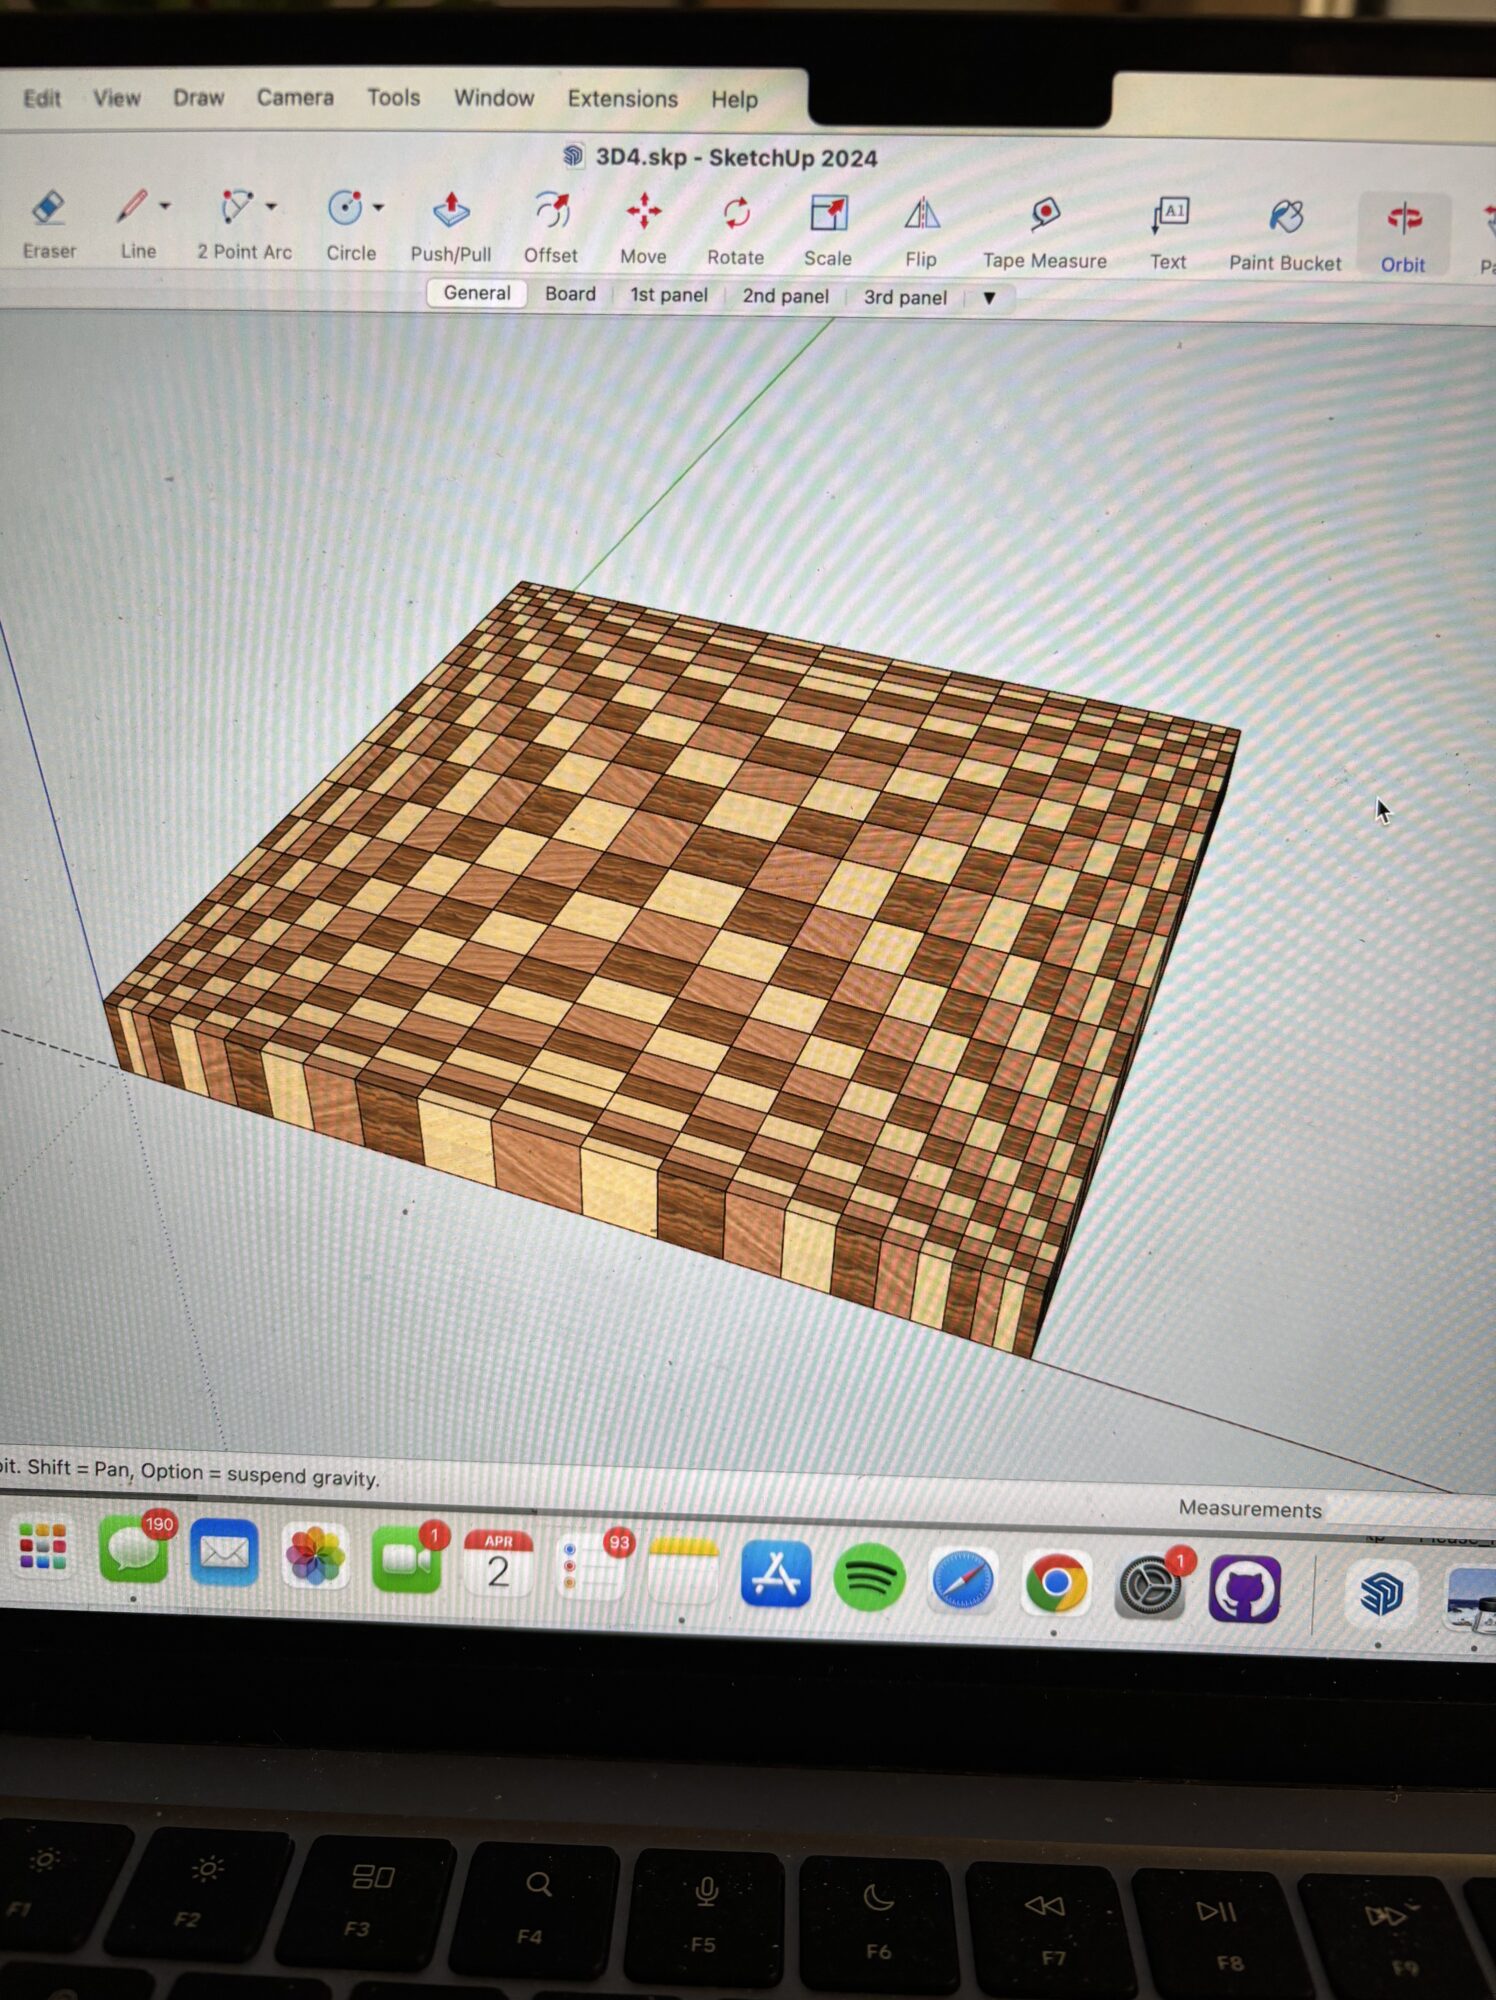
I got plans for this project from the original creator MTMwood on youtube. It was 9$ and comes with a full pdf of instructions and a sketchup model of the board. I ended up modifying the model to 3 different types of wood instead of 2 for more pop. These plans are absolutely necessary, and I would be very lost without them, there are so many intricacies an ammeter woodworker would miss without the info provided. here is what the final plan looks like:

2. To be even and level
This is pretty self-explanatory but a lot of the bulk of this project is spent on this factor and is pretty easy to mess up
3. Finish nicely and make colors pop
It is hard to imagine how my raw wood will look with my final finish on it so I will have to wait and see but there are techniques that can make the process better overall. And important to note: It needs to be food safe!
4. become comfortable using tools I haven’t before like the planer
Using a planer has become my enemy, more info on that below.
5. Learn a lot about the woodworking process and think on how I could improve in the future
Most of this process is new to me, so I am really happy to just learn a ton of new things. Also, this has been so fun for me that I can really see myself doing it more in the future, so it is important to learn from my mistakes and figure out what works best.
Constraints
1. It is impossible to use a planer for this project (not really but it seems like it)
This past week I have been trying to find a planer to use, and it has been so hard. First, I went to a woodshop on campus and had to do the orientation which I was fine with but after I was told to come back the next day to use the planer. The next day, I came back only for the woodshop manager to tell me I wasted all of my wood and that I couldn’t use the planer. After that rude encounter the same day I went to BLDG 61 at the boulder library and thankfully they believed I could use the planer with no issue, but it can only be used on appointment, and they were booked for quite a while. The person there was nice enough to give me suggestions and one of which was to join the Colorado woodworkers group on Facebook and make a post about it. This was a great idea, and I got a tremendous amount of help from the community. In fact, tomorrow I am going to someone’s full time woodshop that he runs out of his garage, and he is letting me use his planer and helping me all for the cheap cost of a 12 pack of beer, shoutout Dustin!
2. End grain is no longer achievable due to the thickness I chose
Since I went with 1″ instead of 2″, my wood is too thin to make it end grain, at least with my plans and what I have already made.
3. Time conflicts with other classes/ work
I am in all projects courses this semester and it can get overwhelming at times.
4. If something goes wrong, it will be hard to replace the wood
I bought hard wood in Denver, and it would be a pain to have to go get the same type and thickness from there again. However, Paxton Hardwoods in Denver is amazing and they have a student discount, highly recommend. Here is how much wood I had left over for the walnut, scary close top running out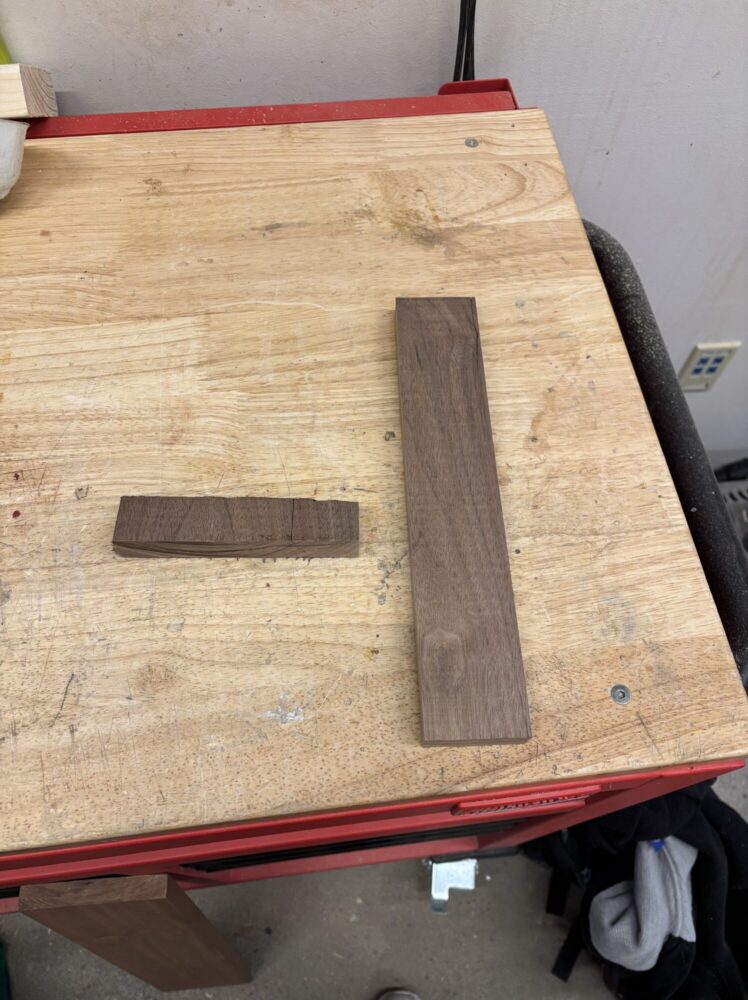
5. I am really enjoying this project… maybe a little too much
I have been so invested into this specific project that I maybe have hindered some of my other obligations, oh well!
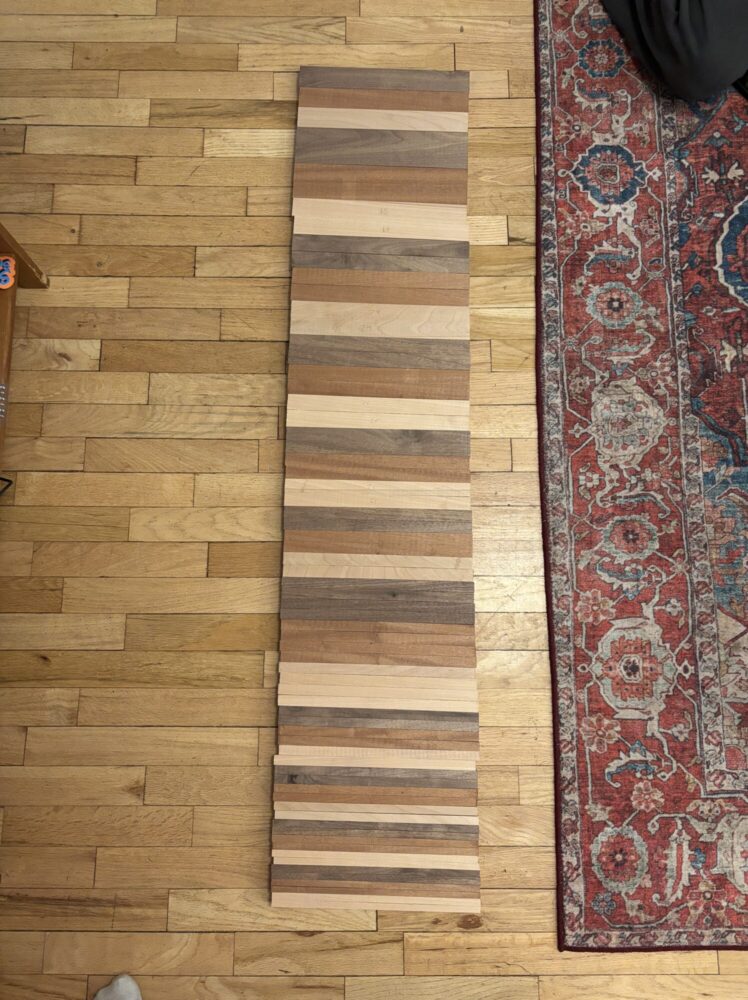
Here are the cuts I have made so far!
2 Comments. Leave new
Hi Joe, this seems to be coming along nicely! I was happy to read that you switched the design up a little bit from the original creator, that way you can make it your own and it’s not an exact replica. Also, the story about the planer cracked me up. It seems like you went on quite the journey to find a solution! It will be cool if Dustin also gives you tips and tricks on how to use the planer and how to make your project look really good. Based on the image of cuts you’ve made so far, the colors seem to work together quite nicely and it looks like you will totally fulfill your desired aesthetic described in the computer rendered mock up. Great stuff!
Hey Joe, I really like this project idea and the way the all the straight cuts combine to create a warped/curved optical illusion appearance! Well done finding amateur woodworker resources, it seems like your making the most of a bad situation with the planer. Have you thought about how to you’re going to put this cutting board together? I assume you will glue it, and so I’d recommend that you glue it flat (to minimize sanding/planing later), without gaps, and with food safe wood glue. It might be worth making a jig specifically for the glue-up process.