
Lets explore the innovative technique of hydro-dipping, a unique way to add stunning designs to your mechanical keyboard. Whether you’re a gaming enthusiast, a creative professional, or simply someone who loves unique gadgets, hydro-dipped keyboards offer an exciting way to express your individuality while ensuring all the functionality and durability you need. Let’s dive into the specifications and constraints that make these keyboard not just visually appealing but also a reliable choice for everyday use!
Specifications
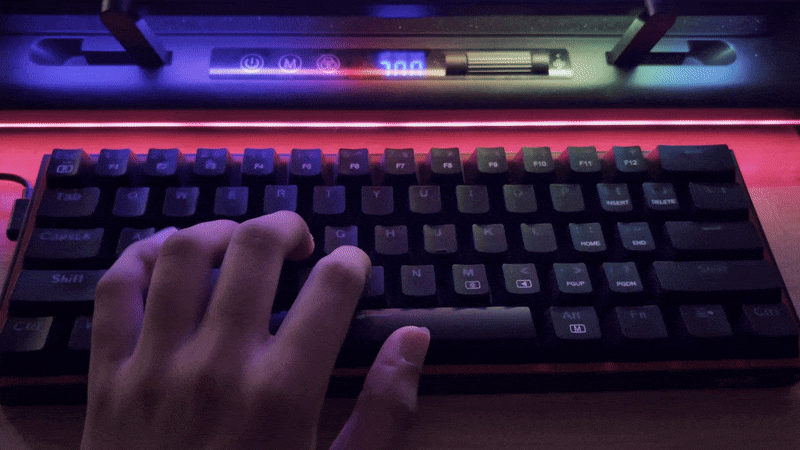
- Key Switch Type: Use high-quality mechanical switches (e.g., Cherry MX or Gateron) for tactile feedback and durability.
- Material: The keyboard frame should be made of sturdy materials like aluminum or high-grade plastic to withstand the hydro-dipping process and ensure longevity.
- Size and Layout: Standard full-size (104 keys) or ten keyless (87 keys) layout to cater to user preferences, with customizable keycaps.
- Connectivity: USB Type-C connector for wired connectivity, optional wireless functionality via Bluetooth for versatility.
- RGB Lighting: Integrated customizable RGB backlighting to enhance aesthetics and allow for individual key illumination effects.
Constraints
- Temperature Sensitivity: The temperature during the hydro-dipping process should be carefully controlled to avoid warping or damaging the keyboard components.
- Coating Compatibility: The materials used in the keyboard must be compatible with the hydro-dipping paint to ensure adhesion and finish quality.
- Post-Dipping Curing: After hydro-dipping, a curing time is necessary for the finish to harden properly without affecting the functionality of switches or circuit boards.
- Keycap Removal: Keycaps must be removable to ensure that the hydro-dipping process applies evenly and effectively to the keyboard frame without clogging the switch mechanisms.
- Durability Testing: The final product must undergo rigorous testing for durability, including resistance to wear from regular use, as well as exposure to moisture, to ensure longevity and performance.
2 Comments. Leave new
Hi Tanmay, this is a very cool project. I am a little confused on if you are building the keyboard from scratch or just hydro-dipping an existing one. Building one and considering connectivity seems super hard but I do not doubt your skills. Make sure to put the switches and key caps back on carefully so you don’t chip the paint. Good luck!
I think that you have chosen good constraints and specifications. I failed to consider potential warping from temperature when seeing your project before. What temperature is hydro-dipping done at?