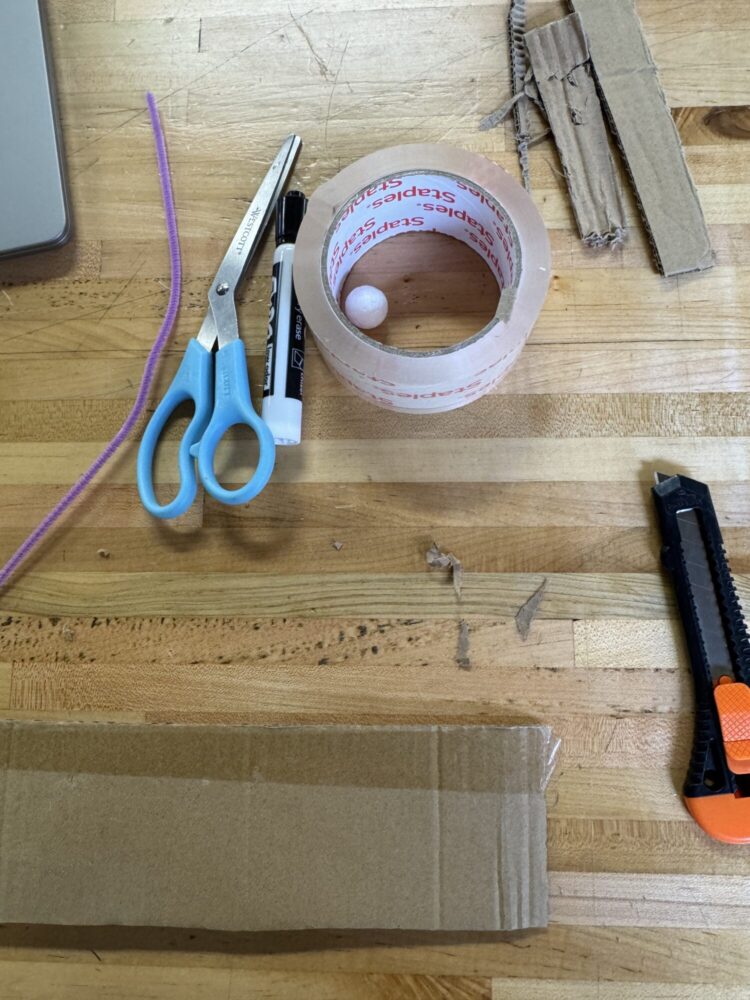
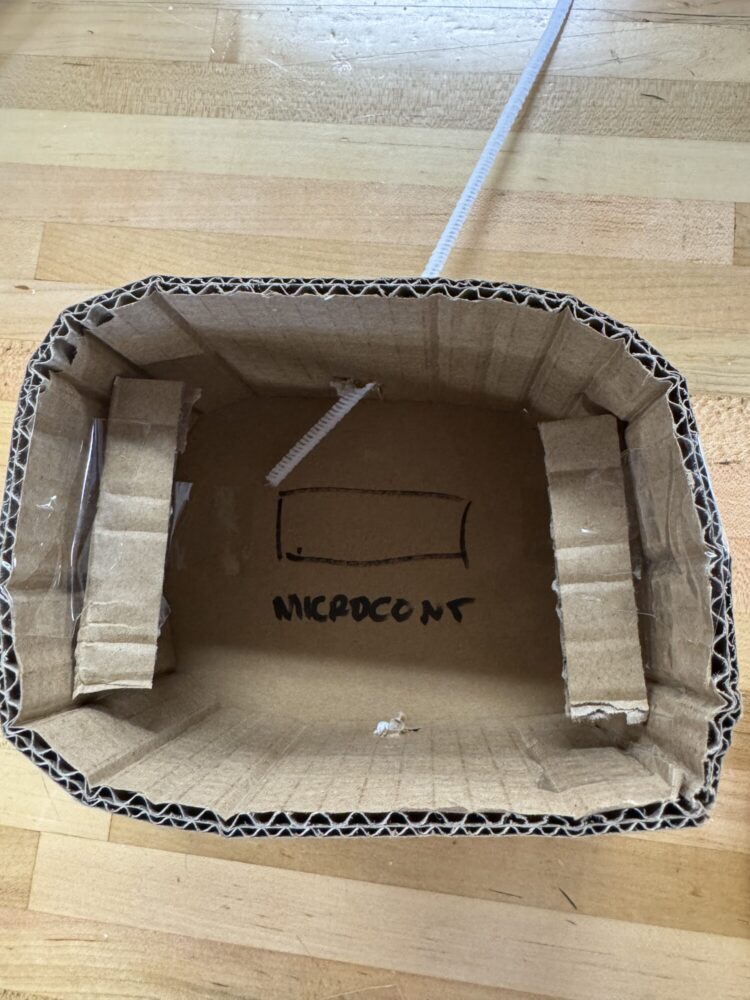
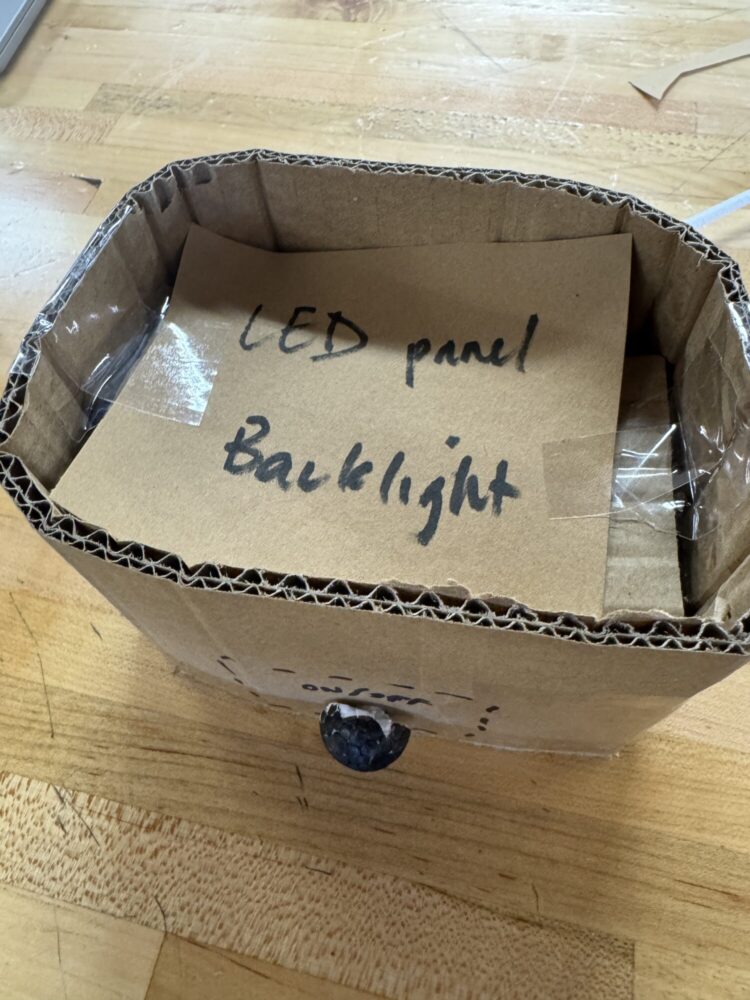
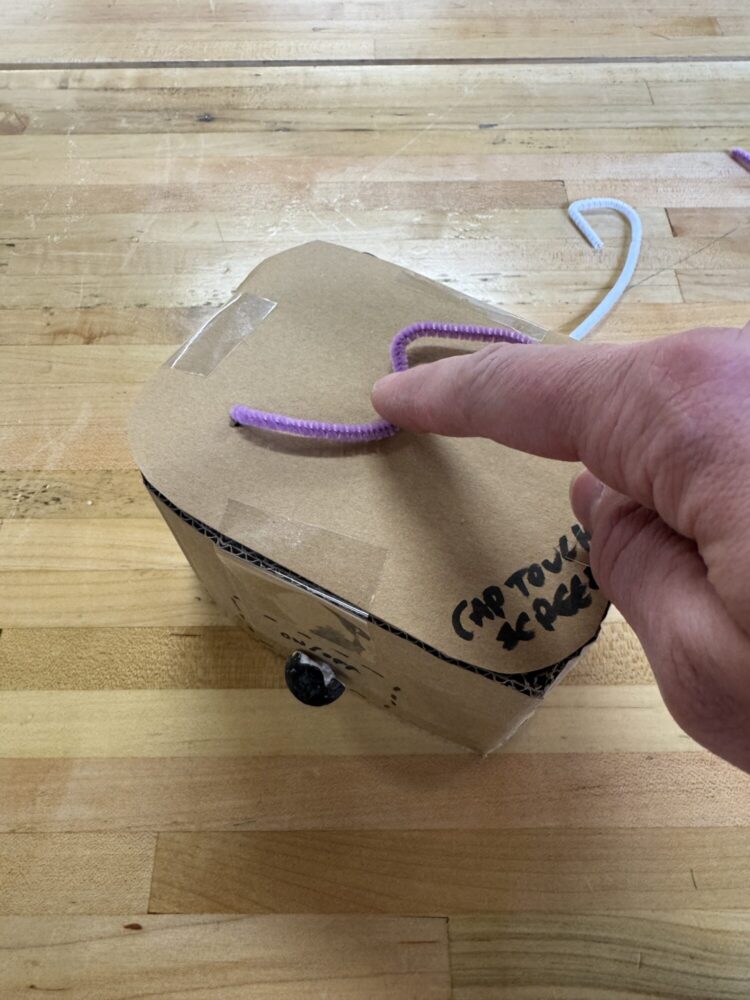
My ideation and fabrication of the Wöddha Board is underway, beginning with an early prototype to answer some questions around form and function. Using cardboard, tape, pipe cleaners, and some makeshift buttons, I was able to design a small-scale version of my box and begin “interacting” with it:
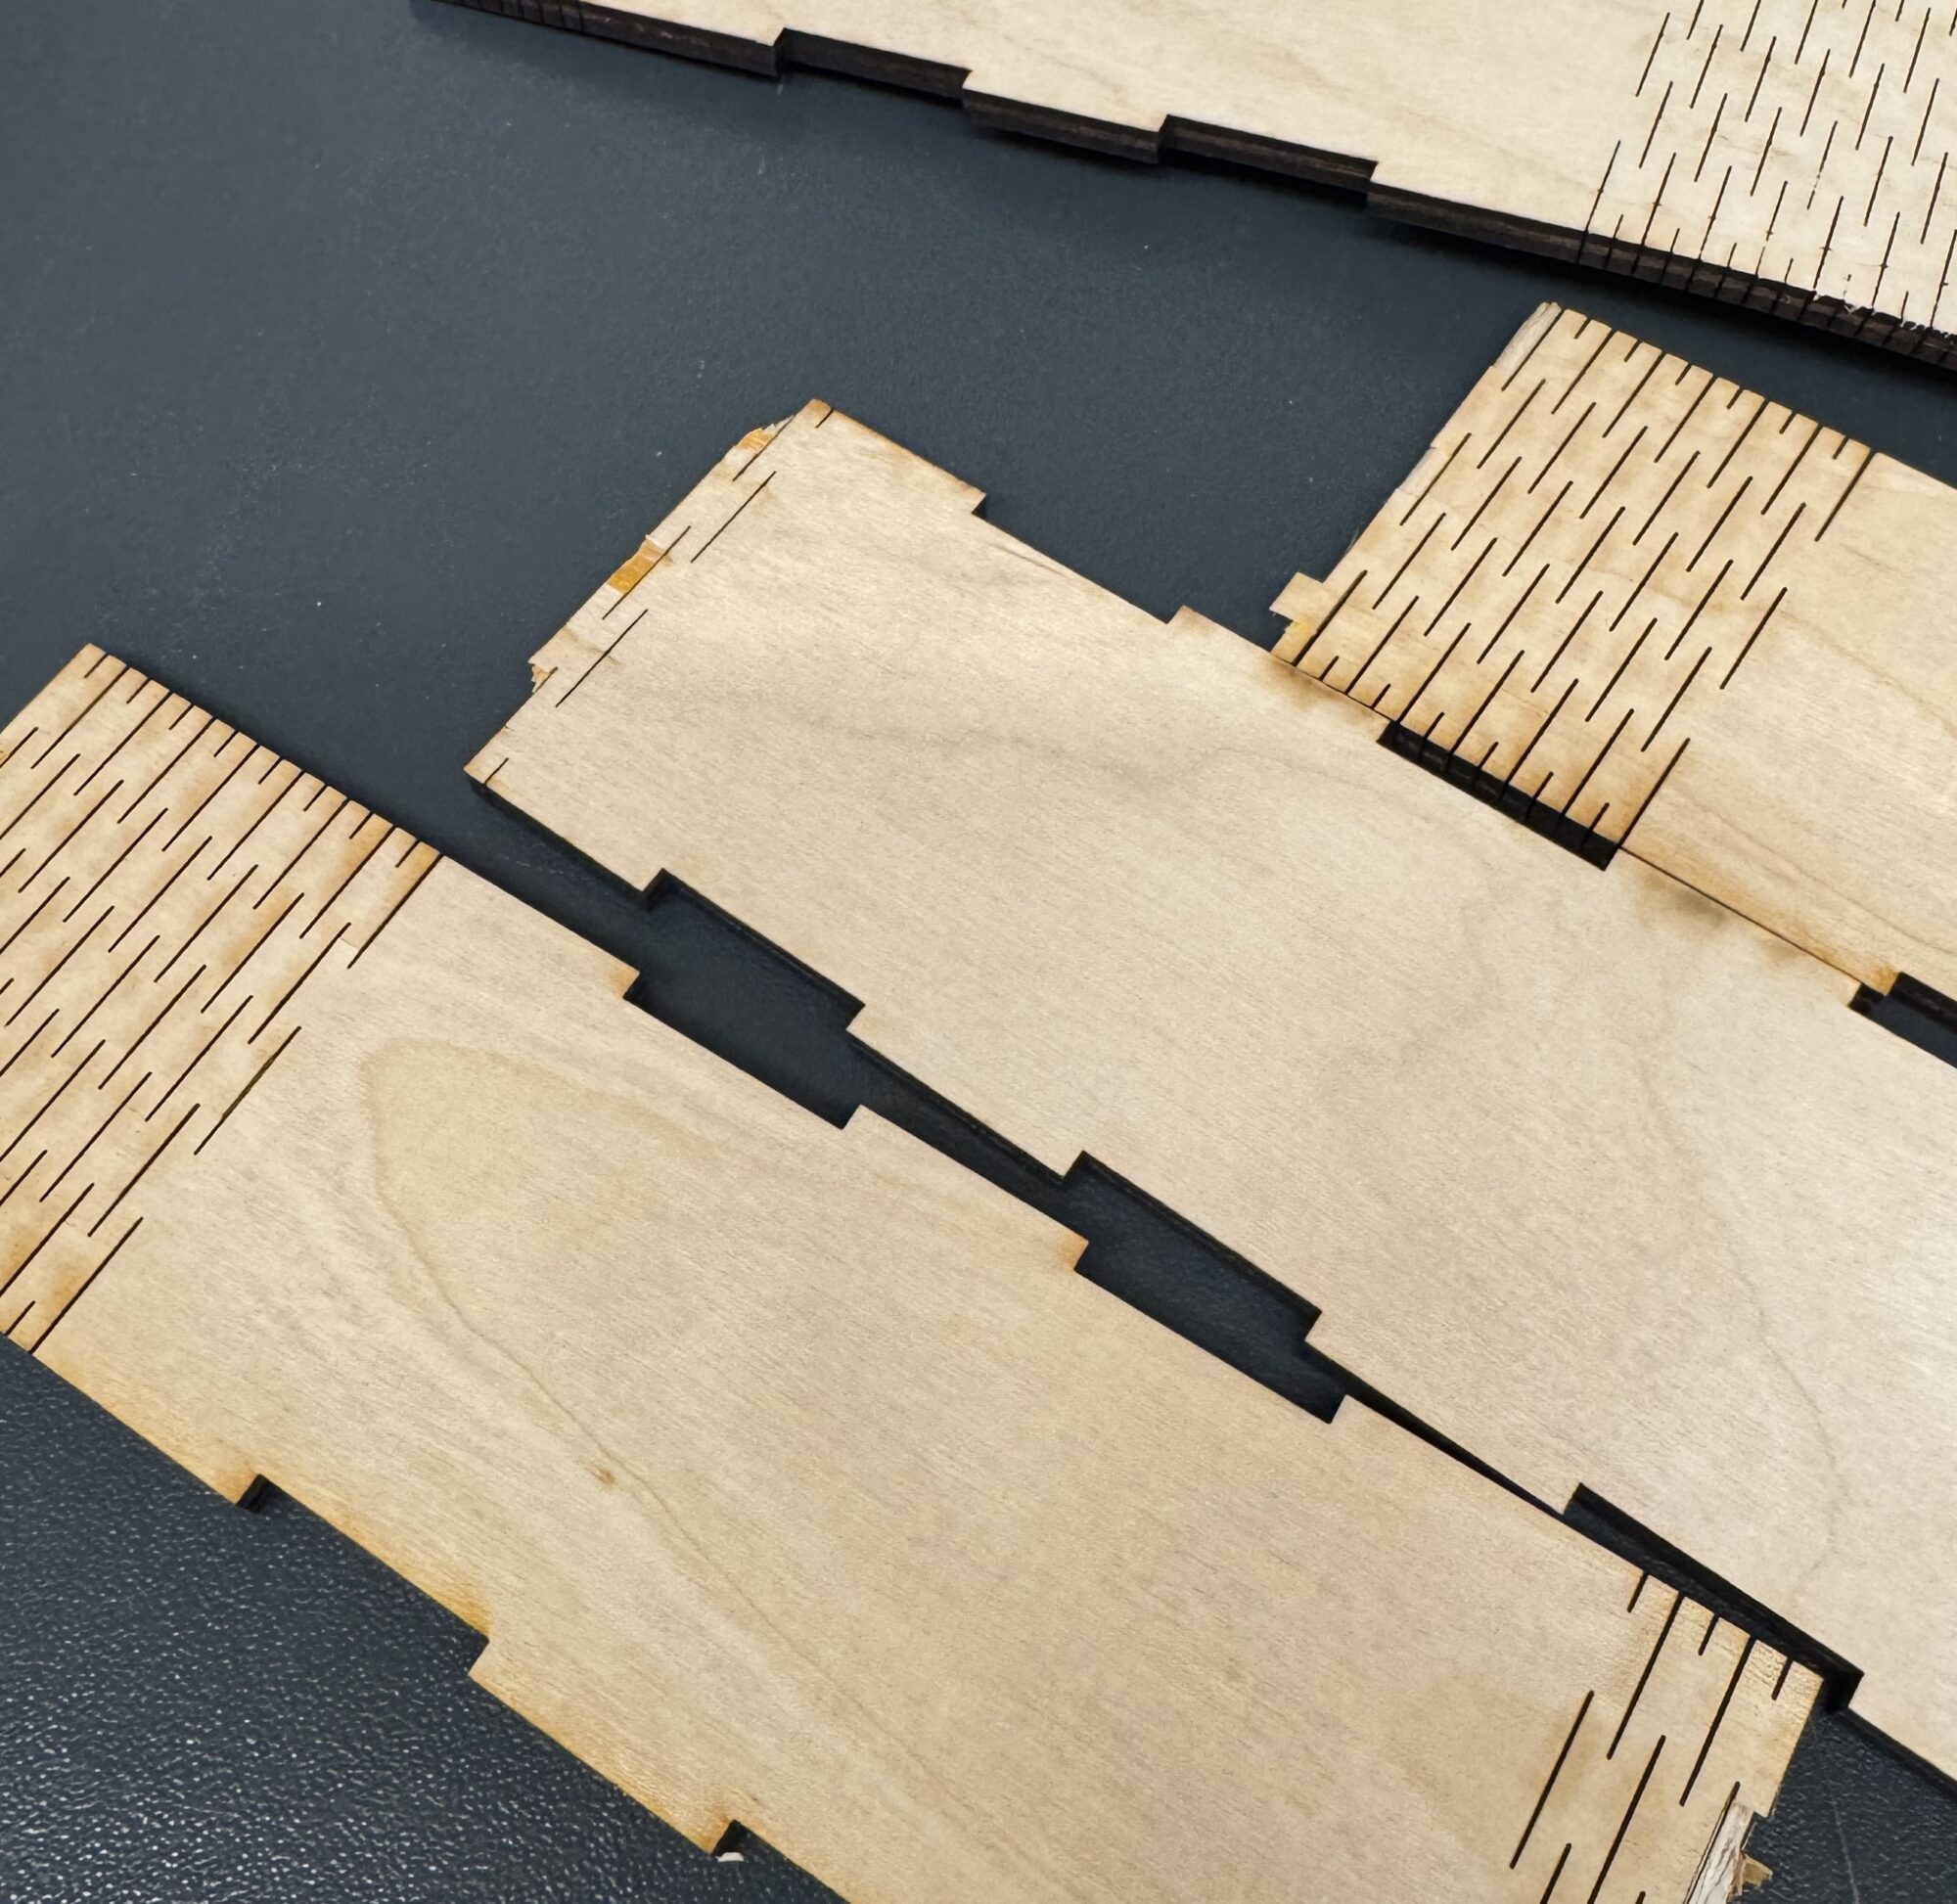
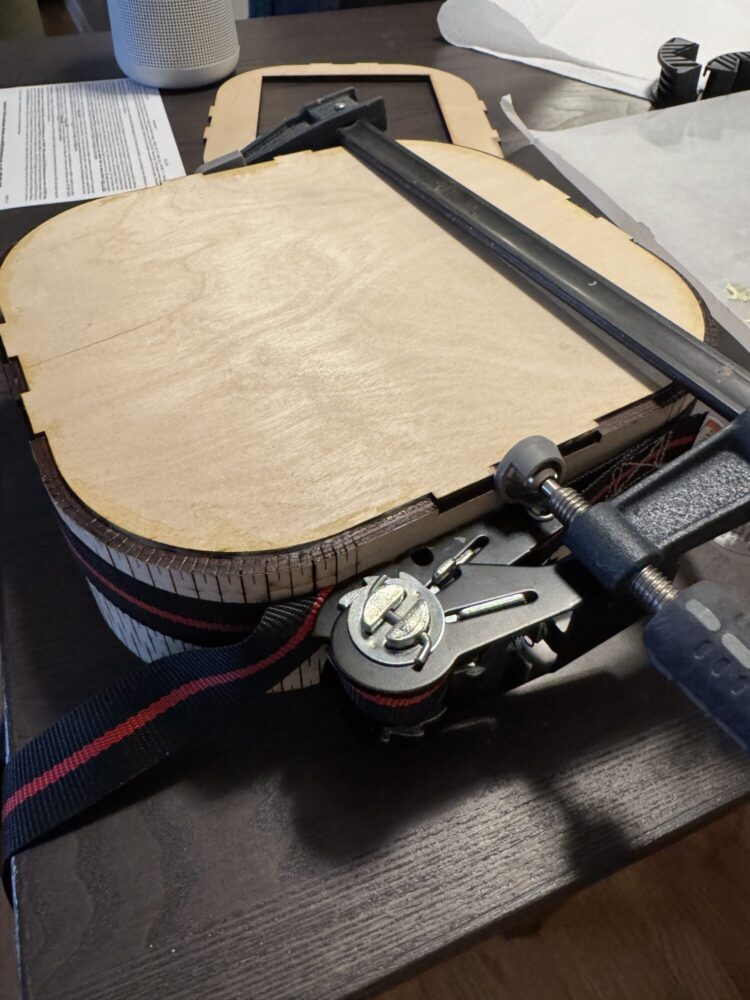
This process led to valuable insights, such as potential button location and the amount of space that I would need to reach my desired aesthetic and function. Using this information, I moved to designing the box shape in Rhino before laser cutting the final Wöddha box shape in the Blow Things Up lab on campus. This process was not without error, as my first cut had extremely harsh corner angles on the uniform side piece (almost 90 degrees) that caused each corner to snap upon bending. After adding a greater bend radius, I was able to reprint the box edges and fit them to the bottom face, which I then glued together using wood glue, clamps, and a ratchet strap:
What’s Next
With my initial box shape created and my electronics delivered from the internets, I am excited to move into the circuitry design of this project. That will involve pairing my microcontroller, an Elegoo Uno, with both an LED strip and an 8.4″ capacitive touch screen. If everything goes to plan (as it rarely does), then the user will be able to put a finger on the touch screen and see a resulting, fading light from the LED panel underneath of the screen.
What Success Looks Like
When it comes to what my project will look like, feel like, and do, I want:
- The aesthetic to embody the Wabi Sabi principles of zen drawing, such as a simple, earthly, and approachable appeal;
- The finished piece to be made of mostly wood beyond the electronics, including recycled PLA for any 3D printed parts;
- The overall form of the object to look intentionally simplistic and to feel lightweight and smooth;
- The function of the board to be fluid and responsive to human touch in a way that the internal electronics are not visible;
- The overall user experience to result in a feeling of peace, engagement, and low-stimuli creativity.
When it comes to success, my project will check-off the above criteria as well as the course requirements of being dynamic and changing with time. Overall, I’m prioritizing my aesthetic above all else, but closely behind that is the resulting feeling, intuitiveness, and usability that a user will glean from interacting with the board.
Top Constraints
Moving from success to constraints, here’s what I’m facing:
- A short timeframe with about a month left in the semester, and even less time for the ATLAS Expo on May 1st;
- A lack of prior knowledge when it comes to capacitive touch screens and having to learn how to pair them with LEDs;
- A consistent place to work as I spend most of my weekdays in Boulder and don’t want to damage the board during my commute to and from Denver;
- The looming threat of a lack of other options if my current design does not succeed;
- An initial budget constraint when acquiring the capacitive touch screen.
With this in mind, the toughest constraints to deal with are my lack of prior knowledge with touch screens and the short timeframe to complete this project in. As somewhat of a back-up, I did purchase some thermochromic paint, which could allow the top wooden face to change color with the temperature of human touch (no electronics required). That being said, I am really excited to gain some new skills and try something new throughout the process. Only time will tell!

5 Comments. Leave new
It looks wonderful so far Eli! What kind of lights are you going to use and what are you doing to ensure they show through the wood?
Hi Eli – I am looking forward to seeing your final product! I really like that you have prototyped and changed your design slightly to make the manufacturing more feasible. I also think it is great you are learning a new skill with capacitive touch screens.
Hey Taylor – thanks for your thoughts. It feels nice to have the external fabrication done, I’m just hoping that my first attempt at capacitive touch screens pays off!
Very cool project. Its very impressive what you have done so far, hopefully it keeps going well. Excited to see the final product!
Hi Cason – thanks for saying that! Now that the external fabrication is done, I’m excited to get started on the circuitry and electronics. Fingers crossed it all works out!