
For my main design project I will be creating a minimalist spice rack. My inspiration for this project came when I decided that I wanted something that could serve practical use for me as I venture off into the world after graduate. As an RA, I have lived in the dorms for the past few years, and thus have not had to cook for myself, but this will change for me starting this summer. When thinking of things I could make that are kitchen related, I landed on a rotating spice rack as it satisfies my need for something practical, as well as the project guidelines requiring a moving component. I chose a minimalist aesthetic as I believe that it is what will best fit my style. I prefer decorative things to be simpler, not using lots of crazy colors or patterns which I am hoping this piece will embody.
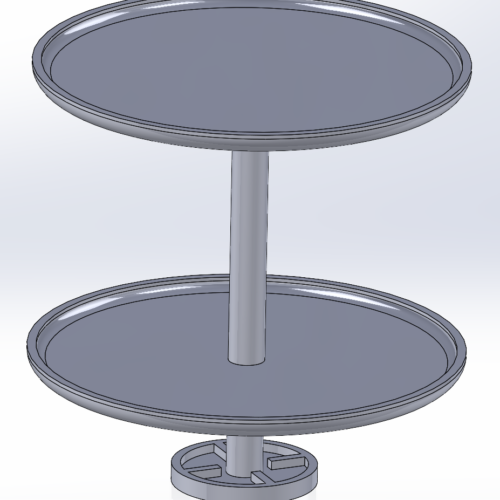
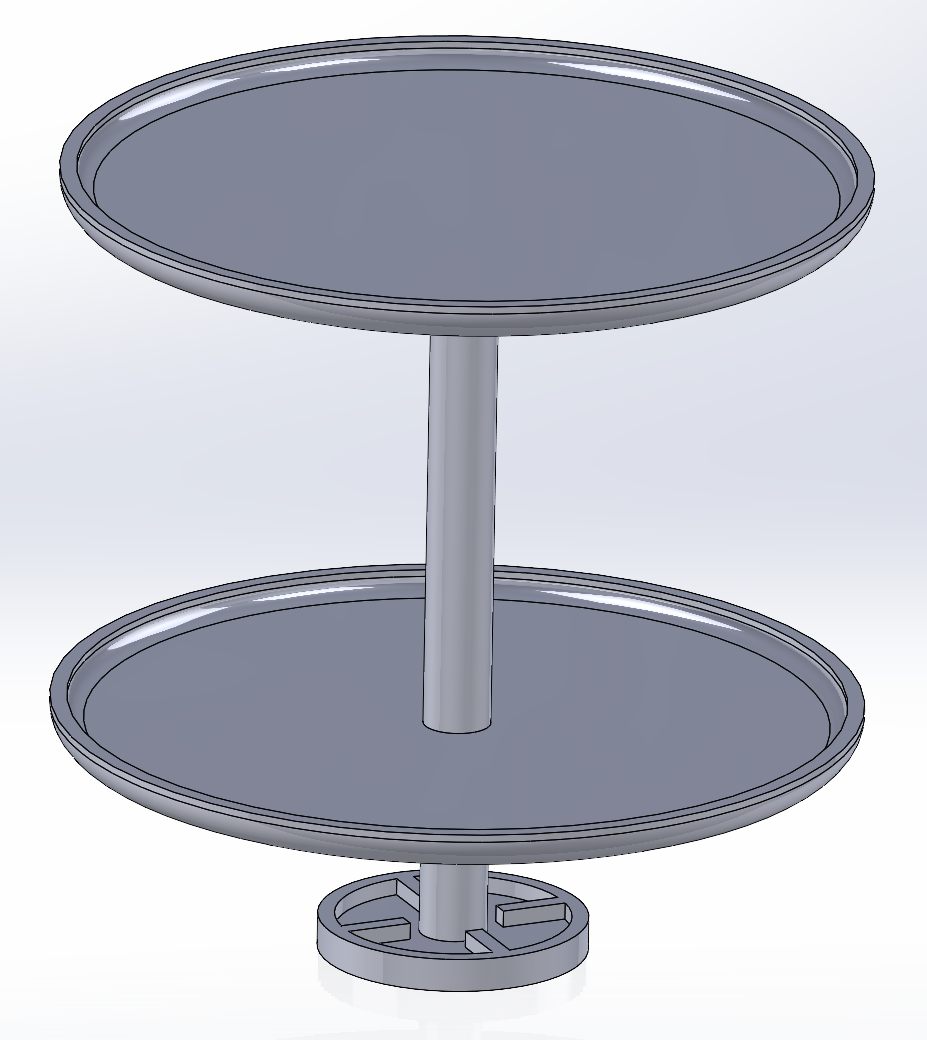
Figure 1: My full CAD setup for my spice rack.
My project will be composed of a few separate pieces, the first and arguably the most important will be the base of the tower. My current plan is to 3D print this component, which will be circular, and contain a hollow area in the center. My plan is for the 4 arms seen in the picture to hold the bearing in place, which will allow for the entire tower to rotate. As designed currently, the diameter of the bottom is 4 inches, and is half an inch thick. The arms are currently designed for a bearing with an outer diameter of 1.5″, however this is subject to change depending on what bearing I end up using. Because bearings are generally ordered in bulk, I am first planning on seeing if the Idea Forge has any extras that were ordered from component design projects. If not, I plan on going to Home Depot or another hardware store and picking something sensible. I plan on being flexible on the bearing size, and adjusting other components around it.
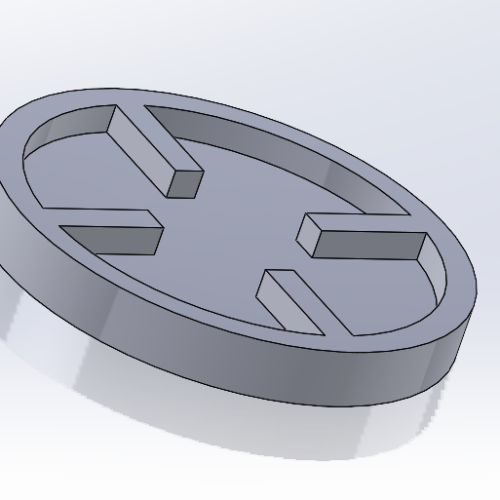
Figure 2: A more detailed view of the base of my spice rack. the middle area will hold the bearing
The next main component is going to be the shelves themselves. These will be mostly flat circular components that will store all of the spices. I want them to have a bit of a ledge around the edges so that bottles do not fall off easily, but have it short enough that the spices still feel open. There will be two of these components which will be around 12″ in diameter and vertically spaced around 8″ apart. This vision lead me to initially want to use plastic dinner plates as the shelves, as they were the right size and shape that I was looking for. I am still split on that approach or instead simply 3D printing those as well, which is a decision that I will continue to think more on in the coming days.
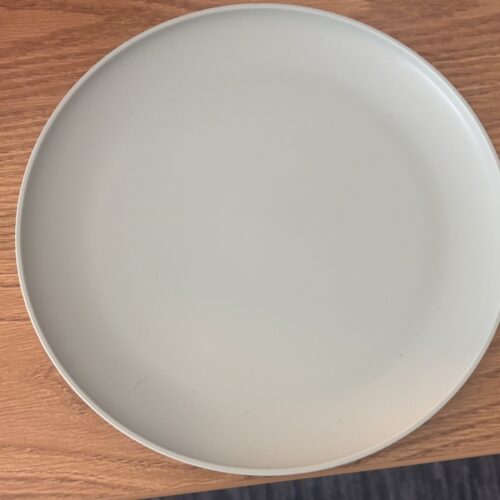
Figure 3: An example of the types of plates that I am considering using for the racks themselves
Below is a reference image that shows the general shape that my spice rack will have. The main differences between my design and the reference are that I will be using 2 levels rather than 3, and my central pole will not reach up past the top as it isn’t mounting inside a cabinet, but rather will be used on a countertop. I am planning on 3D printing my central poles as well, as I want to be able to ensure that they are a size that can easily fit into the bearings.
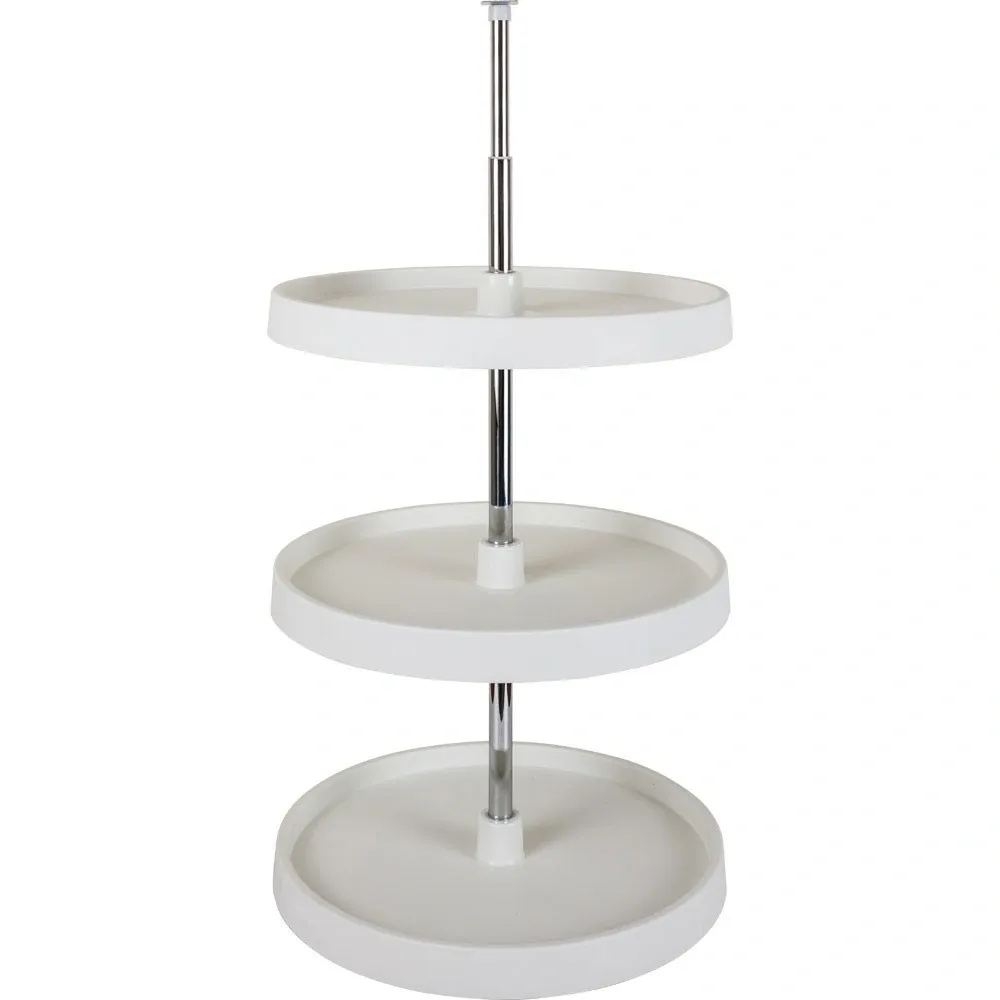
Figure 4: A reference image that shows the general style and setup that my piece will resemble (ACMoulding.com)
Now for the important part. I plan on making this piece fit into the minimalist aesthetic in a couple of different ways, the first of which is through the simplicity of the design. As I said earlier, I am not a huge fan of fancy and ultra detailed decoration, and I think that simple is often times the best way to make something visually appealing. Another important design component is that I don’t want the rack to look too boxy. This was my reasoning behind having both the racks and base be circular, as I feel like having too much literally sticking out (corners) might make the entire piece stand out too much as well. My overall goal is for this to be a piece that I could neutrally fit into just about nay kitchen, regardless of the aesthetic of the room. Another way I hope to achieve this is with color. I don’t want to just make it white, as that seems a little too boring. Instead my approach is going to be to use either a pastel blue or green. My plan is to spray paint the entire thing one color, as I feel that too much color variation would take away from the minimalism of the piece. This is also something I can change If I don’t like how it looks, and I would consider making the middle supporting poles either white or black to give the piece a little bit of contrast.
My first initial sketch is below, which isn’t all that detailed, but showed my vision for the general shapes that I was hoping to design in this project. Also below are my two alternate aesthetics that I came up with, the first showing the piece made in a rustic aesthetic, which I chose for my upcycle project, and the second in a Victorian aesthetic, which I felt was the opposite aesthetic for my project.

Figure 5: My first sketch for my design, showing the general shapes and styles that I am planning on incorporating in the project.
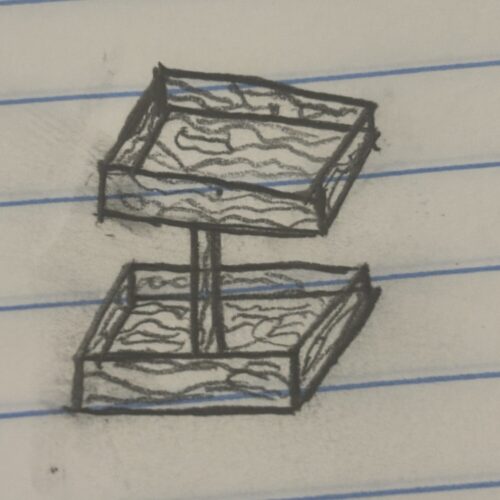
Figure 6: My first alternate aesthetic which is rustic. This design would utilize lots of rough corners and lines, as well as being made of wood rather than plastic. Most notable difference would be the lack of smooth curves that my piece will have.
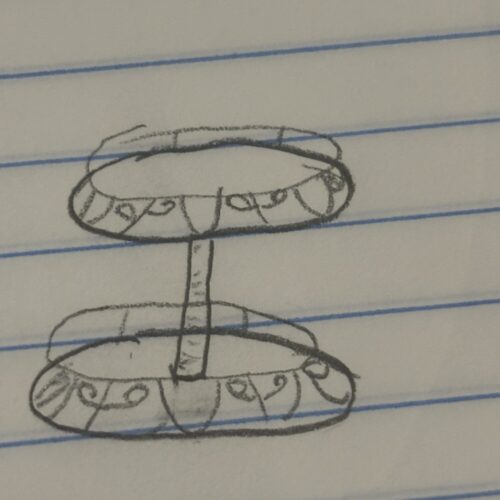
Figure 7: My other alternate aesthetic was a Victorian approach, which would be far different from my aesthetic. This design incorporates lots of thin detailed metal pieces with lots of loops and repeating patterns
My timeline for this project will begin next week, where I plan on talking with engineers at the idea forge to see what kinds of bearings they have that would be available. If none, I will source the bearings from elsewhere, in addition to finalizing my CAD for all parts. I will be out of town for the first half of spring break but plan on being back for the second half, where I plan on utilizing the ITLL’s 3D printers to begin creating my parts. Once I have all my parts in hand, I will use an epoxy to bond the middle shafts to the plates. I will then thoroughly sand the entire piece until I am confident I have a surface that will be easy to paint. If sanding doesn’t work, I plan on applying a primer coat, before spraying on my finished color coat. From there I will make whatever tweaks necessary to ensure that I have a working piece that also looks aesthetically pleasing.
To break down my manufacturing plan more, I plan on using standard PLA filament to print all parts. I am familiar with these types of prints and have used the ITLL before to 3D print. All of my components are small enough that they will fit on one printer, so I have no worries about that becoming a roadblock. The things that I am most concerned about are the sanding and painting. I have very limited experience with painting and finishing plastics, and I am a little bit concerned that the paint won’t come out looking at all how I want it to. In order to help counter this, I am planning on doing a fair bit or research into the best ways to paint and finish plastic. By the time I reach that stage of this project, I believe I will be prepared, and have a much better idea of the type of approach that I want to take. I am very confident that I can make this piece functional, but I really want to ensure that my piece is appealing to look at and really fits into my aesthetic.
References:
(1) My own work
(2) My own work
(3) My own work
(4) https://acmoulding.com/wp-content/uploads/2022/02/3-Shelf-18-Diameter-Round-Plastic-Lazy-Susan-Set-Twist-and-Lock-Pole.webp
(5) My own work
(6) My own work
(7) My own work
2 Comments. Leave new
This is a great project, Tay! I like how your dynamic component was well-thought out and you are making something that you will end up using everyday. Do you have a certain budget yet? Out of curiosity, did you think of any other aesthetics before choosing minimalism?
Your minimalist spice rack design is practical and well-balanced, with the circular elements enhancing the aesthetic. The approach to material selection and finishing adds a refined touch.Nice!