

Introduction
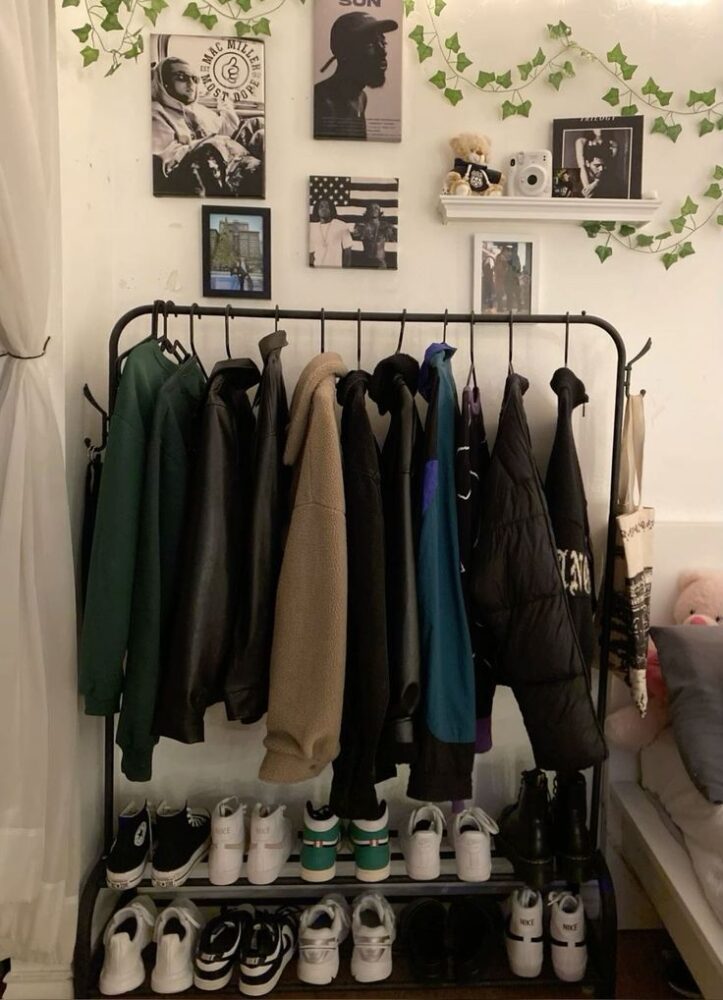
At first, I was very unsure of my personal aesthetic, as I believe it could be many different things. However, taking a step back and looking at my bedroom, I think my style is best categorized by the “urban” aesthetic and “vintage” aesthetic. I already have aspects of these aesthetics in my bedroom, but it feels incomplete, which ended up being the inspiration for my project. The idea is to make essentially a clothing rack, with shelves. It will be a multi-purpose piece of furniture to be able to store clothes, display items, and further the current aesthetic of my bedroom. While I have an idea of the aesthetic I want for the rack, I want the rack itself to be more general and not just adhere to one aesthetic. I believe in the case of my project, the thing that makes my artifact match my aesthetic is the items I display on the rack. This includes clothes, books, art pieces, Knick knacks, etc. I want this artifact to stick with me once I move out of my current college house, and still fit in with the aesthetic of the room I put it in. I believe this idea will allow me to accomplish that goal in an excellent way.
Vision and Inspiration
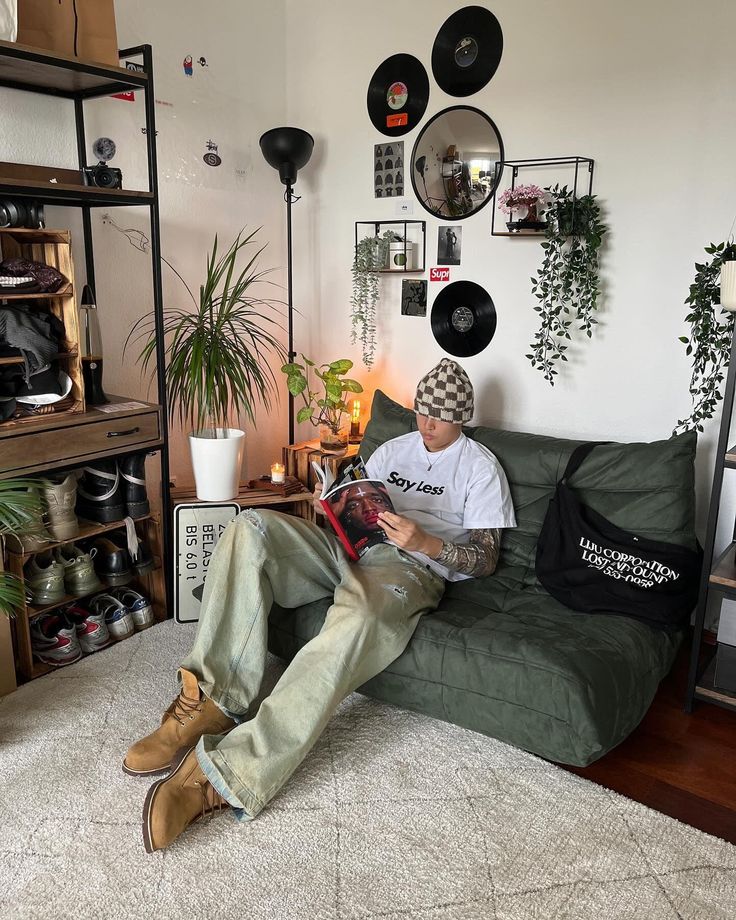
I’ve had an idea of what kind of furniture or additions I wanted to add to my room for a while, but I decided to go on Pinterest for inspiration. I searched using key words like “urban”, “men’s bedroom”, and “vintage furniture” to come up with an idea for my aesthetic and inspiration for the artifact itself. I juggled between a few ideas from these inspiration photos, but landed on a free-standing rack with caster wheels on the bottom so that I can easily move the rack to a different part of my room. This makes the piece standalone, meaning it doesn’t need to attach to the wall or other furniture. By making this decision, I will not only save money, but also satisfy the “movement” requirement outlined in the specifications for this project. For the size of the project, I have an area of my bedroom that is 5 feet in width and 2 feet in depth. I want the artifact to be constrained to this space, while still having the functionality that I want out of the piece. To satisfy this requirement, I decided to split the 5 foot width into two sections of 3 feet for hanging clothes, and 2 feet for the shelves on one side. I think this gives a good balance of clothing storage along with space to properly display things on the shelves. The are under the clothing rod will be a wire-basket or base of some kind to store clothes that are not hung, for example sweatshirts. I could also develop this space for storing shoes or other loose items like pillows or blankets.
Learning/Developing Skills
This project involves working with metal pipes and fittings, which means I need to familiarize myself with pipe threading, assembly, and proper fastening techniques. While I have experience with basic DIY projects, this will be my first time constructing furniture using industrial materials. Learning how to securely join pipes using elbow and T-joint fittings, as well as ensuring structural stability, is an essential skill for this project. Additionally, I will need to use and build upon the wood working skills I used during the Upcycle project. The materials for this project include black iron pipes, elbow joints, T-joints, floor flanges for stability, pipe caps for a finished look, and a wooden base for additional support. I’m hoping to further my design experience through the use of CAD, in which I have not used pipes or pipe attachments much at all. I think this will be a fun challenge that I welcome as I am starting my project.
Exploring Alternate Aesthetics
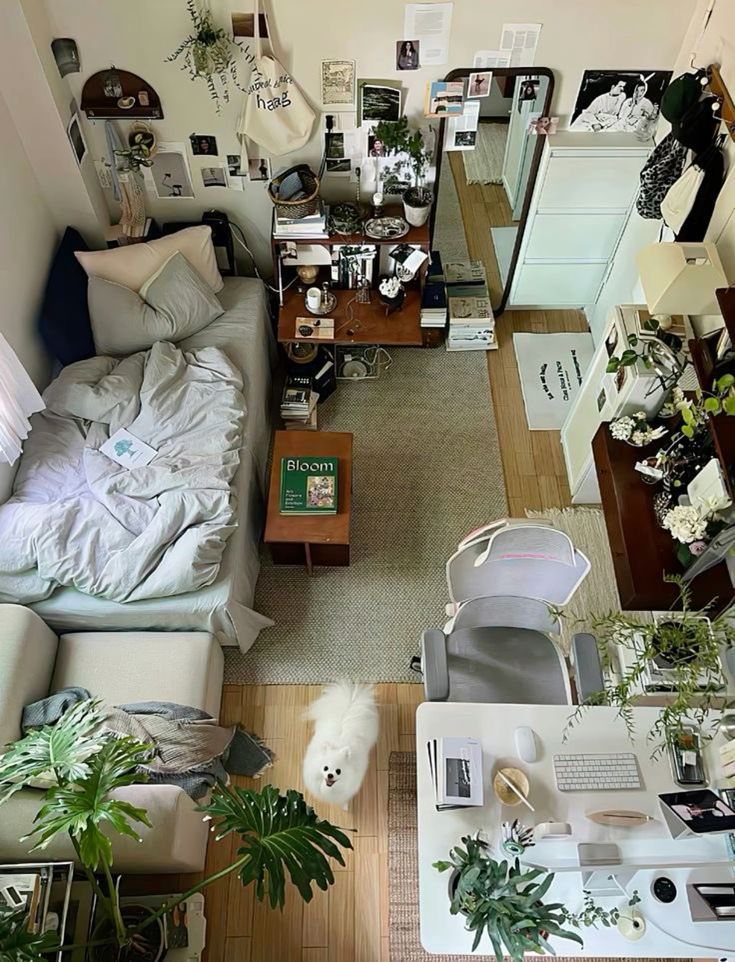
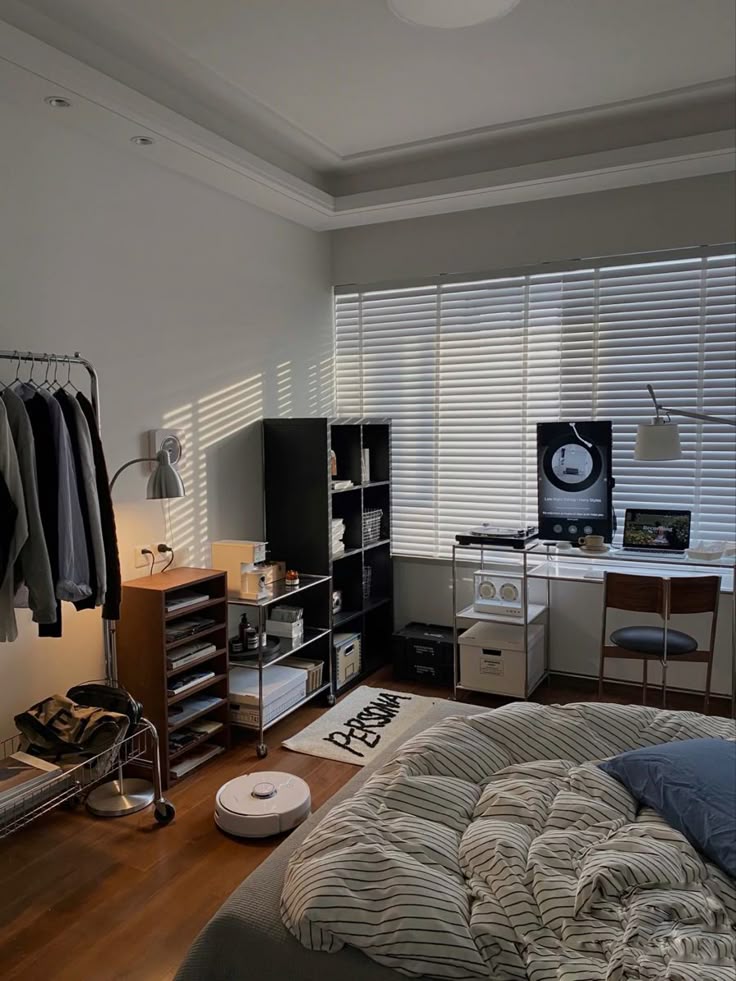
While my initial design is rooted in the urban-industrial aesthetic, I explored several alternate styles to see if they might influence my approach. Two distinct aesthetics that stood out were bohemian and minimalist, each offering a unique take on the metal pipe clothing rack while still maintaining functionality. A bohemian-style clothing rack would incorporate warmer, more organic elements. Instead of matte black iron pipes, I could use copper or brass pipes to introduce a softer, vintage touch. The base could be made of reclaimed wood with a natural, unfinished look, enhancing the earthy, relaxed feel of the design. Additional bohemian details might include woven baskets for storage, a macramé hanging accessory draped over one side, or small potted plants placed near the structure to bring in greenery. This version would feel more eclectic and artistic, complementing a space with warm tones, soft textiles, and layered patterns. On the other end of the spectrum, a minimalist aesthetic would strip the design down to its most essential elements. A clean, sleek look could be achieved by using stainless steel or white powder-coated pipes instead of black iron. The base could be a simple white wood platform or even omitted entirely in favor of a wall-mounted version, maximizing space efficiency. The overall structure would remain light and open, with straight, uninterrupted lines and no excess ornamentation. Paired with uniform hangers and a neutral color palette, this version would blend seamlessly into a modern, clutter-free space. After considering these alternatives, I decided to stay true to my original industrial-urban concept. This is because I believe these aesthetics were two extremes that wouldn’t fit so well with my personal aesthetic or the aesthetic of the room I am designing the artifact for. I want to lean into the vintage and eclectic style because I already have some items I would like to display on this artifact as well. While I decided not to go for either of them, exploring these aesthetics helped refine my vision and made me more aware of how subtle material and design choices can dramatically shift the overall look and feel of a piece. If I ever decide to adapt the design in the future, I might incorporate some bohemian warmth by adding brass or copper details or embrace minimalist efficiency by refining the structure further.
![]()
This is a picture of my room, essentially how bohemian/minimalistic wouldn’t fit in with my room.
Building Plans
The first step in constructing the clothing rack is to measure the space where I plan to place it. I need to determine the ideal height, because I already know the width and depth I want the artifact to be as detailed above. Once I have these measurements, I will sketch a rough blueprint outlining the structure, including the placement of joints, supports, and the optional lower shelf. With a finalized design, I will visit a hardware store to purchase pre-threaded black iron pipes. If necessary, I will have the pipes cut to my specific dimensions. If I cannot get pre-threaded pipes, my roommate’s uncle has a pipe threader that I could hopefully use to complete my project. Once I have all the components, I will begin assembling the frame by connecting the pipes using elbow and T-joint fittings. A pipe wrench will be essential for tightening these connections to ensure the structure is sturdy and secure. Because I decided to opt-for a free standing rack with caster wheels, I will need to purchase a set of 4 of them and attach them to my base somehow. If I choose a wall-mounted design, I will use heavy-duty wall anchors and screws to attach the flanges to the wall, ensuring they can support the weight of hanging garments. Once the frame is assembled, I will shift my focus onto making the shelves for display. The amount of shelves depends on the height I decide, but I do know that I want the gaps between the shelves to vary. Specifically with larger gaps at the bottom, getting smaller as you move up the artifact. I’m also considering making some of the shelves slanted with a lip at the bottom to hold and display coffee table books or magazines I would like to display. Hopefully I can buy a wire frame basket that fits in the empty space in the base of the rack, or maybe I can adjust my design to fit around this basket. I’m just starting on the CAD design now, so I will likely have to make many adjustments/compromises in my design, but I’m hoping to adhere to this vision and these plans as much as possible.
Timeline
- March 7: Measuring and Dimensioning
- March 14: Order Metal Piping
- March 21-24: Cut/thread pipes upon arrival
- March 24-28: Assemble the frame
- April 1-5: Acquire/Cut wood for shelves
- April 6-12: Attach shelves to metal frame
- April 16-22: Final touches (add wire basket to base?)
Conclusion
I’m looking forward to building this project, and the challenges that come with it to hopefully further my skills and make a useful piece of furniture. Not only does it serve as a functional storage solution, but it also enhances my space’s aesthetic, reinforcing the urban loft-like vibe I was aiming for. If the project turns out near what I’m imaging while planning it out, I know I will be proud of the project for a long time and really appreciate the opportunity to complete a project like this.
Works Cited
Pinterest. “Industrial Pipe Clothing Rack.” Pinterest, uploaded by jrosalette, 3/12/25, https://www.pinterest.com/pin/1970393579392334/.
Pinterest. “Metal Pipe Clothing Rack Design.” Pinterest, uploaded by antomusi, 3/12/25, https://www.pinterest.com/pin/1688918605752774/.
Pinterest. “Industrial Pipe Clothing Rack Inspiration.” Pinterest, uploaded by Erika Reyes, 3/12/25, https://www.pinterest.com/pin/14003448836948174/.
2 Comments. Leave new
Hi Rauba, this project seems awesome! I really like how you first defined your aesthetic then chose to make it into a functional aspect that is representative of you. I can tell you have a great interest in the clothing rack, and you have done a great job planning out the timeline of your work. Do you plan on making 3D prints a permanent aspect of your project, or are these primarily for prototyping? I wish you the best of luck with this, and I can’t wait to see the progress!
What a cool project idea, it’s hard to picture exactly what you’re design plan in but I think it will be really cool! I’ve done some woodworking in the past and noticed that it can sometimes be difficult to attach two different materials together (in this case wood to metal pipes). This shouldn’t be too hard for the base, where the metal pipe can attach perpendicular to the wood surface, but it might be difficult for the designing/building the shelves. What kind of wood are you planning on using? How will you finish it? Do you want the wood to be light or dark against the black pipes? I think that would have a big impact on the final look. Good luck!