
For this semester’s final design project, I will craft a wooden iteration of the zen drawing Buddha Board concept, which currently only exists in ‘disappearing water’ format. This user-driven movement project combines my love for woodworking with my love for creative technology — and generally has a positive effect on mental health. In addition, this idea fits the criteria that my design “has some sort of dynamic component; a moving part or something that changes with time.”

Project Vision
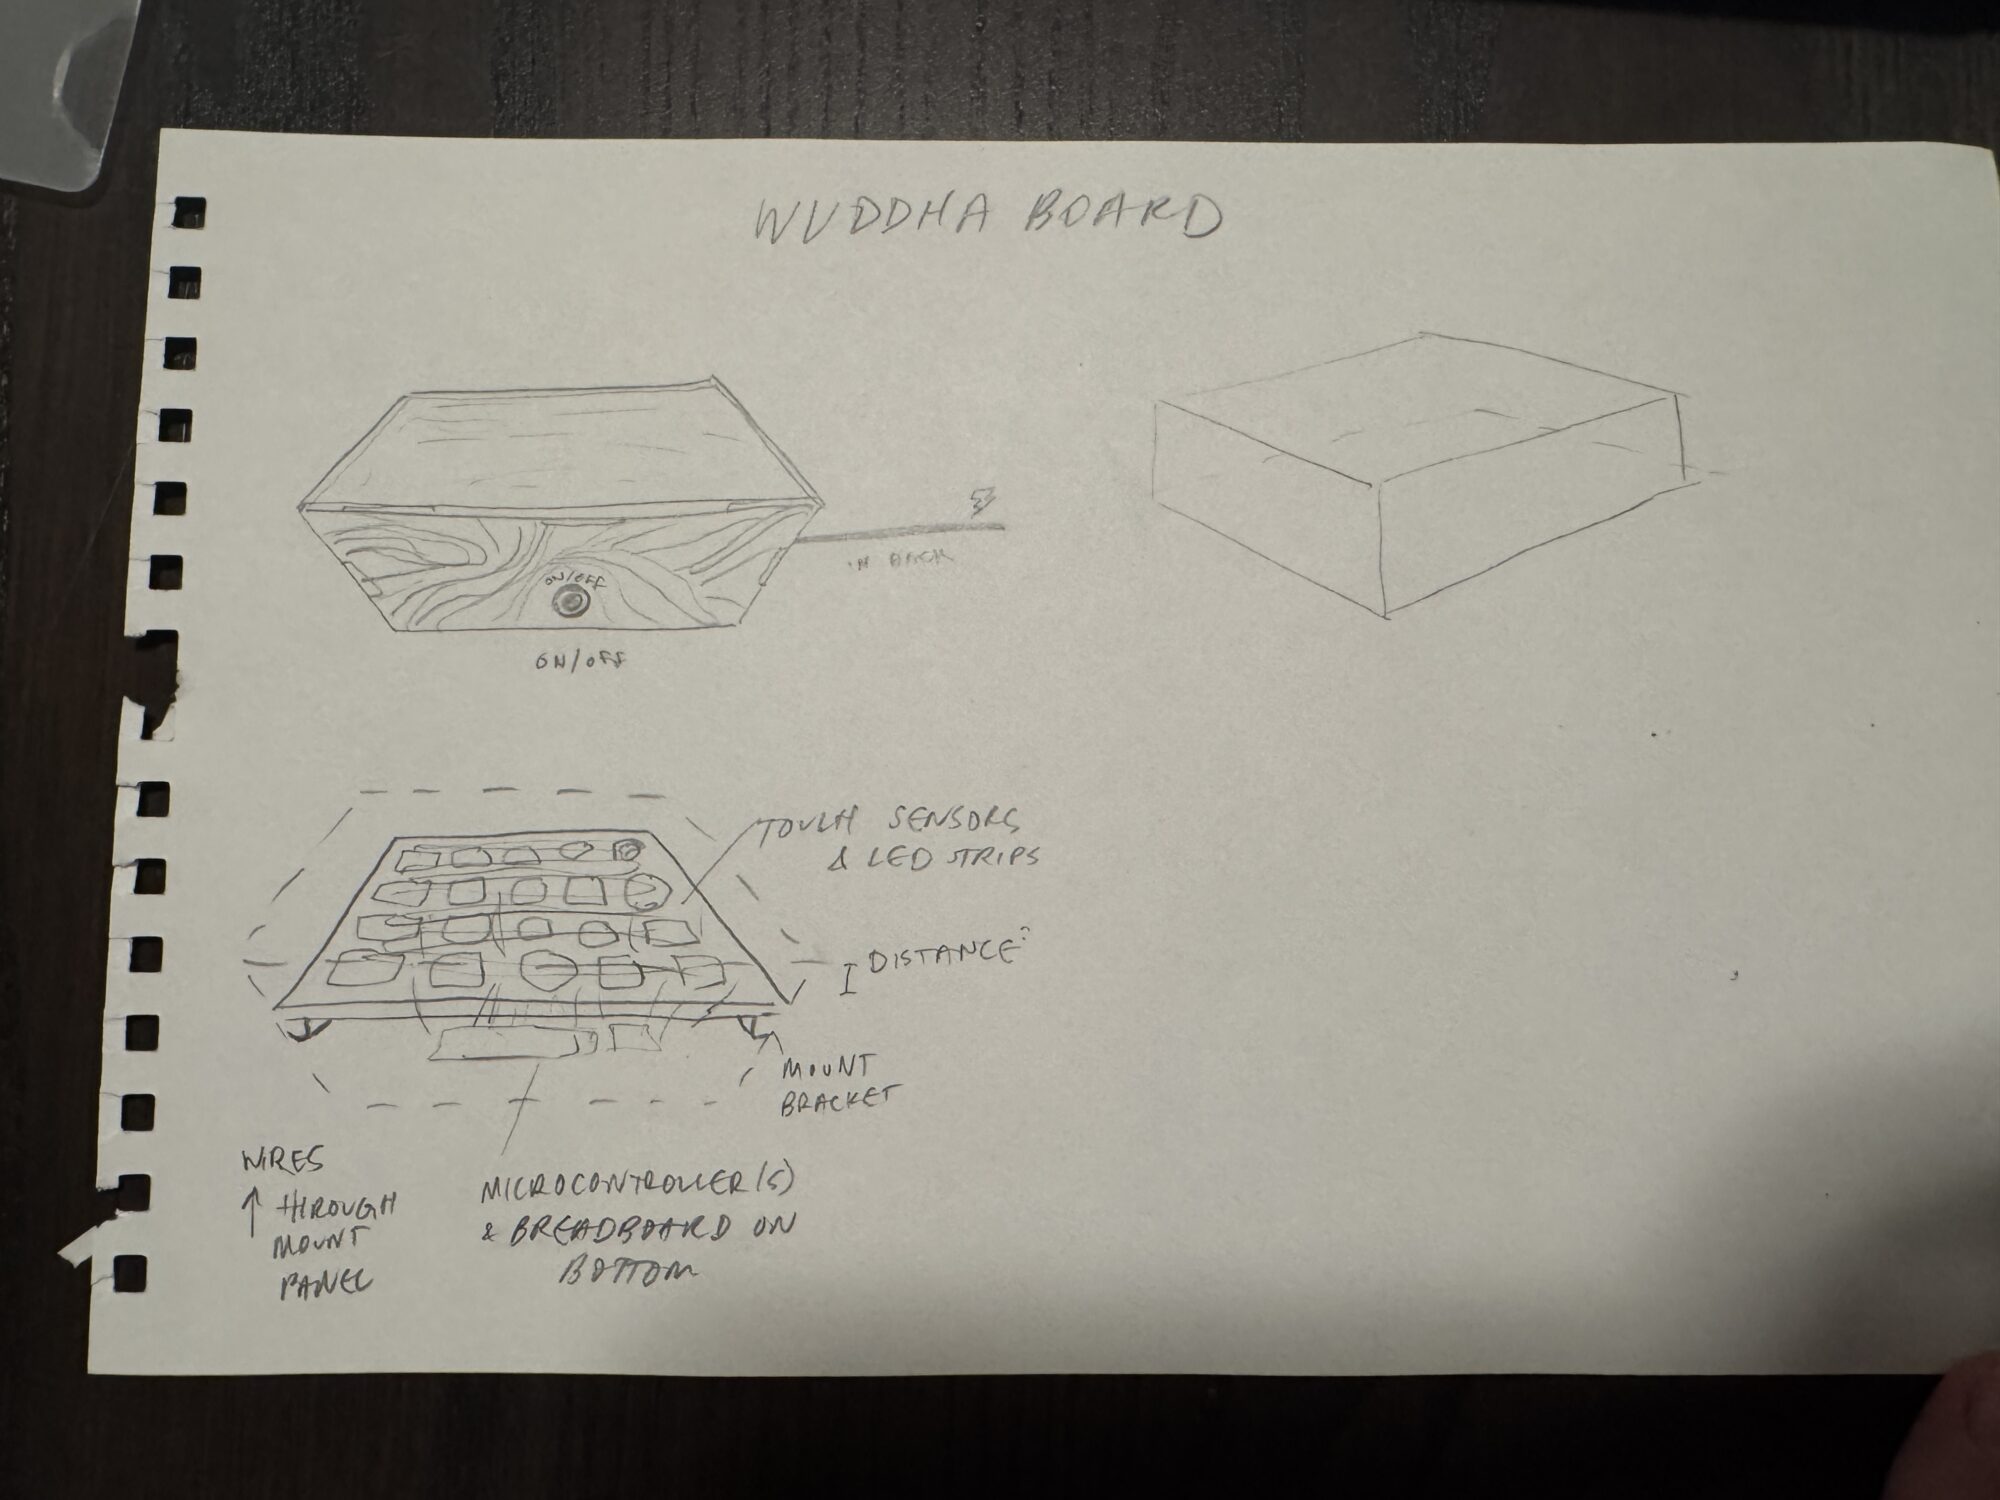
To make it happen, I will fabricate a wooden box and combine it with a circuit of touch sensor modules and LED strips. Thus, users will be able to draw onto the top face of the box with a fingertip and see a resulting colorful line of light (or shape) in the wood grain — but only temporarily.
In addition to the box and electronics, I plan to laser cut a wave-like pattern into the sides of the box to further embody my defined aesthetics and encourage creativity by any users of my product. This will also help if my electronics fail, as what’s left will be a beautiful wooden box.


Inspirations
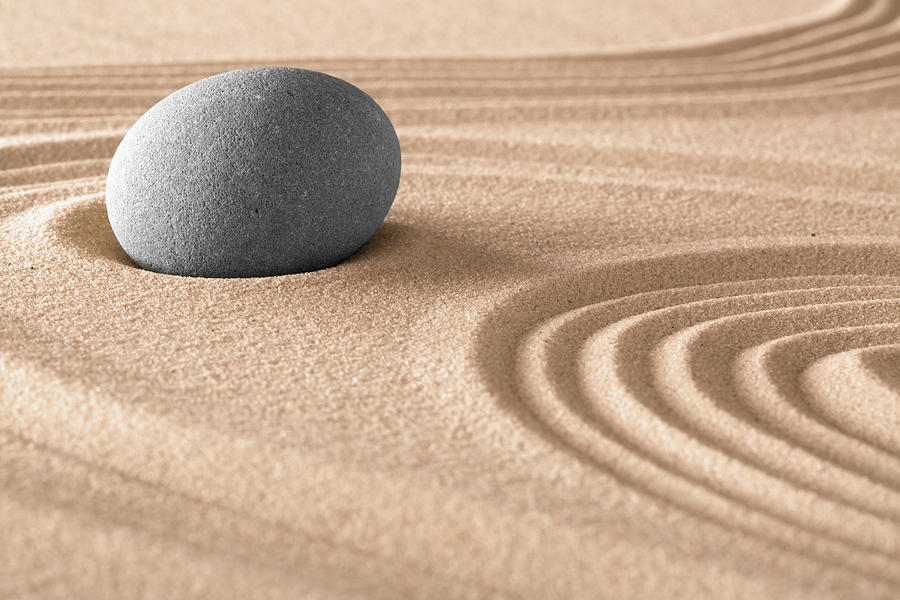
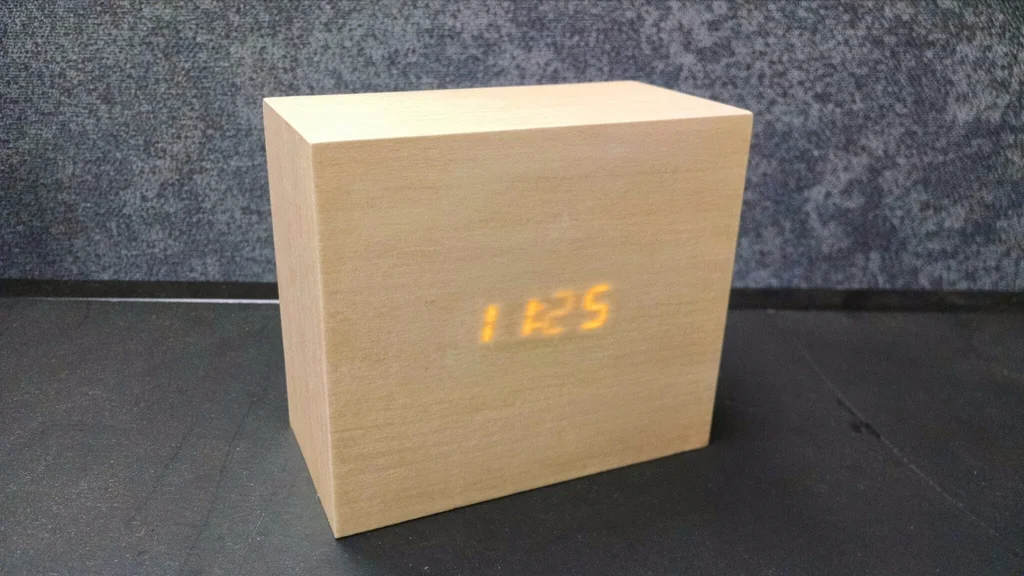
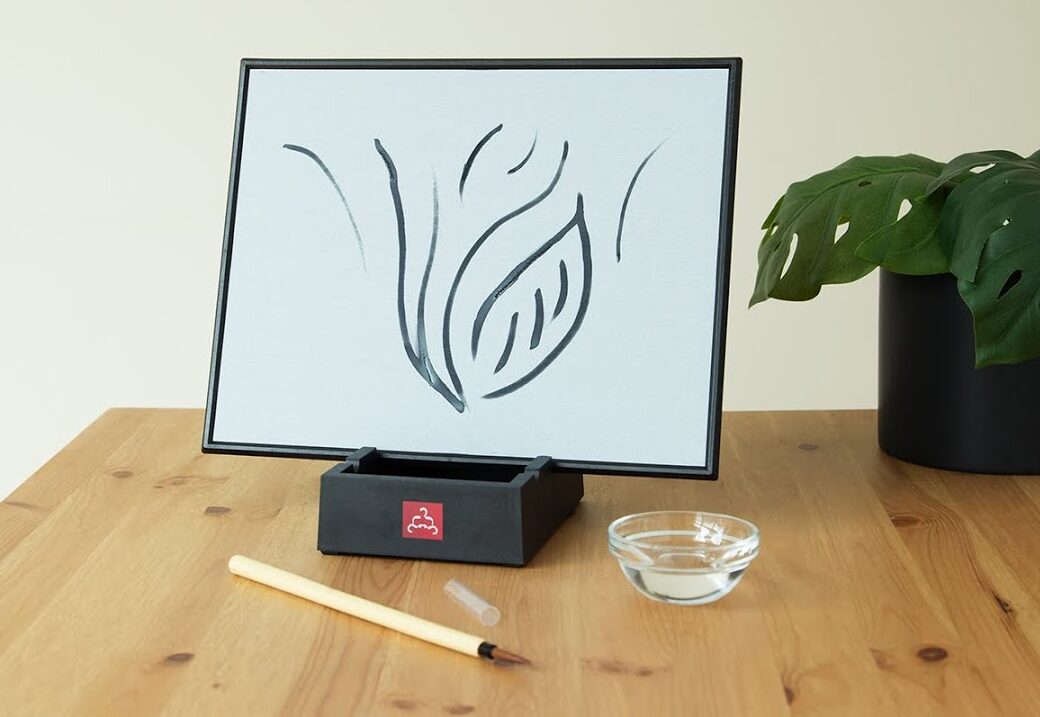
My project is inspired by past combinations of LED lighting and wood, including (but not limited to) LED touch-sensitive furniture, the ‘Wood Block’ alarm clock, and wooden + LED signage. In addition, I am inspired by existing versions of the Buddha Board, which rely on water for users to paint temporary shapes that then dry away from the canvas.

It’s imperative to mention that I am drawing from core Wabi Sabi philosophies in zen drawing like Datsuzoku and Kanso, which includes breaking from routines and embracing simplicity. This Japanese aesthetic philosophy includes even more principles, but I thought these two were especially poignant when thinking about a zen drawing board that encourages an interaction which is peaceful and temporary — therefore almost meditative. Overall, the Wabi Sabi principles are a framework for appreciating and understanding beauty and aesthetics, which also ties in effortlessly to what we learn in class.
Aesthetics Defined
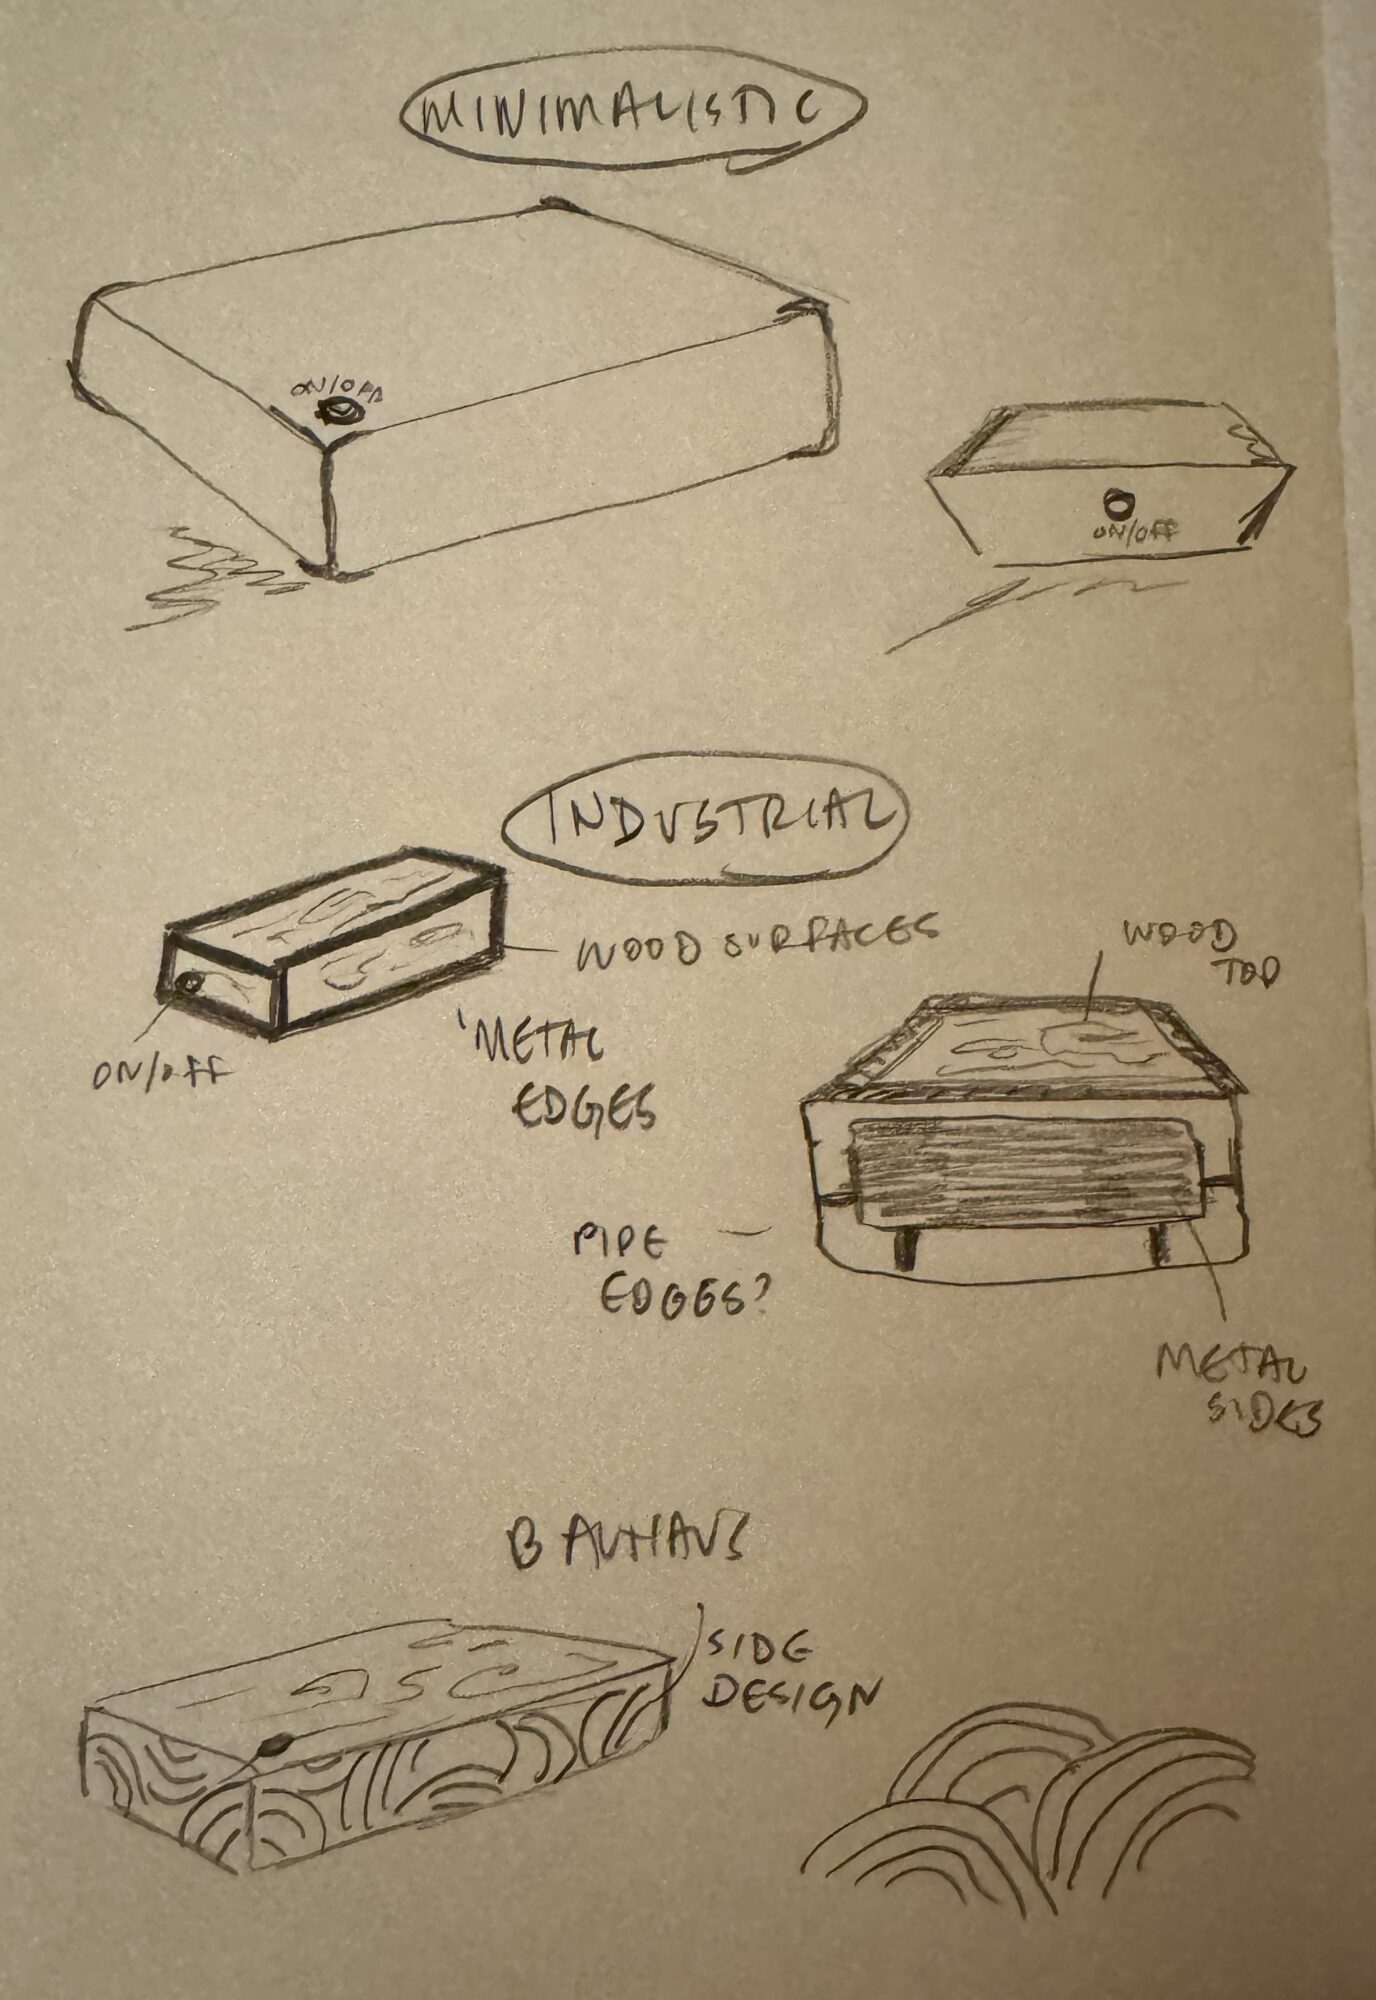
For my project, I’ve identified the warm minimalist and modern rustic aesthetics, blending the natural texture of the wood with the contemporary feeling of LED lighting. As part of identifying my main project’s aesthetics, I explored opposite aesthetics to my idea including ‘Industrial’ and ‘Outrun.’ Below are some sketches encompassing this part of my ideation, including some exploration of Bauhaus for the potential side designs.
The industrial aesthetic often relies on industrial materials as expected, such as metal, piping, gears, etc. to resemble old factories and buildings. In relation to my project, this aesthetic would make for a colder, more angular design made of metals and sharp corners. Meanwhile, the outrun aesthetic combines history and future, capturing the essence of retro-futurism through bright magenta, gridlines, and 1980’s flare. Again, in relation to my project, this aesthetic would make for a louder, more jarring design made of metal and vibrant grids etched into the wood.
Fabrication Process and Timeline
To make my artifact, I plan to laser cut a box made of birch plywood leftover in my garage, combined with purchased touch sensors and LED strips. After laser cutting my wood pieces in the BTU Lab on campus, I will mount the touch sensors and LEDs to an internal wood board that is a slightly underneath of the top face, which will be made of thin acrylic overtop of a thin layer of wood veneer.
Prior to laser cutting, I do plan to do some test prototyping with cardboard to explore various etching patterns, finger joints, and the overall design for my box. Initially, I was considering a tapered box shape with a larger top face to encourage user interaction – and just look cool. Yet, after my presentation to my group members this past week, I was given the idea to think about rounded corners on the box to fit my defined aesthetics and go along with the Wabi Sabi principles. Thus, I am going to take this week to explore this idea as I translate my aesthetics to a physical item!
Once I’m past the initial fabrication steps, I plan to follow up with glue to seal the edges of the box and firmly attach the electronics to an internal wooden board (to prevent damage). Prior to gluing, I also plan to add integrate a small on/off button and sustainable power source to the electronics and box design.

What’s Next
To begin on my project, I will first order the electronic components to make up the touch sensors and LEDs. As this takes time to ship (though I hope to pick up from SparkFun), I plan to create a cardboard prototype and laser cut the external box shape. In doing so, I can move into assembling the initial circuit and testing the board’s function.
Next, I plan to lean into testing the product, including some user testing once everything gets up and running. I’m especially going to be looking for light diffusion and touch reactivity, just to smooth over the user experience and make sure that my aesthetic vision is aligning with my end result. From there, all that is left is finishing touches to sand, seal, and decorate the wood for long-term usage. Stay tuned!
P.S. You can learn more from my Design Preview presentation.
Image Sources:
- Zen Meditation Stone And Sand by Dirk Ercken on FineArtAmerica.com
- Curved Laser Bent Wood by Aaron Porterfield on Instructables
- NoBlue Amber LED Strip Lights by Block Blue Light
- Industrial socket box by ANGGREK on Amazon
- Lara Industrial Loft Grey Iron Easel Stand on Kathy Kuo Home
- Coworker’s toolbox on Reddit
- Modulon by naef on bauhaus movement
- Sheet metal by Cory Nystul on InterNACHI Inspection Community
- Wavy wood vector pattern from FreePik
- Polygon Box by Maker Case on Instructables
- Translucent Wood Panels by rschoenm on Instructables
- The Zen Drawing Board by Buddha Boards by Grommet
- Wood Block LED Clock by benbrandt22 on Instructables
- LED Touch-Sensitive Coffee Table by Ubergizmo
2 Comments. Leave new
Hi Eli! I’m really looking forward to seeing how this project turns out. The interactivity of it is super interesting, as well as what you have chosen for you aesthetics. I love that it is, in a way, a celebration of the wood by shining the light through it, highlighting the wood grain and materiality. You mentioned using the laser cutter, are there any other machines, such as 3D printers, that you will be using in the construction?
Hi Scott! Thanks for saying that, I’m crossing my fingers that it’ll all come together. For now, I am relying only on the laser cutter for the construction, with the exception of soldering stuff for the electronics. That being said, I think it would be cool to use the 3D printer to create a faceplate for an on/off button, a plastic border on the top face, or for power supply/storage, so I’m going to explore that during cardboard prototyping this weekend!