
For this design project, I have decided to make a clock. It will be of the same design philosophy as seen in organic design and art nouveau, however, I am putting my own modern twist on it – This being dramatic shapes, impactful colors, and illusions.
This process of designing has and will continue to involve these design steps:
- Brainstorming + research
- Concept sketching
- 3D modeling + prototyping
- Material exploration/experimentation
- Fabrication
I will be addressing each of these in this post.
Brainstorming:
This involved ideating project/subject ideas and topics that I wanted to cover, along with initial aesthetic and precedent research.
I knew from the moment of starting this design that I wanted to create an object that did not have to be interacted with to still have a dynamic/moving element. Initially, I brainstormed ideas that interacted with nature, like a rain chain, wind chime, sun catcher, or bird feeder. All of these seemed very interesting to me and had the opportunity to be stylistically very interesting. Alternatively, many of these ideas are typically made of metal, which I am unfamiliar with.
So, through multiple brainstorming sessions with family and friends, I landed on the idea of a clock. It is already a visually and technically interesting object that has presented itself throughout a very long period of time. Additionally, it comes in many different shapes, sizes, styles and forms – offering me plenty of creative freedom to ideate with an already diverse foundation.
Out of pure personal love and interest, I have decided to make a pendulum style wall clock.
Research:
Within the research phase of the design, I began to look at possible styles/aesthetics, materials and general areas of inspiration.
I started by being inspired by the intricacy and thoughtfulness of these laser cut clock designs:


Still wanting to have some connection with nature from my initial brainstorming ideas, I decided to adopt the design philosophies of Art Nouveau and Organic Design. Both of these value the ideas of the use of natural systems and understanding the organic world, which I plan to emphasize. These methods of design can be seen in Architectural examples like Gaudi’s Casa Batllo.


Much of this townhouse was inspired by skeletal systems of turtles and depictions of the ocean or seashells. Gaudi utilized the working systems of nature to create interpretive pieces of architecture.
The organic inspiration that I am drawing on for this project is the human eye, specifically the intricate and intertwining features of the iris.


There is something deeply mesmerizing about the fragments and fractals we see when closely observing the eye. Each person has their own unique color, patterns and shape to their eye that sets them apart from everyone else. This also relates to the main intention behind this clock – self expression and identity. These organic elements and individual expression through the iris, makes this the perfect focal point for my clock.
Concept Sketching:
After spending adequate time brainstorming, researching, and finding my overall direction for designing, I began ideating designs through sketching. This process can be seen in the images below:

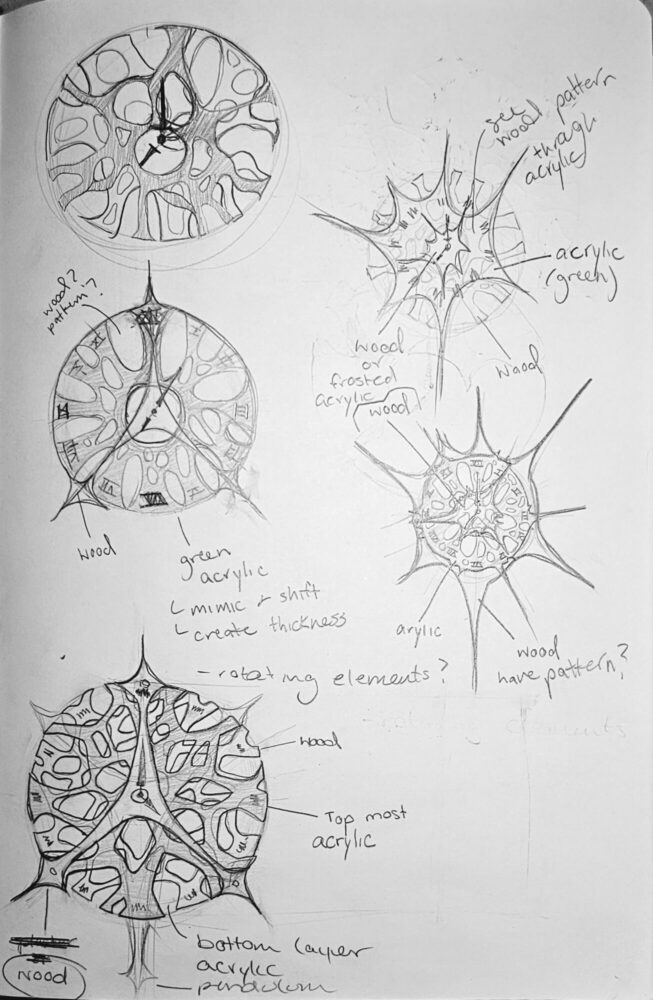
Each sketch occurred during a different stage of research. Oftentimes, I find myself exploring many options and switching between conceptual or schematic design phases in order to bring my ideas to a stronger point. This being with my final concept sketch:
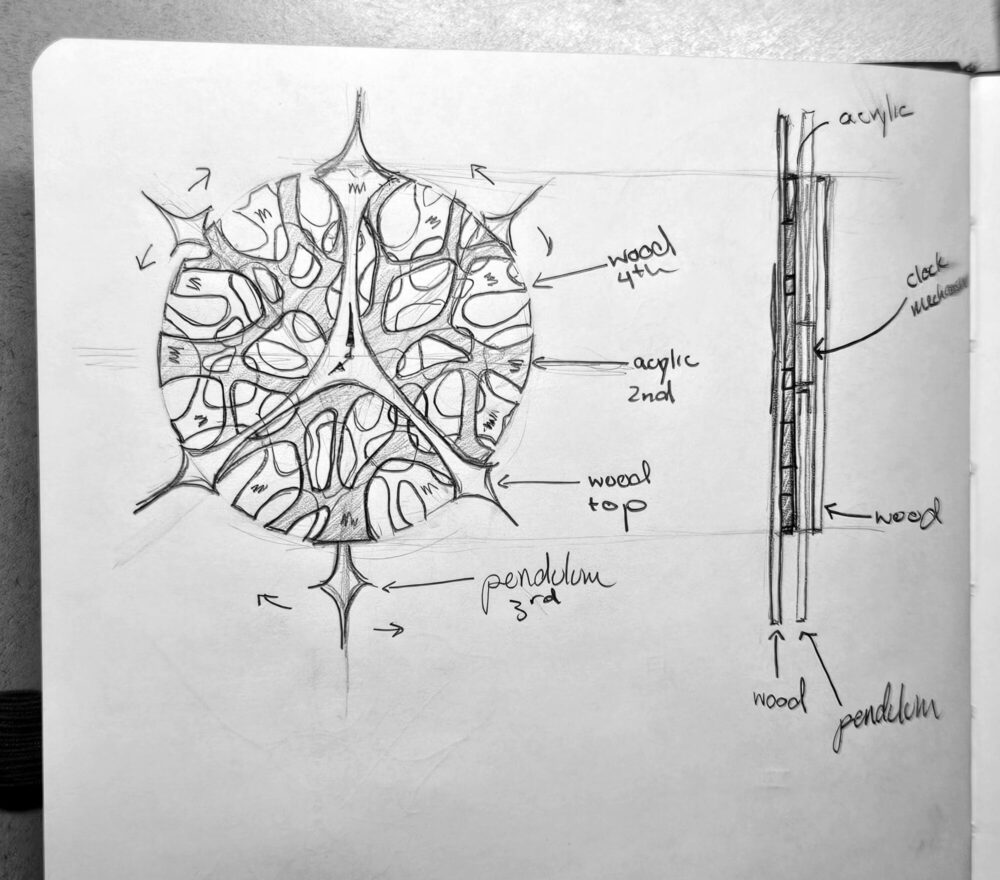
This design includes the intricacies of the iris through primary and secondary fractals, with the dramatic shape elements of the main clock face and pendulum system. Additionally, it experiments with multiple layers of varying transparencies to give an intertwining effect.
3D Modeling + Prototyping:
I am currently working on this stage of the project, along with material exploration which I will explain more on later.
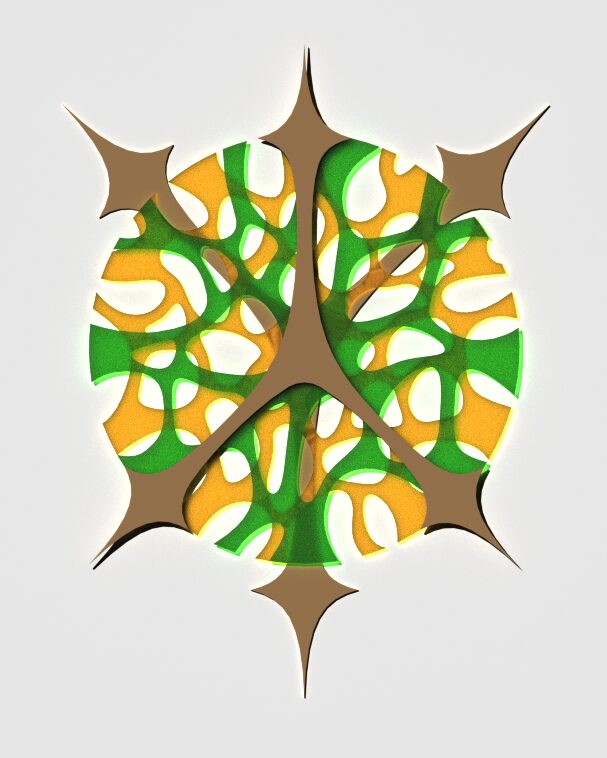
After creating a concept that I was satisfied with and had a general understanding of how the layers would work together, I began 3D modeling it in Rhino in preparation for laser cutting the layers (which I knew I would be doing from the start).
At the moment, this is what the model looks like (figure below) with some color experimentation. The colors have been inspired by my own eyes as a representation of my own identity. The clock will be 14” in diameter, not including the length of the “spokes.”
I have yet to purchase the clock mechanism, which will need to be measured and accounted for in the laser cut file. Before doing this, I will be prototyping pendulum systems.
This is currently my biggest challenge as, from my concept sketch, I want to have the entire back “spoke” piece to tick back and forth. Because of this size and shape, I am unable to purchase a simple clock mechanism for which I would hang the pendulum piece too (although this is my alternative.
When looking into handmade pendulum systems, I found the “Wizard’s Pendulum Clock” system, which I will be referencing for my prototype. It has a similar sizing and overall effect that I want to achieve with this clock.
The link that to the tutorial I will be referencing is linked below:
https://www.stormthecastle.com/clocks/make-a-wizards-pendulum-clock-part-5.htm
Additionally, I will prototype the entire clock with clear acrylic and mdf after purchasing the clock mechanism and understanding the pendulum in order to test all fits and measurements. This will ensure that I do not make a major measurement error with my more expensive acrylic.
Material Exploration
As seen in much of my inspiration imagery and design, I will be laser cutting the lock layers and connecting them together via glue or fasteners. With this, I am wanting to use ⅛” colored acrylic and mdf or wood. Currently, I am leaning towards an mdf (recycled wood composite) as it is a more eco friendly and less expensive option, especially since I am splurging on acrylic.
With acrylic selection, I have spent a long time researching colored acrylic brands and looking for a very specific color. Unable to find the exact color in mind and in a sheet size large enough for the clock, I decided to purchase 2” x 2” acrylic swatches in 3 different colors to experiment with them in person.
How will the acrylic look with different backgrounds? How will it look with the mdf? Will it be transparent enough? Will it be too light or dark? How will the acrylic act when layered?
These are just some of the questions I have that will be answered once they have arrived. I have purchased these swatches below through COHn Acrylics: https://www.cohnacrylics.com/
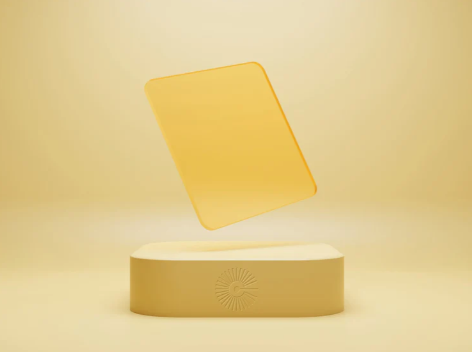
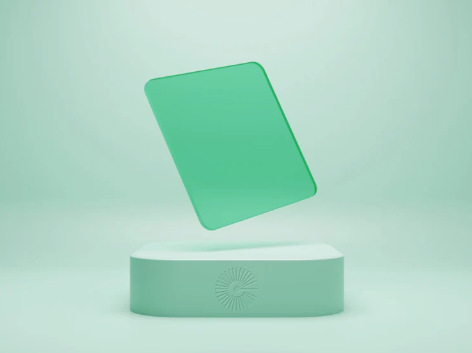
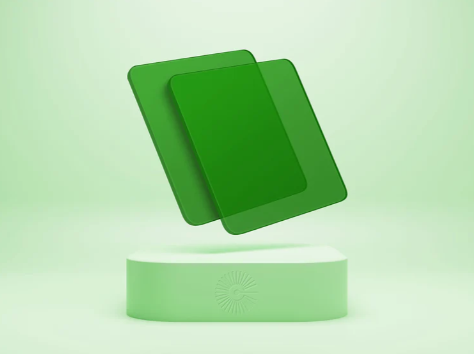
Left: Frosted Yellow, Middle: Frosted Green, Right: Clear Green
Fabrication
Finally, the fabrication process will begin.
With all concepts fully modeled and all materials needed purchased, I will begin laser cutting and assembly. I plan to accomplish this assembly after spring break, where I will hopefully have all prototyping completed along with all materials purchased and templates for laser cutting made.
The fabrication process will be quite simple, consisting of laser cutting an assembly. The overall laser cutting process is quite simple as I will be using the ENVD (environmental design) facilities to book an appointment and cut my material from the template. I am already certified and quite familiar with the laser cutting process.
With final assembly, I will mostly be using acrylic weld to adhere all pieces together, in hopes that this will be strong enough. Alternatively, I will use small screws to seamlessly attach each piece from the back.
The laser process can be completed over 1 day, and the assembly process will probably take a few days, ensuring that enough time is given for the weld to dry.
Overall, I believe I have made quite solid progress within the project and am working towards the completion at a timely rate and with clear direction. I am excited to continue working and hopefully have a product worth hanging on my wall.
Sources:
https://barcelonaexclusiveprivatetours.com/blog/discover-the-hidden-secrets-of-casa-batllo
https://www.rokronline.com/products/rokr-romantic-note-wall-clock-mechanical-gear-3d-wooden-puzzle-lc701
https://pinterest.com
https://www.stormthecastle.com/clocks/make-a-wizards-pendulum-clock-part-5.htm
https://www.cohnacrylics.com/
1 Comment. Leave new
Wow this might be one of the craziest watch/clock designs I’ve ever seen ! It reminds me of the skeleton watches you’ll see high end brands like AP and Grand Seiko. For the movement, I know Bambu makes a clock movement for their 3d printed designs, maybe you can check that out !