
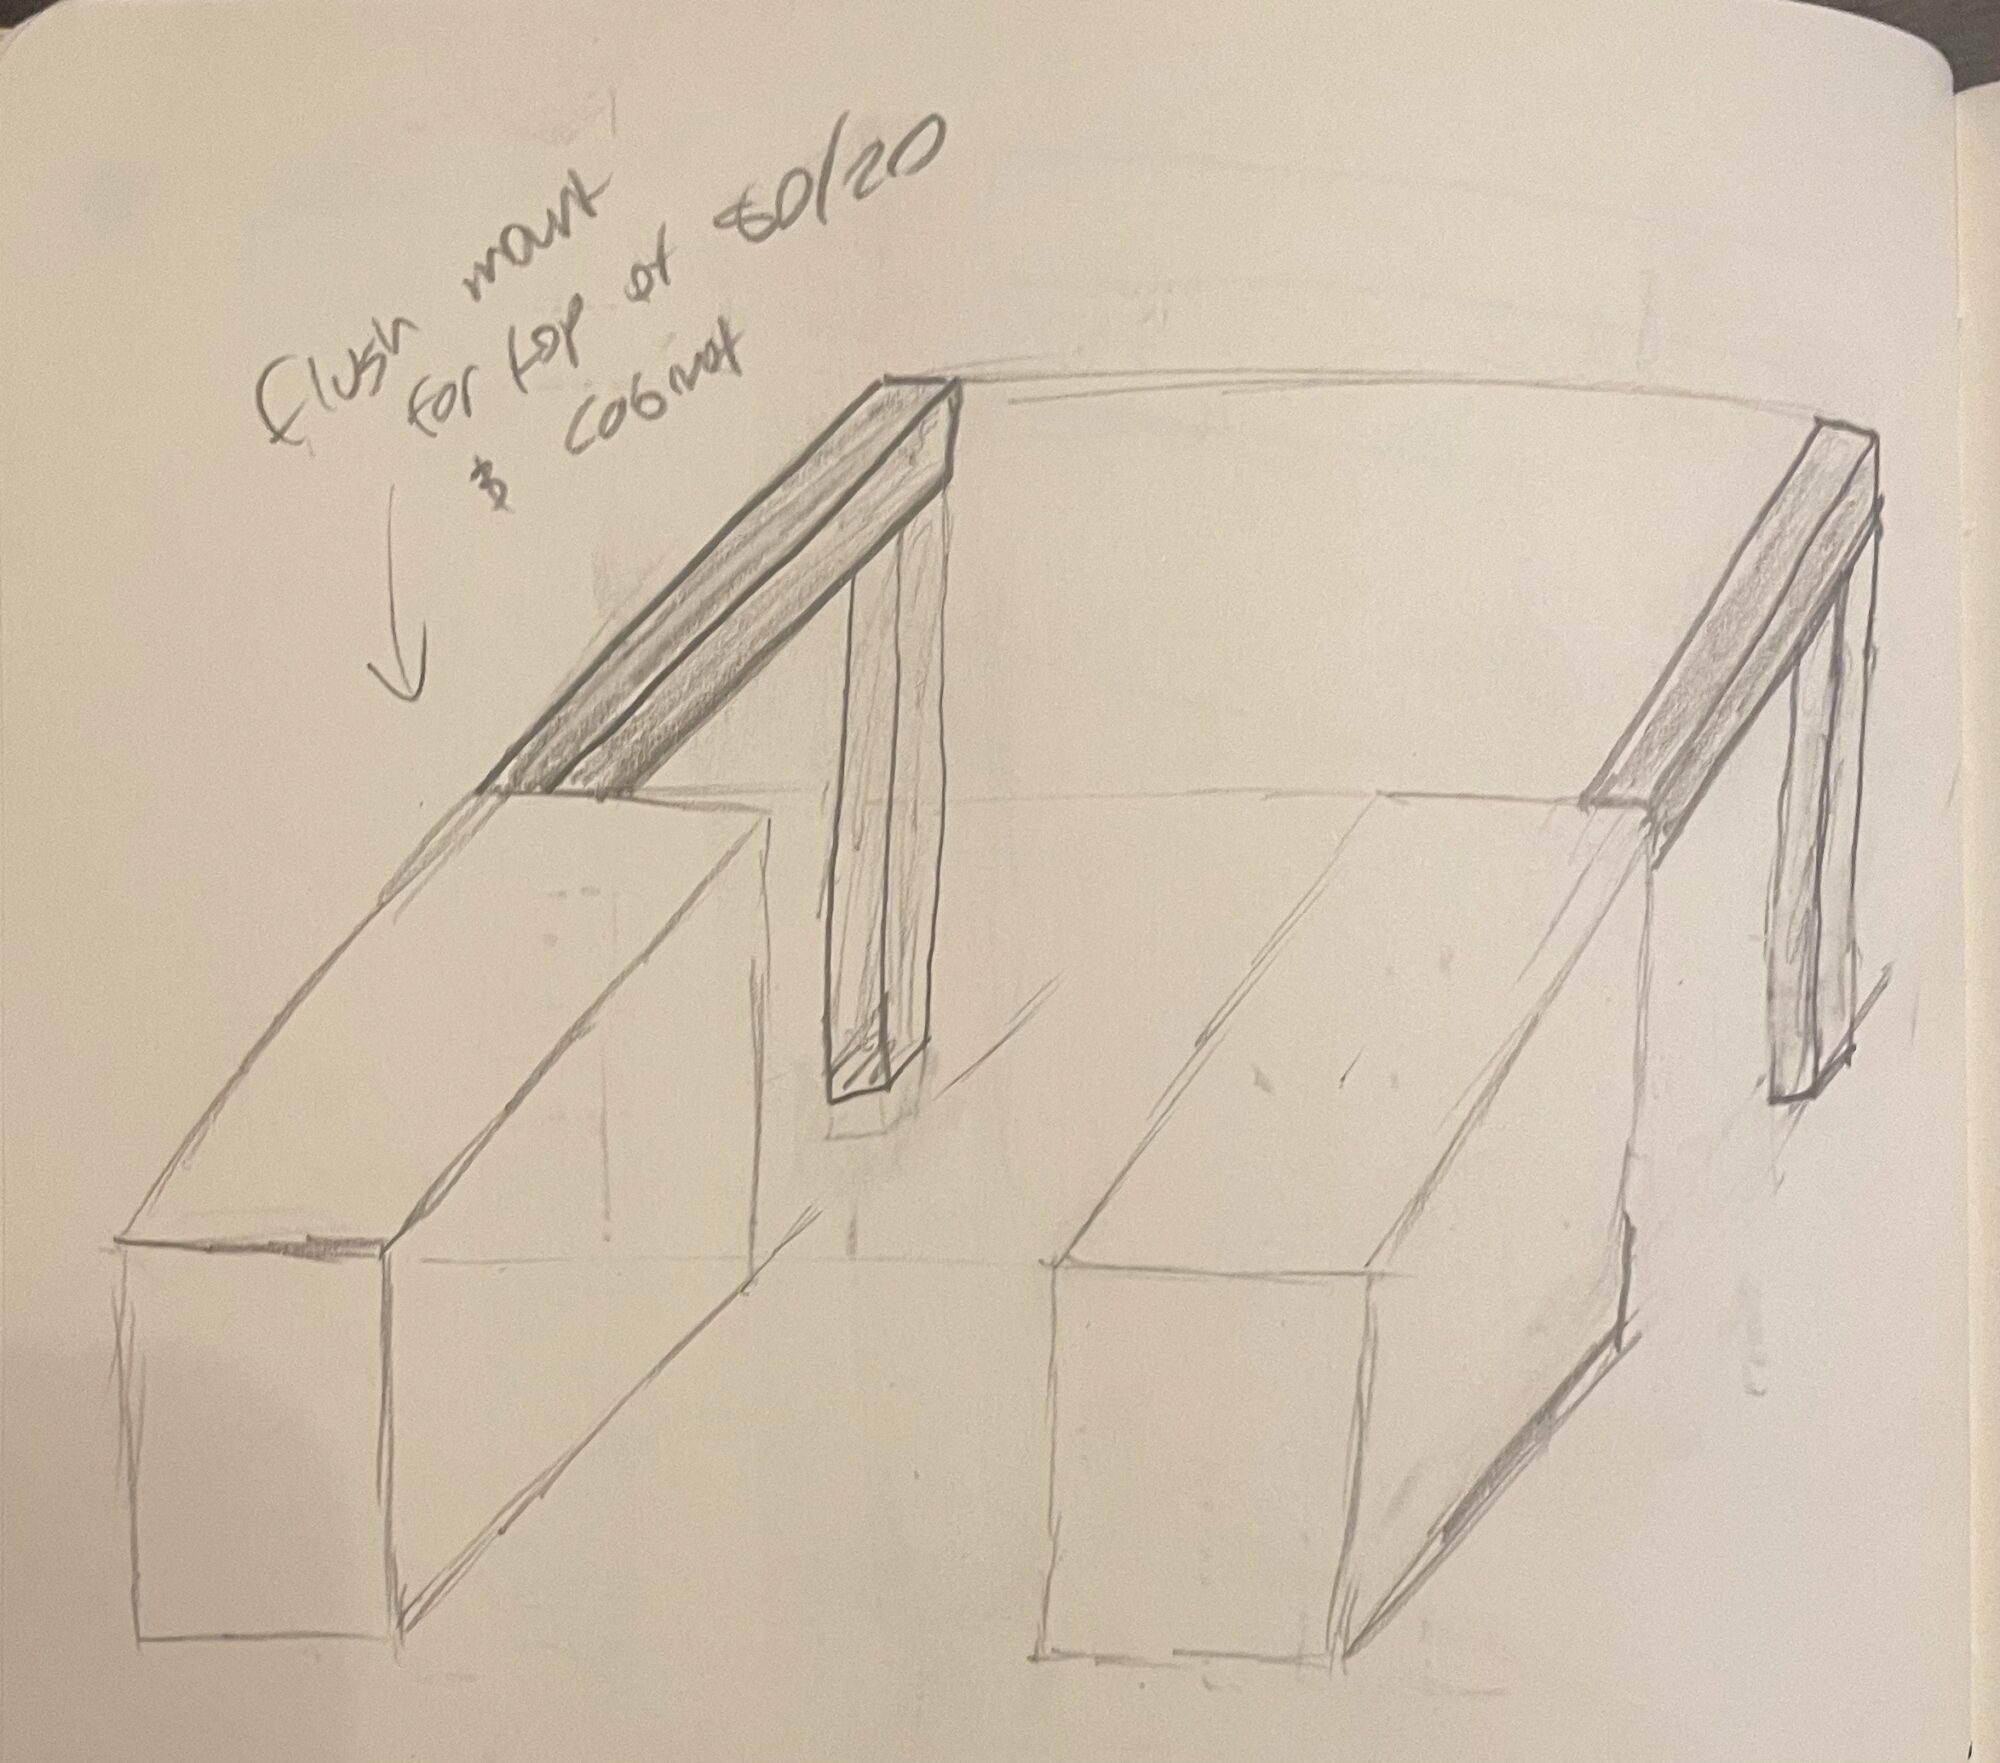
I’ve finally nailed down the design for my sliding bedframe, and it’s been quite the process. The biggest challenge was finding a sliding mechanism that fit my space constraints but could also handle a 400 lb dynamic load. After a lot of searching, I landed on the VEVOR sliding rail system from Amazon. These rails mount directly to a surface and come with sliding square blocks, which I can attach cross rails to using 8020 aluminum extrusion. This setup gives me four beams that can slide side to side across the width of my bed.
The VEVOR rails come with four linear slide bearing blocks, which let things move smoothly along the rails. Since I need four cross beams, I grabbed another set of four blocks, bringing my total to eight. Each beam will be supported by a pair of blocks, keeping the whole system stable and functional. The biggest reason I chose this system was its simplicity and strength—other options I found either had lower weight ratings or were way too bulky for the space I had available.
Another major factor in my choice was ease of installation. Since this system mounts directly onto a surface rather than requiring recessed tracks, I can attach it to my bedframe structure without cutting into the bus flooring or creating unnecessary modifications. This keeps the design more modular in case I ever want to make adjustments in the future.
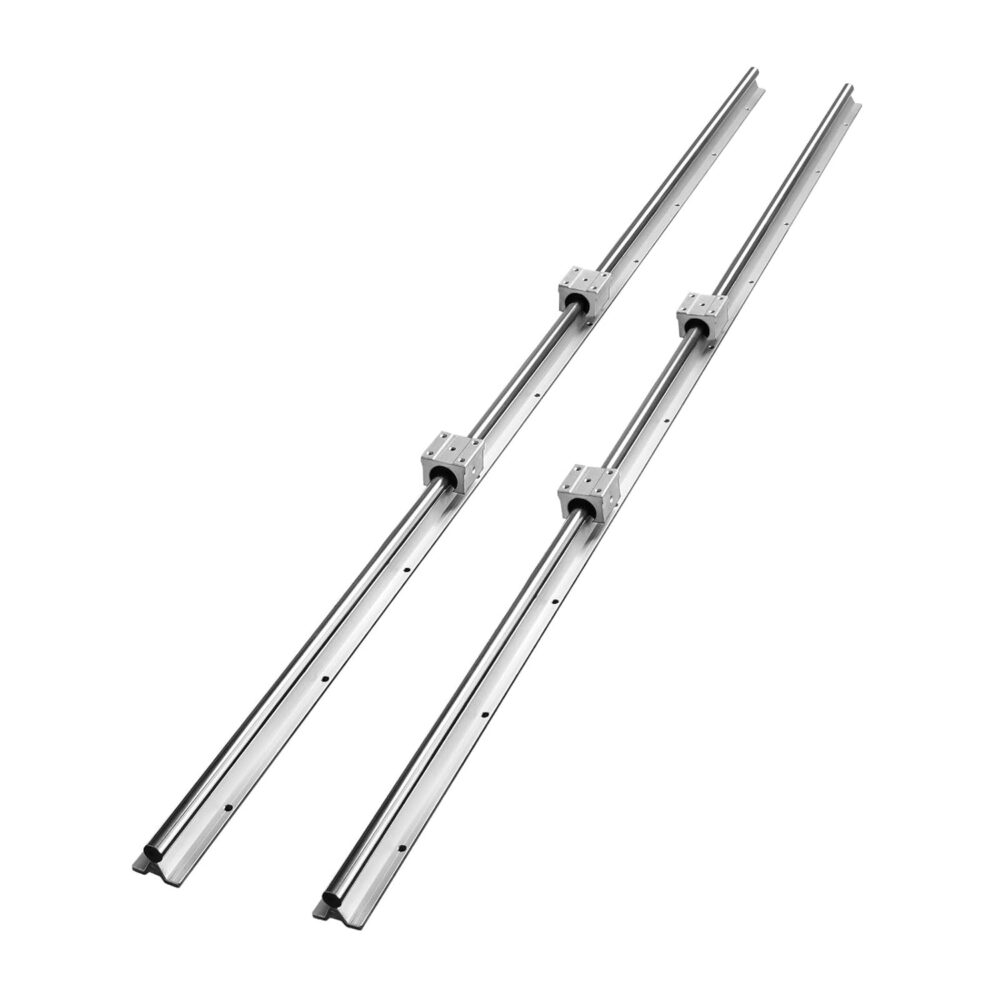
Image 1: Vevor Sliding Rails
To make sure everything fits together, I sketched out a layout of the setup (Image 2). The plan is to have two dressers at the foot of the bed, which the frame will sit on when it’s fully extended. These dressers will also act as the base for my runner system, which extends into the back of the bus. This setup keeps everything flush and sturdy while also giving me extra storage space. I wanted to make sure the system didn’t just function well but also contributed to a clean, organized look in my living space.

Image 2: Layout of the bedframe
Picking the right dressers was a surprisingly important step. They had to be about 27″ wide—half the width of a full-size bed—so the bed could sit over them when extended and nest perfectly when collapsed. The height also needed to be between 24-30” to keep enough clearance underneath without blocking my bus windows.
After a bunch of searching, I found the Portland 3-Drawer White Chest from Home Depot. These fit the dimensions perfectly and also match the minimalist look I’m going for with a clean, uniform texture. I spent a lot of time debating between different drawer styles—some had a more rustic wooden finish, while others had metal drawer pulls that clashed with my design aesthetic. In the end, I went with something simple and clean because I wanted the focus to be on the bedframe itself rather than the storage units.
Another key benefit of these dressers is that they provide a decent amount of storage without being too deep. I didn’t want anything that would take up too much floor space when the bed is collapsed, so these were the best fit for the job.

Image 3: Dresser dimensions and aesthetic.
Once the dressers are in place, I’ll mount the sliders parallel to each other on top of them, secured to a runner system that extends into the back of the bus. These runners (probably made from 8020 aluminum extrusion or something similar) will give the bed the support it needs to stay level and solid while sliding in and out.
Another alternative I considered was using steel tubing instead of 8020 aluminum extrusion, but the weight and complexity of that setup made it less ideal. The 8020 system allows for easy modular adjustments, and I can integrate brackets or fasteners without needing to weld or drill into steel.
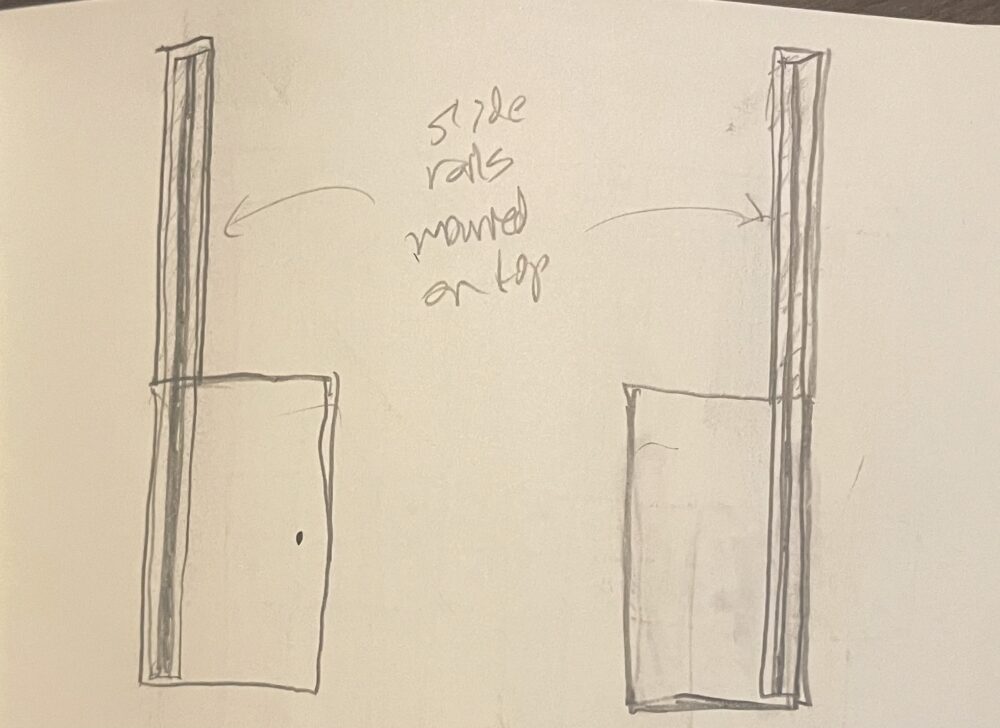
Image 4: Bird’s Eye View of sliders
These sliding tracks come with 4 linear slide bearing blocks. These will allow frictionless movement along the rails. I purchased an extra 4 blocks to have 8 total blocks. Each 2 blocks on opposite rails will support a beam going across, so I needed 8 blocks to support 4 beams. Ultimately, I will be left with these 4 beams that have unconstrained unidirectional horizontal movement.
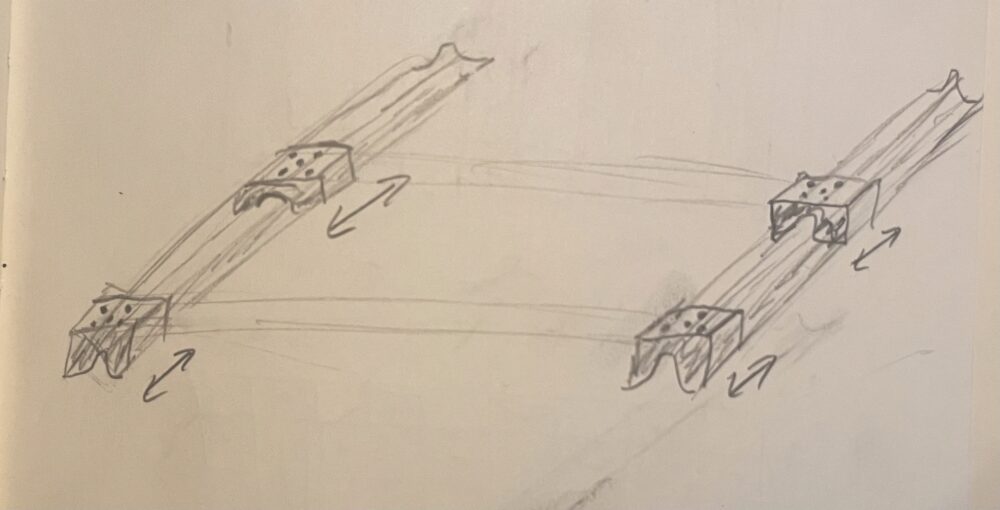
Image 5: Visualization of sliding system
To make the whole thing work, I’ll connect the four beams into two sets using wooden slats. These slats will interlock, creating a telescoping effect that lets the bed shrink down to half its size. This means I can free up a ton of space in the bus when the bed isn’t in use while still having a full-sized sleeping area when it’s extended.
The main advantage of this design is that it doesn’t require any complicated folding mechanisms or hinges. The interlocking slats provide a smooth transition between compact and extended states without sacrificing stability. I also considered using a folding foam mattress, but I decided against it because I wanted to keep my existing mattress and avoid any comfort compromises.
Another big factor here is making sure the wooden slats are strong enough to handle repeated stress without warping. I’m planning to use a hardwood like maple or oak to prevent long-term deformation, but I still need to finalize the material choice.
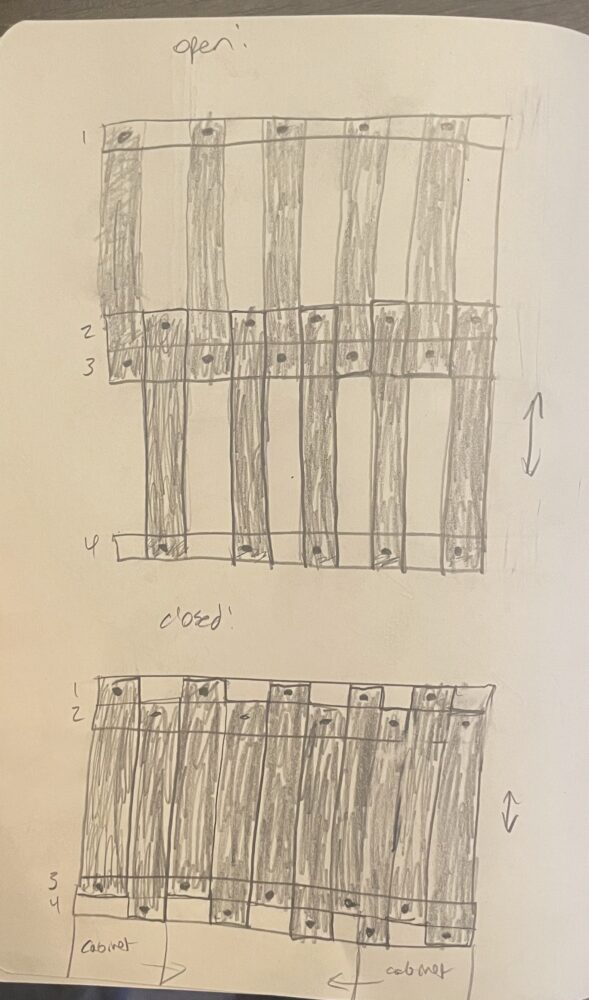
Image 6: Visualization of telescoping system
I still have a few details to work out. First, I need to decide if I’m sticking with 8020 extrusion for the beams and runners or if there’s a better material for the job. Once I settle on that, I need to figure out exact cut lengths. I also need to test how much deflection occurs when the frame is extended—if there’s too much sag, I might need to reinforce certain areas with additional bracing.
Fasteners and brackets are another thing to nail down. Even if all the individual parts are rated for high loads, the whole system could fail if the connections aren’t strong enough. I also need to find a locking mechanism to keep the beams in place when the bed is extended or collapsed—something simple but effective. I’ve looked into spring-loaded pins and latching brackets, but I want to do more research before making a final decision.
I’m also considering adding a secondary support system beneath the extended bedframe. Right now, all the weight is carried by the sliding beams and dressers, but a fold-out leg or collapsible support could add extra stability and reduce long-term stress on the rails.
So far, I’ve ordered the dressers and the sliding rails, which means the main framework is set. The next steps are:
- Finalizing material choices for the beams and runners.
- Getting exact cut dimensions for everything.
- Picking out the right fasteners and brackets for a solid build.
- Finding a locking mechanism to keep the bed from shifting around.
- Testing the structural integrity and making any needed adjustments.
- Possibly adding a secondary support system for better weight distribution.
- Assembling everything and seeing how well it actually works in practice.
I’m super excited to get this all put together and finally see if it works as well as I’m picturing in my head. There’s still a lot of problem-solving left, but that’s what makes these kinds of projects fun. I’ll update once I start putting everything together. I believe the current design I have will turn out quite nicely, and I am very excited to see its implementation! This will be a wonderful addition to my bus that is both functional and aesthetically pleasing.
Disclaimer: I used ChatGPT by OpenAI to help edit the text in this blog post. I used this as a tool to modify the grammar and conventions of my original work.