

For my final project, I will be making a set of aesthetically pleasing and functional tools. This set of flint knapping tools will include an Ishi-stick (indirect percussion tool), a handheld pressure flaker, a carrying sack, and potentially some sort of mallet to use with the ishi stick. The dynamic component of this project will be the fact that they are usable tools and will be interacted with, as well as the set screws that will be used to hold the copper tips in place on both of the tools. These are being made to replace my current set of tools, not that they need to be retired, but I thought it would be cool to make a new set of more robust, aesthetically pleasing tools. Below is an image of my current tools that will be replaced. As you can see, they are pretty drab, lifeless, and not perfectly made. I will specifically be reimagining two versions of the tool on the left, the pressure flaker.
So far I have purchased the necessary copper and aluminum bar stock to create the tools. As I get further along, I will buy the canvas and cordage for the carrying sack, and the set screws. The aesthetic that I will be encapsulating is that of a reimagined ancient tool. These tools have been around for thousands of years and I would like to make my own version and give them a futuristic aesthetic that has never been done before. I will allow ChatGPT to provide a brief history of these tools:
Flint knapping, the process of shaping stone tools through controlled fracture, dates back over 2.5 million years, with early hominins using rudimentary percussion techniques to craft cutting edges. The Oldowan industry, one of the earliest known stone tool traditions, relied on simple hammerstones to break rock into usable flakes.
As techniques evolved, pressure flaking emerged during the Paleolithic era, around 40,000 years ago, allowing artisans to refine tool edges by applying direct force with a bone, antler, or wooden pressure flaker. This technique became crucial in producing sharp, precise edges for arrowheads, spear points, and knives.
The Ishi stick, named after Ishi, the last known member of the Yahi tribe in California, gained popularity in the early 20th century as an effective indirect percussion tool. Ishi, who demonstrated traditional flint knapping methods to anthropologists, used a long-handled flaker to apply controlled force, making intricate stone tool production easier.
Thanks Chat! I will be making these tools out of mostly aluminum, with copper tips and steel set screws that will hopefully not be very visible. Below are the images of the material I have acquired so far.
 .
.  .
. 
The final form is going to be very smooth, sleek, and futuristic. They will look almost like smooth, silver bullets, almost featureless. As they get used more and more, they will become dented and scratched but will still hopefully maintain this smooth aesthetic. My alternate ideas for aesthetics would be to make them out of plastic or wood, but I think the aluminum would work best for the futuristic, reimagined aesthetic
.![]()
My basic CAD model of the ishi stick is not available to me right now as I am not on the computer with solidworks, but I will be sure to include it in my next update or update this post if I can get it tomorrow. This model will serve as a guide for my machining. The sack will liekly be made from a template found online, but I haven’t yet landed on the perfect one.
My timeline will be as follows for the 7 weeks following spring break:
Week 1: begin manufacturing, start with smaller, simpler pressure flaker
Week 2: finish pressure flaker (excluding copper tips)
Week 3: start machining ishi stick, should go faster after experience with the first
Week 4: finish ishi stick, cut and shape copper tips
Week 5: make bag
Week 6: finish everything up if a little off schedule with some things
Week 7: maybe make mallet to be used with ishi stick, and make an arrowhead with the tools to test them out
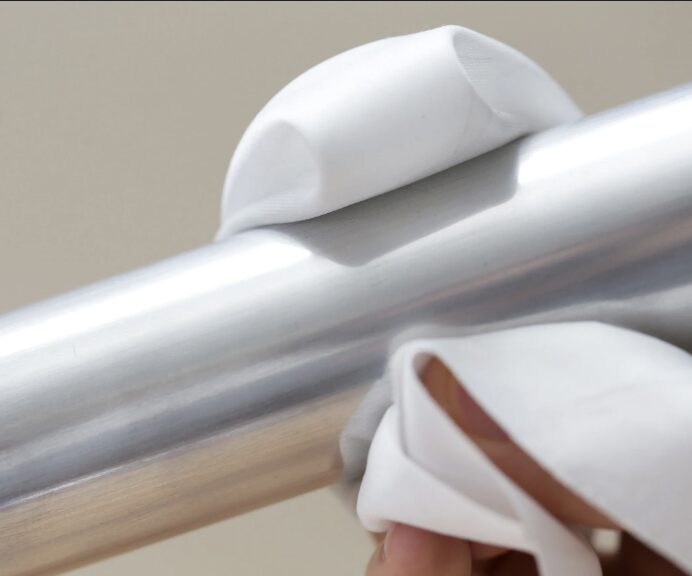
Finally, I will describe the fabrication process for one of the tools. I will start by cutting it to length, then put it on the lathe to drill the 3/16″ hole in the end. then I will taper this end into a pencil-like shape and round off the other. Then, I will drill a hole perpendicular to the first and tap it for the set screw. Finally I will put it back on the lathe and sand and scotch brite or polish it making sure it is smooth and sleek. Below is an image of the finish I am going for (from instructables). Thank you for reading.
1 Comment. Leave new
Amazing project! To put a modern twist on a process that has been used for thousands of years is great.