
Progress Check!
My upcycle project is well underway, with significant progress made in gathering materials and beginning the fabrication process. I have been actively collecting materials from the Project Depot in the Engineering Center, which has provided a variety of useful components. Additionally, I explored the ITLL (Integrated Teaching and Learning Laboratory) to source metal parts and components that will play a crucial role in my project. With these materials in hand, I have already begun assembling the initial frame structure and testing how the components all fit together. 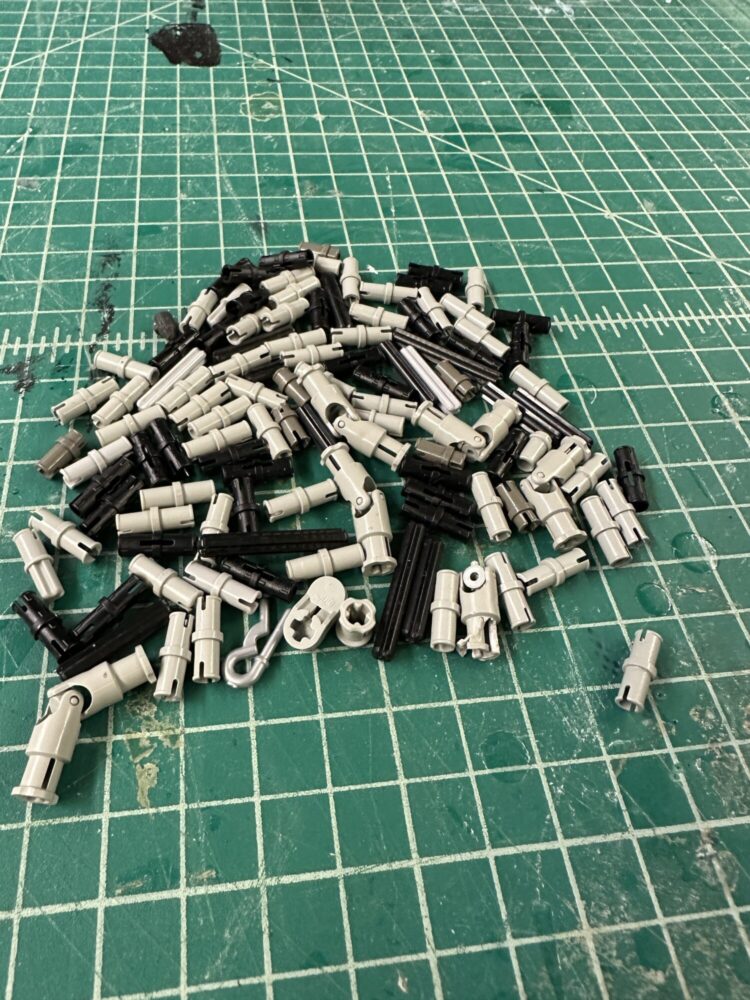
Materials Collected
I have accumulated a diverse selection of materials, all of which contribute to the functionality and aesthetic of the upcycle project. These include:
- Fasteners, nuts, and bolts – Essential for securing different parts together and ensuring structural stability.
- Lego Technic pieces -This will be used for the top part of the bottle to give it a geometric look.
- Bearings – Useful for creating “smooth rotational movement” to add to the steampunk aesthetic, and that metal look.
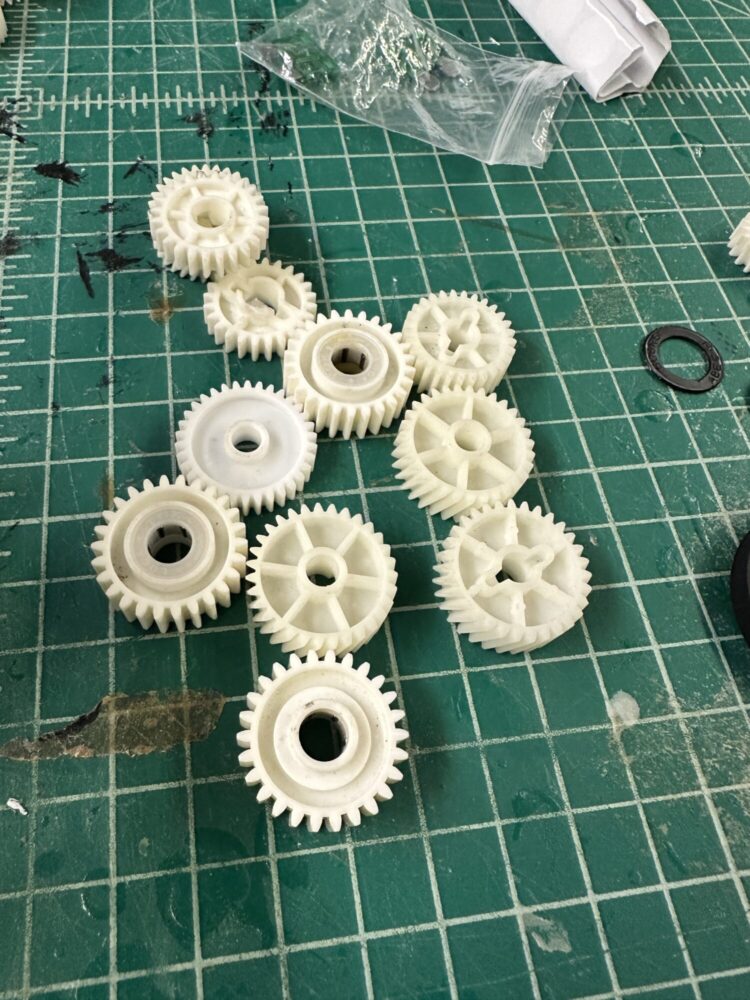
- Gears – Potentially valuable for adding a mechanical function, depending on the final design.
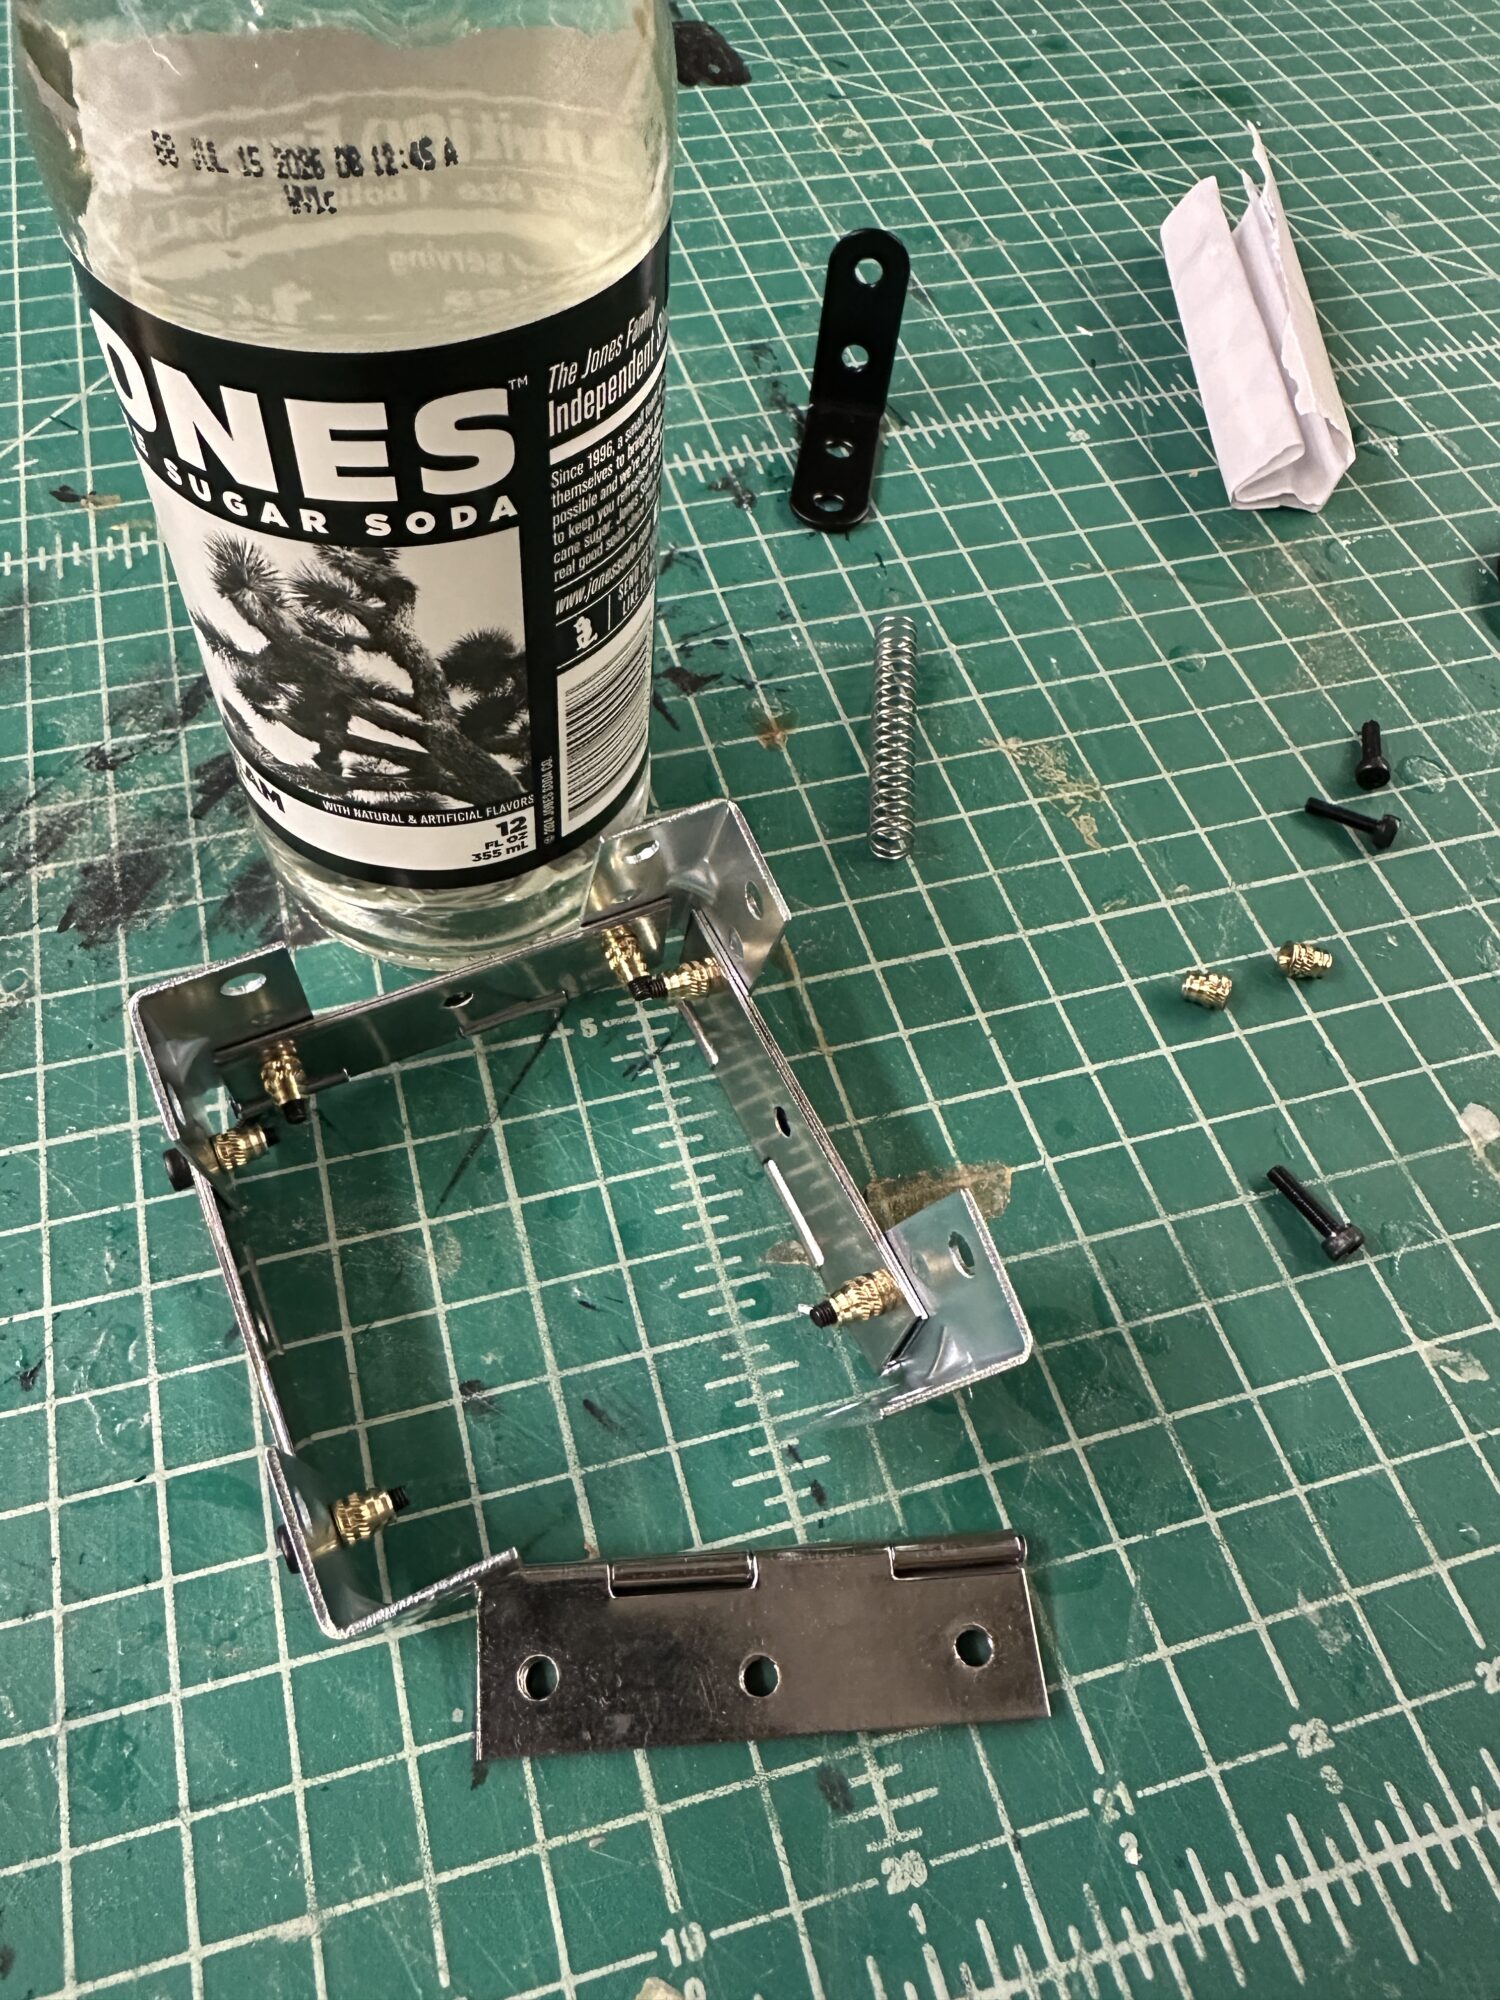
- Beer bottle – These provide an interesting aesthetic element, and can will be repurposed in a creative way, specifically the foundation of the project. This will be the main decorative element.
- Hinges of various sizes – These allow for movement and articulation within the design. This will also be what I use to make the main foundation of the bottom structure.
- Springs – These can contribute to a dynamic feature and add to the overall aesthetic.
- Bracket pieces – Helpful for reinforcing connections and providing additional support. 
Fabrication Plan and Schedule
Now that I have gathered my materials, I have started assembling the project and testing how the components interact. My fabrication schedule is split into a few phases to ensure steady progress leading up to completion:
Phase1:
- Finalize the conceptual design and determine how all materials will be incorporated.
- Begin preliminary assembly by testing different configurations and identifying any necessary adjustments.
- Cut and shape metal parts if required.
Phase 2:
- Secure critical connections using fasteners, nuts, and bolts to establish a strong foundation.
- Integrate moving components such as gears, bearings, and hinges to refine any mechanical functions.
- Address any fitment issues and make modifications as needed.
Phase 3:
- Refine the aesthetics of the project, ensuring that upcycled elements are effectively integrated.
- Add finishing touches, including any necessary painting, polishing, or protective coatings.
- Conduct final testing to confirm that all components function as intended.
Phase 4:
- Perform a final review and make last-minute improvements.
- Prepare the project for presentation, ensuring all elements are securely in place.
- Document the process with photos and notes for future reference.
Next Steps
Moving forward, I will continue refining the assembly, ensuring that all parts work together seamlessly. Additionally, I will explore ways to enhance the project’s overall design and functionality while staying true to the upcycling concept. By adhering to my fabrication schedule and making iterative improvements along the way, I am confident in delivering a creative and well-executed final product.
2 Comments. Leave new
The mix of materials is really interesting—excited to see how the moving parts come together. Did you run into any challenges with fitment or assembly?
Super cool project Brenton! A couple of questions: 1. How will you cut/shape the metal if you decide to do so. 2. How will you interface with the Lego Technic pieces?