
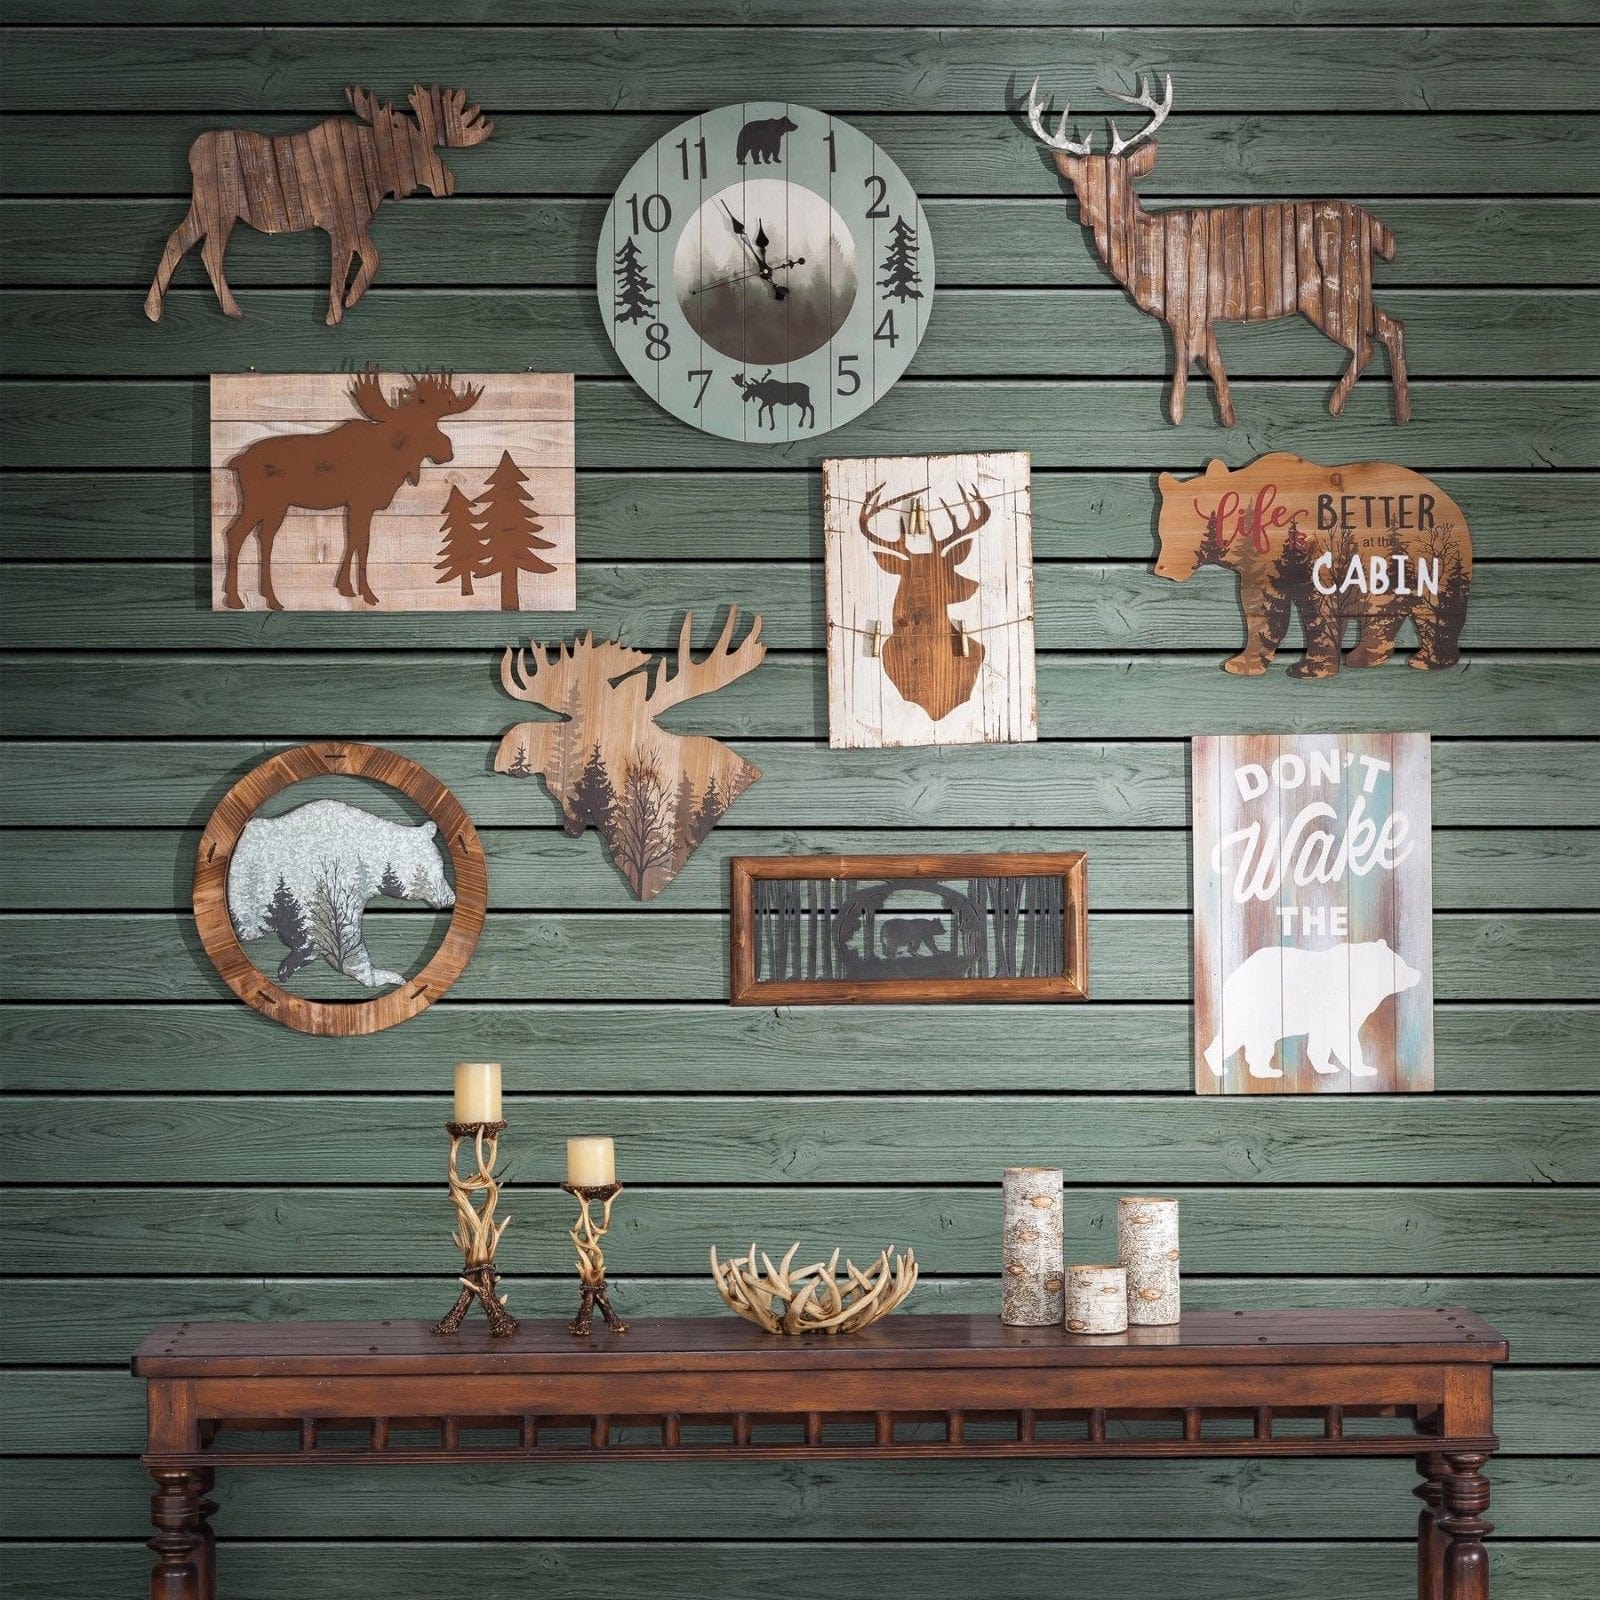
For the past few weeks I’ve been working on a new way to display eight license plate frames in my room. The license plates that I was trying to incorporate came from three different states, Colorado, California, and Arizona, and while the California plate is rather neutral in its design the other two have unique geographic settings that feature greens, blues, and purple. Previously, I’d been using sticky putty to mount the plates to my wall in a geometric pattern, alternating the plates in a staggered fashion like bricks. While I liked the way that looked on its own, I was inspired by the nature of the upcycling requirement for this project to create something that permanently kept the plates together and elevated the look beyond a bunch of license plates on my wall, While doing research for the first blog post of the semester, which I did on the cabin core aesthetic, I really enjoyed the rustic wooden decorations that I would see in some of the photos, like the ones below.

The whole idea of the cabin core aesthetic is to evoke feelings of warmth and a sense of being at ease in the safety of ones home, with a key theme found in cabin core is one of comfort, with the intent of creating anything under a cabin core aesthetic being to make that thing as cozy and welcoming as possible. Hand crafted wooden furniture, decorations, and wall art that employ plenty of natural colors all help feed into those feelings, which is why I decided to employ this aesthetic in the design of my project that I planned to decorate my home with. The aesthetic embraces natural motifs, such as using wood and natural features to deepen that connection with nature. Earth tones like green, grey, and brown all serve the same purpose and help make someone feel like the could be outside in a forest grove while still being indoors. One example in particular that inspired me was from a poster named Shaunna, who took an old picture frame, painted it black, and then screwed a variety of different plates that had been collected over the years into the back board of the frame to create a display piece for her friend.

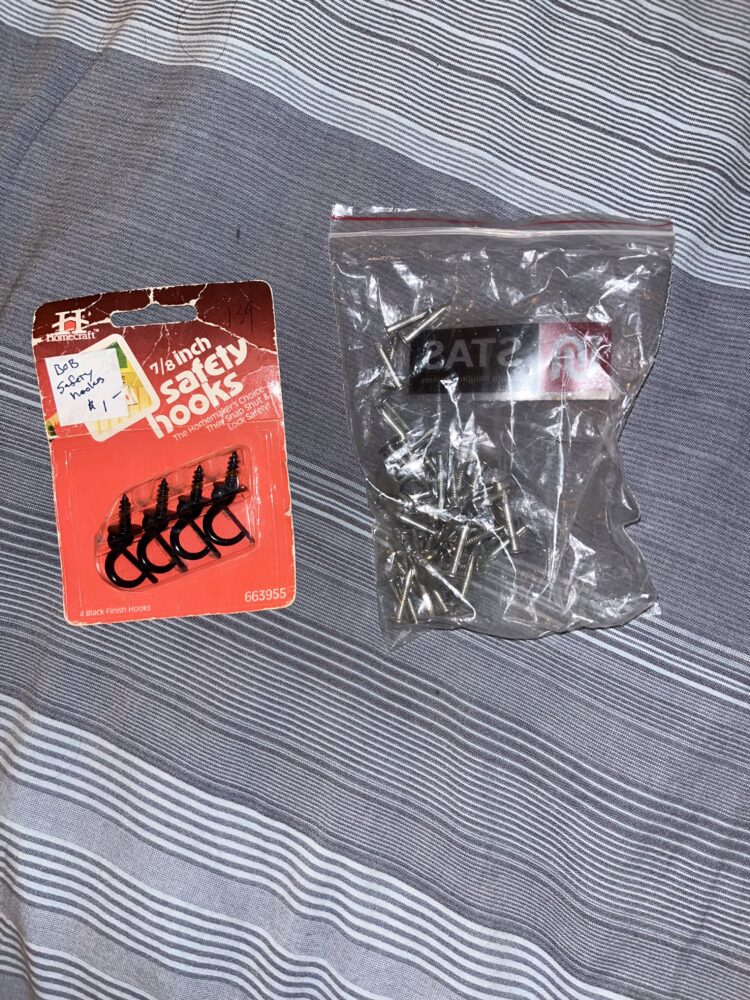
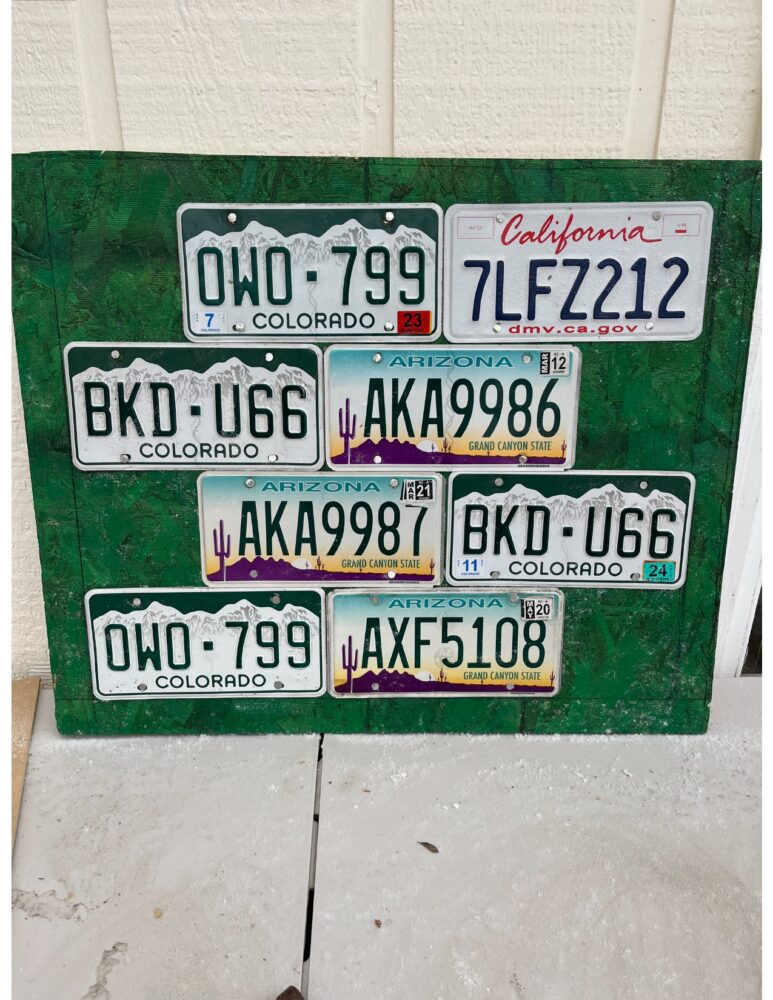
I was a big fan of the way the plates looked together with the exposed wood grain framing, and the mismatched way that the plates were arranged really complimented the handmade nature of the piece. With the general idea of what I wanted my project to look like in mind, I took a trip to Resource Central to possibly get a stronger idea of what I wanted to do based on the materials available to me. While there, I looked at a good amount of wooden boards that would be well suited for my project before settling on a nearly square shaped piece of particle board since the dimensions roughly matched the pattern I was trying to create. I was also able to find plenty of fasteners for both the license plates and the framing elements, as well as a pack of safety hooks that could be used for mounting the project to my wall. Below is the particle board with some of my license plates for reference.

After I acquired the base board of my project, I checked the dimensions more thoroughly and sketched a rough plan for the design of my frame. Below is the drawing I created showing the rough layout I planned on following through the assembly faze of the project. The board was slightly too large for the brick pattern I was trying to follow, so my first step was cutting it down to size.
|
I went to the ITLL to make use of the wood shop facilities, and there I was able to saw down two of the sides of the board to a more usable size. After sanding the rough edges down to a nice smooth touch, I used a can of green spray paint that I bought from Home Depot to cover the messy grain of the particle board, as well as the black lines that had been left from its previous life time. I chose green to be the background color instead of black, like in my original inspiration, since I thought the more natural tone would better compliment the cozy aesthetic I was trying to achieve. My main intention with the green back board was to distract from the visual clutter of the particle board while providing a pleasant backing to the license plates which act as the highlight of the piece, so it was important that the color didn’t clash with each of the plates and kept them as the focus. I liked the green that I chose, but it was a little close in shade to the green seen in the Colorado plates, so it was important to me to have the frame make the plates stand out. After the board was painted, I hammered the plates in using the nails I sourced from Resource Central, being careful to follow the brick pattern I had set out. I decided to leave myself two inches on each side of the plates for the framing. Below is an image of the project at this stage with the plates installed.
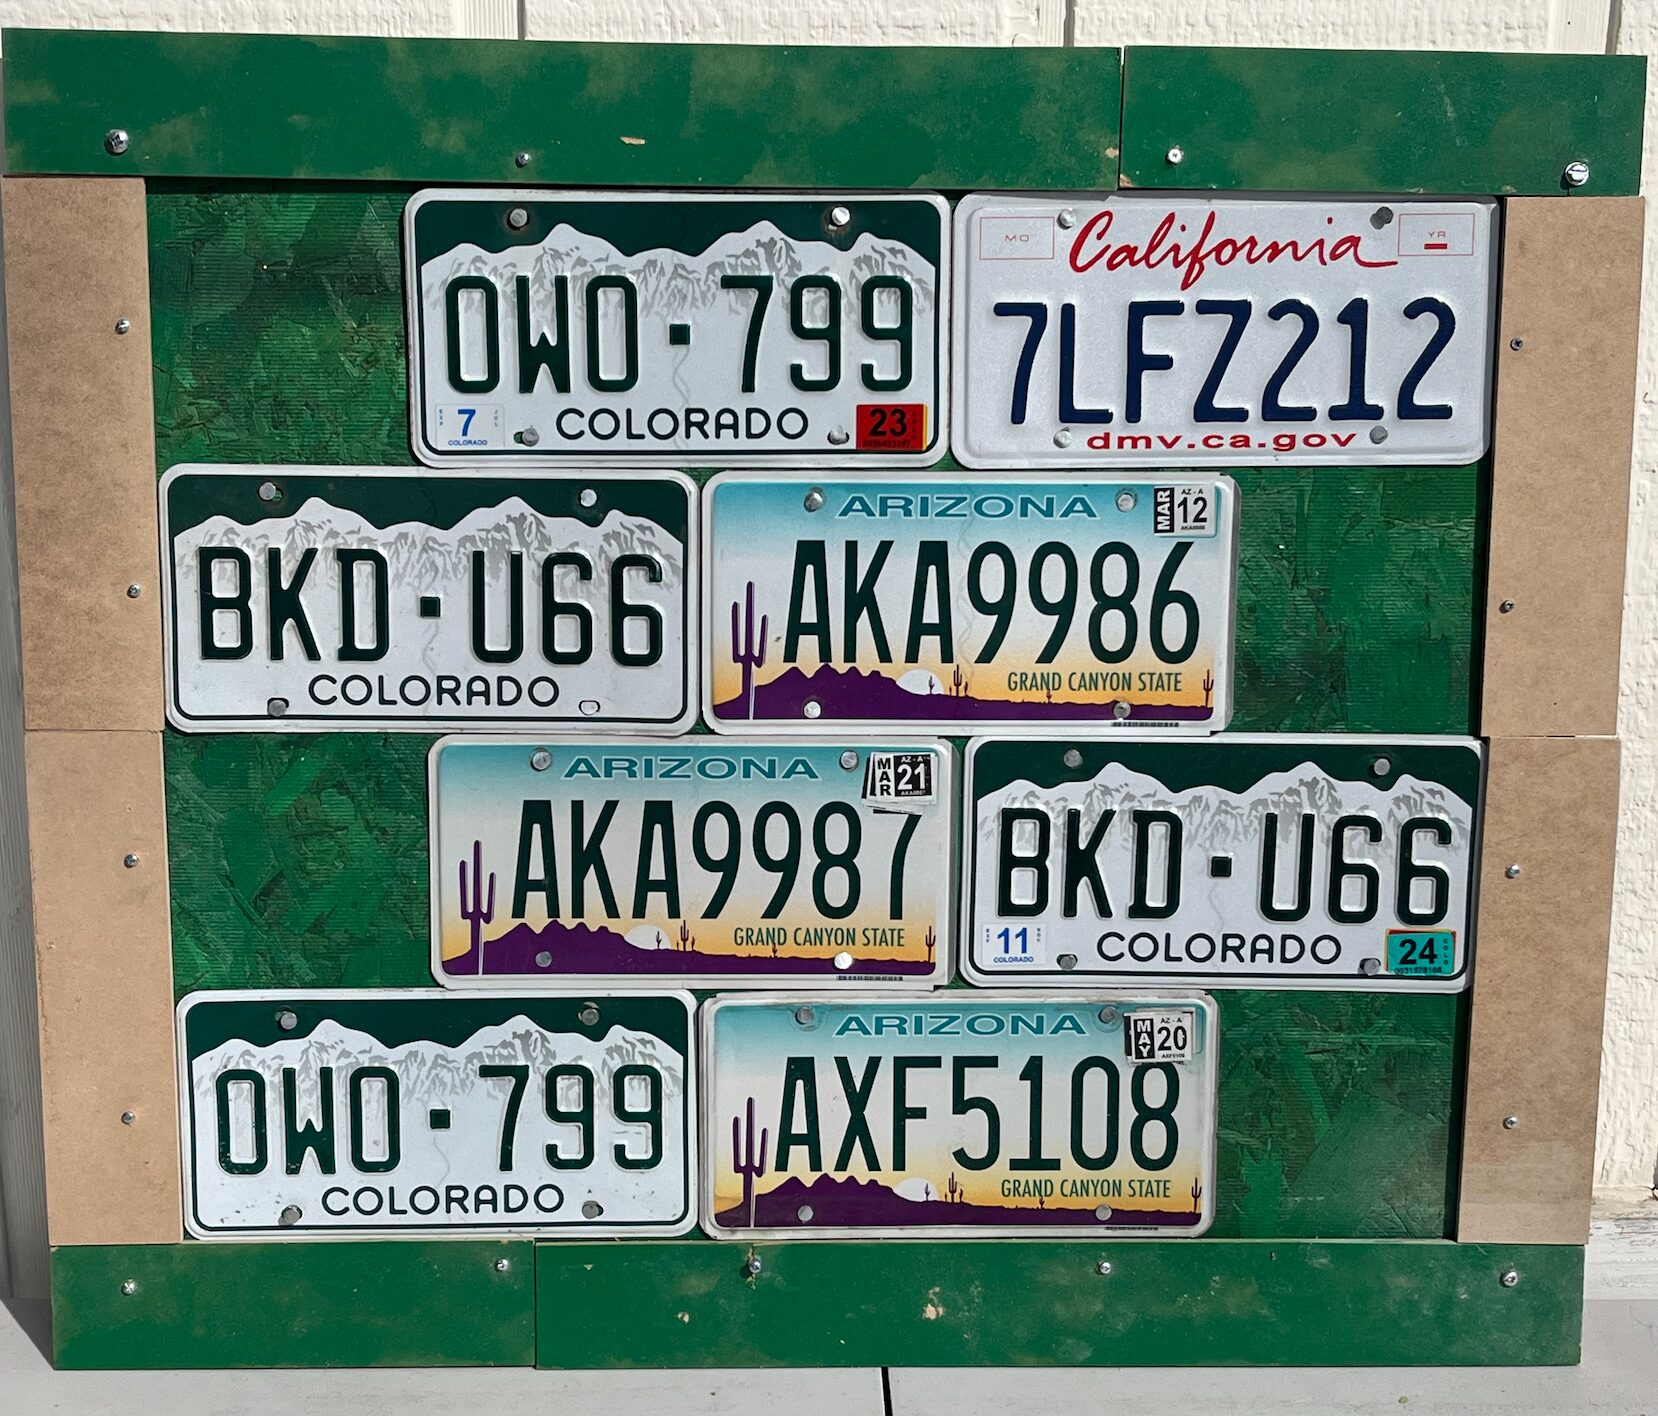
At the ITLL wood shop, I found several pieces of scrap wood that seemed ideal for the framing elements of my project. After measuring out the amount that I’d need, I spray painted the pieces the same color as the particle board and begun the process of hammering them in place. The particle board offered much more resistance when I attempted to join two pieces of wood instead of the license plates, and I quickly realized that nails weren’t going to cut it for what I was trying to achieve. The ITLL offers plenty of screws, which I was able to use to join the framing boards to the base board with much more ease, but when I had finally assembled the entire project something felt off to me. When the whole frame was together, the plates were surrounded by the green I had used to paint all of the wooden elements, and it distracted heavily from the designs of the plates that I was trying to emphasize by clashing too heavily with the warmer colors in the Arizona and California plates while drowning out the green in the Colorado plate. I noticed a piece of framing board that I hadn’t painted sitting next to the project and liked how the color and grain looked next to the green frame I already had. I decided to removed the boards on the side of the frame and replaced them with unpainted ones, and immediately liked how much more the Colorado plates in particular contrasted with the earthy wooden color of the board. The warmer color in the frame also helps make the red and orange stand out less in the other two plates. In the image below you can see the final version of my project with the painted framing boards mounted on the top and bottom of the particle board, and the unpainted boards mounted on the sides.

While the final version of my project is a display piece that I’m proud of, there are certainly things that I can and want to improve in the future. In it’s current state, I’m unable to actually hang the frame on my wall. I plan on adding a wire feature across the back that I’m able to hang from a nail or hook in the wall. The final product ended up being somewhat heavy, mostly due to the particle board, so the wire would have to be pretty sturdy. There are also minor imperfections with the framing that I would like to try and clean up, but for the most part I think the misalignments and imperfect nature helps prop up the hand crafted and rustic aesthetic that I was trying to achieve. Each aspect of my project helps to make me feel more at home and rooted within reality, the earthy colors reminding me of the mountains and forests I grew up in, the upcycled wood and old aluminum frames making it seem like something I’ve had for years, each license plate making me think of a car I drove or somewhere I’ve been, and in total bringing me memories of all the good times I’ve had throughout my life. I believe that my project is a great representation of the cabin core aesthetic and I’m very happy with how I was able to realize my artistic vision, even if the craftsmanship leaves a little bit to be desired.
References:
(1) – Better Homes & Gardens, Pinterest – https://www.pinterest.com/pin/AUwoI6JGHGUWEqgKCsVORZ-JlHW2mC2LjOoj3KdrbTB7NFMVkVX-WV0/
(2) – Hi End Accents – https://www.hiendaccents.com/products/moose-head-forest-cut-out-rustic-wall-art
(3) – Shaunna, Tempting Thyme, 1/26/17 – https://temptingthyme.com/2017/01/26/creating-art-with-license-plates/
4 Comments. Leave new
Hi Max, this is an excellent project; I really liked your choice of the license plates as the material for upcycling! I think this achieves what you were going for with your cabin aesthetic, and you were able to bring the actual layout together very well. Where did you originally get the plates? I’m wondering if there are junk yards that have these to give out specifically. Great job on this!
Thank you, I actually had all of the license plates already from old cars I had driven or given to me by family members.
This was a great project for the cabin core aesthetic, I really liked how it turned out for you! The explanation of your procedures helped me understand your design process. Were there other tones or possibly shapes that you considered doing that could also fit the aesthetic?
I considered getting a more earthy brown color for the back drop but decided that covering the particle board pattern up with some color was important. I also really like the look of natural wood grain, but thats a tough look to achieve using the framing I had available, but maybe in the future that’s something I could add.