
Scandinavian Minimalism Clothing
Scandinavian minimalist clothing is defined by its practicality, comfort, and high-quality craftsmanship. Given Scandinavia’s harsh winters, where many cities experience average temperatures below freezing, functional and protective clothing is essential [1]. This style prioritizes utility while maintaining a clean, understated aesthetic, often featuring monochrome earth tones and minimal branding.
The primary inspiration for this jacket comes from the Norwegian outdoor gear brand Norrøna, renowned in the outdoor community for its high-quality and premium-priced base layers, mid-layers, and outerwear. My introduction to the brand began with the Norrøna Primaloft80 Anorak, which I purchased secondhand from Boulder Sports Recycler (see Figure 1). This jacket is by far the best I have ever owned and sparked my obsession with the brand.
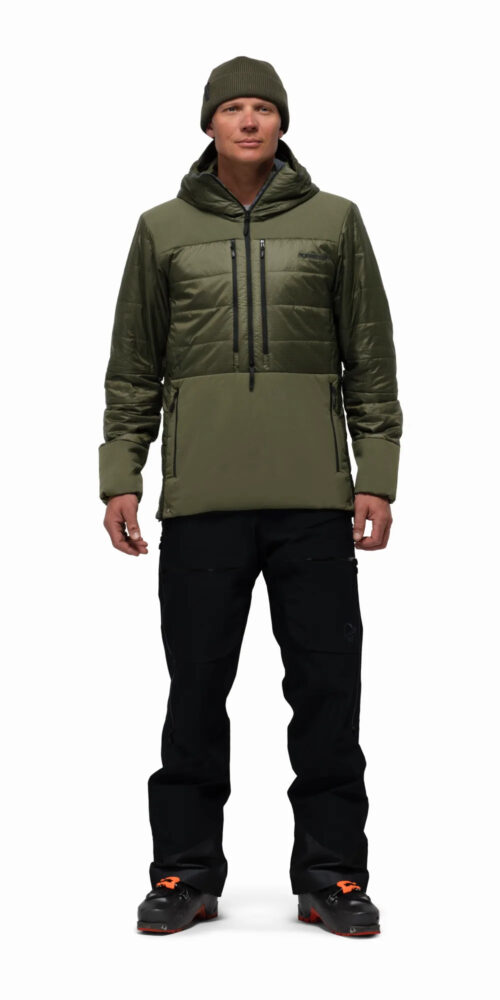
Figure 1. Norrøna Primaloft80 Anorak jacket.
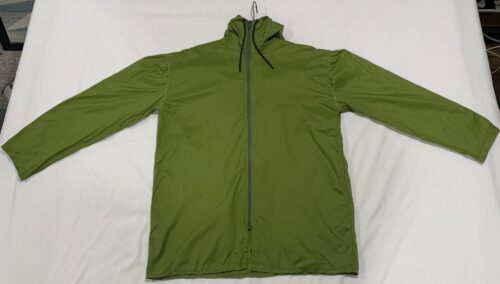
For this project, I aim to replicate the Norrøna Hiloflex200 Hooded Jacket. Designed as a lightweight, breathable outer layer, it offers moderate protection against wind and precipitation while remaining suitable for high-exertion activities. The jacket features a sleek, monochromatic design with clean lines, a slim fit, a high collar, and an adjustable hood for added protection against the elements.
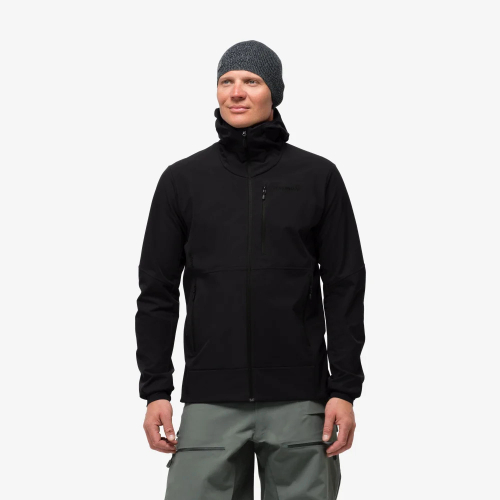
Figure 2. Norrøna Hiloflex200 Hooded Jacket
The Jacket
Starting Materials
For my upcycling project, I repurposed a sleeping bag into a lightweight ski touring jacket. To maximize fabric yield at a low cost, I purchased an ECOOPRO LW210 lightweight warm-weather sleeping bag from Goodwill (see Figure 3). When folded in half, the sleeping bag measures 83 inches by 30 inches and consists of two fabric layers—one green and one gray—providing approximately 70 square feet of usable material. Using a seam ripper, I carefully separated the sleeping bag into its three main components: the two fabric sheets and the insulation. Ultimately, only one fabric sheet was required to construct the jacket.
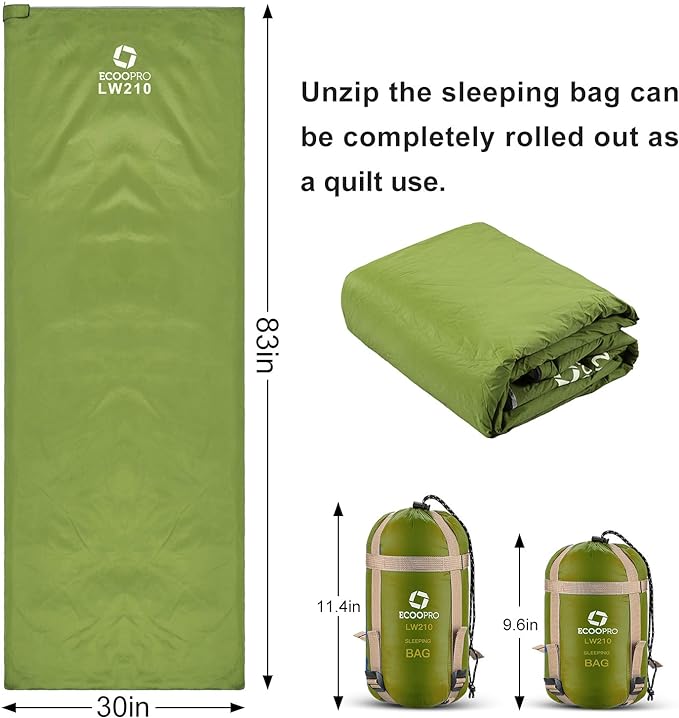
Figure 3. The ECOOPRO LW210 sleeping bag is the base material for my project
I also purchased a lightweight rain jacket from Goodwill to use for parts and as a reference for this project. With limited sewing experience and no prior experience making a jacket, deconstructing this garment allowed me to reverse-engineer its construction. This process helped me determine the necessary patterns and the correct order of operations for sewing. From the original jacket, only the hood drawstring and main body zipper were incorporated into the final ski touring jacket.
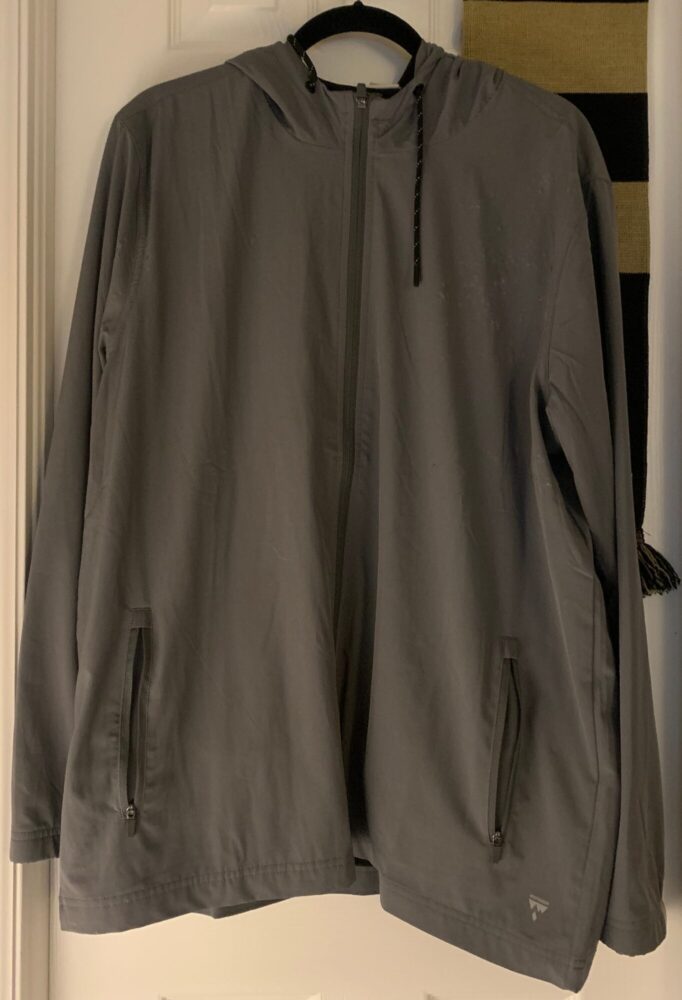
Figure 4. Thrifted lightweight rain jacket
Pattern Creation
The first step in any sewing project is creating a pattern to cut out the individual fabric pieces. My initial plan was to trace the deconstructed jacket (Figure 4) onto a large roll of paper. To prepare for this, I used a seam ripper (Figure 5) to carefully remove the stitching from every seam, fully separating the garment into its components. However, the fabric turned out to be stretchier than expected, causing distortions in the traced pattern, making it uneven and ultimately unusable.
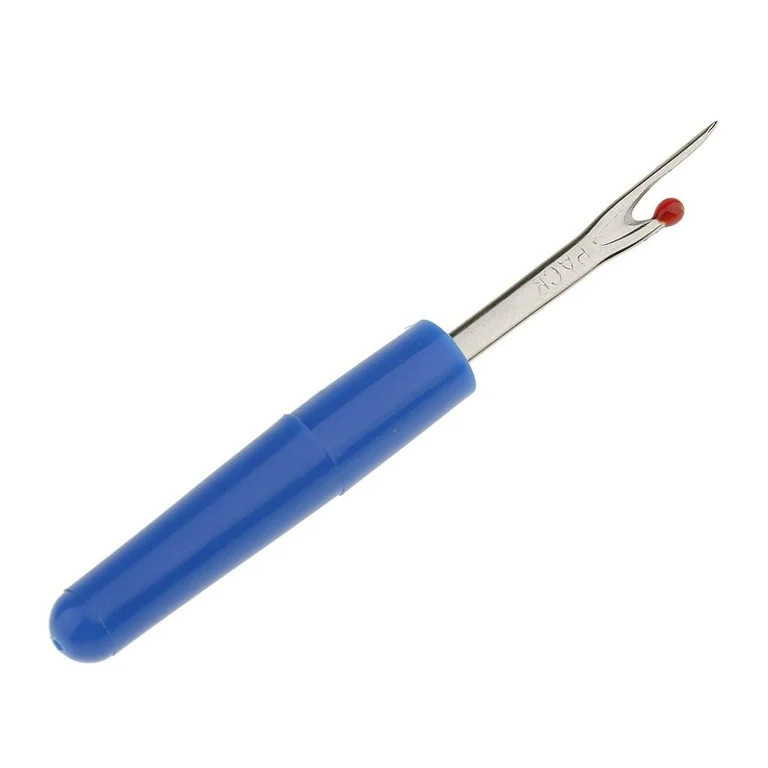
Figure 5. A typical seam ripper used to cut the thread of seams.
As a result, I decided to draft my own pattern from scratch. Being a beginner, I first turned to research to understand the fundamentals of pattern creation. Online sewing forums recommended the book shown in Figure 6 as a valuable resource. This book provides a step-by-step guide on taking body measurements and translating them into a functional sewing pattern.
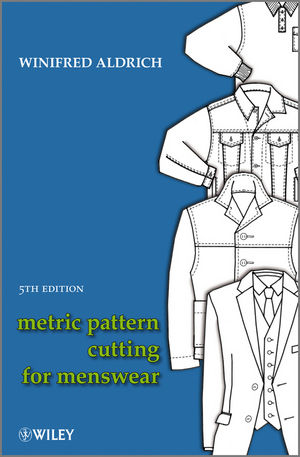
Figure 6. Metric Pattern Cutting for Menswear by Winifred Aldrich is a guide book for pattern drafting.
After taking my measurements, I first converted them into a usable pattern using a SolidWorks sketch. This digital approach helped me visualize the drafting process and mentally prepare for translating my measurements onto paper. The guidebook provided instructions for creating the main body pieces and sleeves, while the thrifted jacket served as a reference for drafting the hood pattern, which I later modified slightly.
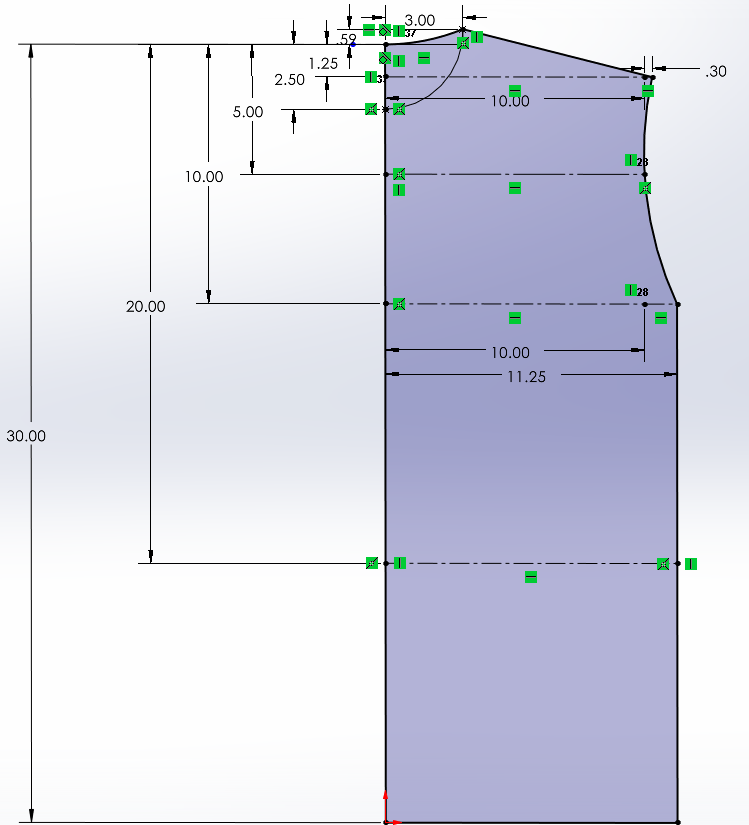
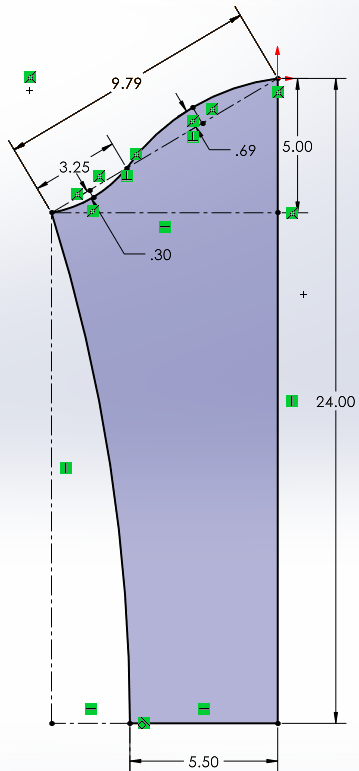
Figure 7. SolidWorks sketch of the body and sleeves of the garment.
Layout
Once the pattern was drafted and cut out of paper, I laid it onto the fabric sheet (Figure 8) and pinned it in place. The fabric was folded to ensure symmetry between the left and right sides of the final garment. While only one sleeve is shown in the layout, the pattern was cut twice—one for each arm. Additionally, the sleeves and back were cut along the fold to simplify the pattern-making process and maintain symmetry in the garment.
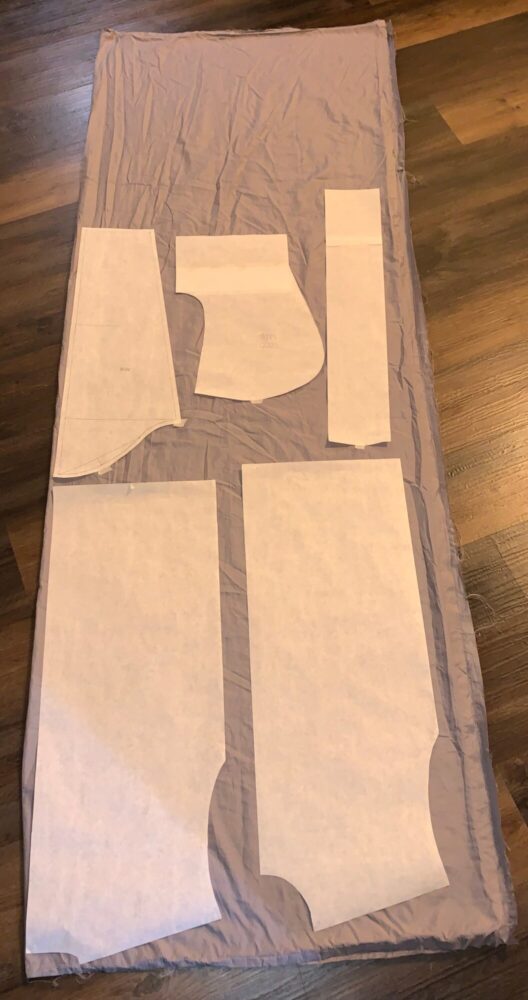
Figure 8. Layout of the pattern on the fabric.
Sewing Order of Operations
With all the fabric pieces cut, I began assembling the jacket by pinning and sewing the individual subassemblies. First, I attached the front panels to the back piece, starting with the shoulder seams, followed by the seams below the armholes, forming a vest-like structure. Next, I sewed the sleeves lengthwise to create the armholes. For the hood, I stitched the side panels to the middle panel, added a drawstring along the front hem, and installed a metal grommets for the drawstring to pass through.
Once the subassemblies were complete, I joined them together by attaching the sleeves to the main body and sewing the hood into the neckline. I then hemmed all the edges, including the sleeves, hood, bottom of the jacket, and the areas where the zipper would be attached. Finally, I sewed the zipper onto the front panels, completing the construction of the jacket.
Finished Jacket
After completing all the sewing, the jacket was finished and ready to be worn. Figure 9 shows the front and back of the jacket while laying flat.
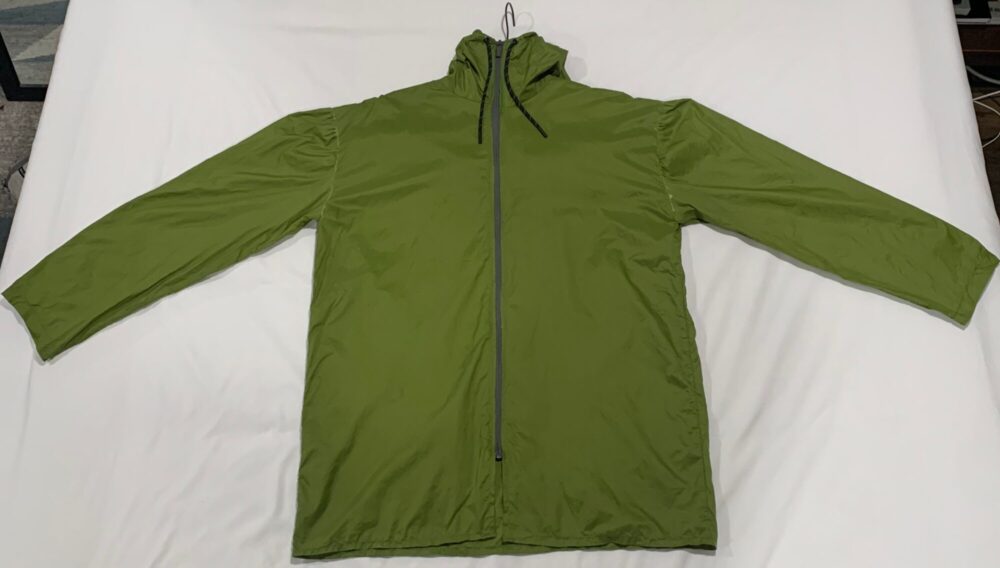
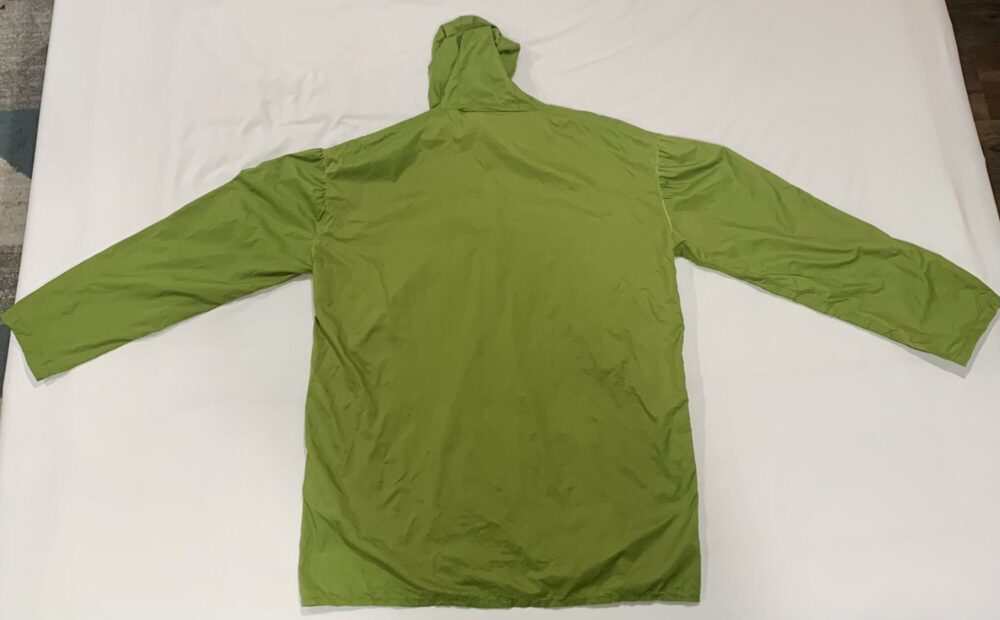
Figure 9. Front and back images of the jacket I created.
The Seams
For each seam in the jacket, I used a faux flat-felled seam, where the wrong sides of the fabric were overlapped and faced outward. Once the seam was sewn, the garment was turned right side out to create a clean finish. Each seam was first secured with a straight stitch to hold the fabric pieces together. Ideally, I would have used a serger to enclose the raw fabric edges and prevent fraying, but since I didn’t have access to a serging machine, I opted for a zigzag stitch instead.
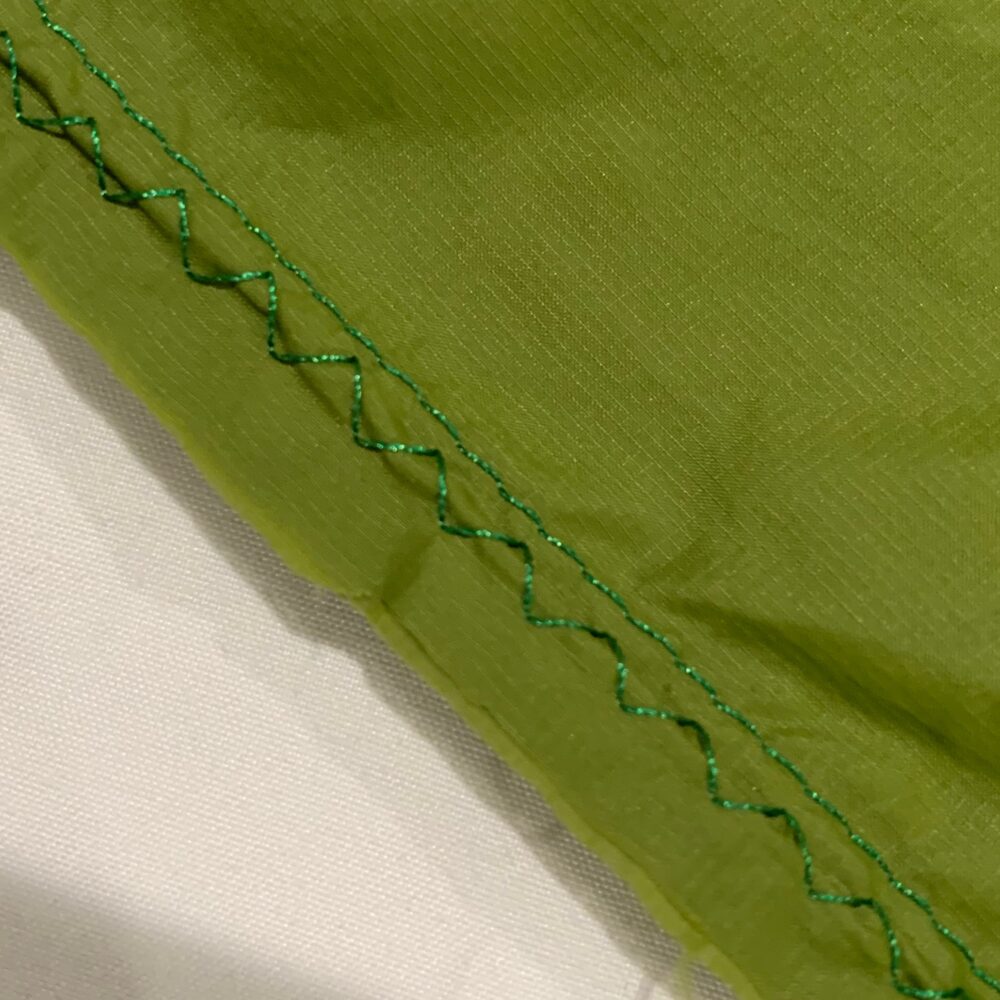
Figure 10. Faux flat felled seam with straight stitch and a zigzag stitch.
By far the most challenging part of creating this jacket was sewing the sleeves. To create the shoulder cup, the sleeve includes extra fabric, known as ease, which adds additional material compared to the armhole. This can be difficult for a beginner seamster to manage. When pinning the shoulder, the excess material is gradually halved using pins until the fabric edges nearly align. I then hand-stitched a running stitch into the seam to hold the fabric in place before sewing with the machine, as getting all the pins through the machine can be tricky. Figure 11 shows the shoulder stitch, with the lime green thread representing the running stitch. I used a fabric paint to mark the 3/8-inch seam allowance on both fabric pieces.
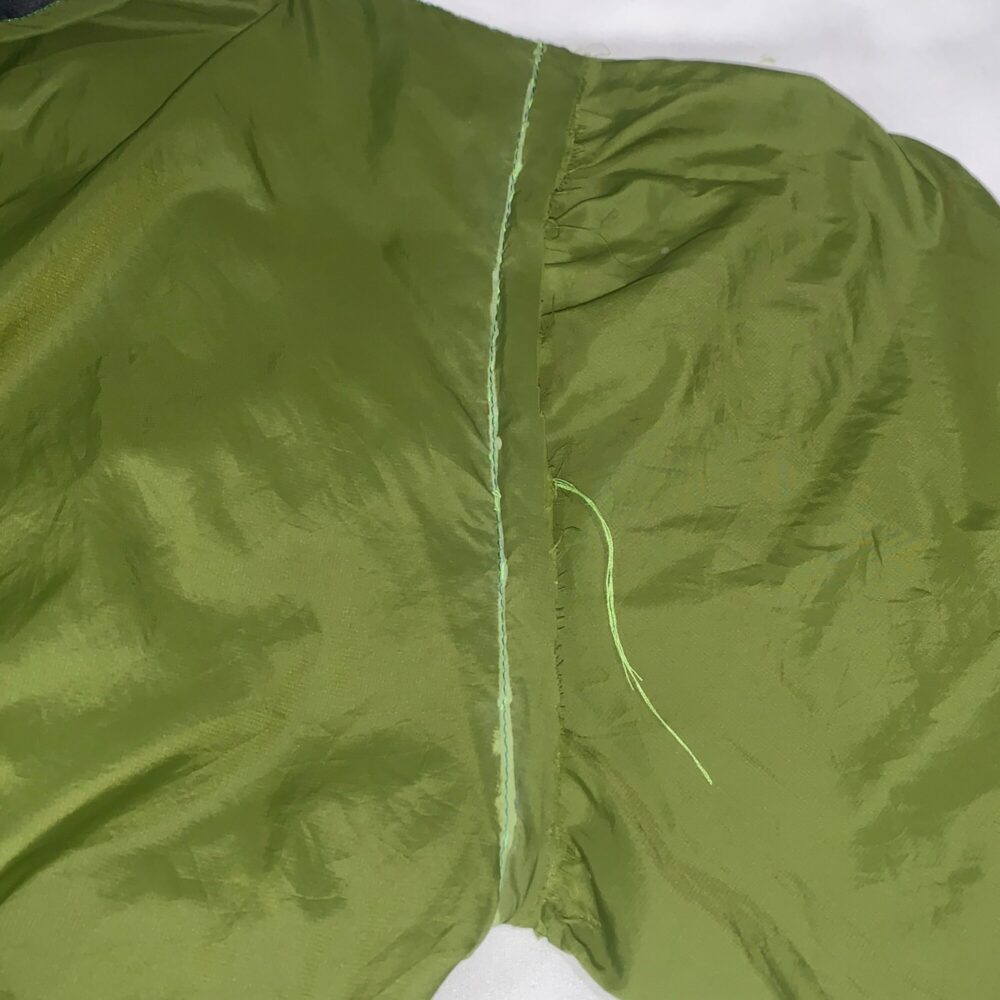
Figure 11. The seam attaching the sleeve to the main body.
Figure 12 shows the sleeve seam on the left, the top shoulder stitch in the middle, and the hood seam on the right. The black fabric is a piece of k-tape, a ripstop nylon with an adhesive backing, used to seal the seam and enhance weather resistance.
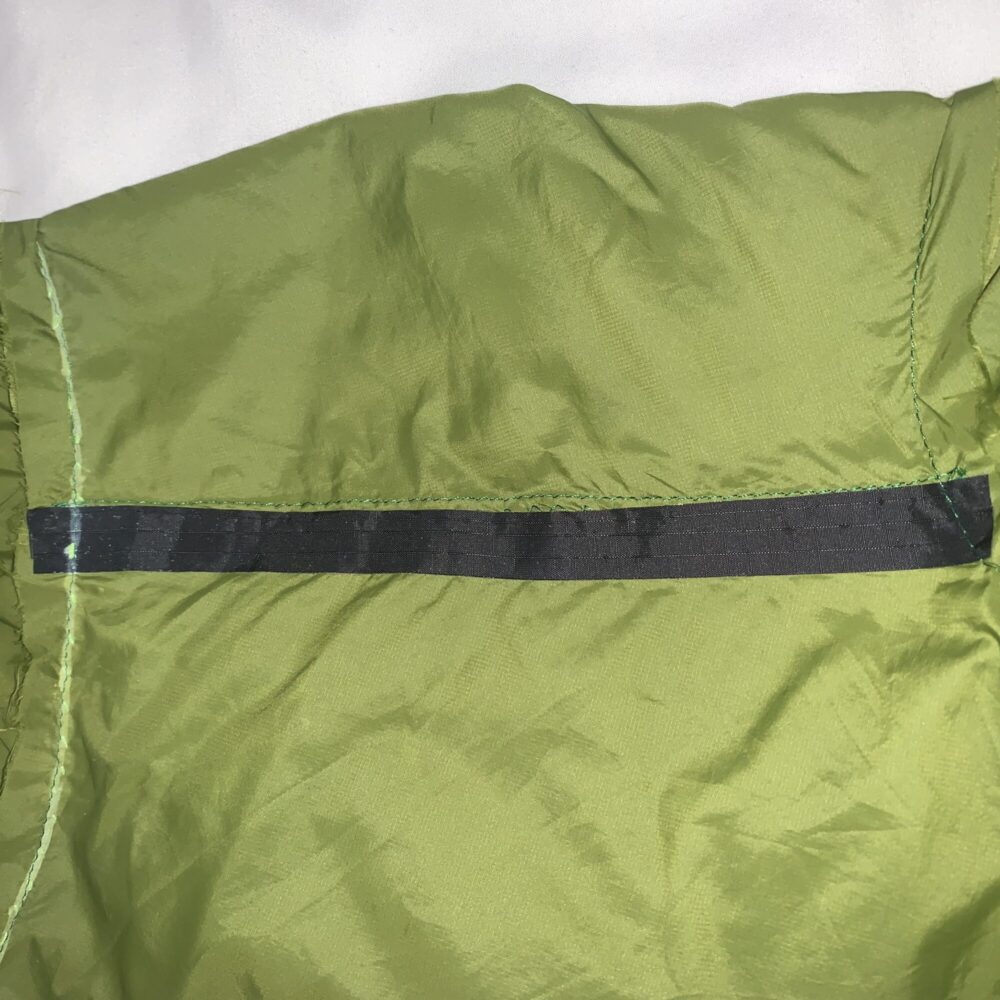
Figure 12. Depicts the arm, shoulder, and hood seams.
Hemming involves finishing the edge of the fabric by folding it under itself to prevent unraveling. Hems are used to create clean lines at the ends of sleeves, around the hood, at the bottom of the jacket, and along the zipper edges. Figure 13 shows the hem on the sleeve of the jacket.
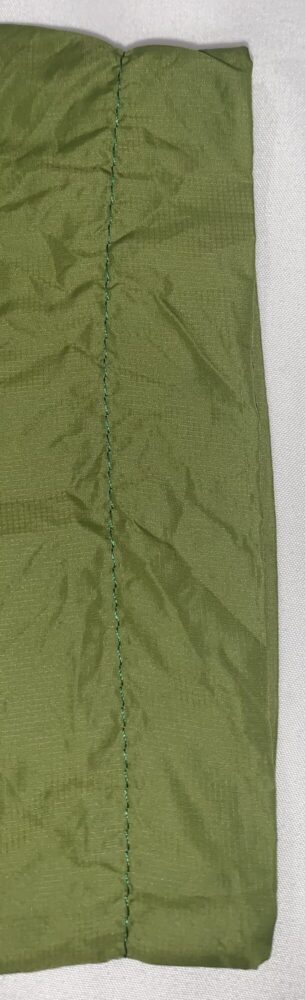
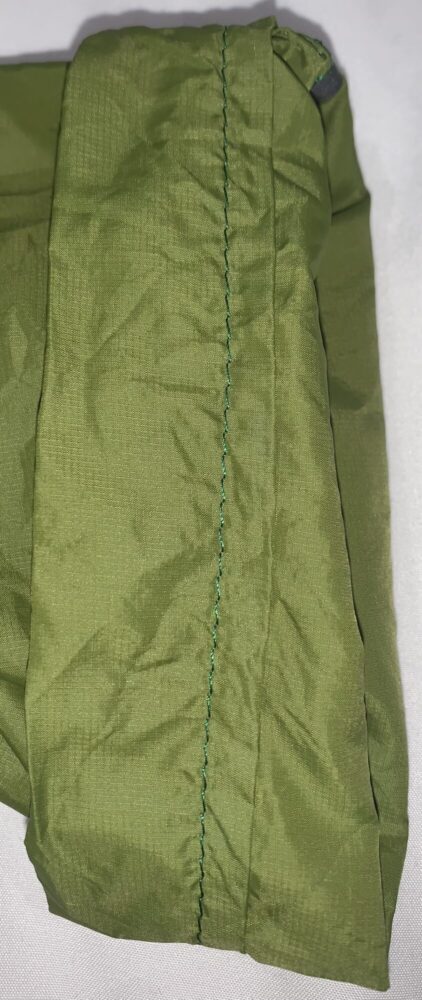
Figure 13. Sleeve hem.
Trials, Tribulations, and Oversights
Sewing is a tedious process, and as a beginner, everything took longer than I expected. The actual sewing on the machine was the easy part, but pinning everything in place was the most time-consuming. I made several mistakes along the way, but due to time constraints, I couldn’t correct them. The phrase “measure twice, cut once” really rings true in sewing projects. One oversight was not ensuring that the openings on the body were the same length as the pieces I was attaching, which caused puckering along the hood and arms, as shown in Figure 12. Puckering refers to the small folds visible in the fabric along the seams. Additionally, the water-soluble paint marker I used to mark my seam allowances didn’t wash out as expected. Next time, I’ll use chalk to make any marks on the fabric to ensure they come out after the garment is finished. Another issue was my documentation process. I became so focused on making the garment and finishing the project that I forgot to stop and document my progress. This post would have benefited from having photos of each step, from drafting and pinning to images showing the garment as it came together.
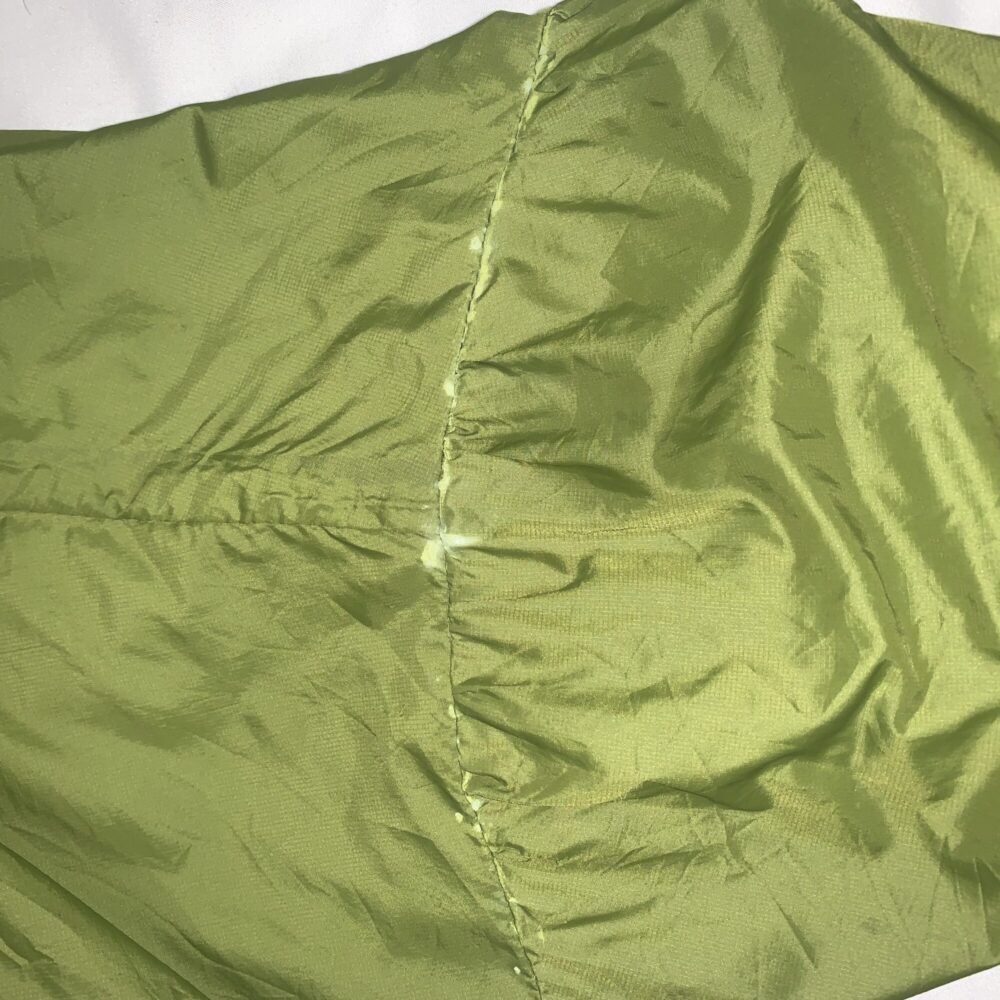
Figure 14. Outside of the shoulder seam showing the puckering of the fabric and the discoloration left over from marking the fabric.
Going Forward!
I learned a lot about drafting patterns, sewing, and garment construction during this project. I plan to try making this garment again, applying the lessons I learned to improve the result. I will start by refining the pattern to ensure the sleeves and armholes, as well as the hood and neckline, align properly. Once the pattern is finalized, I’ll proceed with cutting and sewing the garment again. This time, I’ll take my time, carefully thinking through each step to achieve a professional-level finish. The next iteration of the jacket will include zippered vents with a mesh backing on the front and underarms, as well as pockets. Additionally, I’ll make sure to document every step of the process, potentially filming it as a tutorial to help others learn how to make their own outdoor gear and avoid the mistakes I made.
Overall, I’m satisfied with how my jacket turned out, and I believe it aligns with the Scandinavian minimalist aesthetic. While it’s clear that the jacket was made by a beginner and there are some noticeable mistakes, I’ve learned a lot through the process. I’m not discouraged and am determined to continue growing my sewing skills. With a solid plan to improve, I’m confident that I can make a better jacket in the future.
References
- https://scandinavia.nordicvisitor.com/travel-guide/information/climate-weather/
Images
- Figure 1: https://www.norrona.com/en-GB/products/lofoten/lofoten-primaloft80-anorak-men/
- Figure 2: https://www.norrona.com/en-GB/products/lofoten/lofoten-hiloflex200-hood-men/
- Figure 3: https://www.amazon.com/ECOOPRO-Warm-Weather-Sleeping-Bag/dp/B084RPJJQD?th=1
- Figure 5: https://i5.walmartimages.com/asr/e279f410-5d85-42f5-8d5329127f2bf730.e297e6299ba60b780a0be5074a313505.jpeg?odnHeight=768&odnWidth=768&odnBg=FFFFFF
- Figure 6: https://www.wiley.com/en-us/Metric+Pattern+Cutting+for+Menswear%2C+5th+Edition-p-9781118372050
ChatGPT was used to edit this post for clarity and conciseness.
4 Comments. Leave new
Love this project, I have actually thought about doing a project like this but it seemed intimidating and difficult. Your planning and execution was awesome, well done!
Thank you! If you want to do a project like this, I highly recommend just buying a pattern like the ones from “The Green Pepper” (https://thegreenpepper.com/). It simplifies the process a lot and you will not have the same fitment issues that I had with this project. Most patterns usually come with instructions as well, so it just makes everything 10x easier.
Evan – this jacket turned out really great. I think the final product resembles your aesthetic really well. I like how you discussed the challenges you faced, and I am really impressed you did not have previous sewing experience. For the next time, would you try to add more details, such as pockets, to your design?
Thank you, I appreciate it! I will definitely add more details to the next iteration. I want to add zippered vents with a mesh backing to the front and underarms of the jacket for some added ventilation, and I’ll definitely include pockets. About halfway through the project I realized the jacket wasn’t to the quality that I was looking for and decided to not include those features on this first draft of the jacket.