
In prior weeks, I have explained about how I was going to make a model inside of a box with an indie filter as one of the walls.
So what is this?
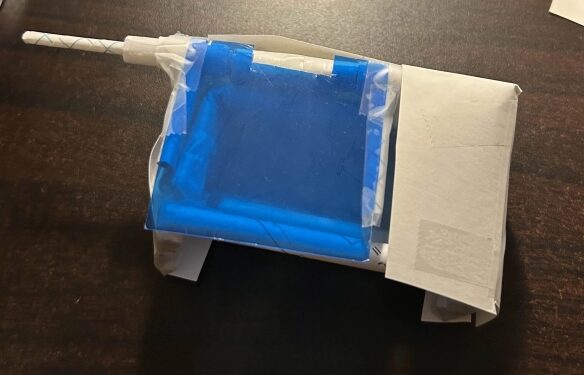
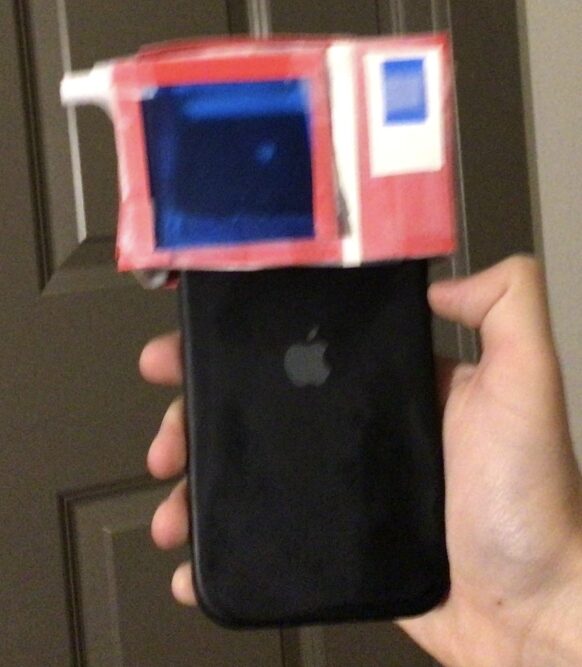
What you see now is an attachment for my phone made of old homework assignments and a see-through plastic. The main method in which this was made is with paper tubes. I first began using these as part of an old hobby of mine, making low-cost prop weapons using recycled paper.
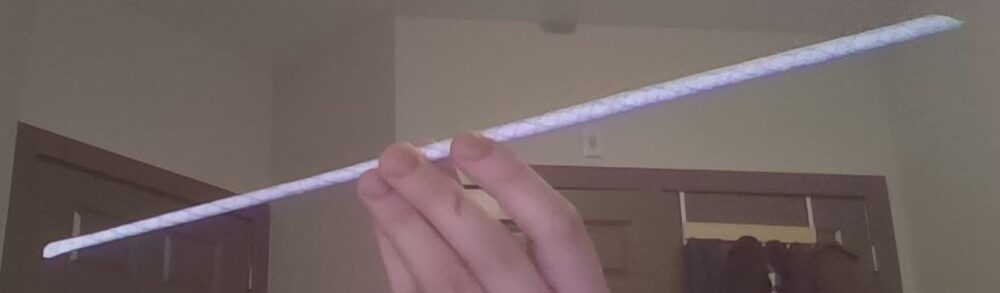
Making these is simple. You begin rolling a piece of paper from one corner, keeping it as tight as you need. Continue rolling it to the opposite corner, taping the edge once complete. These tubes are surprisingly structurally sound and are even capable of sliding into one another tightly, making them longer. The main usage of these for this project is bending them into shapes. More impressive, however, is the creation of mechanisms. With two tubes of different lengths, one can be fully slid into the other, allowing for one of the main features of this project.
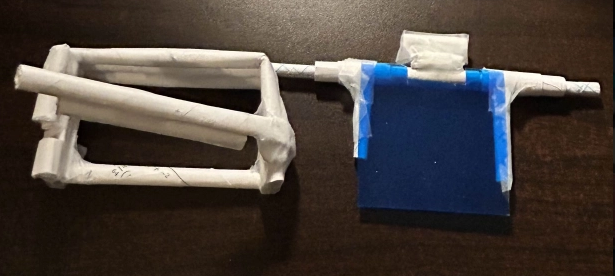
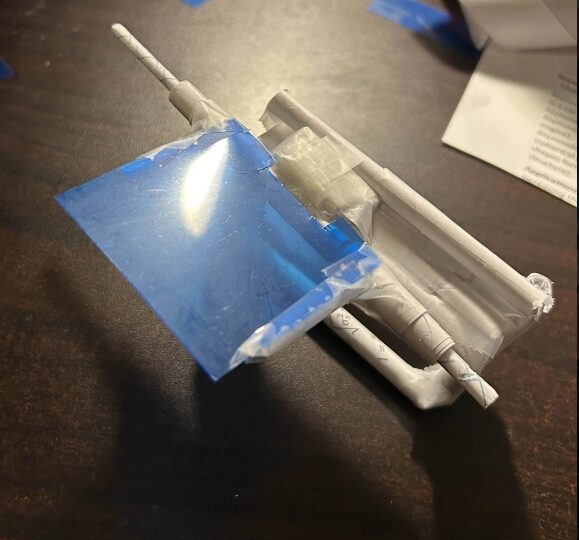
The two parts I initially made were a base and a mechanism for the filter. The base was comprised of a part that slides over my phone, staying in place due to a friction fit (this is improved later on) and a lock. This lock is comprised of a bar that, due to the properties of the bent paper, has a spring-like quality. This allows it to slide into a slot on the left slide, effectively locking in place. The sizing of it is also specifically chosen so that all buttons on the side of my phone are still accessible. The lock is also positioned so the buttons at the top of my screen are accessible and so the preview of the photo on my screen isn’t obscured. The other part is a filter on an adjustable hinge. The goal of this is to allow the filter to be effectively turned on and off when attached to my phone.
All things considered, this is fully functional in this state. However, it does not look very good. The goal now is to make it look presentable and fit into my aesthetic.
Speaking of which, my aesthetic is still Indie, however, it has transitioned into indie-photography rather than indie music. This stays relatively the same, however, keeping the same filter that the album covers I referenced used.
Moving on, I made a housing for these components. This was flat pieces of some material on every side of the components. I will fully admit that I do not know what this material was. I found it among the rest of my old school supplies. It was similar in texture to cardstock, however.
I was not satisfied with this, however. It did not look enough like the indie aesthetic I was aiming for, so I added another layer.
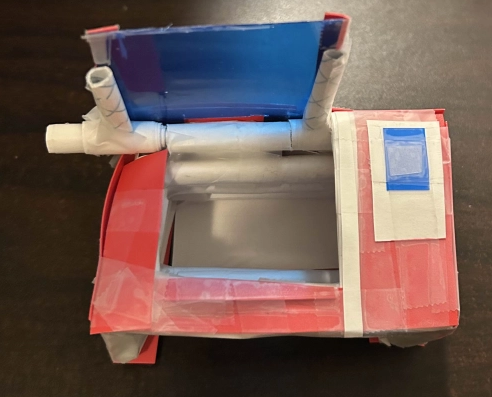
To do this, I used the cover of an old notebook and the same material from before, creating an outer layer reminiscent of a lower quality camera. The main issue with this now, however, is the tape. It is very obvious where every piece of tape is and it stands out a bit too much. I considered this and was prepared to add another layer using hot glue instead, but I came to a realization that I felt justified not doing this.
To me, indie art is very reminiscent of the arts and crafts movement. Part of the aesthetic of the arts and crafts movement was leaving parts and components crucial to the structure and creation of a part visible. This includes parts like nails, screws, and structural supports. I felt that keeping the tape and some of the paper visible was reminiscent to this, calling back to the aesthetics of the past that resemble those we have now.
I am very happy with how this turned out, but now the question remains. Why did I switch my project?
The main issue was that, to put it lightly, most things went wrong.
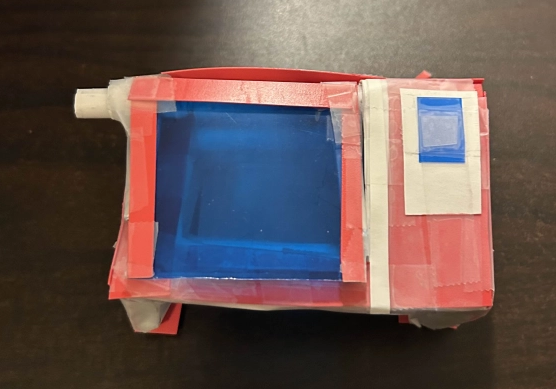
The box itself was made and it looks fairly good, in my opinion. For starters, the vellum paper that I planned on using ended up being unusable.
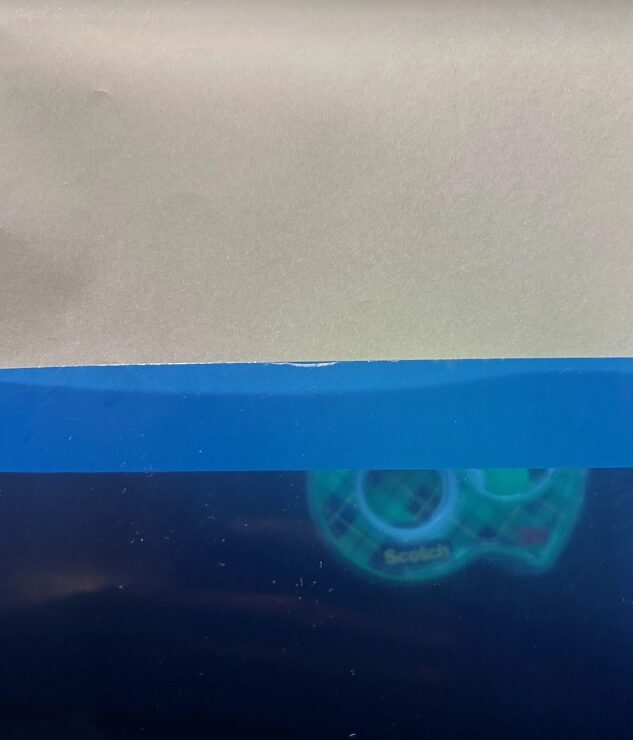
The only things able to be seen through it were parts that were directly touching or close to touching it. This plastic sheet was able to be used for a filter, but then the issue was with the model that would go inside the box. The main idea was to make a model for “rock music.” The issue with this was completely out of my control: the weather. With the recent snow, collecting natural materials like rocks and sticks was nigh-impossible. The other idea was to use broken drumsticks of mine, but all of my old drumsticks are in San Jose right now, and considering that a package my mom sent over a week ago has not arrived yet, the chance of getting those on time was slim.
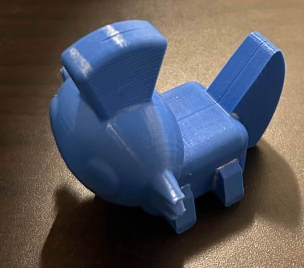
In the end, I am very pleased with what I ended up with instead. It functions exactly how I wanted it to and am also happy with how it looks. In the future, I might refine this, using 3D printed parts instead of paper. I believe that will achieve a sleeker look while also making it more functional. Having a filter built into a phone case would also be cool, but that is an entirely different project at that point.
References:
N/A
1 Comment. Leave new
Hello,
I think that this post was able to clearly demonstrate the step by step process taken to my the attachment along with how it happen to applying to the changing aesthetics from indie to indie photography. I also like the inclusion of the multiple figures, which adds clarity to the explanations. I do think that the initial part of this post might want to include or acknowledge the pivot in the project. It also might to have a section that mentions the success of the filter, like how did it effect photo and have an example of a photo with the filter.