
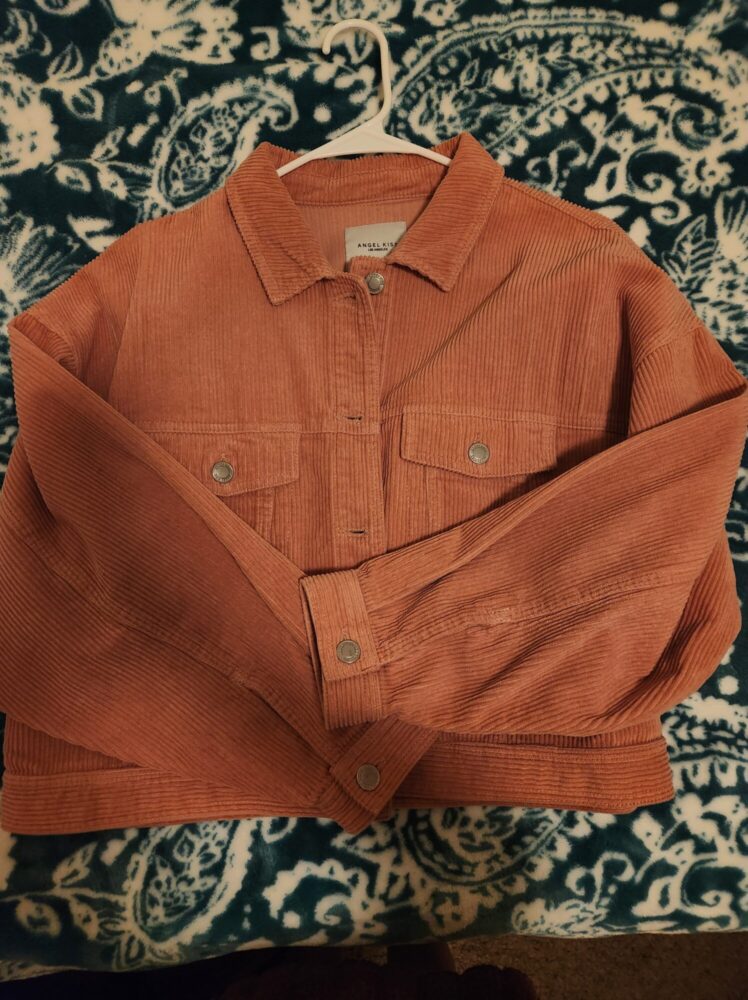
For my Upcycle project, I originally planned to embroider a pink corduroy jacket, but after realizing the material wasn’t ideal, I switched to a tote bag. My goal was to create something that fit the cute and pink aesthetic, inspired by Kawaii culture. This aesthetic is soft, playful, and nostalgic, filled with pastel colors, rounded shapes, and motifs like bows and hearts. Since I had never embroidered before, this project was also about learning a new skill while making something I could actually use. This piece type was a functional art and accessory
Inspirations and Vision
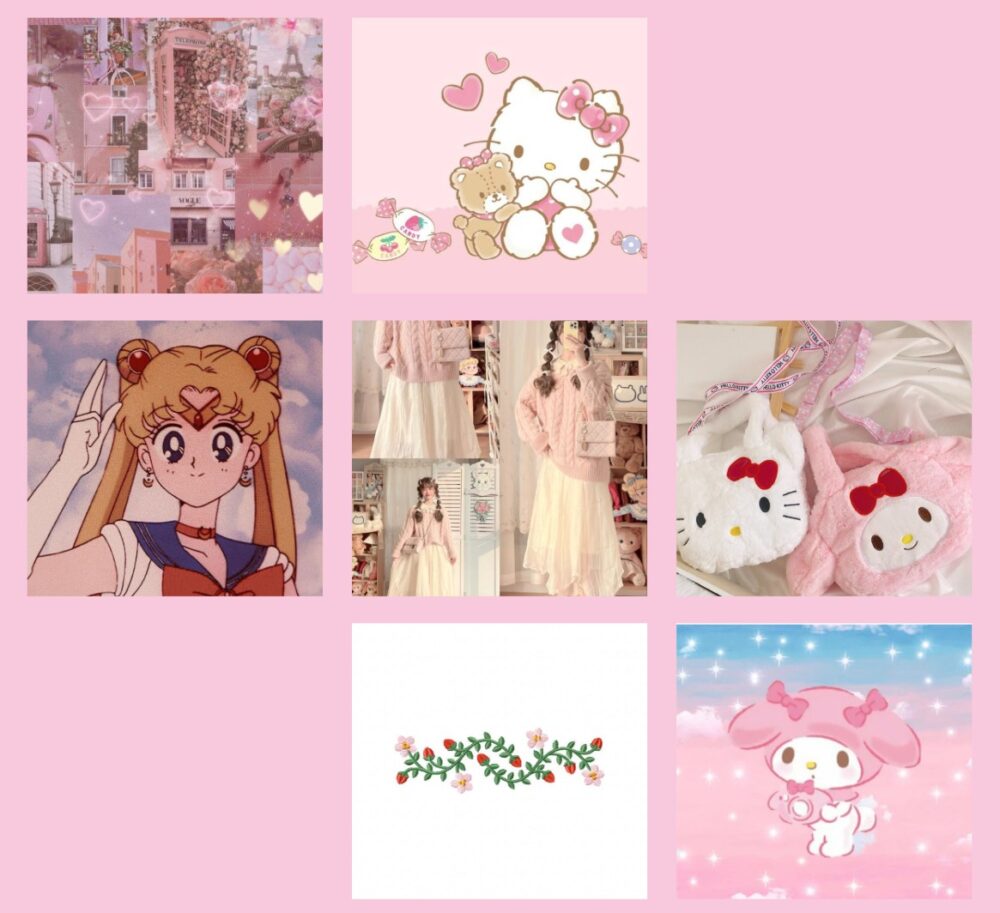
My main inspiration was the cute and pink aesthetic, which I explored in my first blog post. I wanted my design to feel soft and minimalistic, with small embroidered bows and a large fabric bow as the centerpiece.
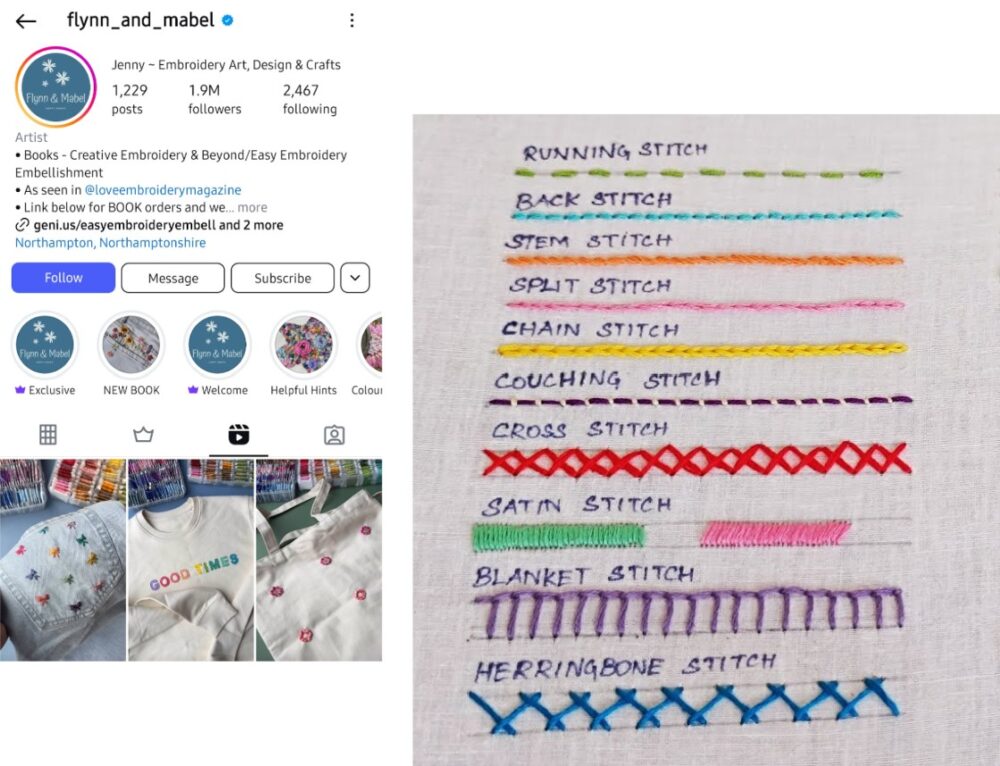
Since I had no experience with embroidery, I looked for tutorials online. I found an Instagram page called @Flynn_and_Mabel, which shared creative and simple embroidery designs, and I watched several YouTube videos to learn basic stitches. Additionally, I attended an Intro to Sewing workshop at CU Boulder’s Idea Forge. While the workshop focused on machine sewing, it helped me understand stitching techniques.
Another reason I wanted to learn embroidery is that I love thrifting. Sometimes, I find cute items that I want to personalize by maybe adding a small bow or floral design to make them more unique. This project was a step toward being able to do that.
Project Plan and Materials
Original Idea: Pink Corduroy Jacket
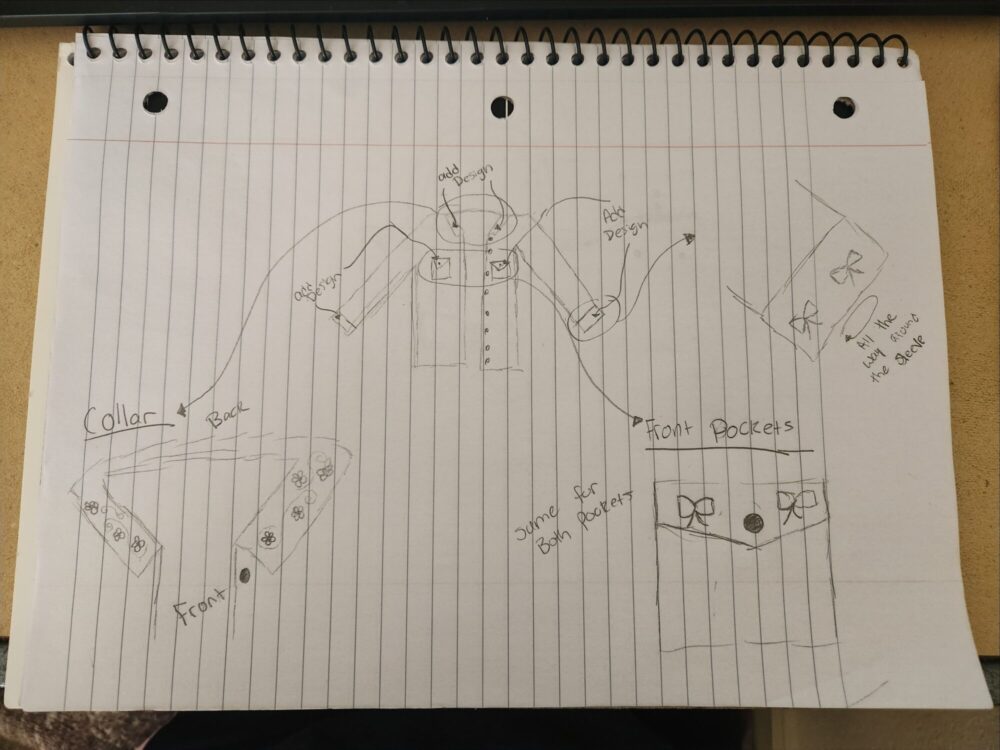
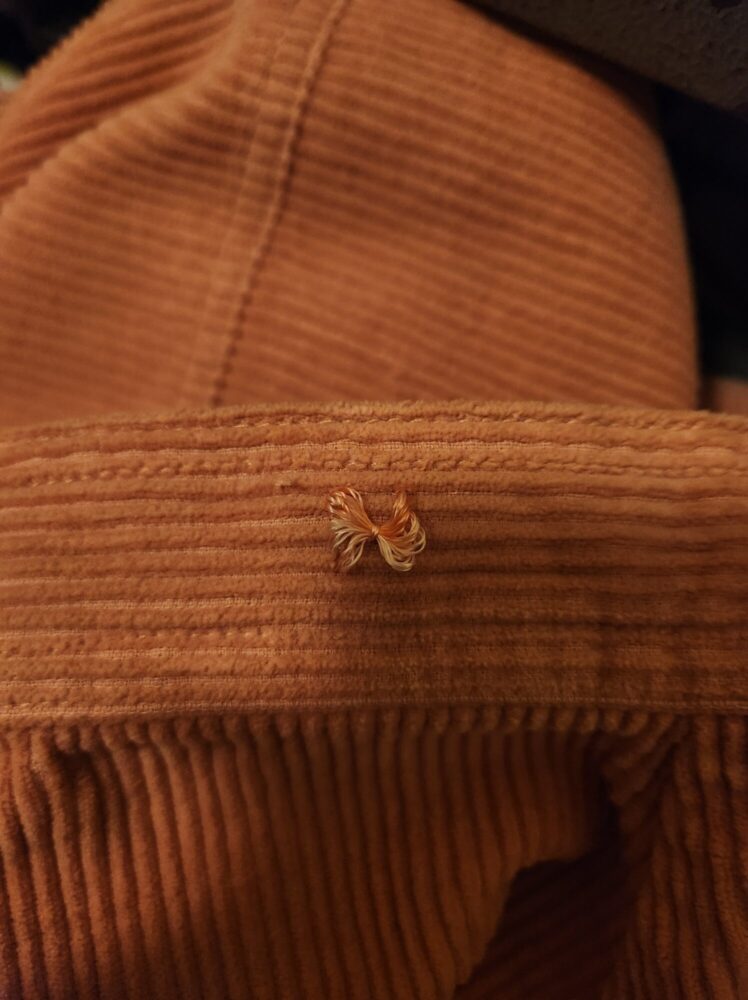
My first plan was to embroider a pink corduroy jacket that I already owned. I sketched out where I wanted to place the designs and even tested embroidery on the sleeve. However, I quickly realized that corduroy was difficult to work with. The thick material left permanent holes when I removed stitches, and some fabric pulled apart when I pushed the needle through. I had to scrap the idea and start over.
New Idea: Pink Tote Bag
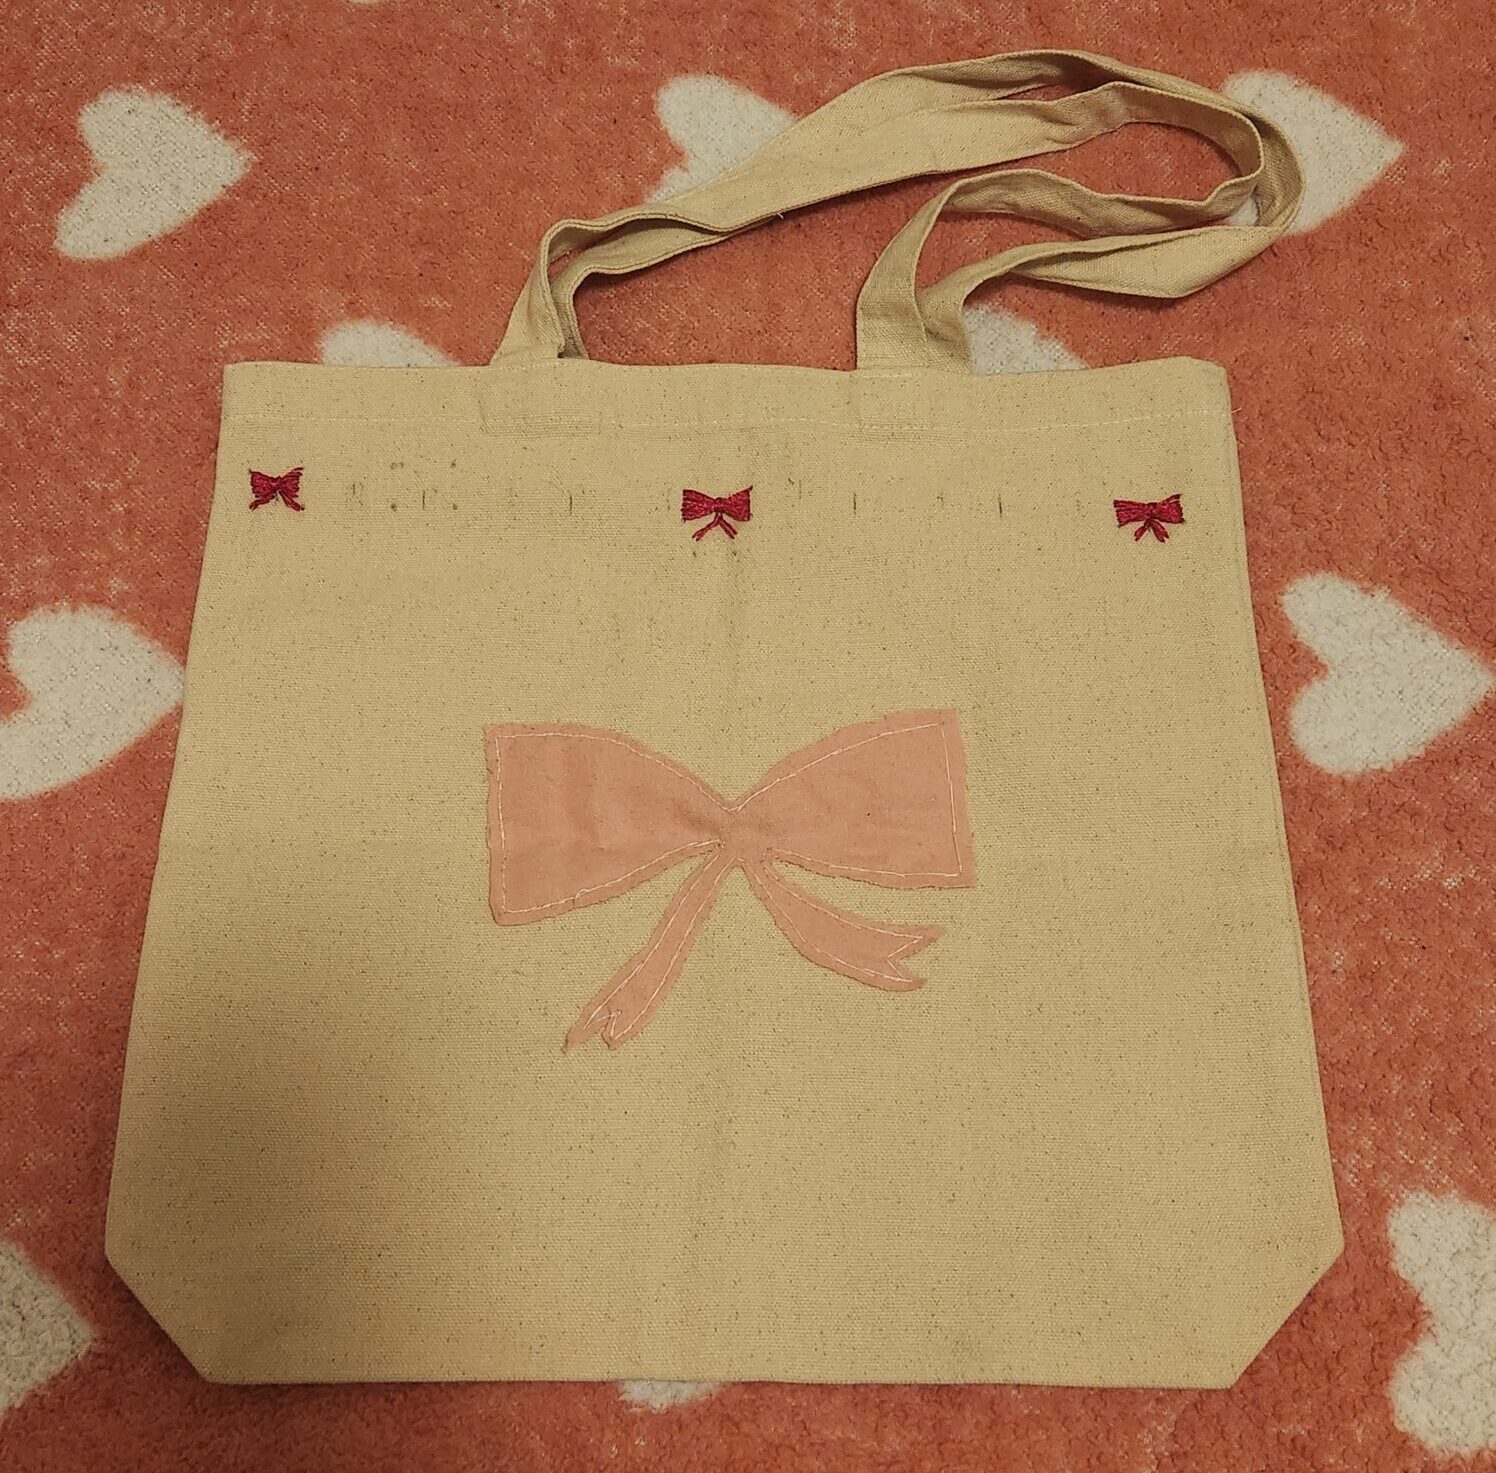
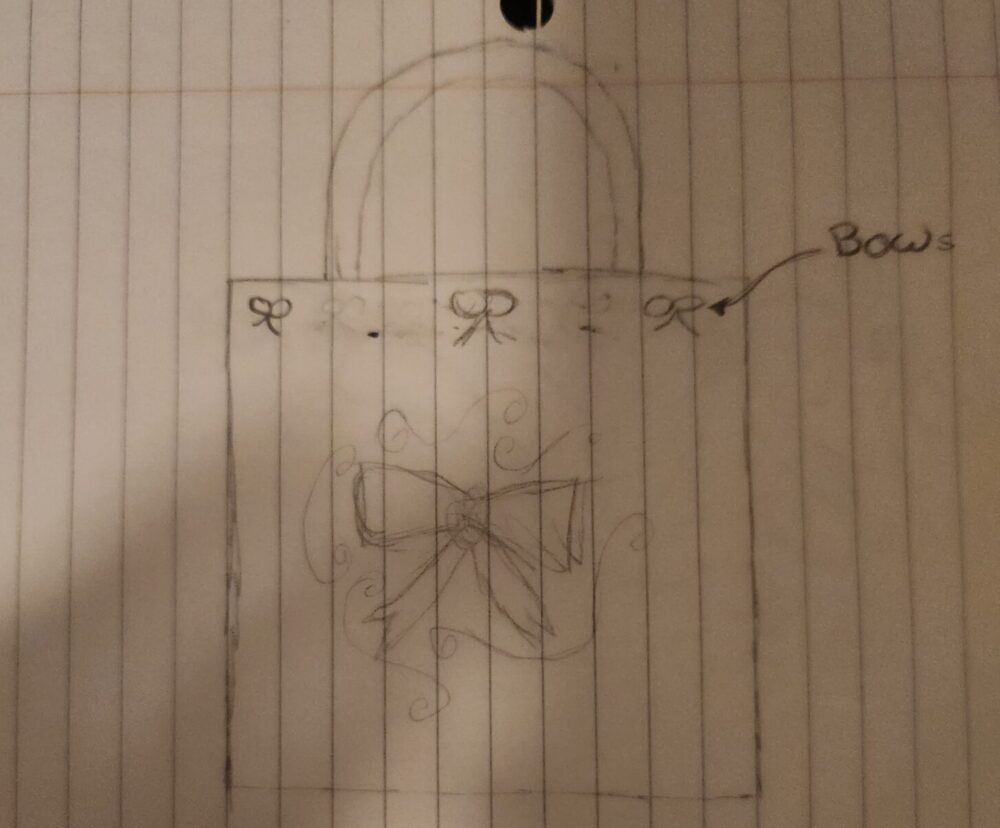
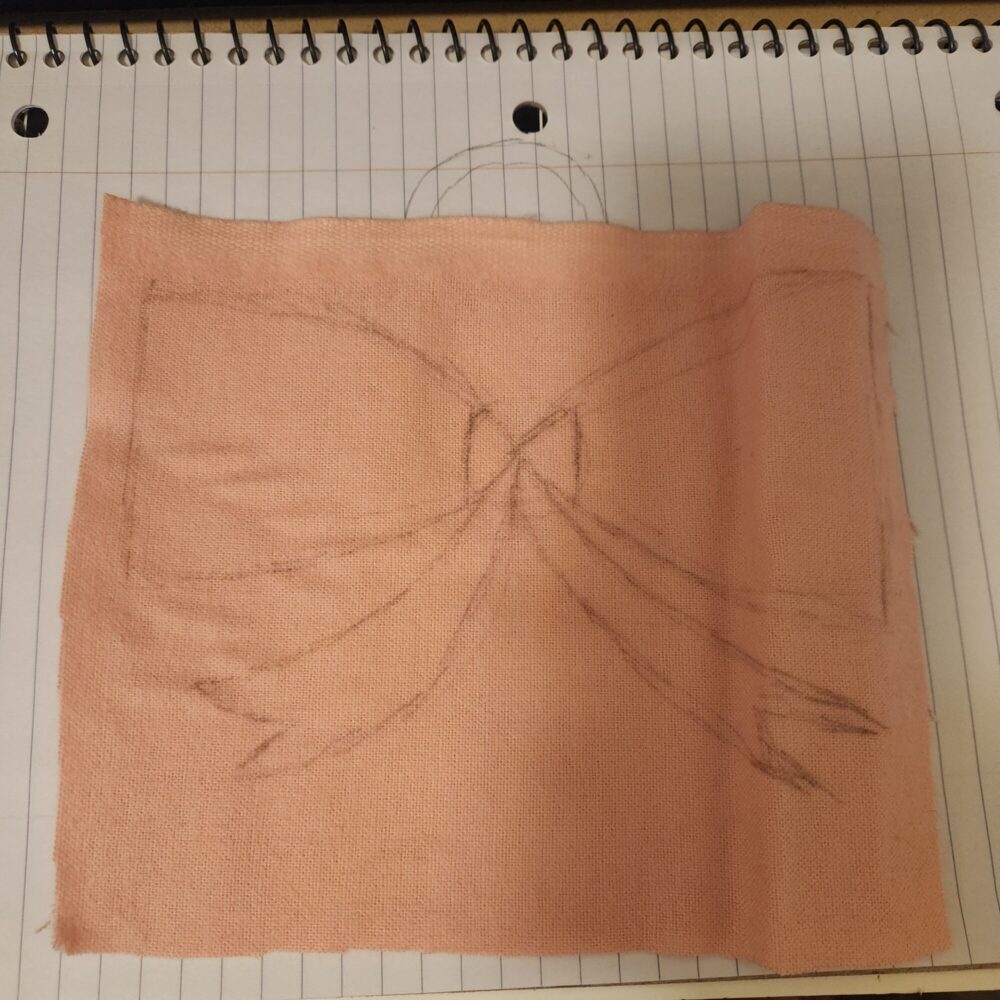
Luckily, I had a plain tote bag that I could use instead. I sketched a new design, focusing on simplicity while still matching the aesthetic. My plan was to embroider three small bows and sew a large fabric bow in the center.


Materials Used:
- Plain tote bag
- Embroidery hoop
- Needles
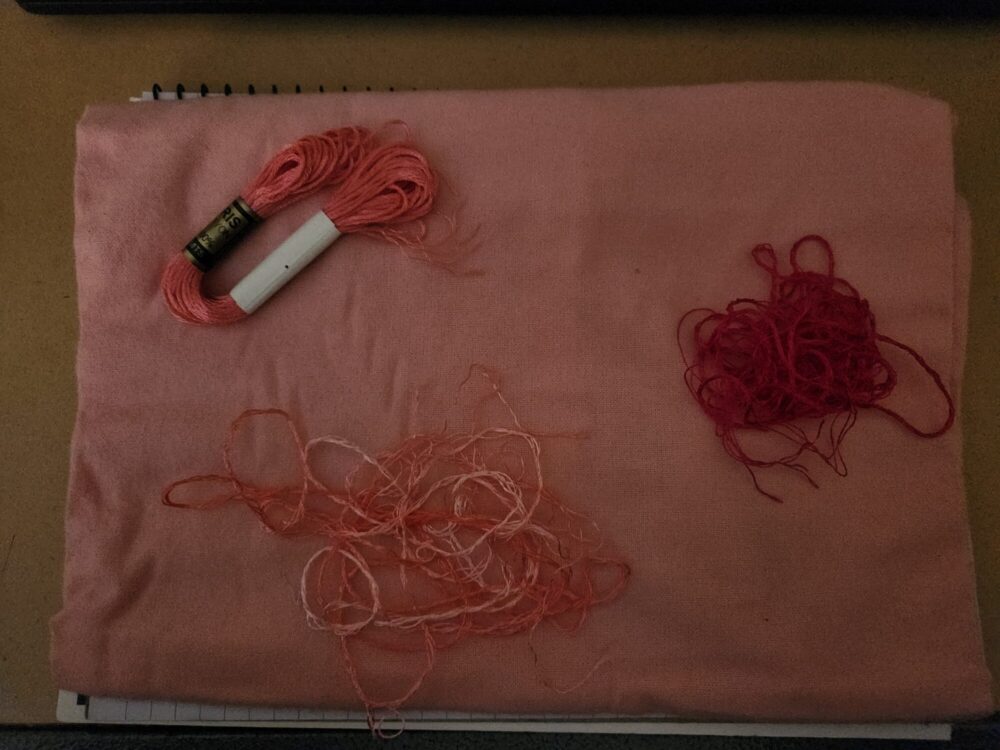
- Pink and pastel embroidery thread
- Pink fabric for the large bow
- Fabric scissors

Fabrication Process and Challenges
Learning to Embroider
Since I was completely new to embroidery, I struggled a lot at first. Some of the biggest challenges I faced were:
- Thread Tangling – My thread kept getting knotted, forcing me to restart multiple times. I learned that shorter thread lengths helped avoid this.
- Thick Needles – Some needles didn’t fit my thread, so I had to switch to thinner ones.
- Sewing in the Wrong Spot – The tote bag fabric was thick, so I had to be careful not to pierce through both sides.
Making Adjustments
At first, I wanted to embroider the large bow in the center of the bag, but after realizing how difficult that would be, I decided to cut out a fabric bow and hand-sew it on instead. This saved time and made sure the bow looked neat.
Final Result
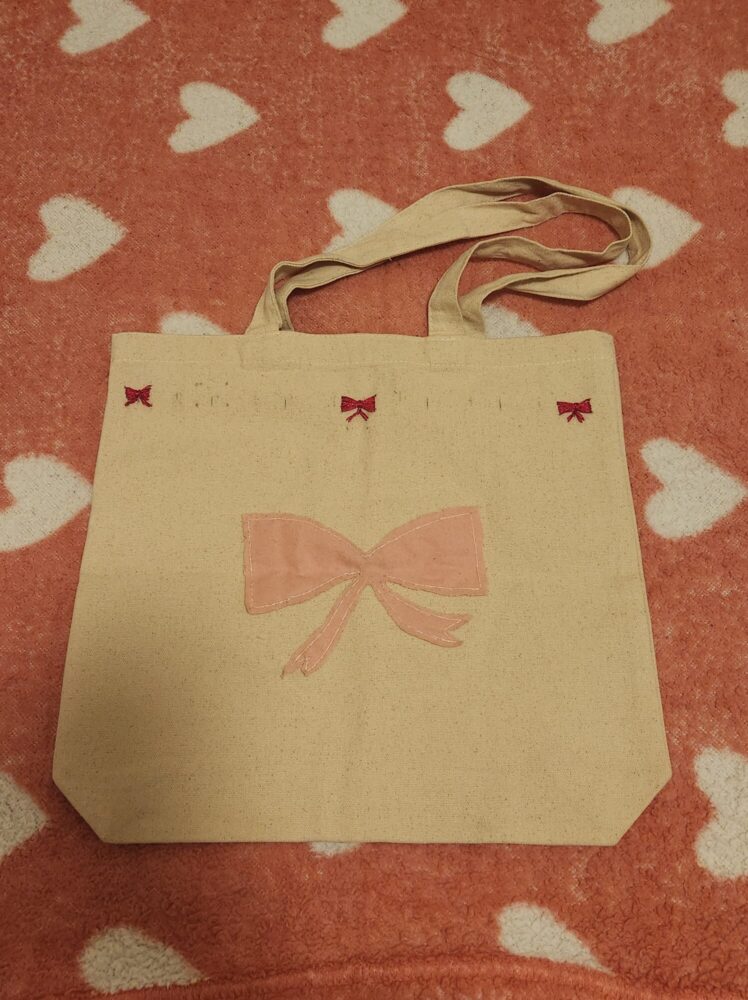
After many hours of trial and error, I completed three small embroidered bows and sewed on the fabric bow in the center. Even though I didn’t finish as much embroidery as I originally planned, I love how it turned out! The tote bag is simple, cute, and perfectly fits the pink aesthetic.
Functional and Artistic Goals
Functional Goals:
- Create a practical tote bag I can use
- Make sure the embroidery is secure and won’t fray
- But Didn’t complete as much embroidery as I had hoped
Artistic Goals:
- Achieved the cute and pink aesthetic with pastel bows
- Balanced minimalism with soft, playful embroidery
- Found a creative solution with the fabric bow instead of embroidered one
What’s Next?
I definitely plan to keep this tote bag and use it regularly. Even though embroidery was harder than I expected, I really enjoyed it by the end. I want to keep practicing and try new techniques in the future, like:
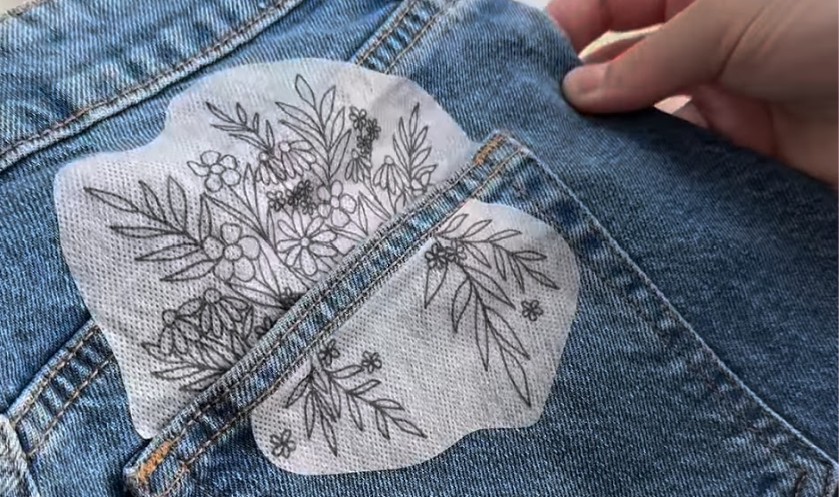
- Using Vanishing Embroidery Transfer Sheets – These make it easier to sketch designs before stitching.
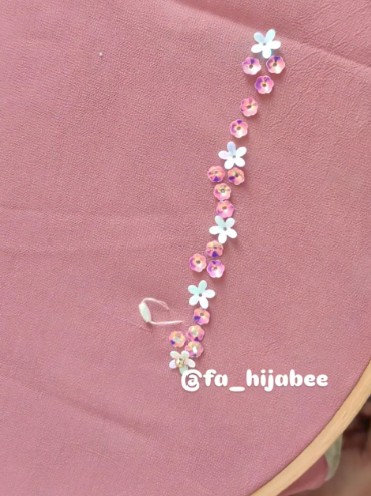
- Adding Bead Embroidery – I think tiny beads could make future projects even cuter.
This project has made me more excited about upcycling and customizing clothes. Now that I know the basics of embroidery, I want to try adding small designs to thrifted jeans, jackets, or even shoes!
References
[1]. https://www.allfreesewing.com/Hand-Embroidery-Patterns/Common-Embroidery-Stitches-PDF
[2]. 20 Most Important Hand Embroidery Stitches That Everyone Must Learn – Absolute Beginners (YouTube Video)
[3]. https://www.pinterest.com/pin/552253973061766294/
[4]. https://wallpapersok.com/wallpapers/blowing-a-kiss-hello-kitty-aesthetic-8x30i95zbuquofca.html
[5]. https://www.bokksu.com/blogs/news/all-about-my-melody-japans-sweetheart-from-sanrio
[6]. https://www.pinterest.com/pin/543739355012038190/
[7]. https://www.etsy.com/listing/1310843275/kawaii-hello-kitty-my-melody-crossbody
[8]. https://www.dailyembroidery.com/product/pretty-pink-flower-flow-embroidery-design/
[9]. https://www.instagram.com/flynn_and_mabel/
[10]. https://www.instagram.com/pick.and.stitch/
[11]. https://www.instagram.com/mindfulmantra_embroidery/
[12]. https://www.instagram.com/fa_hijabee/
1 Comment. Leave new
[…] can check out both of my projects using the links below: Link to my Upcycle Project Post Link to Main Project Part 1 – What Link to Main Project Part 2 – […]