
Background
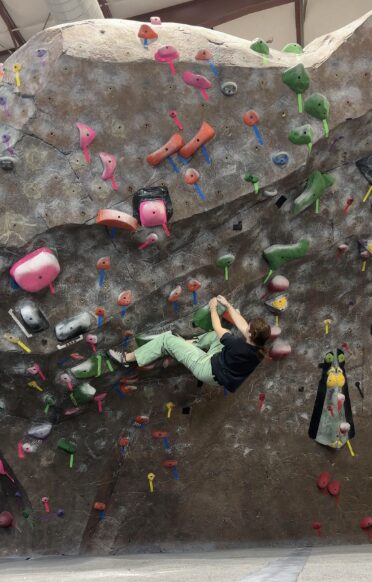
For my upcycle project, I chose to make a chalk bag for climbing out of upcycled fabric in the earthy neutrals aesthetic. I’ve had some leftover fabric from curtains that I hemmed for about a year now, and I knew I wanted to upcycle it for this project. When I began to think of ways to use this fabric, a chalk bag immediately came to mind. I love climbing and I try to do it nearly everyday. I typically boulder indoors at my local climbing gym, but climbing indoors still makes me feel very connected to and appreciative of nature.

Vision
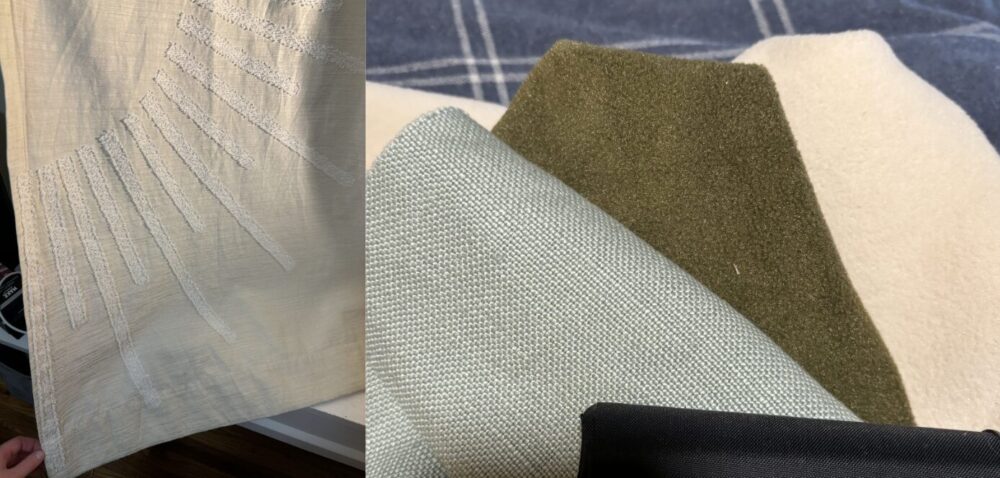
My vision for my chalk bag was to use a color palette of earthy neutral colors such as tans, greens, and blues to cultivate this aesthetic. I wanted to stay true to the upcycling nature of this project as well by minimizing buying new materials. I also originally wanted to incorporate a magnetic closure for this chalk bag so it will keep the chalk contained even if I carelessly drop it on the ground. Additionally, I wanted to strive for good craftsmanship despite my minimal sewing experience.

Fabrication Process
Before I began fabricating my chalk bag, I first needed to plan and gather materials. I already had the material I planned to use for the outside of the chalk bag. I went to ArtParts and bought some scrap fabric to use for the remaining components. I purchased magnets from Home Depot and I was unfortunately unable to find sufficient upcycled magnets. Instead of using measurements or a pattern found online, I decided to reverse engineer my current chalk bag. I traced out the cuts I wanted to make on the scrap fabric based on the dimensions of my current chalk bag, adding generous seam allowances.
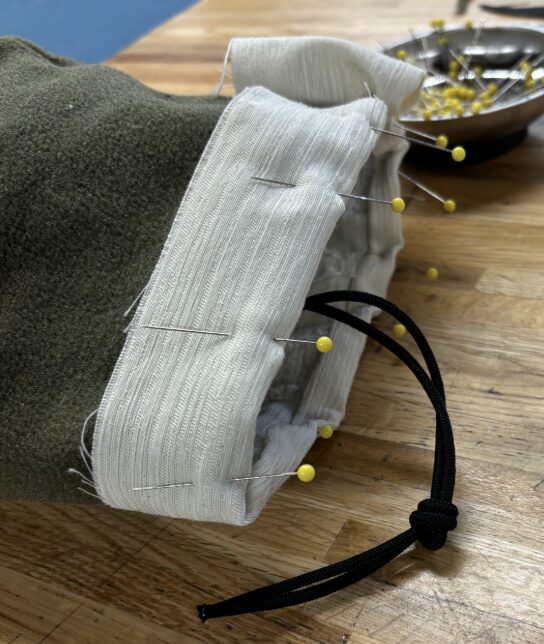
I then meticulously pinned the fabric as needed before sewing. I felt that this step was necessary because I have minimal sewing experience, and I had to sew this cylindrical shape which would have been hard to maintain with just my hands while sewing. The pinning process was honestly more time consuming than the sewing itself, but I think it was worthwhile.
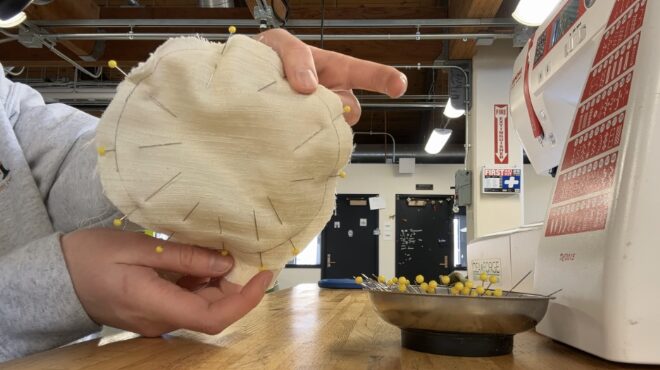
IMG_0483 time lapse video of pinning process
I began the sewing process with the green fleece for the inside of the bag. I had some difficulty with this fabric as it was somewhat stretchy and thick. Next, I sewed the external layer of the bag with the upcycled curtain fabric. They fit together nicely and I was happy with how these components turned out.
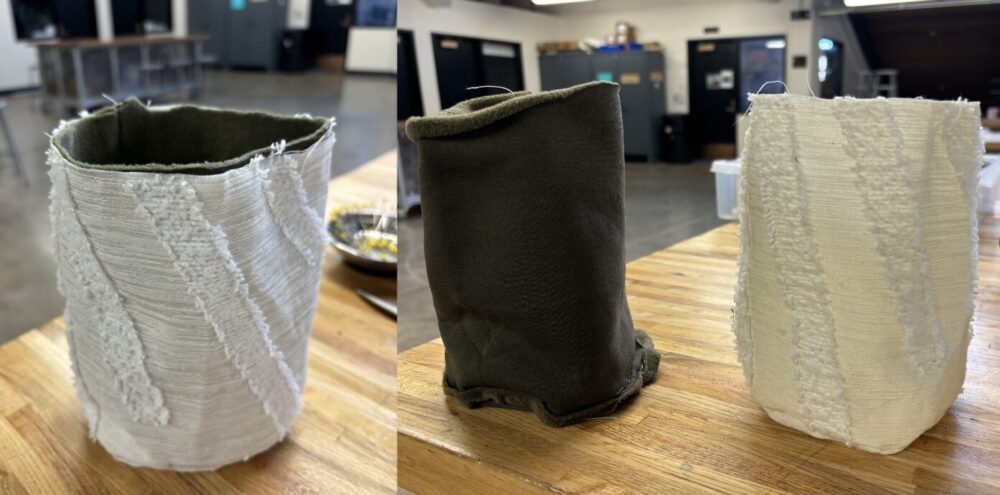
I had some fabrication issues with the magnetic closure. The magnets I purchased were far too strong, and the black nylon fabric I planned to use began fraying and ripping badly. Between the magnet and the fabric issues, I decided to abandon the magnetic closure. Even though this was my original vision, I think it was for the best to pivot. The black fabric did not match the earthy neutrals aesthetic, and the magnets were the only non-upcycled component. I ended up cutting out the magnetic closure top I had sewed on to switch to the traditional drawstring closure.

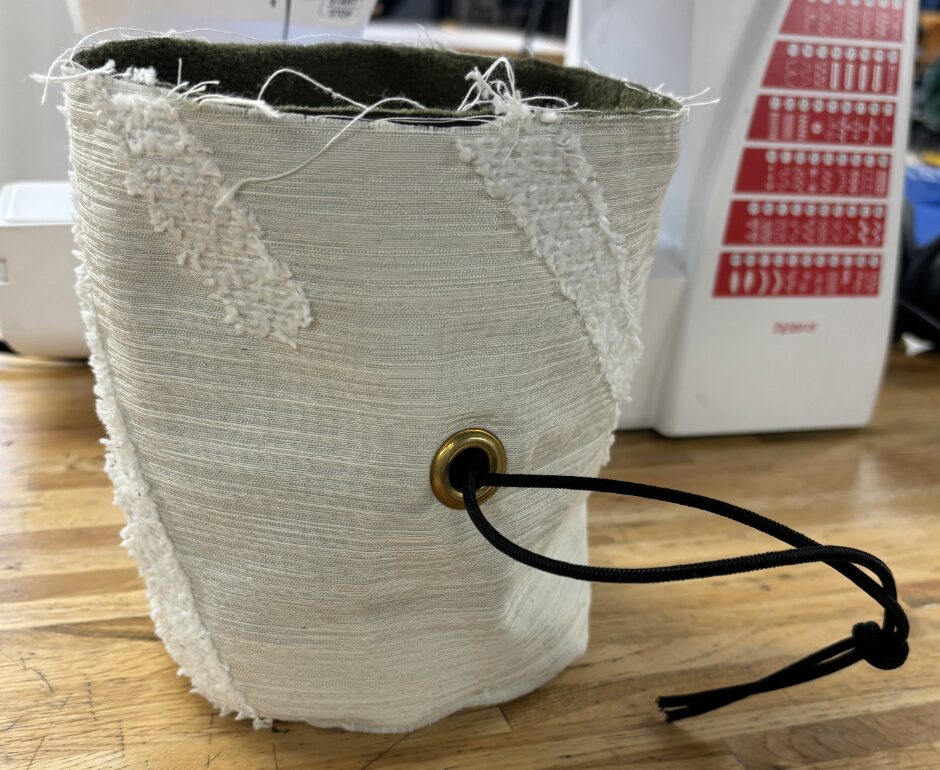
To implement a drawstring I had to also implement a grommet on the external layer of the bag. Luckily I was able to get a gold grommet from Josh in the Idea Forge. He helped me put the grommet on, as this was a completely new process for me. I’m glad I was able to find a gold grommet because it matched the aesthetic better than a black or silver one. I placed the grommet a bit lower than I should have, somewhat limiting the amount of chalk that can be held in the bag. However, this is a pretty minor flaw and the bag still has a pretty good chalk carrying capacity. I was able to find some unused string in the Idea Forge to use for the drawstring. I ended up removing the plastic drawstring closure from my old chalk bag to use for this chalk bag.
For the trim along the top, I originally planned to use the light blue fabric I got from ArtParts, but I decided it was too thick and too loose of a weave. I ended up using more of the curtain fabric for the trim. Due to the thickness of the materials, I was unable to fold over this fabric another time so I ended up leaving a raw hem on the inside of the bag. There is some fraying in this area, but this trim gets the job done.
IMG_0503 time lapse video of trim sewing
Artifact
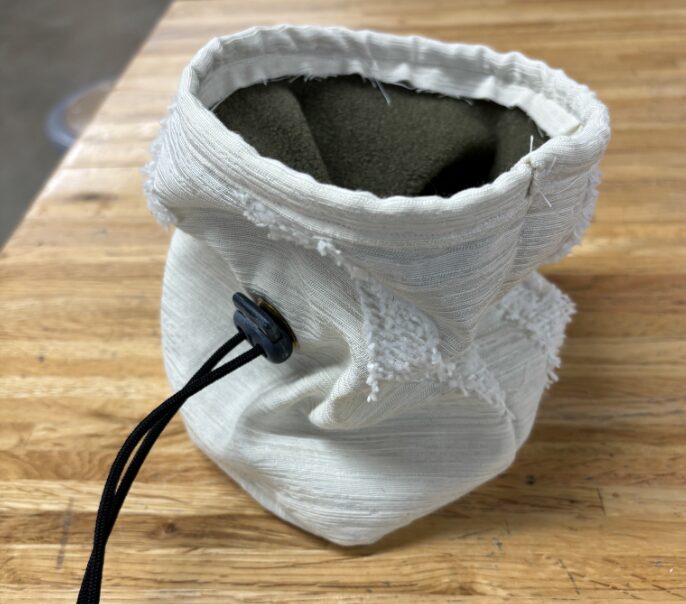
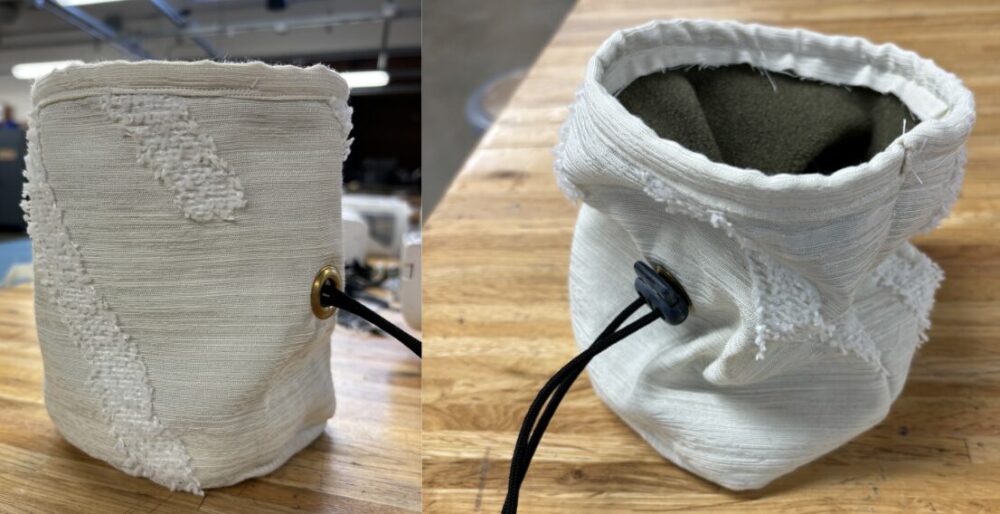
My completed chalk bag fits within the earthy neutrals aesthetic and is composed of entirely upcycled materials. Although I had some fabrication issues and minimal sewing skills, I’m pretty happy with how the first iteration of this chalk bag turned out. It looks pretty nice from the outside, and it is functional with the drawstring closure.
Artifact vs Functional Goals
I was able to successfully implement the grommet and drawstring closure which was a new experience for me. My original plan was to create a magnetic closure to minimize chalk spillage, which I was not able to implement. I now know that I need weaker magnets and stronger fabric to make the magnetic closure work. I would also like to use a fabric that fits in with the color scheme of the aesthetic, instead of the black fabric I initially planned to use. Despite these challenges, the chalk bag is still functional as is.

Artifact vs Artistic Goals
My artistic goals for this chalk bag were to emulate the earthy neutrals aesthetic, and have a well crafted product. I think I succeeded in the aesthetic goal, however I would have liked to use more colors in this effort. Including light blue would have really pulled the look together. The chalk bag does not have any majorly noticeable flaws. I think this is a good effort considering this is the third or fourth sewing project I have ever done in my life. I’m sure my sewing skills will improve with practice.
What’s Next?
I plan to iterate upon this design to get closer to my original vision for this chalk bag. I could improve the current bag by switching out the drawstring and plastic closure for a different color that better matches the aesthetic. I may be able to mitigate some of the fraying in the trim with a lighter. I could also add a handle or belt loops and a belt for carrying and wearing this bag.
I have some leftover fabric so I will continue to experiment with potential improvements. I hope to make the magnetic closure work, so I will keep looking for new magnets and/or fabric to use. If anyone knows where I can find upcycled magnets please let me know!
Overall I enjoyed this project and I am happy with my chalk bag. I got to learn many new skills and practice problem solving throughout this process.
2 Comments. Leave new
This turned out really well! It looks very well made, and it is impressive that this is only your fourth sewing project. The fabrics you found look really nice, and the way you double layered the bag does a great job of not only fitting your aesthetic but also making your project look like a more quality product. It is a shame that you could not get the magnetic enclosure to work, It looked like it would be extremely convenient and cool to have, I hope you are able to find some weaker magnets so you can try making version 2.0.
Hi Alex,
I plan to make a 2.0 version. I have yet to find weaker magnets but I think using a thicker fabric would help mitigate the magnet strength as well. I am hoping to find a canvas-like materials in a green or blue color for the magnetic closure.