
Inspiration
After my mom got me a sewing machine in 2018, I have been making various items such as skirts, pants, and bags. Since I enjoy thrifting, I had an idea to make a bag out of thrifted Levi’s or Wranglers.
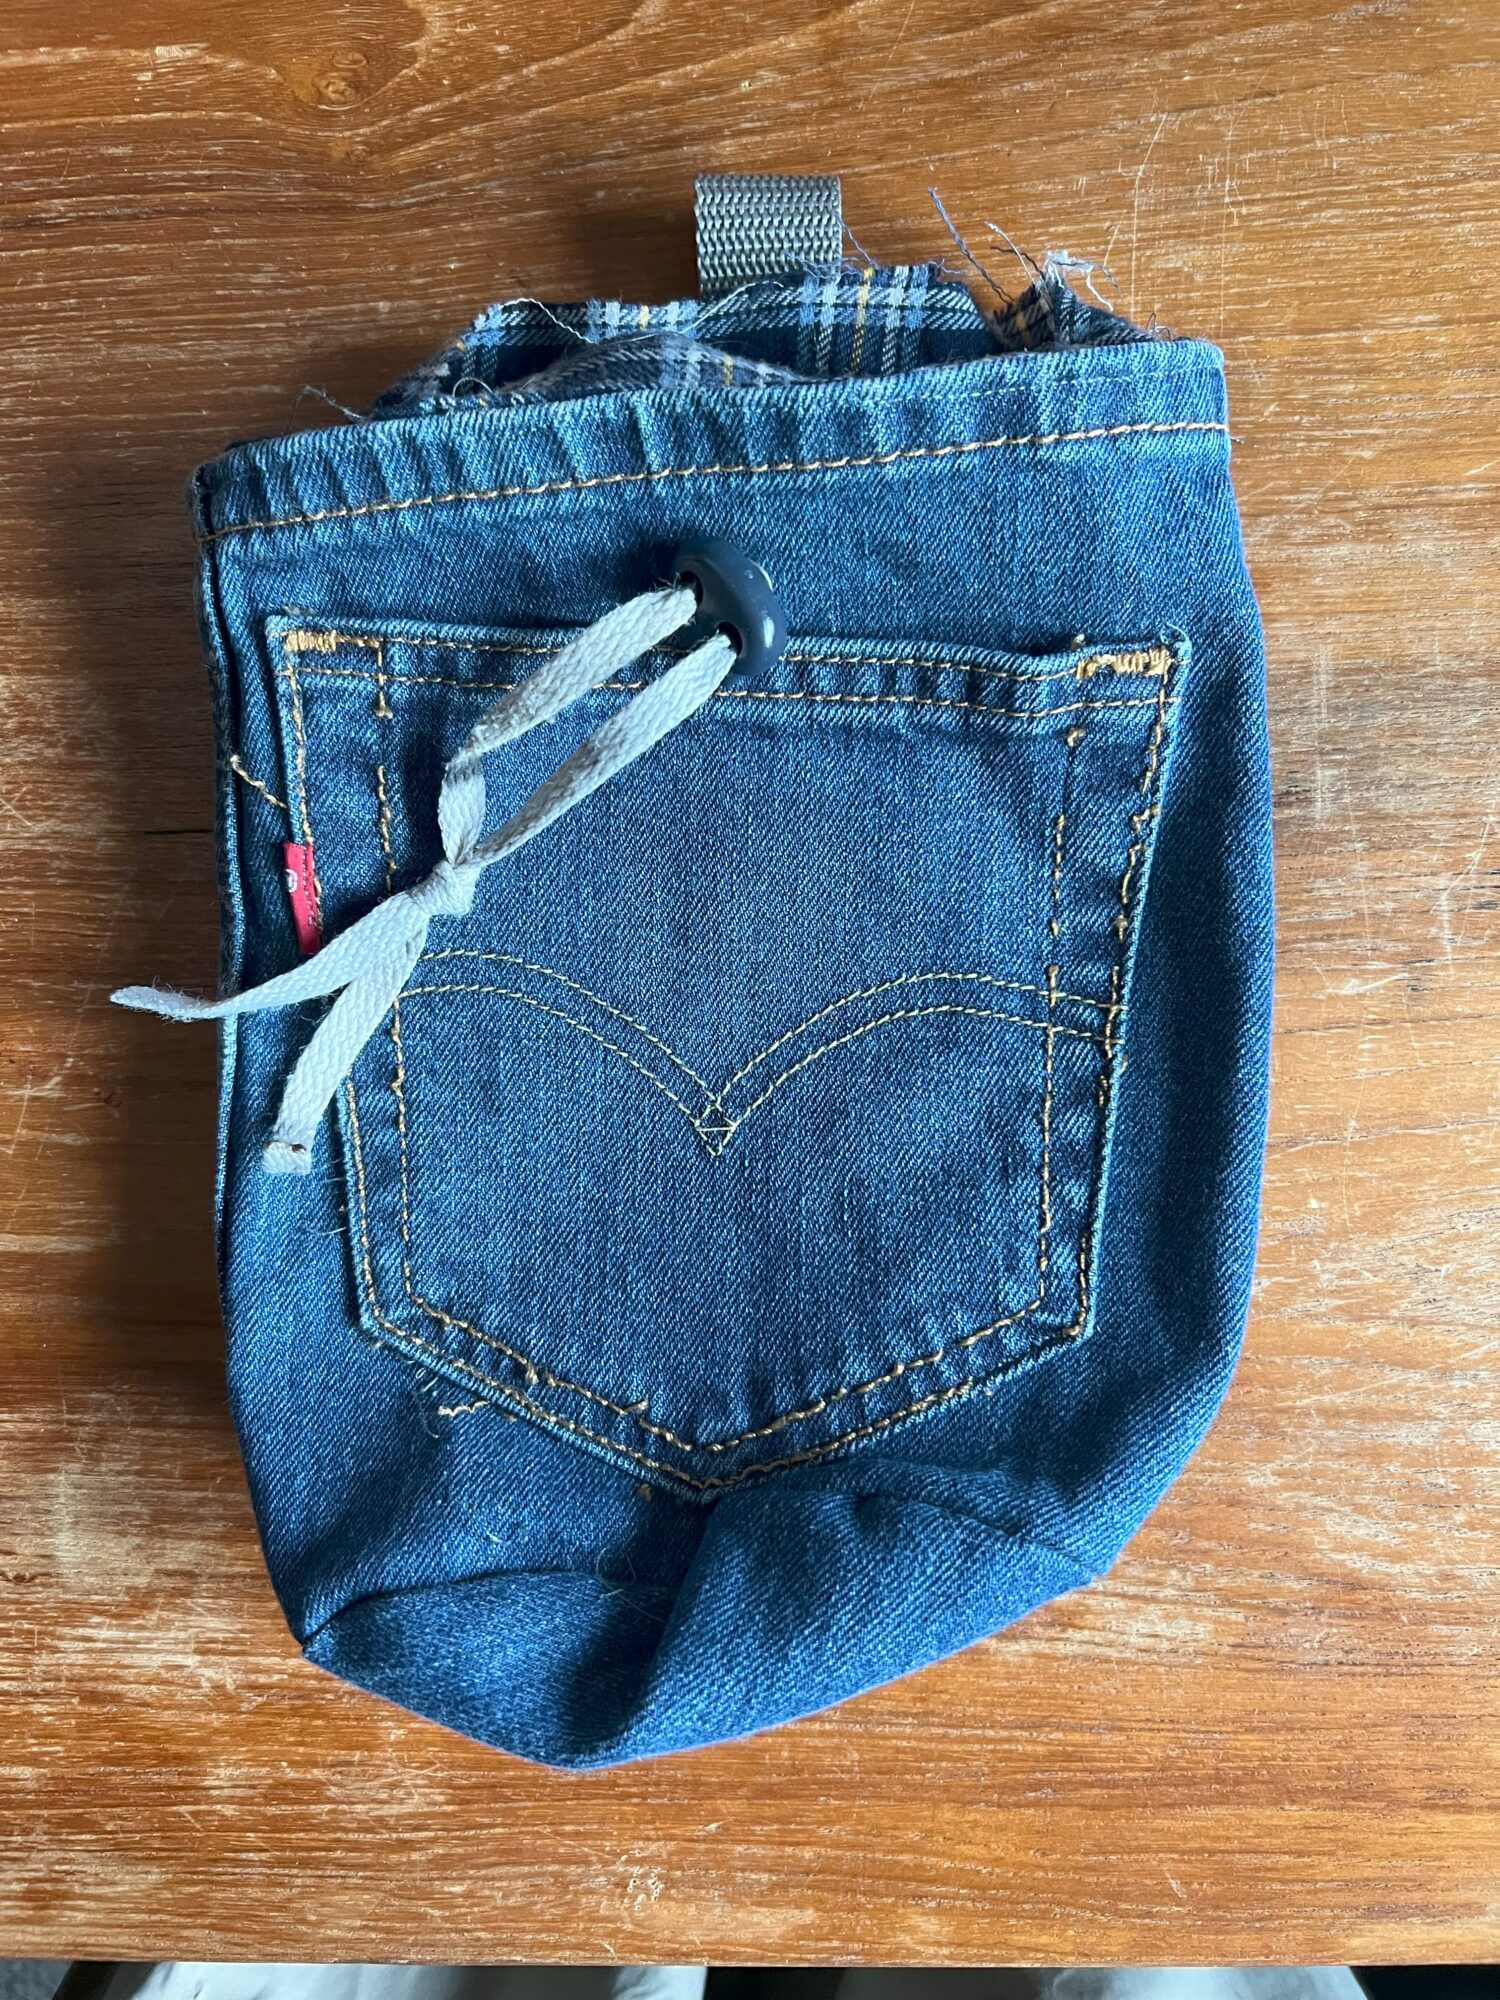
Bags made from this material evoke a feeling of nostalgia and 70’s/80’s vibes when denim was starting to become a popular fashion trend. So, when I lost my chalk bag in 2024, I decided to make one using the same material.

While this chalk bag serves its purpose of holding chalk, I did not like the closing mechanism and the jeans I used had a stain on the front from the pocket (the dark blue patch). Also, the opening was slightly too small for my hands to easily grab chalk. So, for my upcycled project I wanted to perfect this design while keeping the same vintage americana aesthetic. This aesthetic involves patriotic colors, handcrafted items, and old elements. The Vintage Americana aesthetic came about in the 1950’s from famous actors such as Marilyn Monroe and James Dean

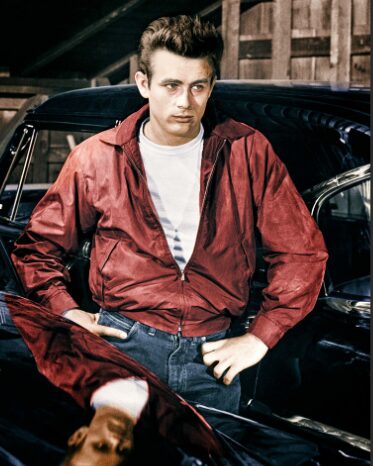
Once actors started embracing the typical workman’s wear, denim, especially Levi’s, became a major fashion trend. Paired with white shirts and sometimes a red jacket (Fig 2.), jeans embrace America’s colors while evoking a nostalgic feel when worn today. By making a chalk bag out of denim and flannel, I hope to embrace the original use of jeans as workwear while evoking a vintage americana aesthetic.
Making the Chalk Bag
Supplies and Material
Required
- Scissors
- Ruler
- Sewing machine
- Thread
- Pins
- Levi’s (or some sort of denim material)
- Flannel (or another material for the interior)
- String (1/4″-1/2″ thick)
Optional
- Paper (to make a pattern)
- Pen
- Mat (for cutting material)
- Clasp
- Nylon strap
- Seam ripper
Pattern Making
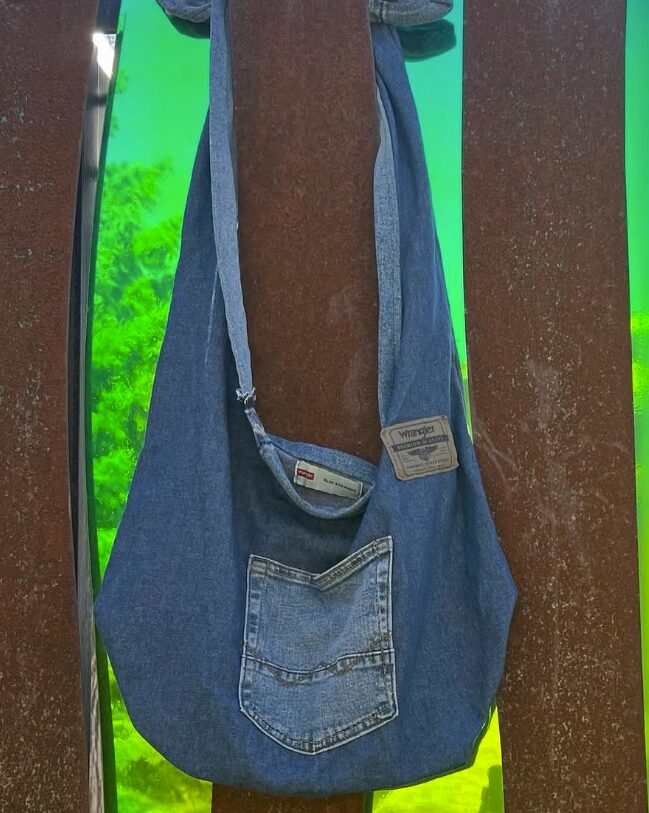
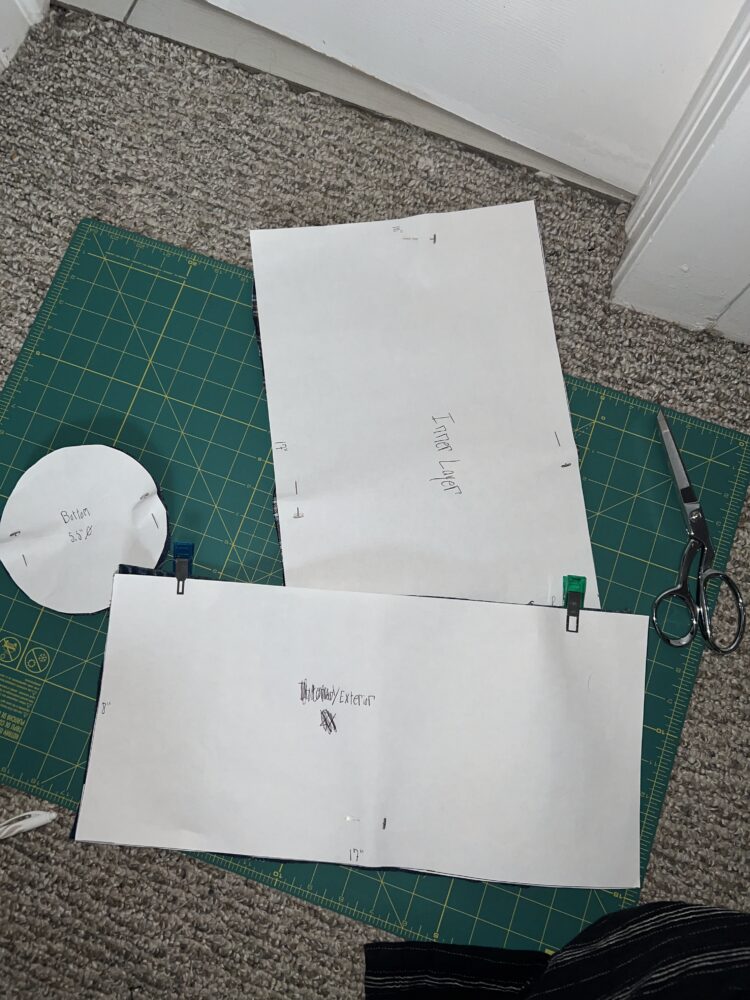
For the chalk bag I made in Fig 2., I already had a pattern. However, I wanted to make the bag bigger. So, I made a whole new pattern using paper from a sketch book. Ideally, one should use paper specifically made for making patterns. However, any type of paper works.
First, I determined what dimensions I need. For the base of the bag, I decided on a 5.5″ diameter since my last bag had a 5″ diameter that was too small. The perimeter of this circle is 17.27″. In order to assure the interior and exterior fabric wrap completely around the base, the top half of the bag’s pattern should have a length approximately 1/4″ larger than the base. It is better to have the interior/exterior piece be larger rather than shorter since when we sew this piece together the extra fabric can be cut off. However, I chose to go with a length of 17″ and this sufficed.

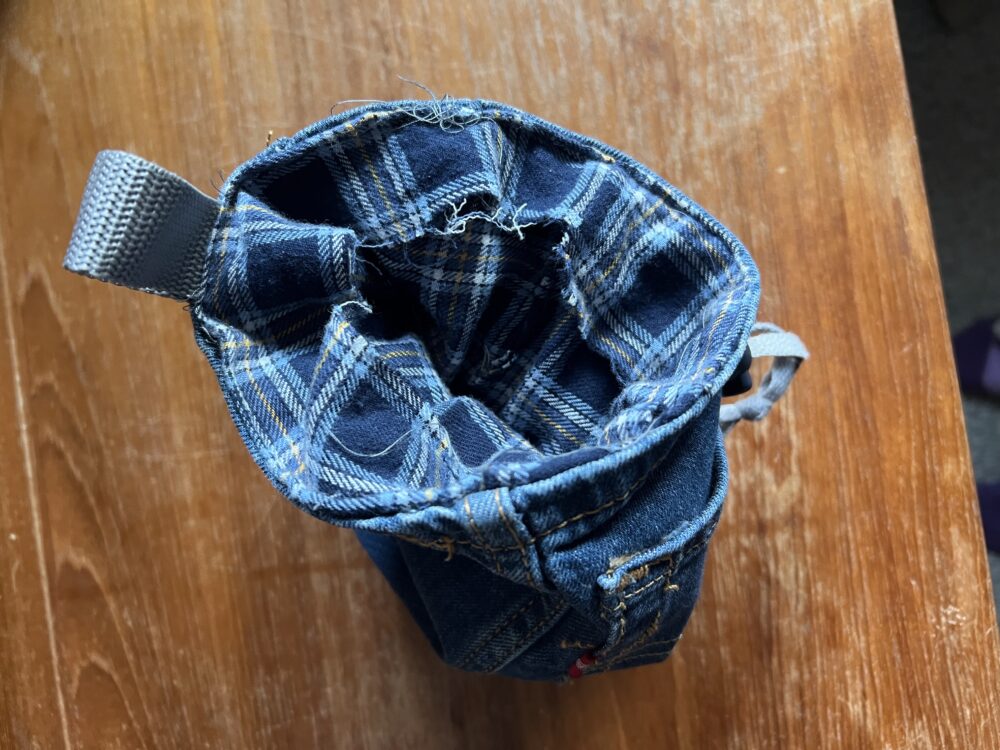
After drawing out the pieces, I realized that the interior piece needs to be slightly wider than the exterior piece. This is due to the fact that the denim I am using has a finished edge from the hem at the bottom of the pants. However, the flannel does not have a finished edge. So, upon assembly I will need to fold the flannel over on itself to give the top of the bag a clean look. So, I drew another rectangle to account for the interior piece and cut the three pieces out using scissors.
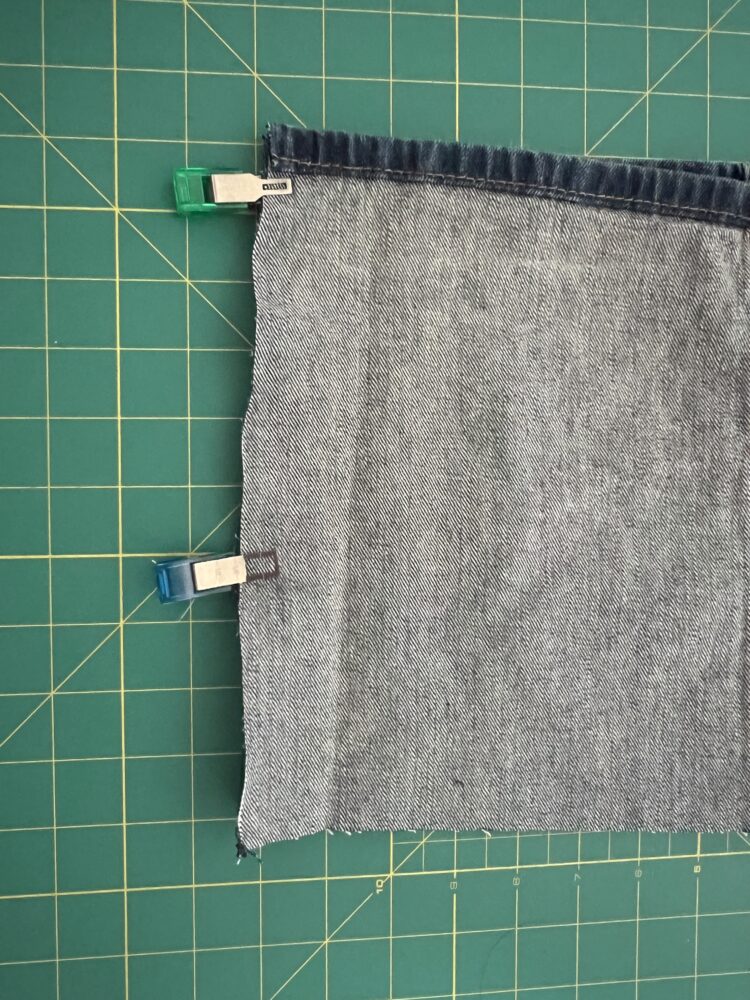
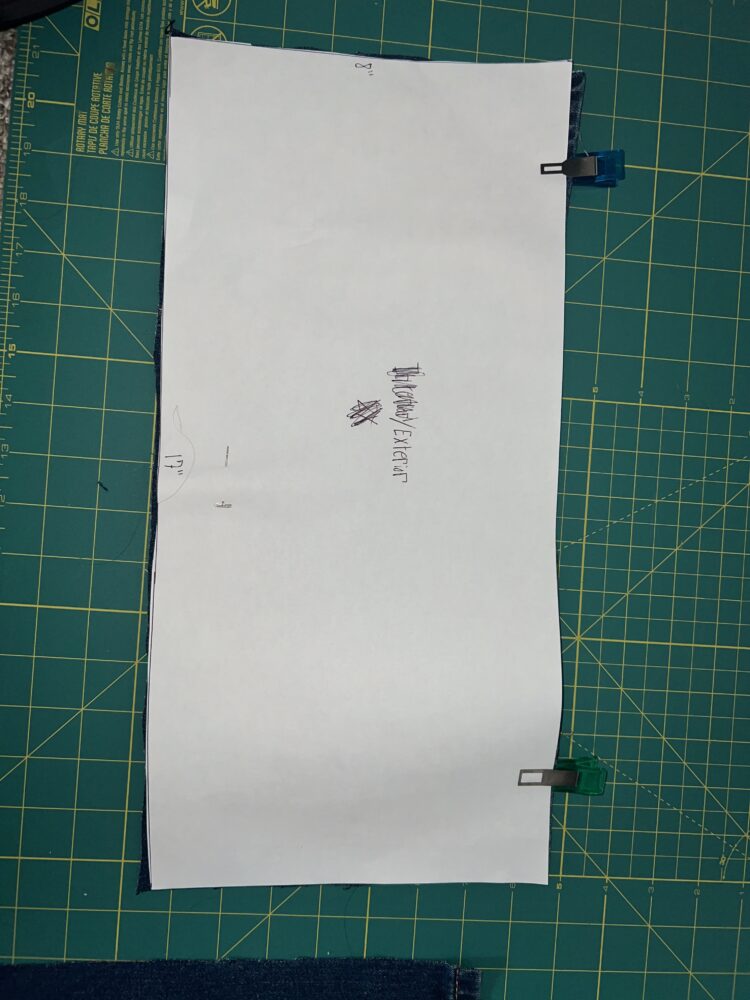
This image shows the denim attached to the pattern using clips. Cutting the fabric will be discussed in the Cutting the Fabric section.
Setting up the Sewing Machine
The set up I am using is a Brother sewing machine with grey thread. I chose grey thread since I will be using a grey nylon strap that attaches the bag to a harness.
I needed to wind the bobbin first. The bobbin goes into the bottom of the machine and holds thread that attaches to the top thread to create a stitch.
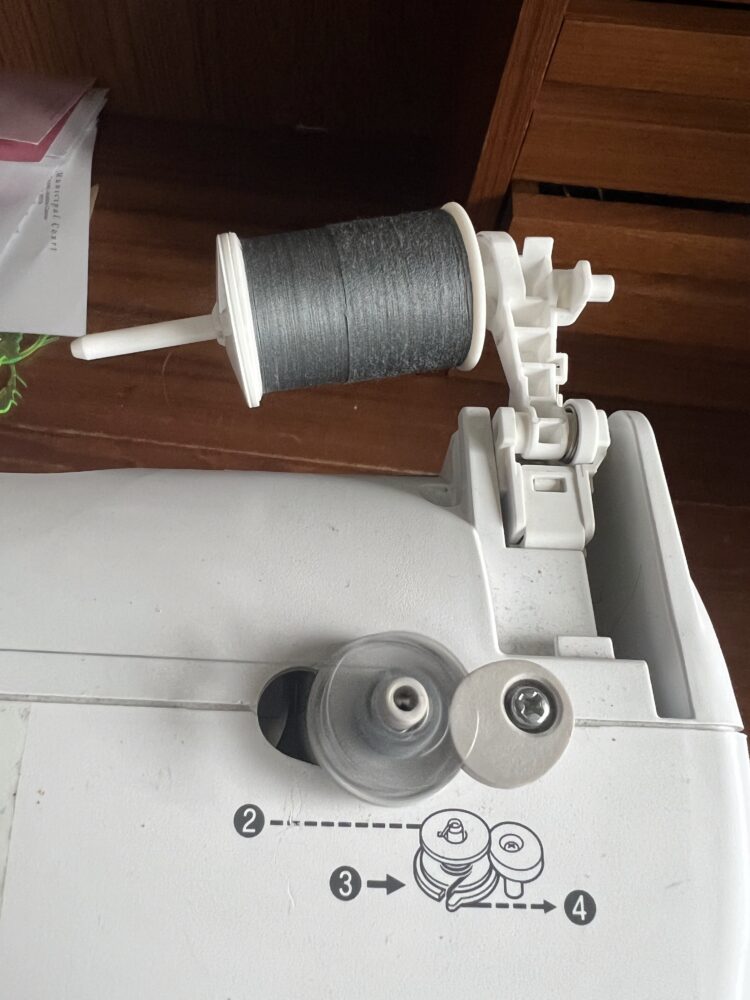
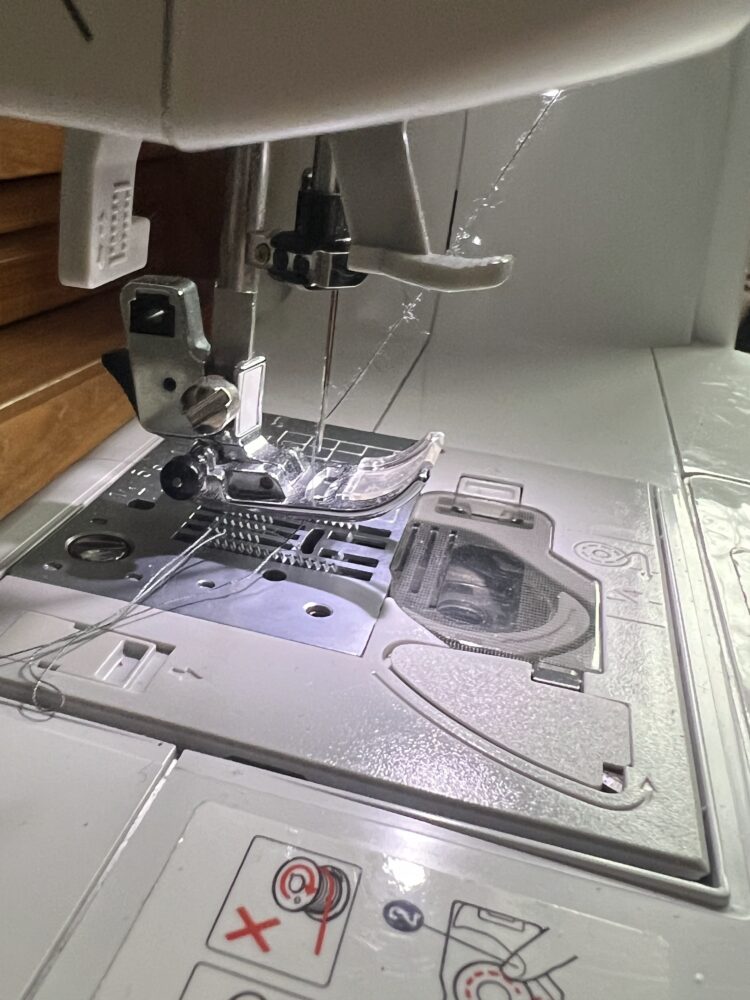
After the bobbin is threaded into the machine, the top thread is threaded into the needle and the machine is ready for operation.
Cutting the Fabric
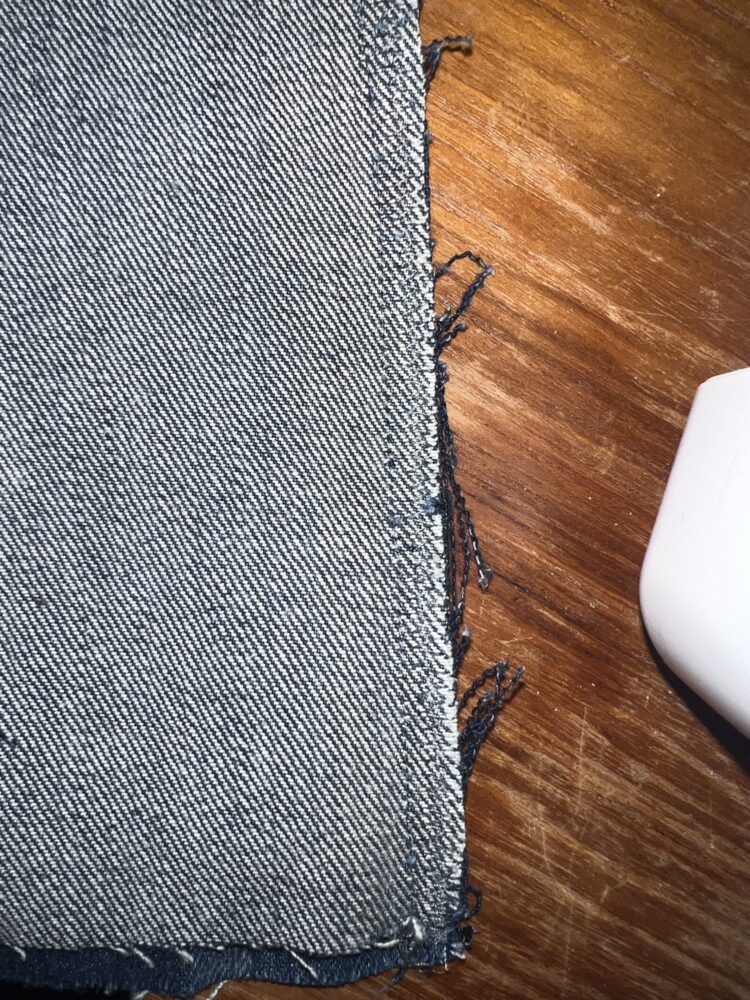
After cutting the three pattern pieces, each piece is lined up against the corresponding fabric and cut out. Starting with the Levi’s I had to use a seam ripper to open up the interior seam of the pant leg. Then, I cut it to about 10″ to allow plenty of room for my pattern. However, after laying out the jeans, they were not wide enough for the 17″ cut. So, I had to use the left pant leg, cut out another 10″ long piece, and sew it onto the right pant leg.
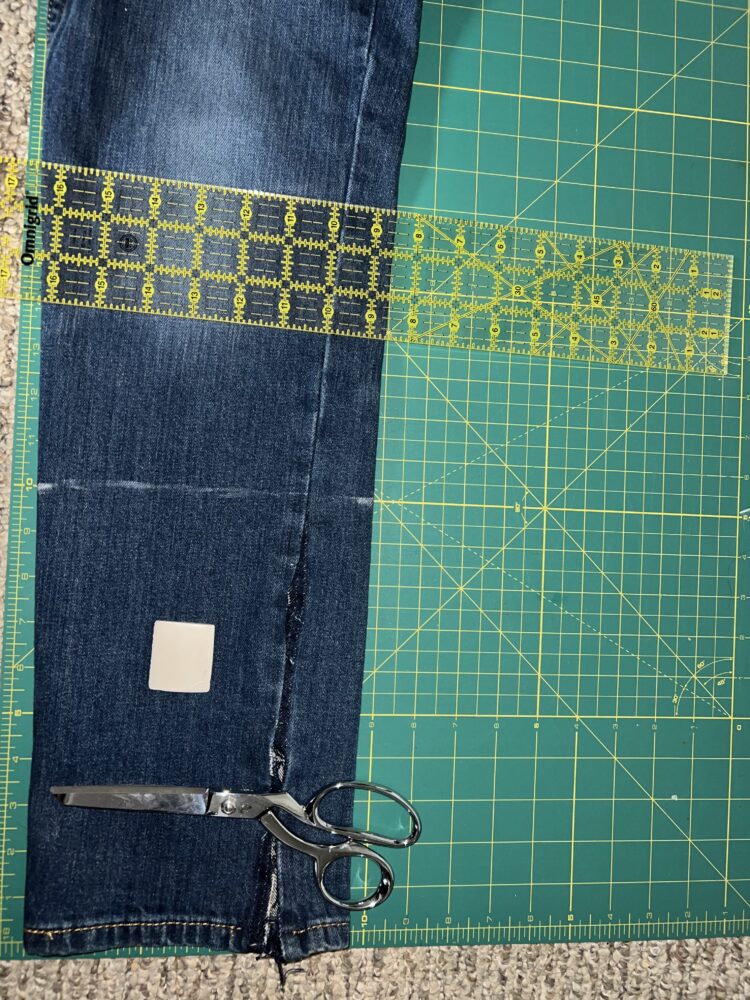
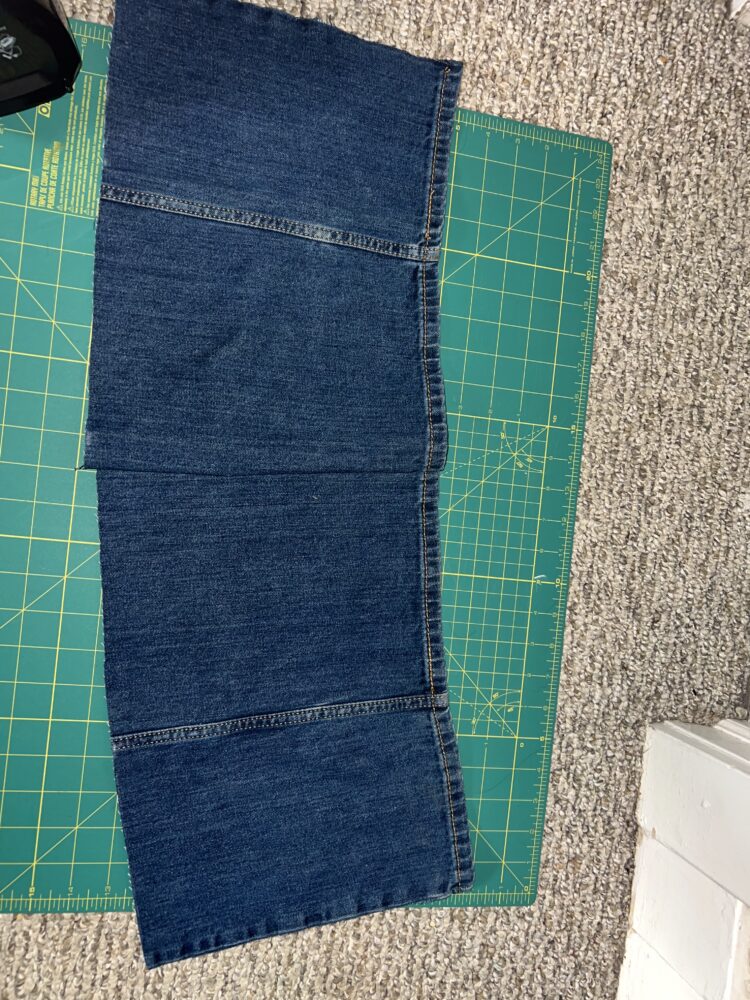
Now, this piece of fabric is large enough to cut.
This process is done for the other pieces as well.
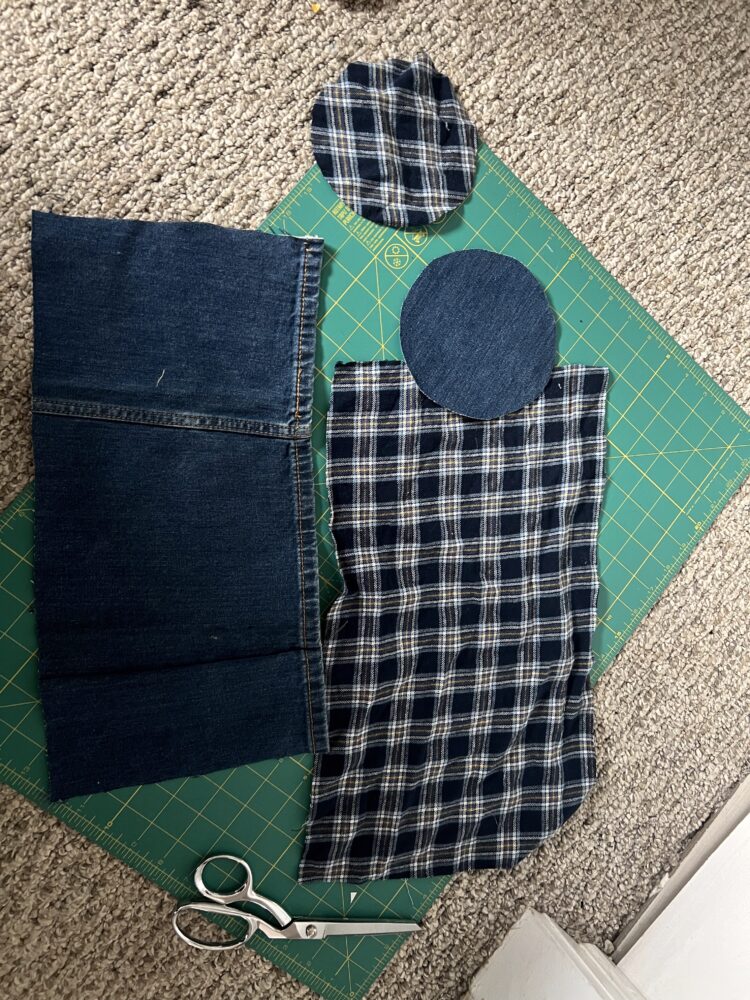
After all the pieces are cut, the bag is ready to be sewn.
Sewing the Fabric
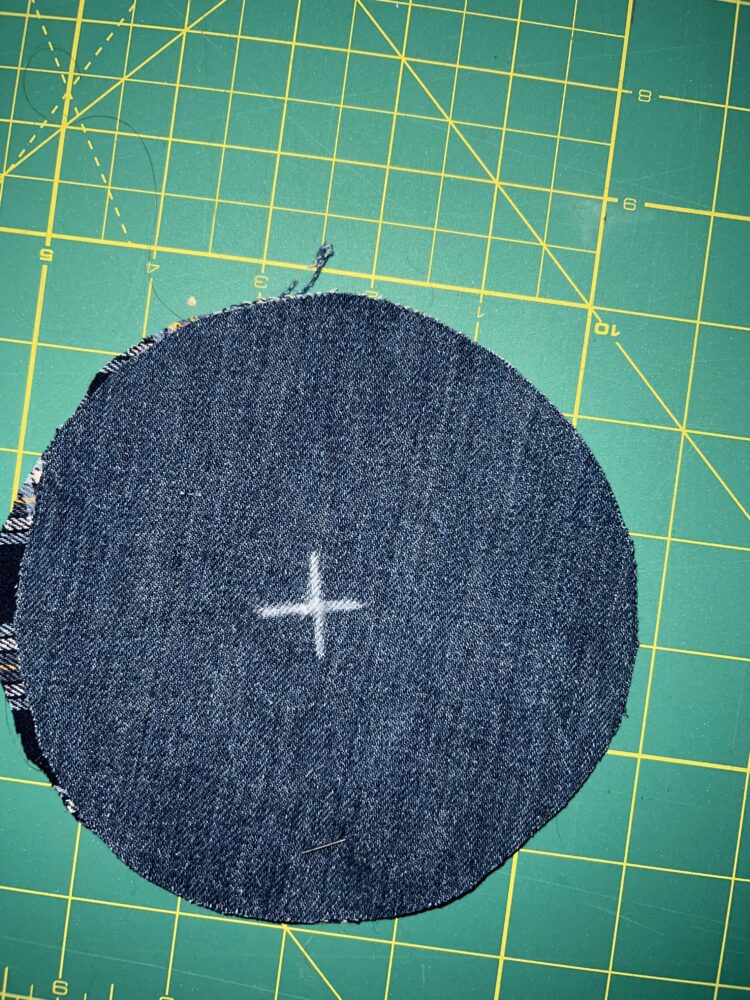
First, sew the interior and exterior fabric base pieces together. This will assure that the interior and exterior do not separate from each other. I did this by marking a plus in the middle of the bag with each leg being about 1″. Sew this cross using a zig zag stitch. A zig zag stitch is stronger than a straight stitch and will assure these pieces do not come apart.
Now, sew the flannel interior main piece to the flannel interior base piece.
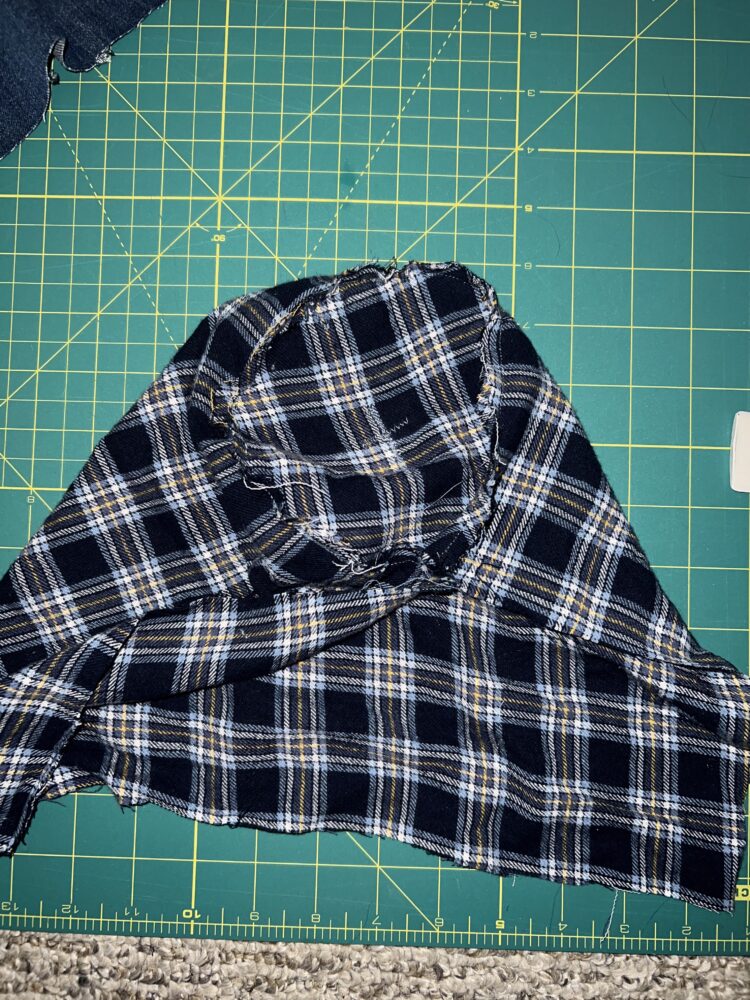
Do the same thing to the exterior denim pieces. Make sure to sew them right faces together. Also, use pins to assure proper alignment.
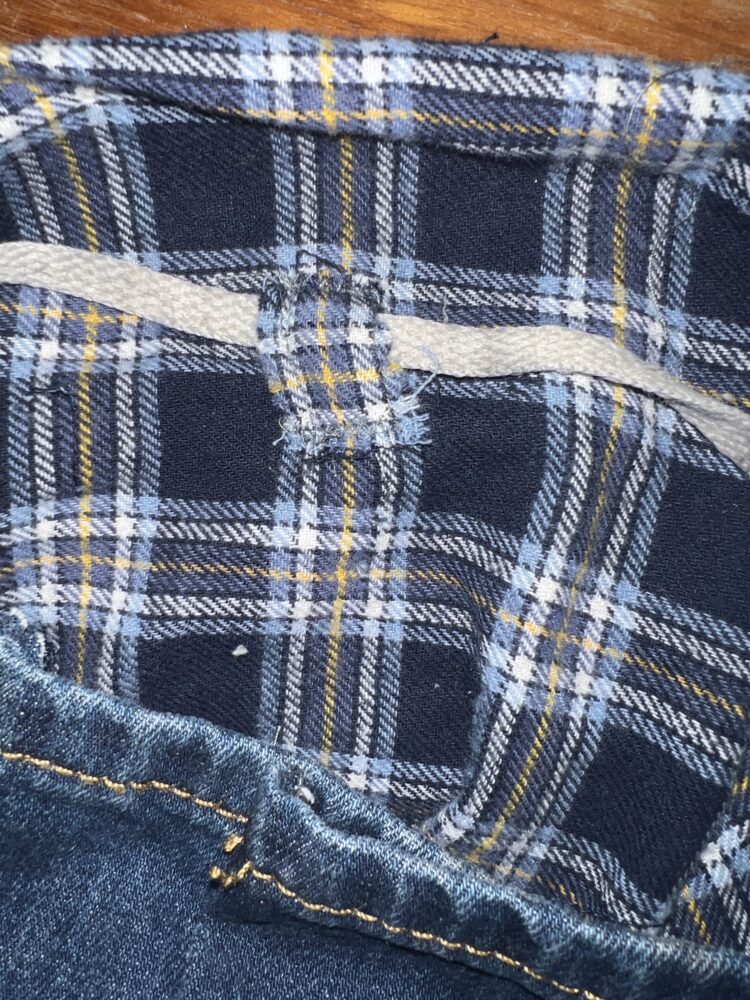
In order to assure the drawstring closes the interior and not the exterior, we need to sew a small loop on the interior flannel fabric. Make sure this loop is opposite of where the drawstring clamp is and at about the same height from the top as the drawstring clamp.
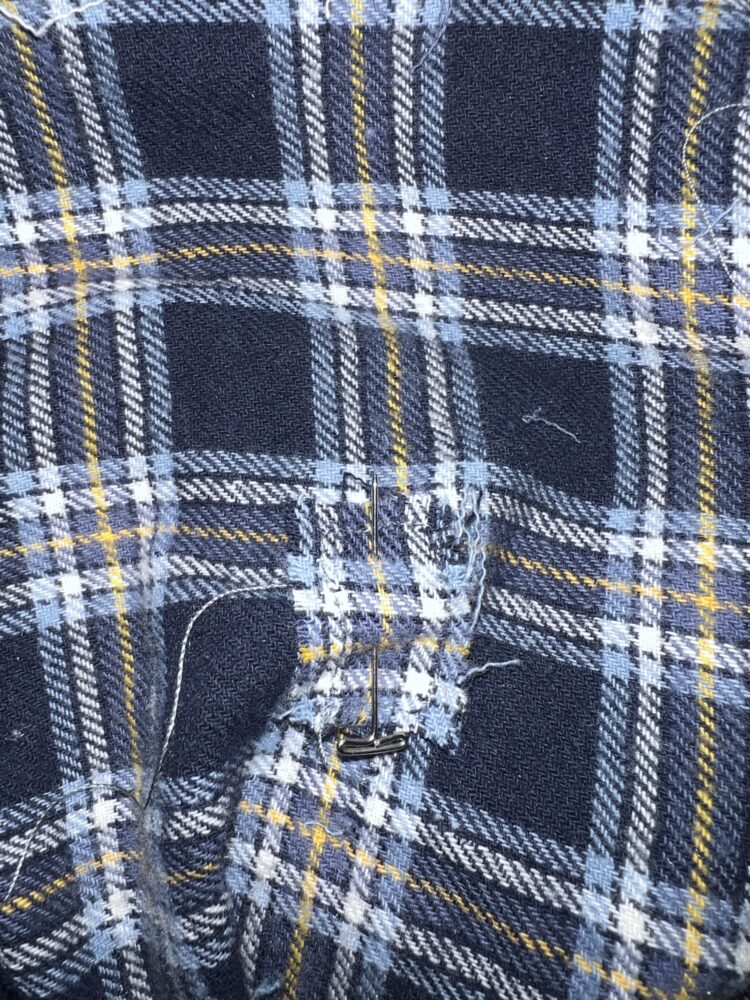
Sewing the top and bottom edge of this piece of fabric allows the drawstring to thread through it creating a way to close the bag preventing chalk from falling out of the bag.
For my drawstring, I used an old shoelace.
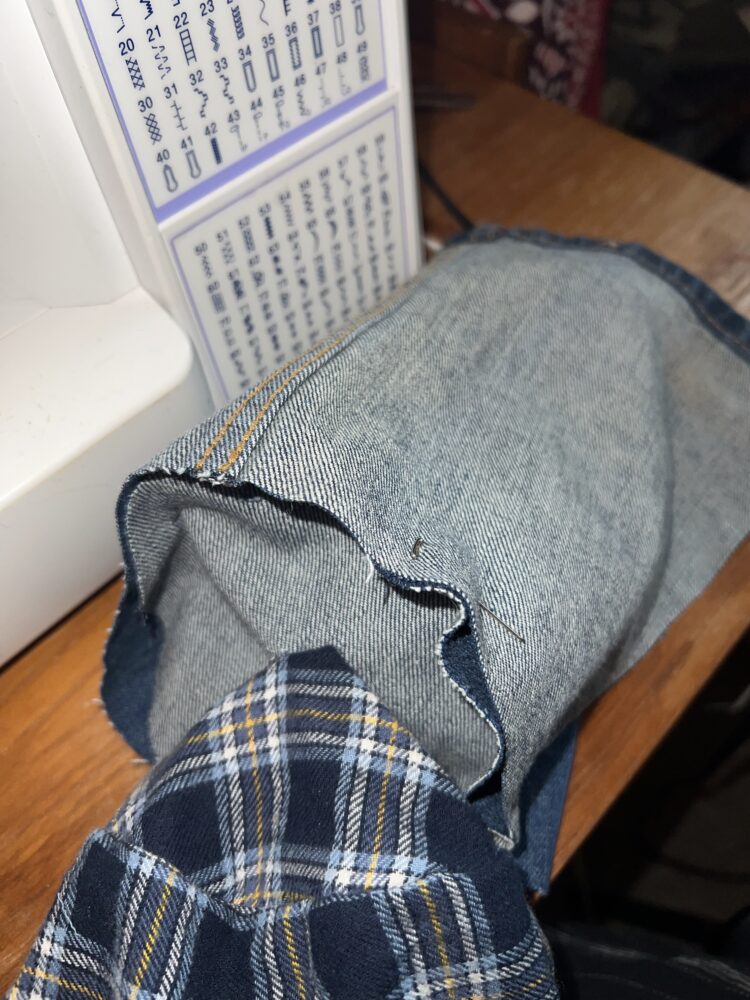
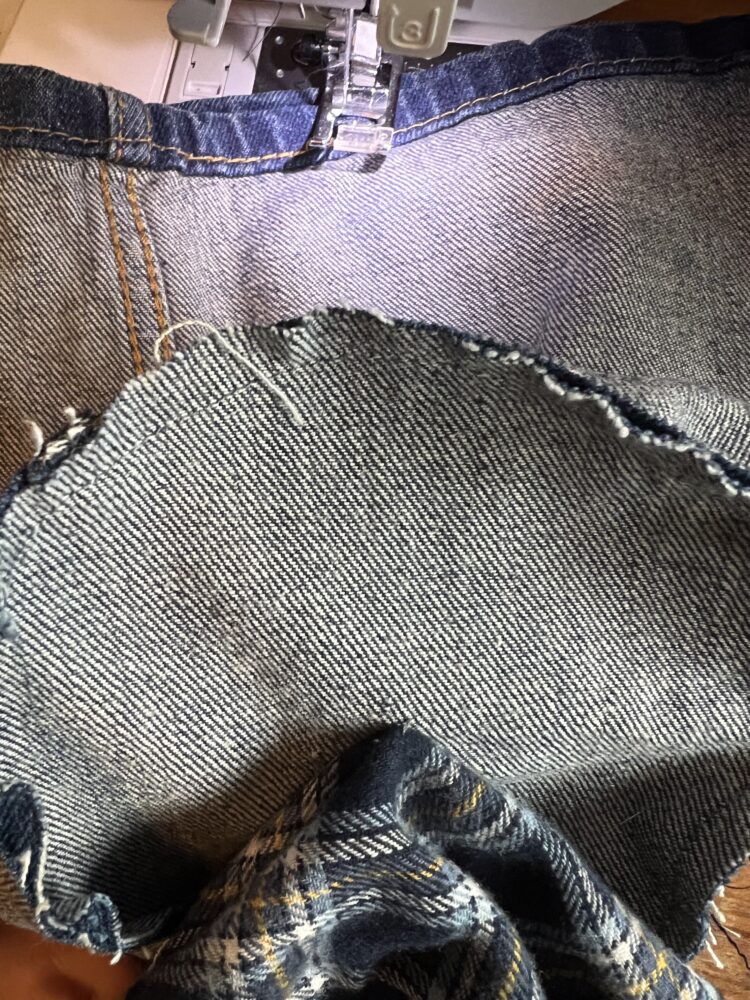
Now, the sides of the flannel can be sewn to complete the cylindrical part of the bag. This can also be done to the denim; however, I added a pocket from the Levi’s jeans to the material first. Sometimes, climbers need a chalk brush to clean off slick holds. By adding a pocket, there is a convenient means of holding onto a brush while climbing.
After putting the shoelace through the securing material, the shoelace can now be inserted into the front of the bag using an O-ring.
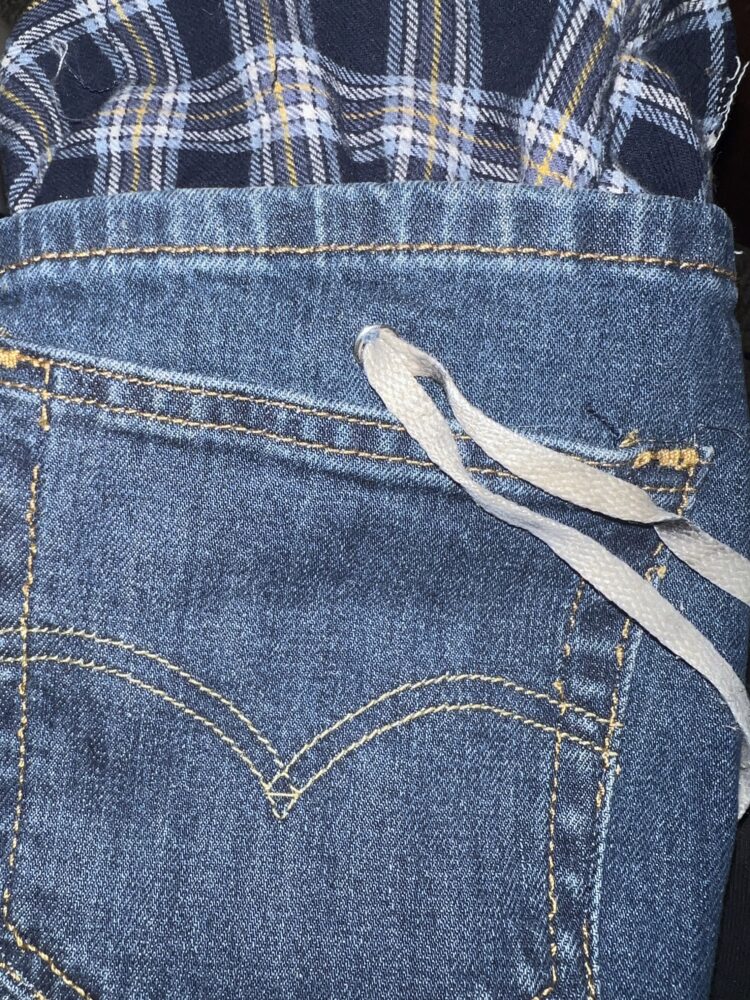
Since I own a lot of snap buttons, I used the O-ring of a snap fastener to create a hole in the exterior denim fabric. However, this is not necessary, and a small hole can be cut into the denim instead.
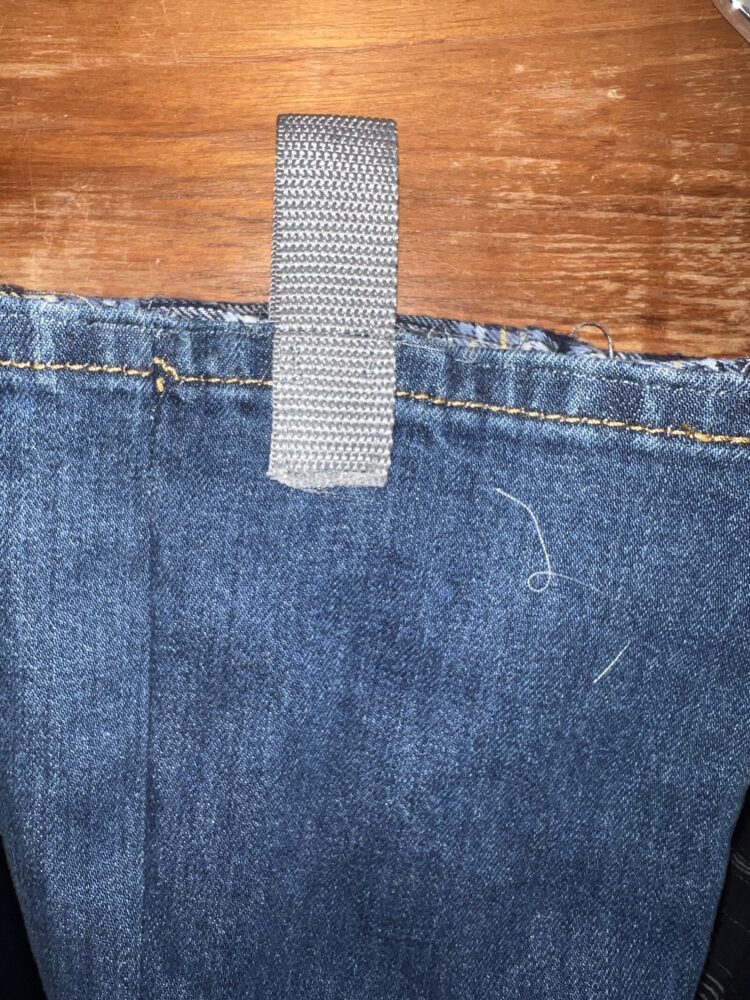
In order to connect the chalk bag to a harness while one is climbing, a strap must be sewn onto the bag. By sewing this onto the denim only, the bag can be closed without effecting the position of the strap.
A black clasp is attached to the shoelace in order to assure that the bag stays shut.
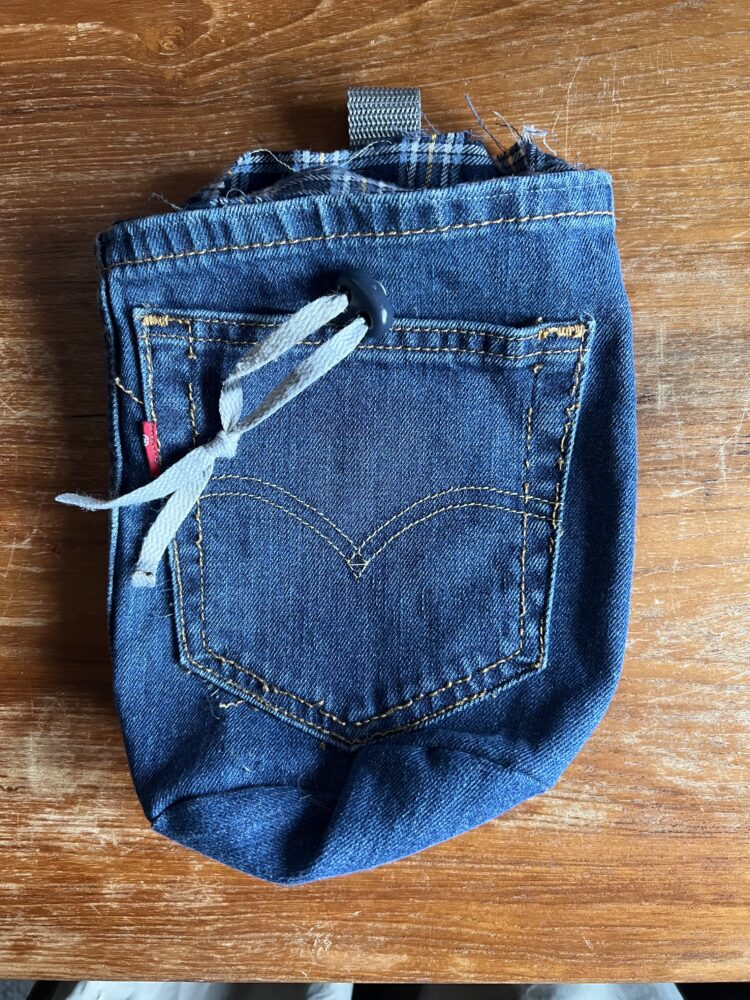
Finally, the bag is complete!
Achievements
Functional
In regards to mass-produced chalk bags, this one functions just as good if not better. Usually, chalk bags do not have pockets. Since this one does have a pocket, it serves two purposes; holding chalk, brushes, and other personal items. Also, the drawstring mechanism works much better than my last chalk bag that I made. Since I made a small securing strap on the flannel material to hold the shoelace, the bag secures the interior fabric and not the exterior fabric. This allows for ease of closing the fabric together since the denim is thick and would create further tension on the shoelace. The drawstring secures the material to prevent chalk from spilling out if it tips over while the grey strap functions to secure the bag to a harness. When comparing this bag to a store-bought bag, it functions just the same.
Artistic
Following a vintage americana aesthetic, my bag resembles the nostalgic sentiment while utilizing patriotic colors. While the blue and white are prevalent, there is only a small piece of red on the chalk bag. While I could have utilized more red fabric to tie to the “americana” aesthetic, the blue and white flannel provide “workmen’s wear” vibe I wanted to portray that ties to the original use of Levi’s jeans. One thing I would change is the pocket. Since the pocket is slightly crooked, I would align that better next time.
What’s Next?
Since I already own a chalk bag made from thrifted Levi’s, I plan on gifting this bag to my roommate since he is an avid climber. My roommate already owns a chalk bag, but not one that is handmade from jeans. After showing him this bag, he was super excited to use it since he has not seen a chalk bag like it anywhere else.
In the future, I plan to make more chalk bags from the same pattern. For refinements, I would purchase grommets instead of using the small o-rings I used to hold the drawstring.
References
Marianna Cerini. (2019). Remember when James Dean perfected the rebel look? CNN. https://www.cnn.com/style/article/james-dean-rebel-remember-when/index.html
Harmsworth , Pentelow (2017). 10 of the Most Iconic Denim Moments in Film. Vogue. https://www.vogue.co.uk/gallery/denim-icons-in-film
4 Comments. Leave new
This looks amaazing Kalin!!! I’ve been following all your upcycle posts and I love how this turned out. I’m a huge fan of denim, so seeing how you played around the denim aesthetic was impressive. One thing I loved about this was the flannel you used as it complimented the denim so well. Another is the pocket addition, I’m so glad that you included this as it helped achieve the denim aesthetic. Overall good job, you really nailed it!!
FRANNIEEEEEEE LOVE YOUUUUU!!XOXOXO
Thank you so much queen. I also really liked the denim and flannel, I appreciate your feedback!
This is an amazing project! I would love to have one of these myself. Did you create the templates yourself, or did you get the dimensions off the internet? I think it is also easy to follow and the step by step is amazing.
Thank you so much!! I made the pattern myself, I can totally send it to you if you ever want to recreate it, it is pretty easy.