
For my upcycling project, I decided to make a ski rack out of reclaimed barnwood. The original idea was to use a slab of Barnwood with cork padded pegs to grab the skis by their sidecut. While this idea would’ve likely worked well, I found an old scale head while digging through the barnwood, and decided that it could be repurposed.
The first step of this process was selecting the wood I was going to use for the project. All of the recycled barn wood I had collected from my great grandfather’s barn is non-structural, and made of ¾” Douglas Fir. Because of this, I wanted to add some structural backing to ensure that whatever load bearing fasteners I used wouldn’t crack or damage the wood. I chose a piece of barnwood with clear saw marks, as they are a unique relic that’s really only found in reclaimed wood. For the backing material, I found a piece of scrap pine in my garage.
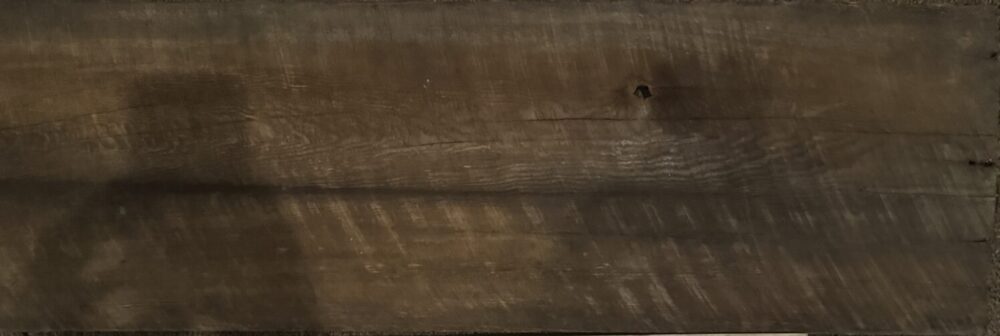
The Barnwood chosen for the project.
While the original plan was to skip plane the wood to highlight the saw marks. However, fir is soft, and the sawmarks were very shallow, so I decided to sand the top surfaces of the wood with a belt sander instead. This achieved the aesthetic I was looking for, and highlighted both the grain pattern and the sawmarks.
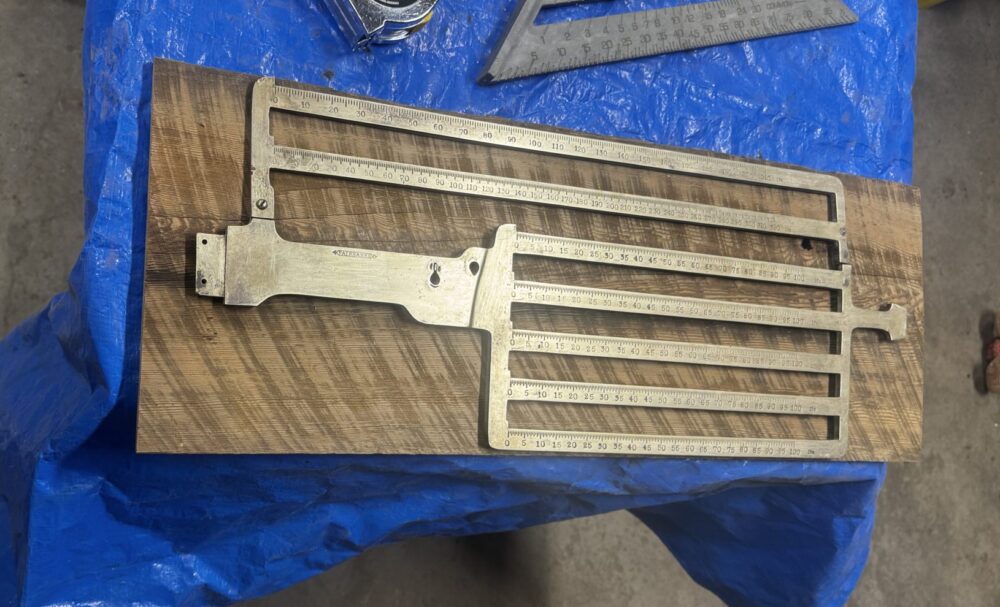
While I was picking the wood, I happened across a 7-slider scale head that we had found in my great grandfather’s barn. This was attached to a pedestal scale, and used in the early 20th century to weigh milk. The head is made of a high copper content brass, which has developed a thick green patina. All of the cast iron components were incredibly rusted. I decided to refinish the scale and use it instead of the pegs. This would allow me to adjust the width of the ski slots for different pairs, and have extra space for hanging gloves, poles, or a jacket.

The initial state of the scale head.
The scale was first disassembled. All of the sliders could be removed using a flathead screwdriver, and there was little resistance due to corrosion, as the screws and threads were made of brass. The two pins were then punched out using a pin punch and a hammer. The riveted iron counterbalance was removed by grinding the rivet heads off and punching them through with a pin punch. The top section on the right side of the scale had broken off at some point, and had been repaired with a piece of steel and two rivets. While rusted, we decided to leave this splice intact.
The brass of the scale head was refinished using a combination of barkeeper’s friend, rubbing compound, scotchbrite pads, and an orbital sander. Barkeeper’s friend and scotch brite pads were first used to remove the heavy green patina, and an orbital sander and rubbing compound were used to polish the brass from bronze to a slightly shiny gold color. The sliders were kept with their patina, just to add some contrast to the project.The brass of the scale head was refinished using a combination of barkeeper’s friend, rubbing compound, scotchbrite pads, and an orbital sander. Barkeeper’s friend and scotch brite pads were first used to remove the heavy green patina, and an orbital sander and rubbing compound were used to polish the brass from bronze to a slightly shiny gold color. The sliders were kept with their patina, just to add some contrast to the project.
The refinished scale head and barnwood.
The french cleat was cut into the backing board, with leafs on each side to help support where the fir had cracks. These leafs also allowed for more flexibility in adding hardware to mount the scale to the front of the artifact. I used a 45 deg angle for the cleat, but in hindsight, 60 deg should’ve been used.
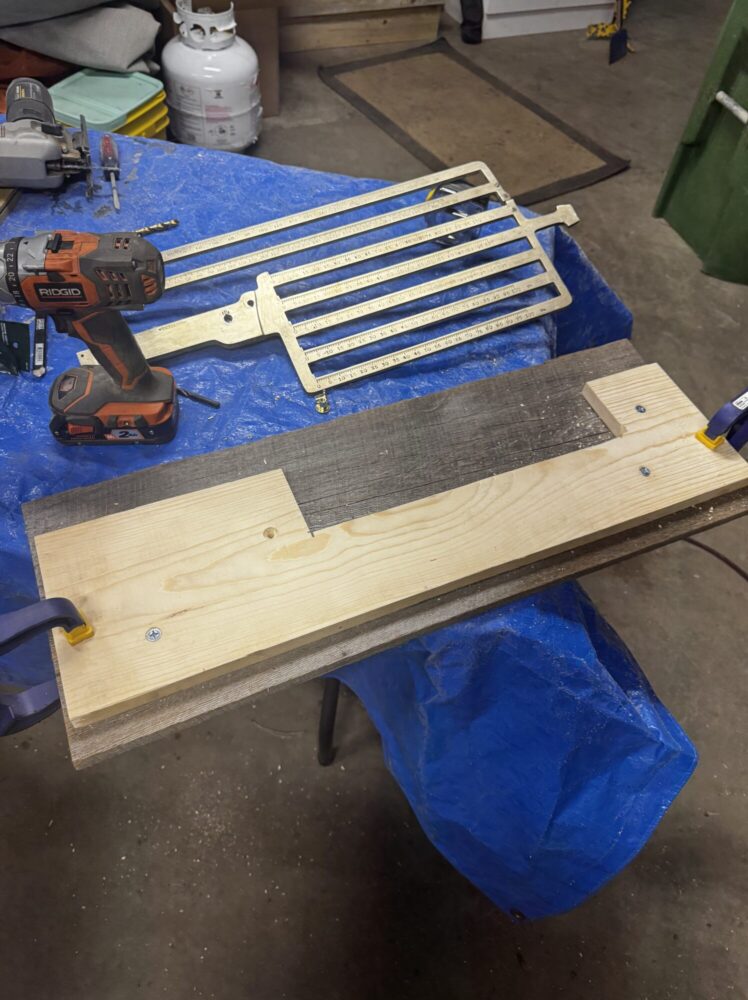
The French cleat cut into the backing board.
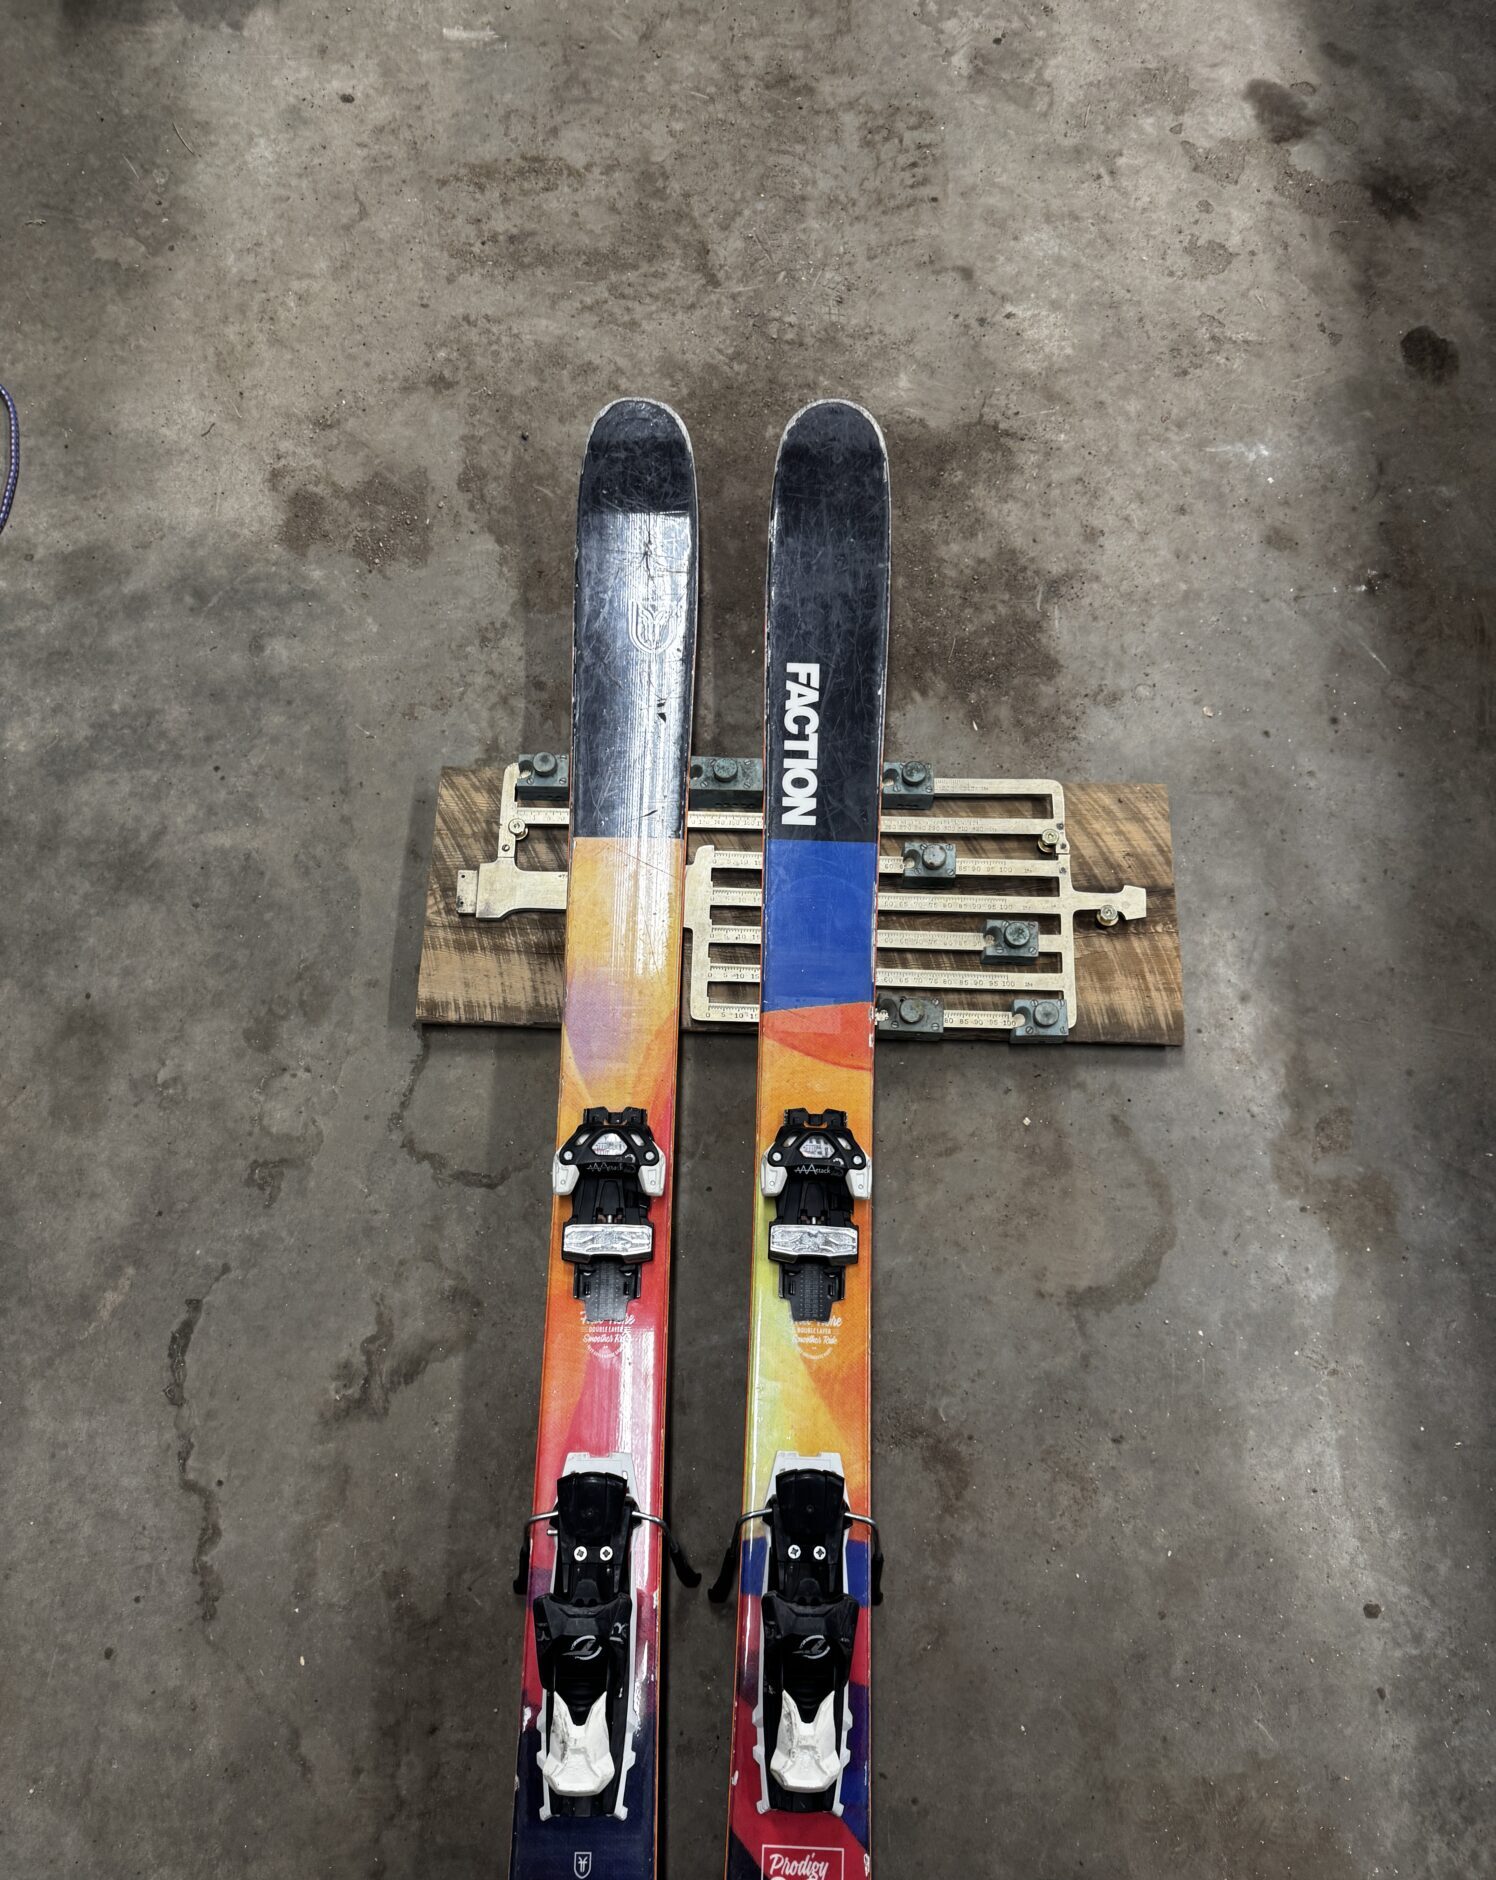
The scale was fastened to the front of the barnwood board using countersunk bolts attached to brass flanged nuts. These nuts were sanded using the same rubbing compound I used to polish the scale. A spacer made of recycled fuel line and a brass washer were placed underneath the scale to provide space for the sliders to move. The sliders were then reinstalled, and I took a picture of the assembly with a pair of skis in it.

Front view with fasteners.

Mockup with Faction Prodigy 3.0 skis.
6 Comments. Leave new
Hey Jacob, your rack is looking really awesome! The 7-slider scale head is super unique and really adds to your aesthetic, it definitely looks modern, industrial, and rustic.
I don’t really have any suggestions, but is it pretty easy to take the skis in and out of the rack?
Hi Ben,
The skis come on and off the rack very easily, but it’ll likely be necessary to band the ski brakes to keep them from scratching the wall and that can be a bit of a pain.
Your ski rack project is looking great, the use of reclaimed barnwood and the old scale head adds a lot of character, and I love how you’re preserving the saw marks to highlight the history of the materials. The refinishing process on the brass and cast iron sounds meticulous, are you planning to leave some of the patina intact for contrast, fully polish? Either way, it’s a unique take on upcycling, and I’m excited to see the final result.
Thanks Danny!
The process of refinishing the brass was a real pain, and took a lot of time and scrubbing. I plan on keeping the sliders patina’ed to add some contrast to the artifact. I also don’t think I’ll bring the scale head to a full shine or mirror finish, as I think that might detract from the aesthetic a bit.
Hi Jacob, this is awesome! I love the look of the ski rack so far, and it seems like you really know your stuff with woodworking. I can absolutely see the modern rustic aesthetic coming through, but I would add a small paragraph recapping your chosen aesthetic to this blog post so the reader has that necessary context. Great job so far!
Thanks Ayesha!
The chosen aesthetic is modern rustic charm, which James Overburg covered pretty well in his blog post here: https://www.aesdes.org/2025/01/22/modern-rustic-charm/
I see it as an interesting mix of modern or minimalistic design language with rustic materials, or the integration of technology with rustic materials/design.