
Upcycle Progress – Rustic Desk Organizer Fabrication
For my Upcycling Project, I am making steady progress on my Rustic Desk Organizer, designed with a Natural & Rustic aesthetic in mind. This project embraces sustainability by repurposing tin cans, reclaimed wood, and twine to create a functional yet visually appealing workspace organizer. Instead of purchasing a mass-produced plastic organizer, I am giving new life to discarded materials, making something both eco-friendly and practical.
Progress Update
So far, I have:
 Gathered and prepared all my materials (cleaned and dried tin cans, selected a wooden base, and collected twine).
Finalized the layout and design of the organizer.
Started assembling the structure, attaching the cans to the wooden base.
Materials Collected & Preparation
I carefully selected materials that align with the rustic aesthetic:
- Tin cans: I have cleaned and dried several tin cans of different sizes. These will serve as compartments for holding pens, pencils, and other desk supplies. To maintain consistency in the design, I am using cans of a similar height and width.
- Reclaimed wooden board: I found an old shelf that works perfectly as the base for the organizer. It has a slightly weathered look, which enhances the rustic feel. The visible grain and imperfections in the wood add to the handmade quality of the project.
- Twine: I will wrap twine around the tin cans for both aesthetic and functional purposes. The rough texture of the twine contrasts nicely with the smooth surface of the cans, reinforcing the handmade, organic look.
- Non-toxic glue: Since I want to keep the project as sustainable as possible, I am using a strong adhesive that does not contain harmful chemicals. This glue will secure the tin cans to the base without the need for nails or screws.
Fabrication Schedule
To stay on track, I have broken the project into the following steps:
 Week 1: Planning & Material Collection (Completed)
- Researched and sketched the design.
- Collected and prepared materials.
 Week 2: Initial Assembly (In Progress)
- Gluing the tin cans to the wooden base.
- Testing the stability before proceeding.
 Week 3: Finishing Touches
- Wrapping twine around the cans for decoration and extra reinforcement.
- Applying any minor design refinements.
 Final Documentation & Testing
- Checking durability and usability.
- Taking final photos of the completed organizer.
Challenges & Adjustments
One challenge I am working through is ensuring that the tin cans are securely attached to the base. Since glue alone may not provide long-term durability, I am considering using small screws or additional adhesive reinforcements. Another adjustment is making sure the twine stays evenly wrapped without slipping. If needed, I may use small dabs of glue to secure the twine in place.
Another consideration is the finish of the wood. While I want to maintain a natural, rustic look, I am debating whether to lightly sand the edges to smooth out rough areas or leave them raw for a more distressed appearance.
Next Steps
? Finish securing the tin cans to the wooden base and let the glue set.
? Begin wrapping twine around the cans for aesthetic appeal.
? Test the durability of the organizer by placing items inside and adjusting as needed.
? Capture high-quality photos of the completed project.
Why This Project Matters
Beyond being a fun and creative challenge, this upcycle project aligns with sustainability principles by reducing waste and repurposing materials. The rustic aesthetic enhances the overall design by making it feel intentional, handmade, and unique. I am excited to see how it turns out and how it will function as an everyday desk organizer in my workspace.
This project is coming together well, and I’m looking forward to the final result! Stay tuned for the next update, where I will showcase the finished product.
(Co-written with ChatGPT for organization and clarity.)
2 Comments. Leave new
I like how organized and laid out everything is in this post. It is very clear what your plans are and what you want to do moving forward. I would like to see comparison photos to mark your progress as well and I think it could provide more context.
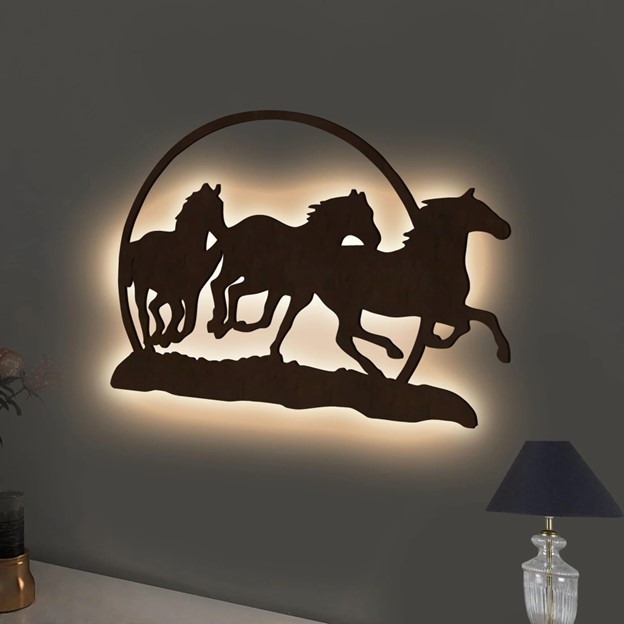
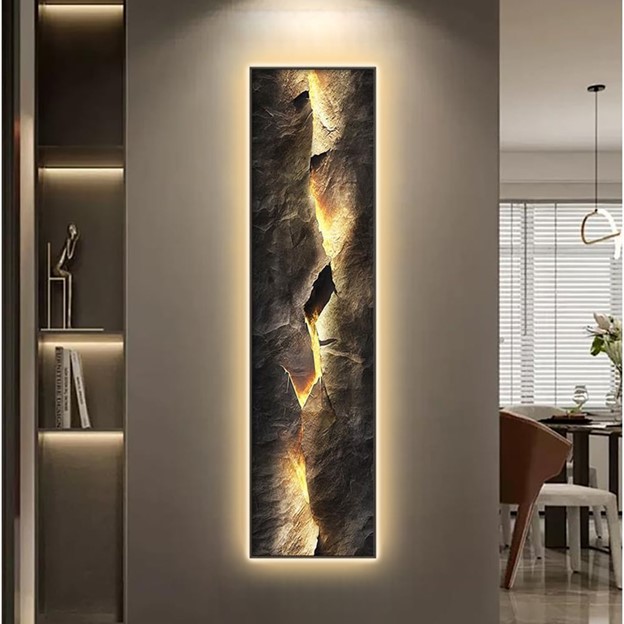
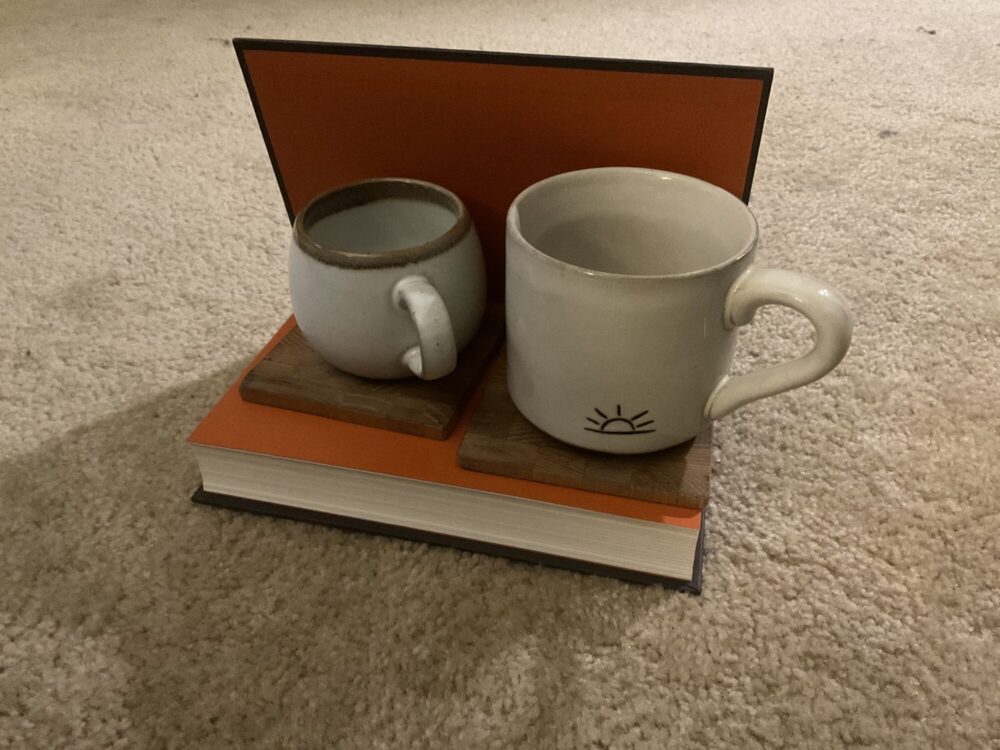
I love the idea of this project and its synergy with the aesthetic. I’m interested with what your final design looks like in your mind and would love to see a sketch to compare it to the end product. The pictures at the end are great examples of the rustic aesthetic, are you planning to incorporate the ideas shown into your design? Great job so far, I’m excited to tune in next week!