
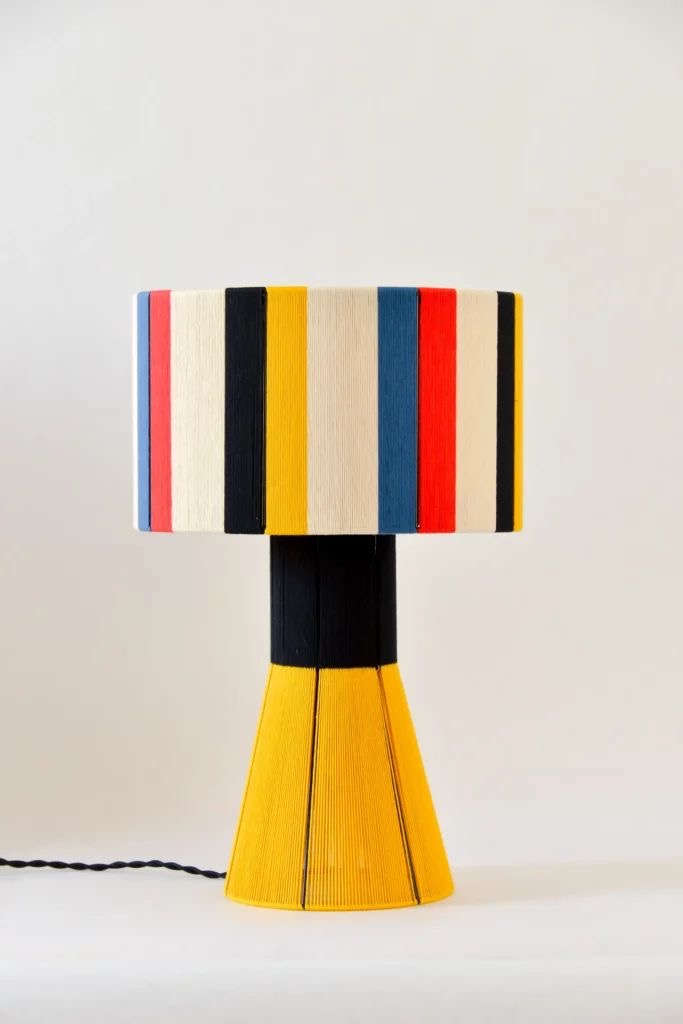

So, remember that old lamp I spotted at the old stuff place in my apartment building? The one I heroically decided to rescue? Well, I finally went downstairs and grabbed it—feeling all proud of myself—only to find out…it doesn’t work. Shocking. ? Clearly, someone abandoned it for a reason. But am I letting that stop me? Nope! I’m now on a mission to not just fix it, but to transform it into a chic, Scandinavian-inspired interior piece—These are my inspirations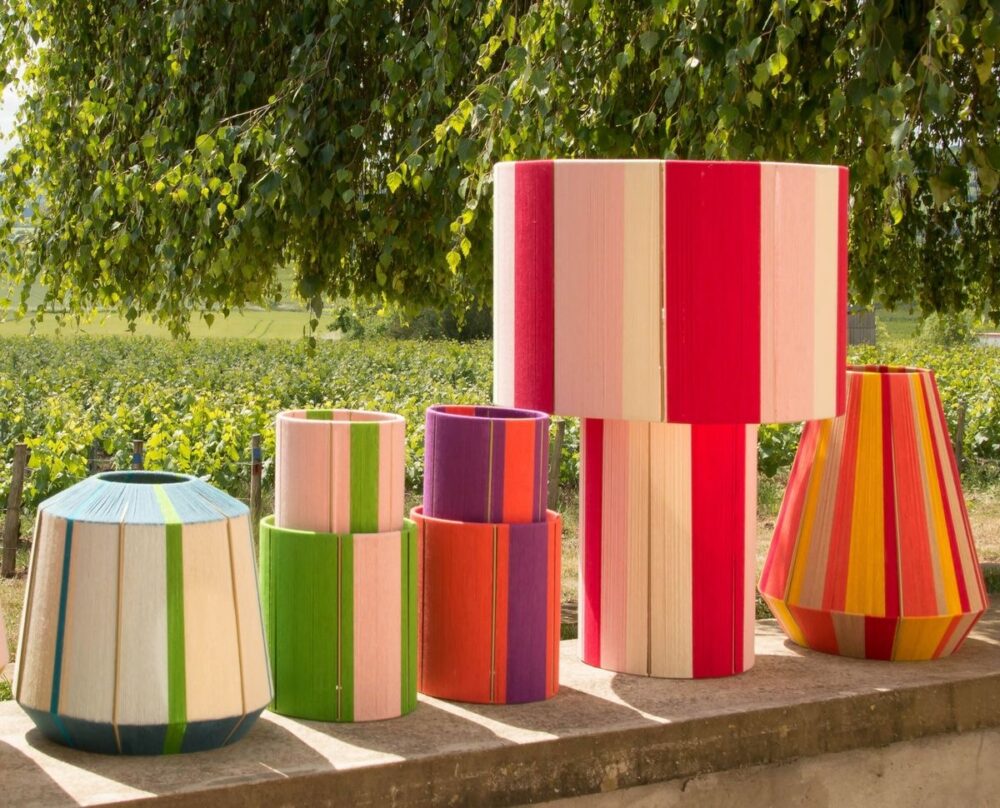
Step 1: Collecting the Essentials (AKA A Reason to Go to Target) ?️
Since I’m now officially committed to this DIY project, I made a trip to Target and got:
 Glue (for sticking stuff, obviously)
Yarn
Scissors (which I will 100% lose in the next 10 minutes)
Now that I think have everything I need, I’m feeling pretty confident. Unless, of course, I realize mid-project that I forgot something crucial (which is inevitable).Oh, and I still need to grab new batteries for the lamp because, you know, light would be nice.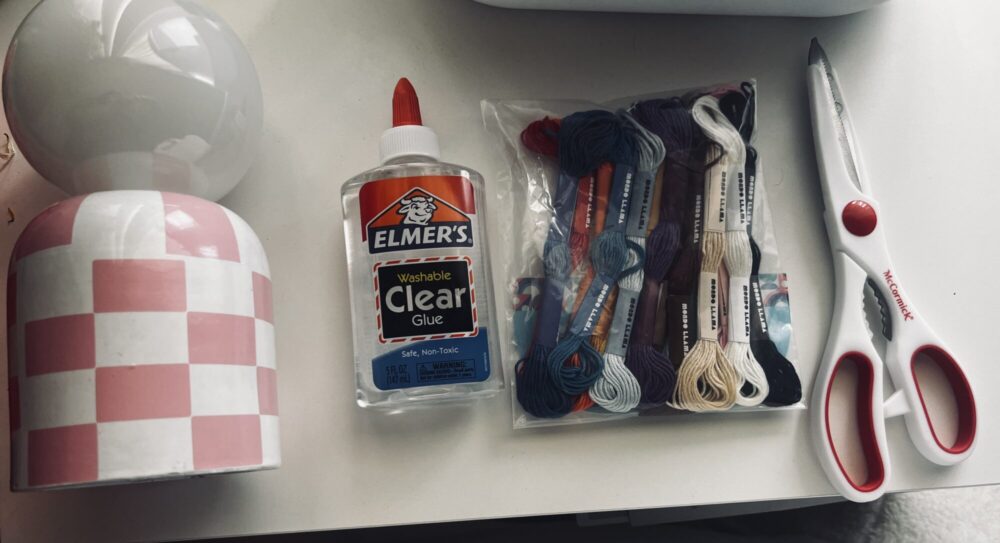
Step 2: The Grand Design Plan :
After scrolling through way too many Pinterest boards, I’ve decided that this lamp deserves a Scandinavian makeover—clean, minimal, but with some texture. The only catch? This lamp isn’t your regular cute little table lamp. It has a massive bulb and a weirdly molded bottom that looks like it came straight out of a sci-fi movie.
So instead of wrapping the yarn around the top like a typical DIY yarn lamp, I’m going to cover the bottom vertically. Bold move? Yes. Will it work? Who knows. But hey, creativity is just fancy trial and error, right?
Step 3: The Color Crisis ??
Now, here’s where I’m stuck—I can’t decide on the colors. Do I go full Scandi neutral with beige and white? Maybe add some soft gray for a modern touch? Or do I take a risk and throw in some muted sage green? (That could either look super aesthetic or like I wrapped a lamp in overcooked spaghetti strands.) I guess I’ll have to experiment a bit before committing.
Next Steps: Hope, Pray, and Wrap Yarn ?
So, first up—batteries. Then, I’ll start the yarn wrapping process and see if this actually works. If all goes well, I’ll have a Pinterest-worthy Scandinavian lamp. If not… well, at least I’ll have a great story about how I spent an afternoon gluing yarn to an old lamp for no reason. ?
2 Comments. Leave new
Hi Shreya! First off, absolutely loved the fun tone of your post. Made it super easy to read, was entertaining, and was still informative about your progress! Second, with all the reference images you are using in your post, I say go for it and take a risk by using some colored yarn haha. With the shape of that base, do you have to worry about the yarn potentially getting hot from the bulb? I don’t know what type of bulb that is, but with the design of the lamp, it looks like the base and bulb make contact… maybe? I’m excited to see how this turns out! Good luck with your gluing! I’ve done a similar project and at some points, the yarn seems like it wants to anger you haha.
Ahh, thank you! I’m so glad you enjoyed the post—means a lot! ? And you’re right, I should just take the risk and go for the colored yarn. No fear! ?
As for the bulb, that’s a great point. I’ll double-check, but luckily, it’s an LED, so heat shouldn’t be too much of an issue. The base and bulb are close but not quite touching, so I think I should be okay… fingers crossed..
I’ll keep you posted on how it turns out! ?