
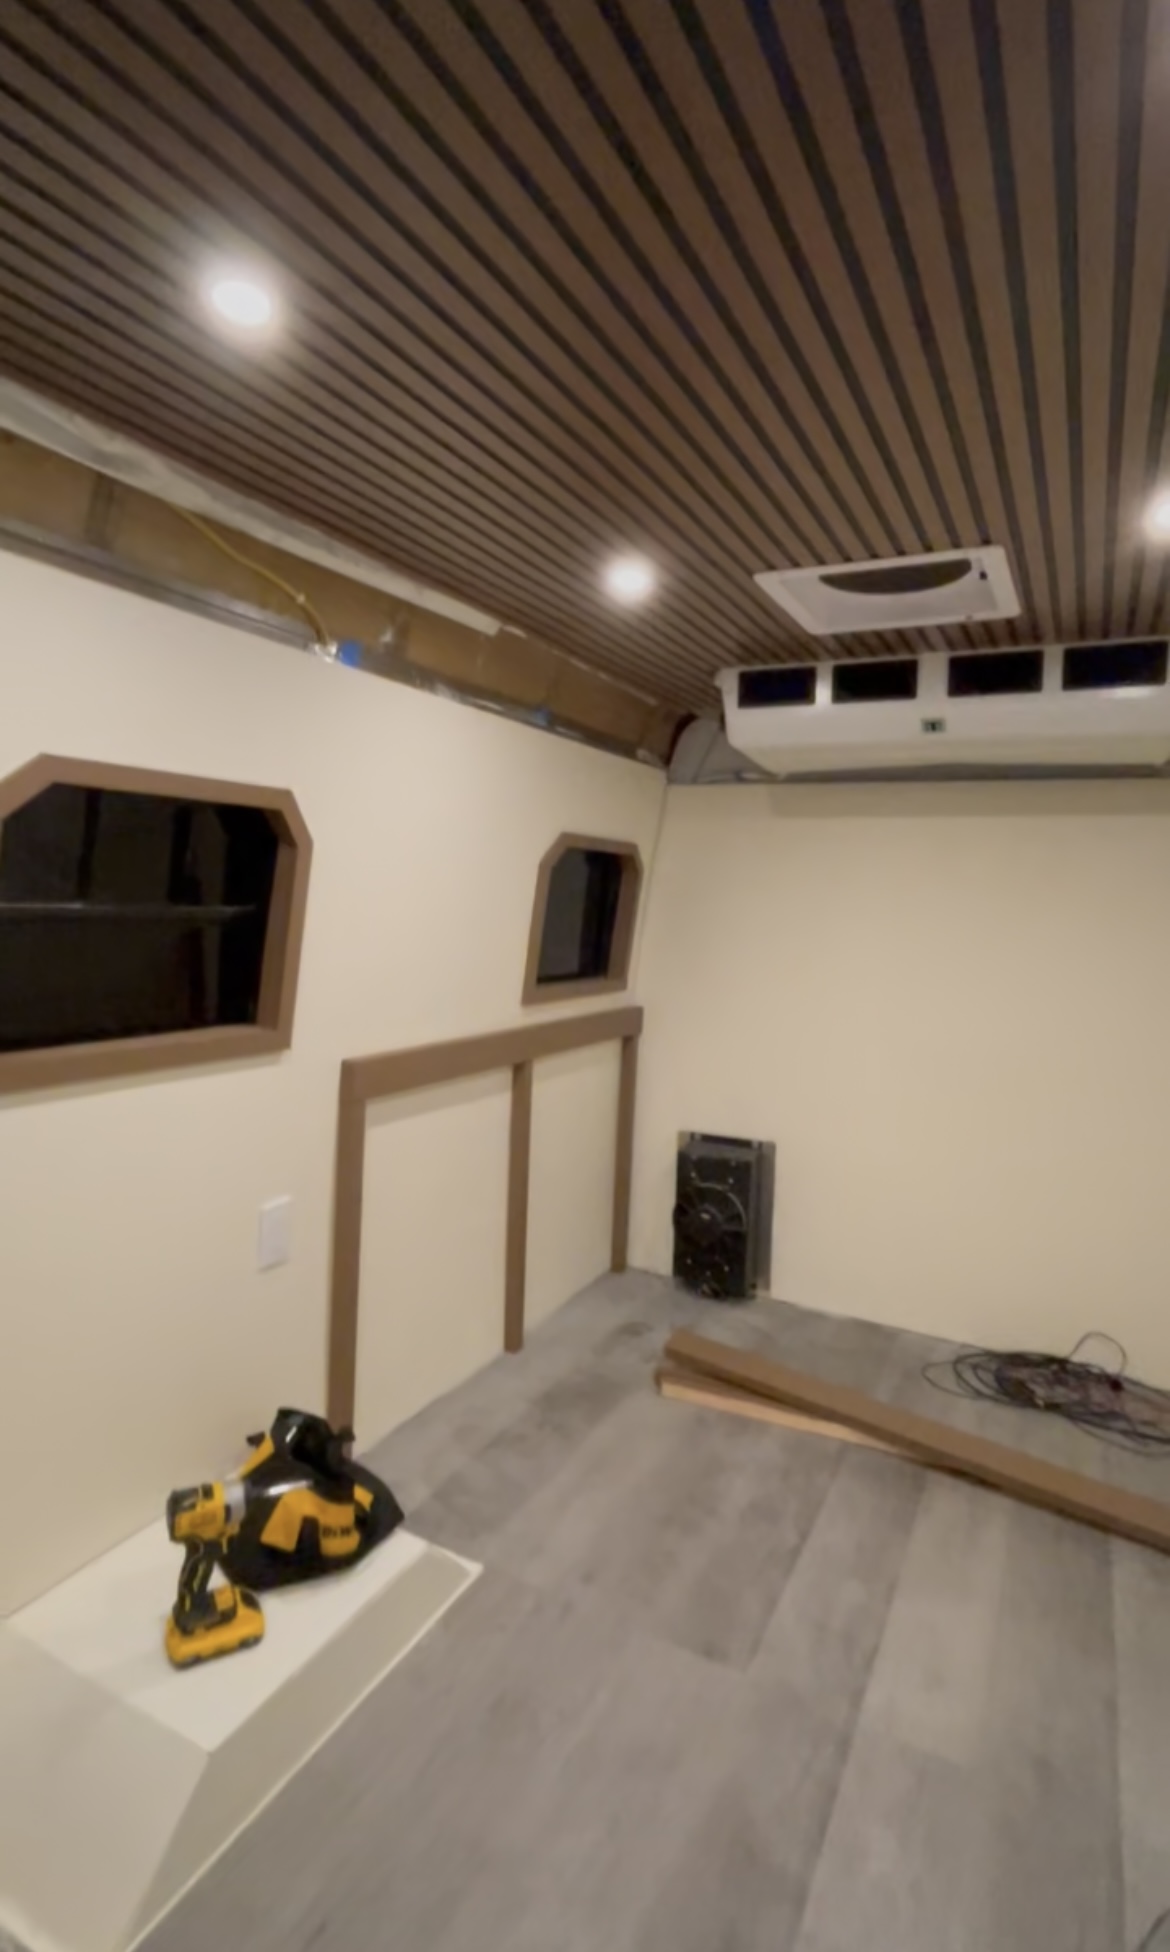
So far, the bed frame design has been going well! I have done a good amount of work this last week, and all of the materials have been officially ordered. I got 3x 6’ long 2×2 wood beam to use as the support legs. Additionally, I got a 10’ long 2×4 wood beam to use as the runner for the head and foot of the bed. I found these wood building materials on Facebook marketplace for $20 and got wood screws from the Home Depot for $10. On top of this, I am awaiting shipment from Amazon for mounting brackets, which I will be using to attach to the upcycled Skorva beams that will hang between the foot and head of the bed frame. These brackets were $14. Please note that this part of the design-build will be implemented next week when I receive the shipment, but I wanted to give budget updates in this post. Additionally, I had to purchase new wooden slats to go on top of the Skorva beams because the slats from my original bedframe were damaged. I purchased the Luroy slatted bed base for $40 from Ikea.
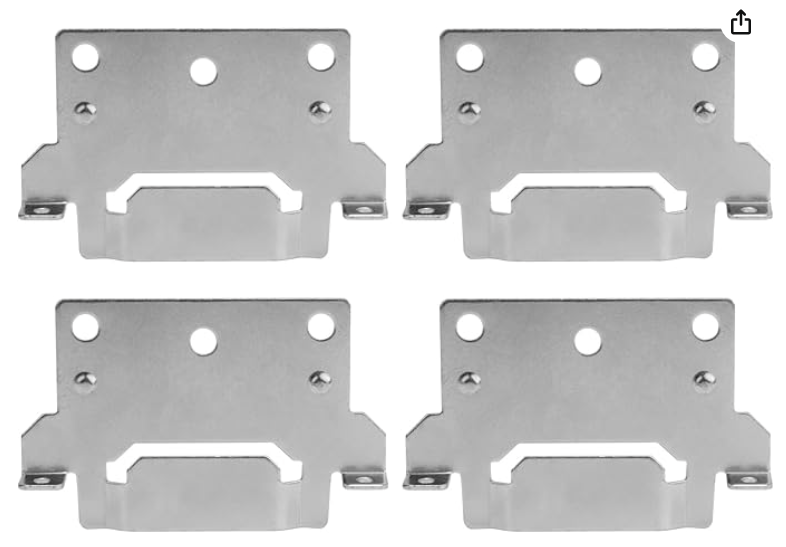
Photo 1: Mounting Brackets from Amazon
My decision to get the 2×4 wood beam for the runners was to give more moment support and alleviate stress on the screws that tack the runner board into the wall. The force distributed from the Skorva beams will be shearing down the side of the runner board, and although this force is a small distance from the central axis of the cross-section of the runner, there will be a large force from all the weight on the beams. To counteract this moment, the screws tacked into the wall will be in a tensile load on top of the translated shear force. By using a 2×4 beam instead of a 2×2, the distance of the screws from the central axis of the cross-section of the runner will be doubled, and the tensile force will effectively be reduced by 2. See the below image for a schematic comparison of this force analysis. I did not go into exact engineering calculations for the failure of this, but based on general experience building with wood and screws, I feel strongly that this will now be structurally sound. As for the support legs, I used the 2×2 because there was no moment force to worry about, and these were already added in precaution to alleviate shear force off of the screws. I do not worry about buckling in the legs because they will be tacked into the wall. I have not conducted a full structural analysis on this design, but—based on others’ uses of the Skorva beams—I feel confident with the structural integrity right now. I will be conducting strength tests before when I finish building.
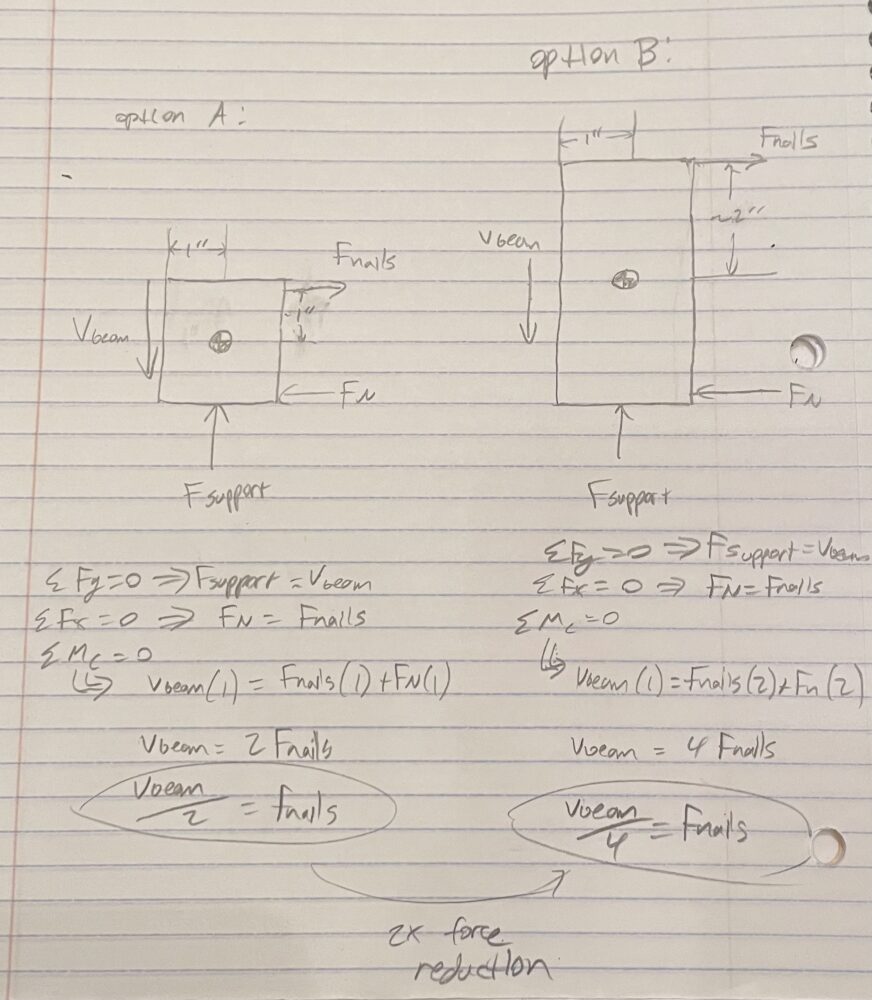
Photo 2: Nail force analysis
Alongside the build of this bedframe, I have been painting the interior of the bus. I used the same color brown as my ceiling and window trims to bring the space together and keep a minimalist aesthetic. For finishing on the bedframe components, I sanded down all of my wood. I then used 2 coats of the leftover brown paint I used for my window trim, which had primer infused in it. I originally chose this brown color because I liked the earthy and natural feeling it offered. Before painting, I cut the 2×4 board into 2x 55” runners for the foot and head of the bed frame (the width of a full bed). I cut the legs at 30” to ample space for storage underneath the bed. I used a chop saw to ensure these cuts were precise. The final results came out quite nice and I was happy with the appearance of my components. I also predrilled these legs and counterbored them so that I could quickly screw them to the walls during assembly. The image below shows the finished legs.
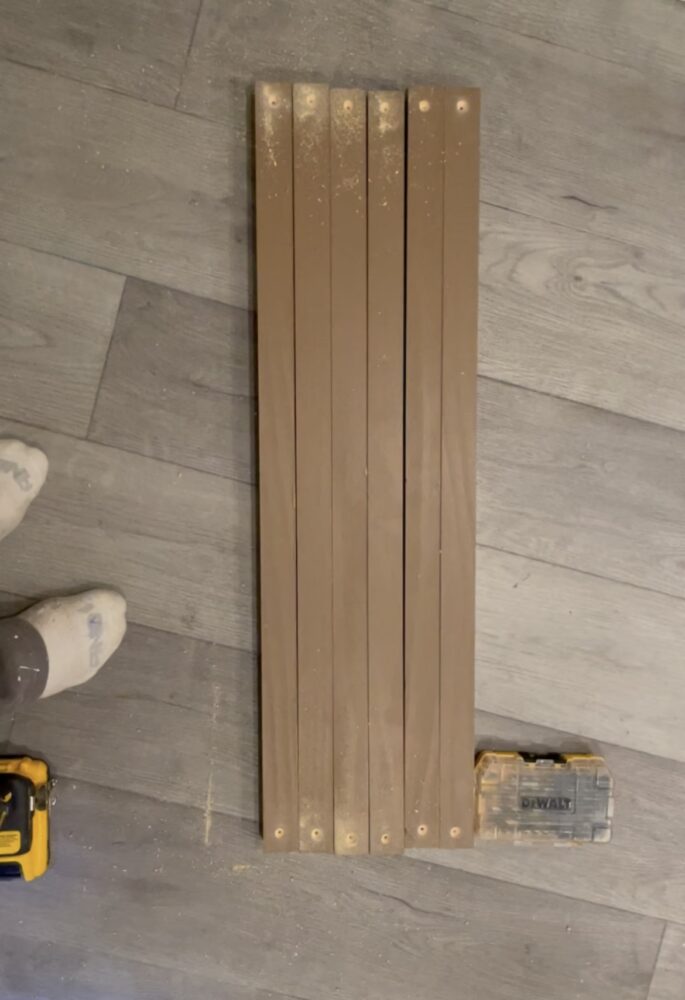
Image 3: Drilled and painted legs
Finally, I have not yet started the assembly into the bus by screwing things together, but I stacked my cuts in their assembly orientation to get a feel for the wooden support of this bed frame. I am very impressed with the overall layout and aesthetic. I think the design so far exceeds my expectations of how I was hoping it would look.
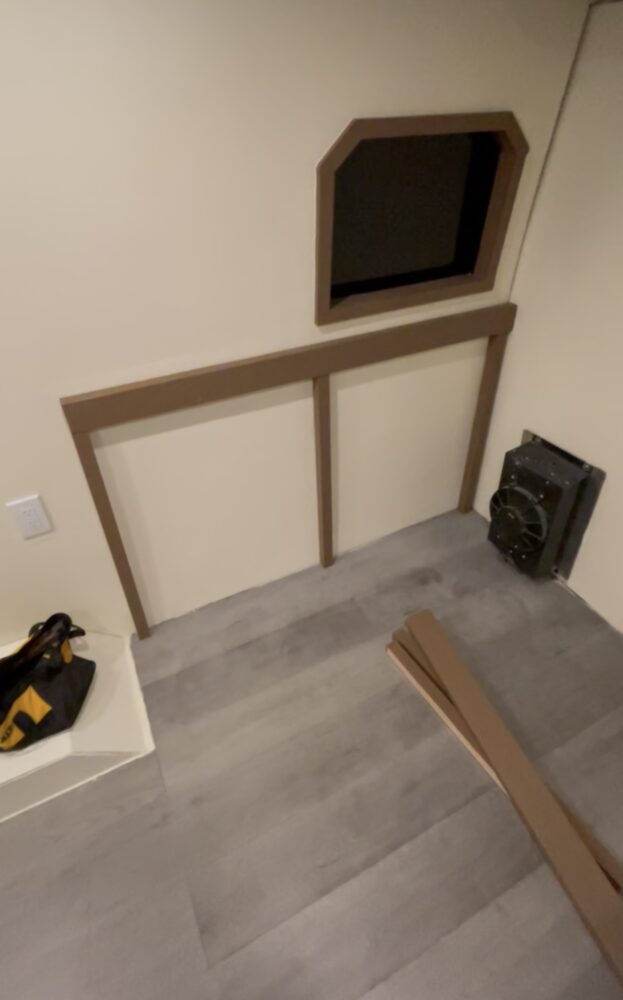
Image 4: Layout of wood frame
2 Comments. Leave new
Hi Cooper,
Your project is coming together really well! I really appreciate how detailed your breakdown of the structural considerations is—your explanation of force distribution and material choice adds a great level of insight. The way you sourced materials from Facebook Marketplace is also a smart and sustainable choice, keeping in line with the upcycling theme. It’s great to see the balance between cost efficiency and structural integrity in your approach.
One thing I was curious about—do you have any plans to further reinforce the bed frame beyond the screws and wall tacking? Given that it’s inside a bus, would additional bracing or cross-supports help stabilize it against movement when the vehicle is in motion? Also, I’d love to see a bit more detail about the finishing process—how did you decide on the specific brown paint, and do you think the color will hold up well to wear over time?
Excited to see the final assembly in the bus! Keep up the great work!
Hi Andrew, thanks for the feedback! After analyzing the use of the skorva ikea beams, I do not currently have any plans to reinforce them because they are intended to hang across freely. The intent of this design was to have an open bed space underneath, so I was hoping to keep that clear. I have not run a full-on engineering analysis on any of this, however, just a general consideration to see if 2x4s were worthwhile to purchase (as I showed in figure 2 in my post).
I am not worried about the skorva beams themselves, as many IKEA products have them hanging across, and I’ve seen other people hang them freely in bus conversions as well. My biggest concern was the shearing force on the nails, which is why I added in the legs underneath my runner. I will definitely be doing strength tests once this is finished, and if I need to add more support at that time, the great part is that I can always modify this design!
As for the finishing process, I just ensured all of my wood was sanded to begin with. Once this was complete, I used an interior paint with integrated primer, and all I had to do was paint. I put on 2 coats and felt this was sufficient, and I chose the color to get as close as possible to my ceiling.