

As a brief overview of my project, I’m creating a lampshade that will look like a strangler fig tree. See my second post (Beauty in Death: Strangler Fig Lampshade) for more information on my inspiration for this project and initial design ideas.
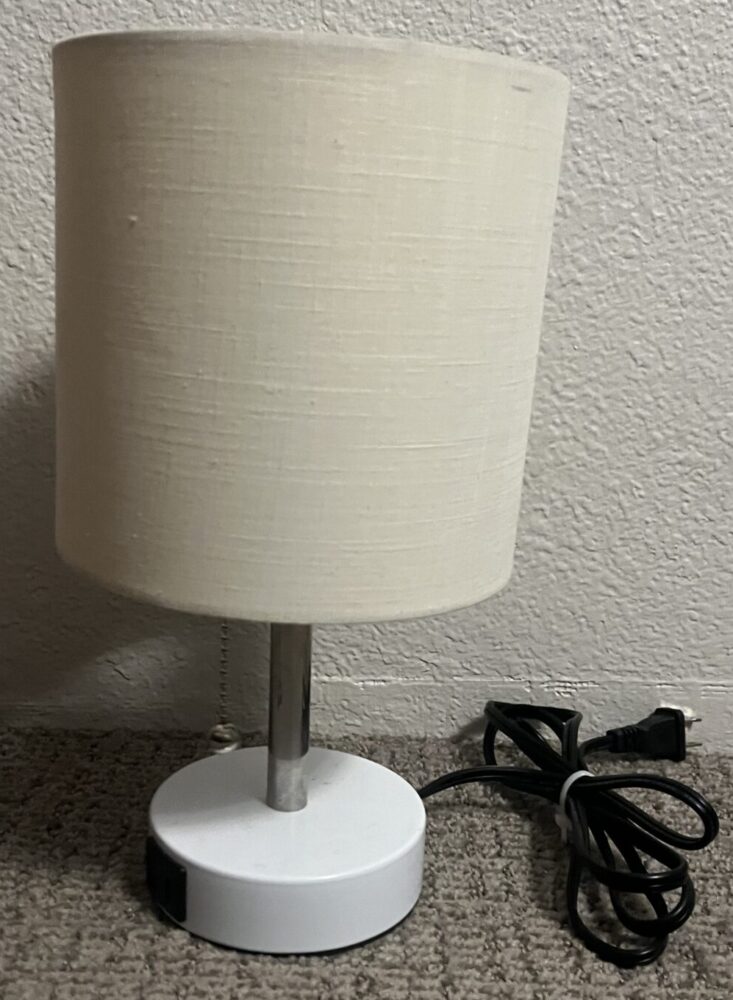
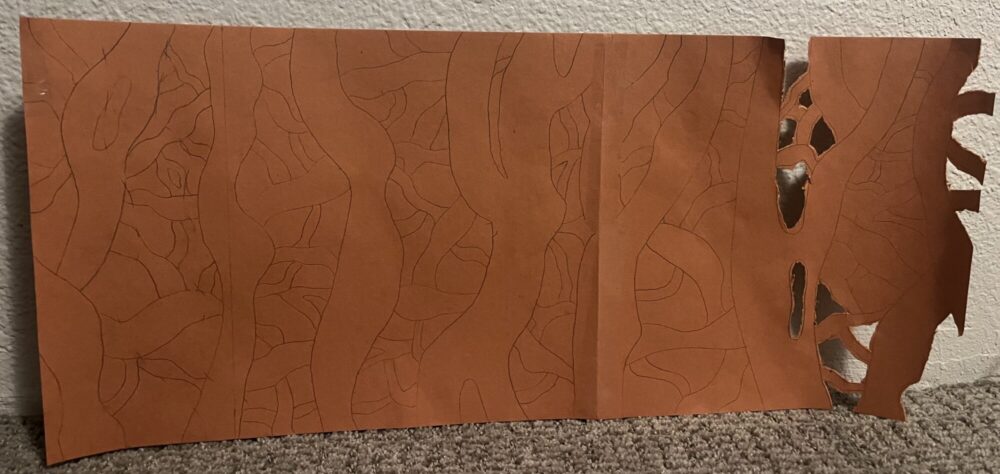
[2] Purchased Lamp and Shade [3] Patterned Design Template
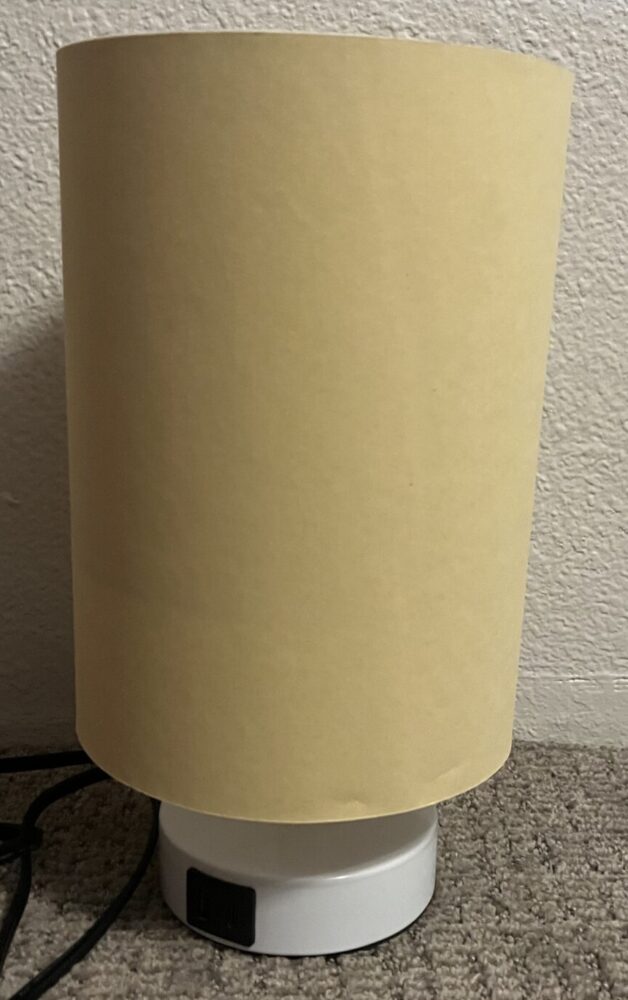
This past week, I collected resources for the project and started planning out what pattern I’ll use to simulate the entangled aerial roots. I found a suitable lamp and lampshade from Goodwill (shown above) and purchased a lightbulb from Home Depot.
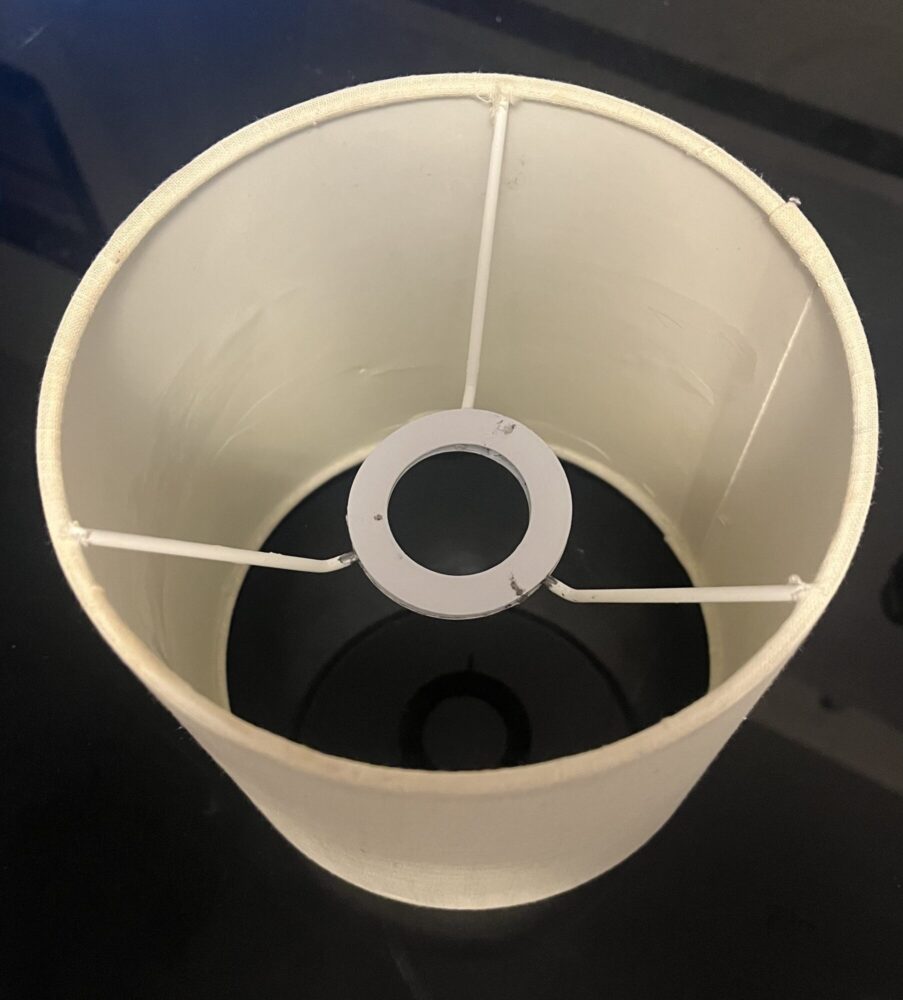
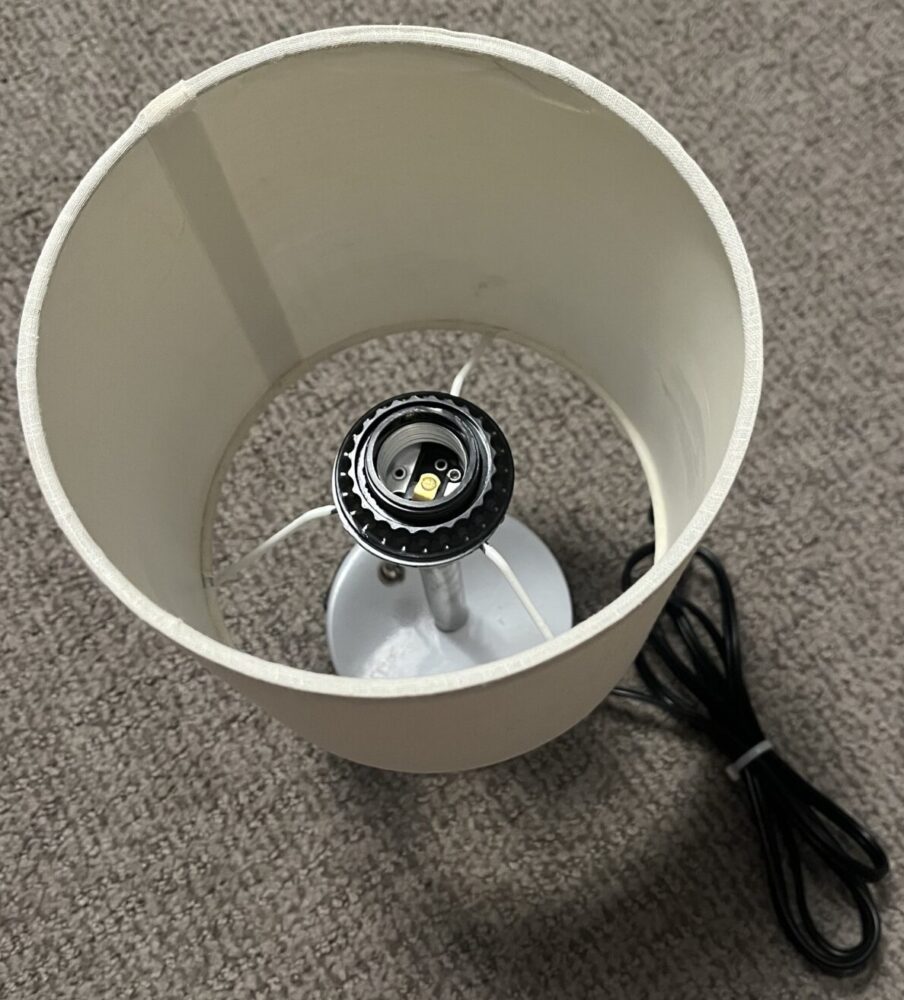
[4] Lampshade With New Ring Connection [5] Mounted Lampshade
One issue I encountered was that the washer/ring used to center the lampshade on the lamp didn’t fit properly. To resolve this issue, I cut the ring that came pre-attached to the lampshade and replaced it (via superglue) with the washer/ring piece that came with the lamp. After making this adjustment, the lampshade now fits with the post properly (the above images show the lampshade adjustment).
After some experimentation, I decided to descope my project to exclude a projection of the root pattern when the lamp is turned on. Unfortunately, the lampshade breaks up the light passing through it enough that even when an object is placed directly on the lampshade, you can’t clearly make out a discernible pattern. A projection could be achieved if you cut the fabric of the lampshade such that the light shines directly through the gaps in the tree. For the purposes of my aesthetic, I think that having the center of the lampshade glow with the surrounding branches dimming the light it puts out will provide the effect I’m attempting to portray. The glow would represent the life within the tree, and the dampening of the light would symbolize the life being drained from the tree as a victim of the strangler fig.
[6] Lampshade Extension
Last week, I received comments recommending that I redesign the lamp post itself. Based on these comments, I brainstormed a few ideas to help breakup the disparity between the lamp and lampshade. Considering the project timeline and how different designs will interact with the light given off from the lamp, I’ve decided to use colored construction paper to extend the lampshade lower (leaving less of the lamp exposed). I think I’d also like to incorporate some overhang of the roots past the lampshade, which would further aid in hiding the lamp post.
Another aspect of the design up for debate last week was the tree canopy. I worried that the canopy would block too much light. After experimenting with the lamp, I’m ok with it not producing much light because I expect my project to be viewed more as an art piece as opposed to a functional lamp. In addition, the lamp may shine too bright (and the bulb may be in the direct line of sight) if it isn’t covered from the top, so adding a canopy could effectively resolve this issue.
Next week, my goals are to create the wire/mesh pattern of the roots, begin applying aluminum foil to form the 3D shape of the roots, and build the lamp canopy (done over the course of the next 7 days). This would leave about 5 days to apply the papier-mâché and painting it in order to finish the project.
Citations:
N/A
2 Comments. Leave new
Hi Eric,
Your project is shaping up to be a really unique and creative piece! I love how much thought you’ve put into the symbolism of the strangler fig, especially how the light represents the life being drained from the tree’s victim. The problem-solving you did with the lampshade fitting issue was also really resourceful—it’s great to see you adapting to challenges and making adjustments as needed.
I’m curious about your decision to extend the lampshade with colored construction paper. Do you anticipate any issues with durability or how the material will interact with the light? Would a more rigid or translucent material help create a smoother transition between the lamp and the lampshade while still maintaining your desired effect? Also, since you’re using aluminum foil for shaping the roots, do you plan to reinforce it in any way before adding the papier-mâché?
Looking forward to seeing how the 3D root structure develops! Keep up the great work!
Hi Andrew, thanks for your comment! Construction paper would not be my top choice, but I’ve been struggling to think of other ideas I could use. It definitely isn’t super durable, but it keeps a consistent texture, allows for enough light to pass through, and is a recycled/upcycled material. Another idea I had was trying to find some plastic coated fabric, and while I will look for a better option, I’m prioritizing finishing the root pattern first. If you have any other ideas, I’d love a suggestion! In order to use papier-mâché, I have to wrap the aluminum foil in masking tape. This provides a good surface for it to adhere to. With the combination of the wires, aluminum foil, and tape, that’ll make a strong enough support for the papier-mâché to dry. Once it hardens, it’ll be able to support itself.