
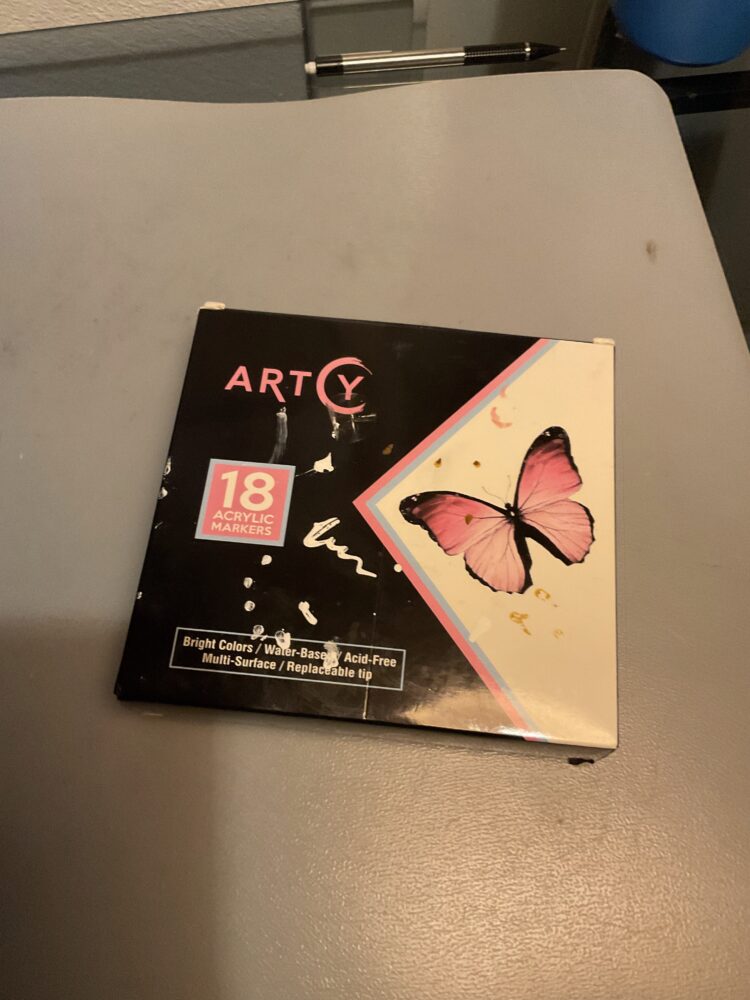
For my upcycling project I’ve gathered the foundational materials that I need to complete the project and have scaled the original art piece so I can develop a sketch onto the cardboard. Some things I’m currently missing are a hot glue gun to hold the paper beads in place and a glue stick for the paper beads after they’re rolled.
I’ll start off by showing my collection of recycled paper previously used for studying and notes from classes ready to be cut and rolled into paper beads with the help of a pair of scissors. I believe this will be the most tedious process of the entire project due to cutting paper into various sizes to get the thickness and width of the beads. I’ll be creating various sizes to give it more character and depth to the piece.

After cutting the paper into sizes I need in order to roll and glue together, I will determine a color that is close to matching the original art piece by using acrylic paint markers. I’m still deciding if I want to keep it to more conservative colors or using brighter colors with different tones to the original work. This may be a last minute decision that will come from emotion and intuition.
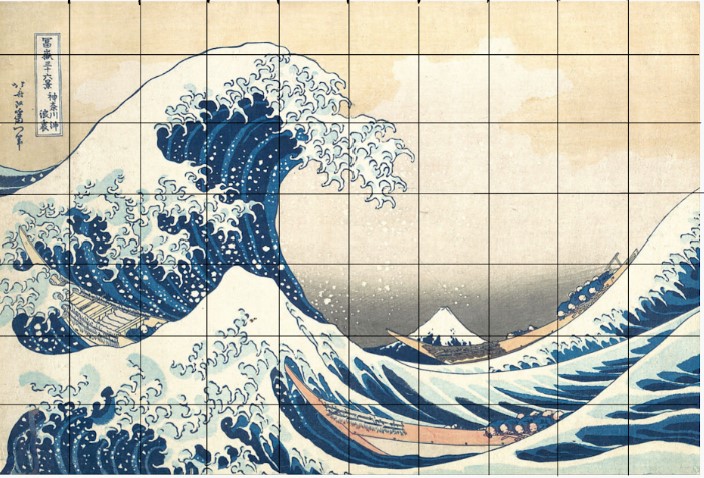
As I figure the colors of my final piece, I started to scale down the original piece on to the cardboard I used from and old noodle box. This was a little difficult to scale because they weren’t nice fractions that came from the original piece but it is workable. The purpose of scaling is to make sure I’m getting the sketch to it’s correct proportion and not creating funky shapes that are bigger or smaller to the original piece.
 For the original picture, I used my iPad to copy and paste the original picture from google and drew 1 inch margins for each tick. This then got scaled onto the carboard above into large increments. As you can see from the picture, the colors lean towards a more pastel tone, which I love, but I might through a little personal flavor to it. I’m considering keeping some tones in it’s original state and over emphasizing on others. Stay tuned to see what comes of the final product!
4 Comments. Leave new
This is a wonderful idea and I look forward to seeing the final product! The painting you chose will make a great mosaic composition and it would be interesting to see it more abstracted with cut and folded paper.
Are you looking to make the piece more of a 3D mosaic? I think it could be interesting to see the paper reflect the smooth vs rough parts of the painting. For example, you may consider cutting the paper into angular/sharper pieces for the break of the wave – Possibly layering that part to a higher point?
Hot glue will definitely help add depth, but if you are looking for something that will adhere to the paper and cardboard just as well while giving you loner workable time before it dries, I recommend tacky glue.
There are so many interesting possibilities to consider with this project!! I am excited to see how it turns out.
I added a 3d texture to it with the layers you mentioned and did the sharp edges with the paper for the wave. Thank you for the feedback as I took them into consideration with my final piece.
Hey Pisay! I think this project will be pretty cool! I’ve never used acrylic markers before, will it react well with the cardboard? I can’t wait to see the final piece!
I had to go over the cardboard a few times to get the exact color I wanted with the acrylic markers!