
As the focus of my Upcycle project, I decided to design and create a work stand for my sheet metal shrinker/stretcher tool that I could use in my workshop to allow me to manipulate sheet metal into complex shapes with ease. I concentrated my design around a utilitarian aesthetic in which my intent of the design was focused more on the functionality of the machine, rather than prioritizing additional ornamentation.
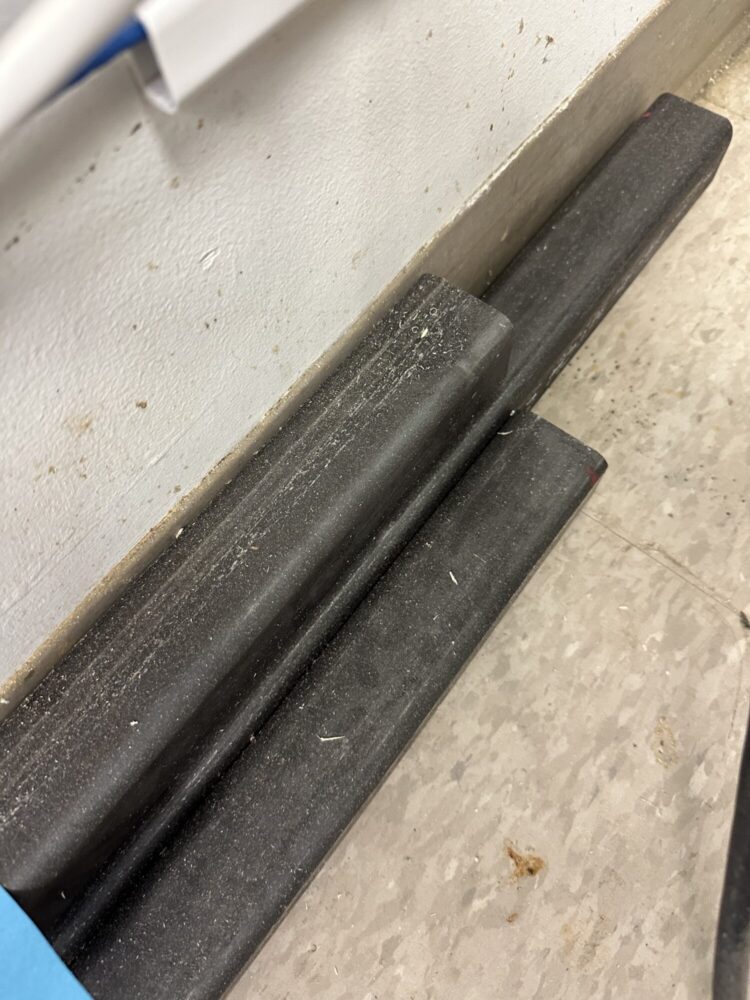
The first step towards completion on my project was to source some scrap steel tubing that would otherwise likely have been discarded. After searching for a few days, I was able to find some scrap cut-offs of 2×2 inch steel box tubing in 3/16-inch wall thickness for free on Facebook Marketplace. This tubing was an excellent building material for my work stand as it was uncoated and easily weldable. Additionally, the material’s wall thickness was large enough to prevent significant deflection of the stand during the use of the shrinker/stretcher.
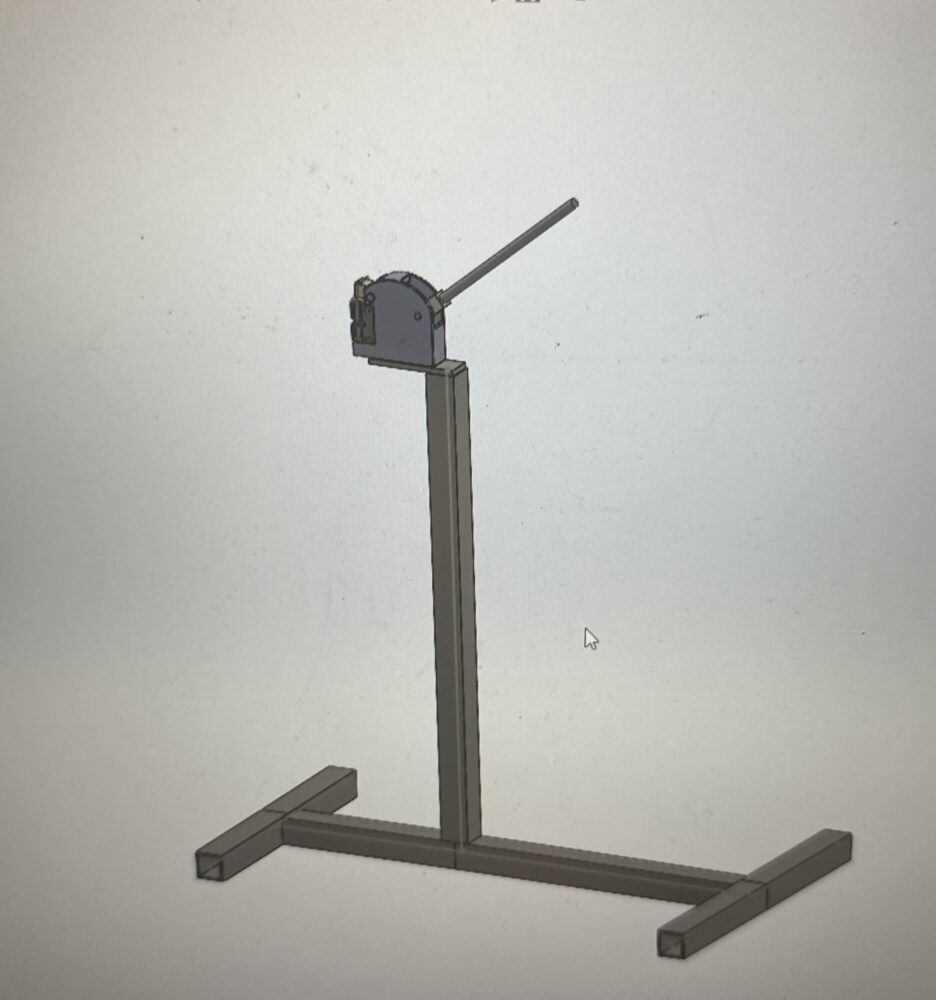
After sourcing the material to build the stand, I decided to model a few design iterations on SolidWorks. The image shown below is my first iteration of the floor mounted shrinker/stretcher work stand. The shrinker/stretcher has a work height of 38 inches off of the floor and the design of this stand allows for use of the original operating lever located on the tool. Some attributes that I disliked about this design include the location of the legs of the stand interfering with the operator’s working position behind the lever. Additionally, this design requires that I source some 1/2-inch thickness steel plate to mount the tool to the top of the stand. At the moment, I have been able to source this scrap plate.
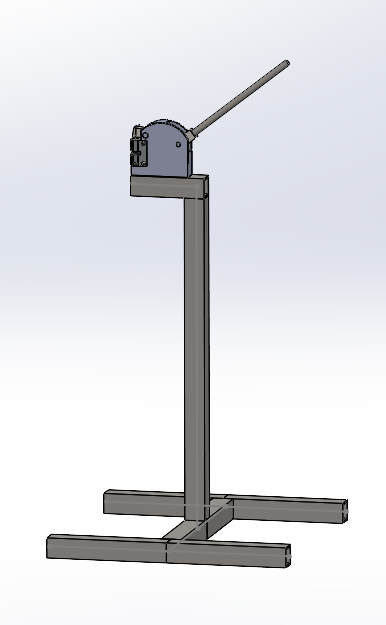
My second design iteration is shown in the SolidWorks model below and is the improved design that I will move forward with manufacturing. The improvements in this design include increased room for the operator to stand behind the operation lever and the use of 2×2 inch square tubing as a baseplate to mount the shrinker/stretcher to the work stand.
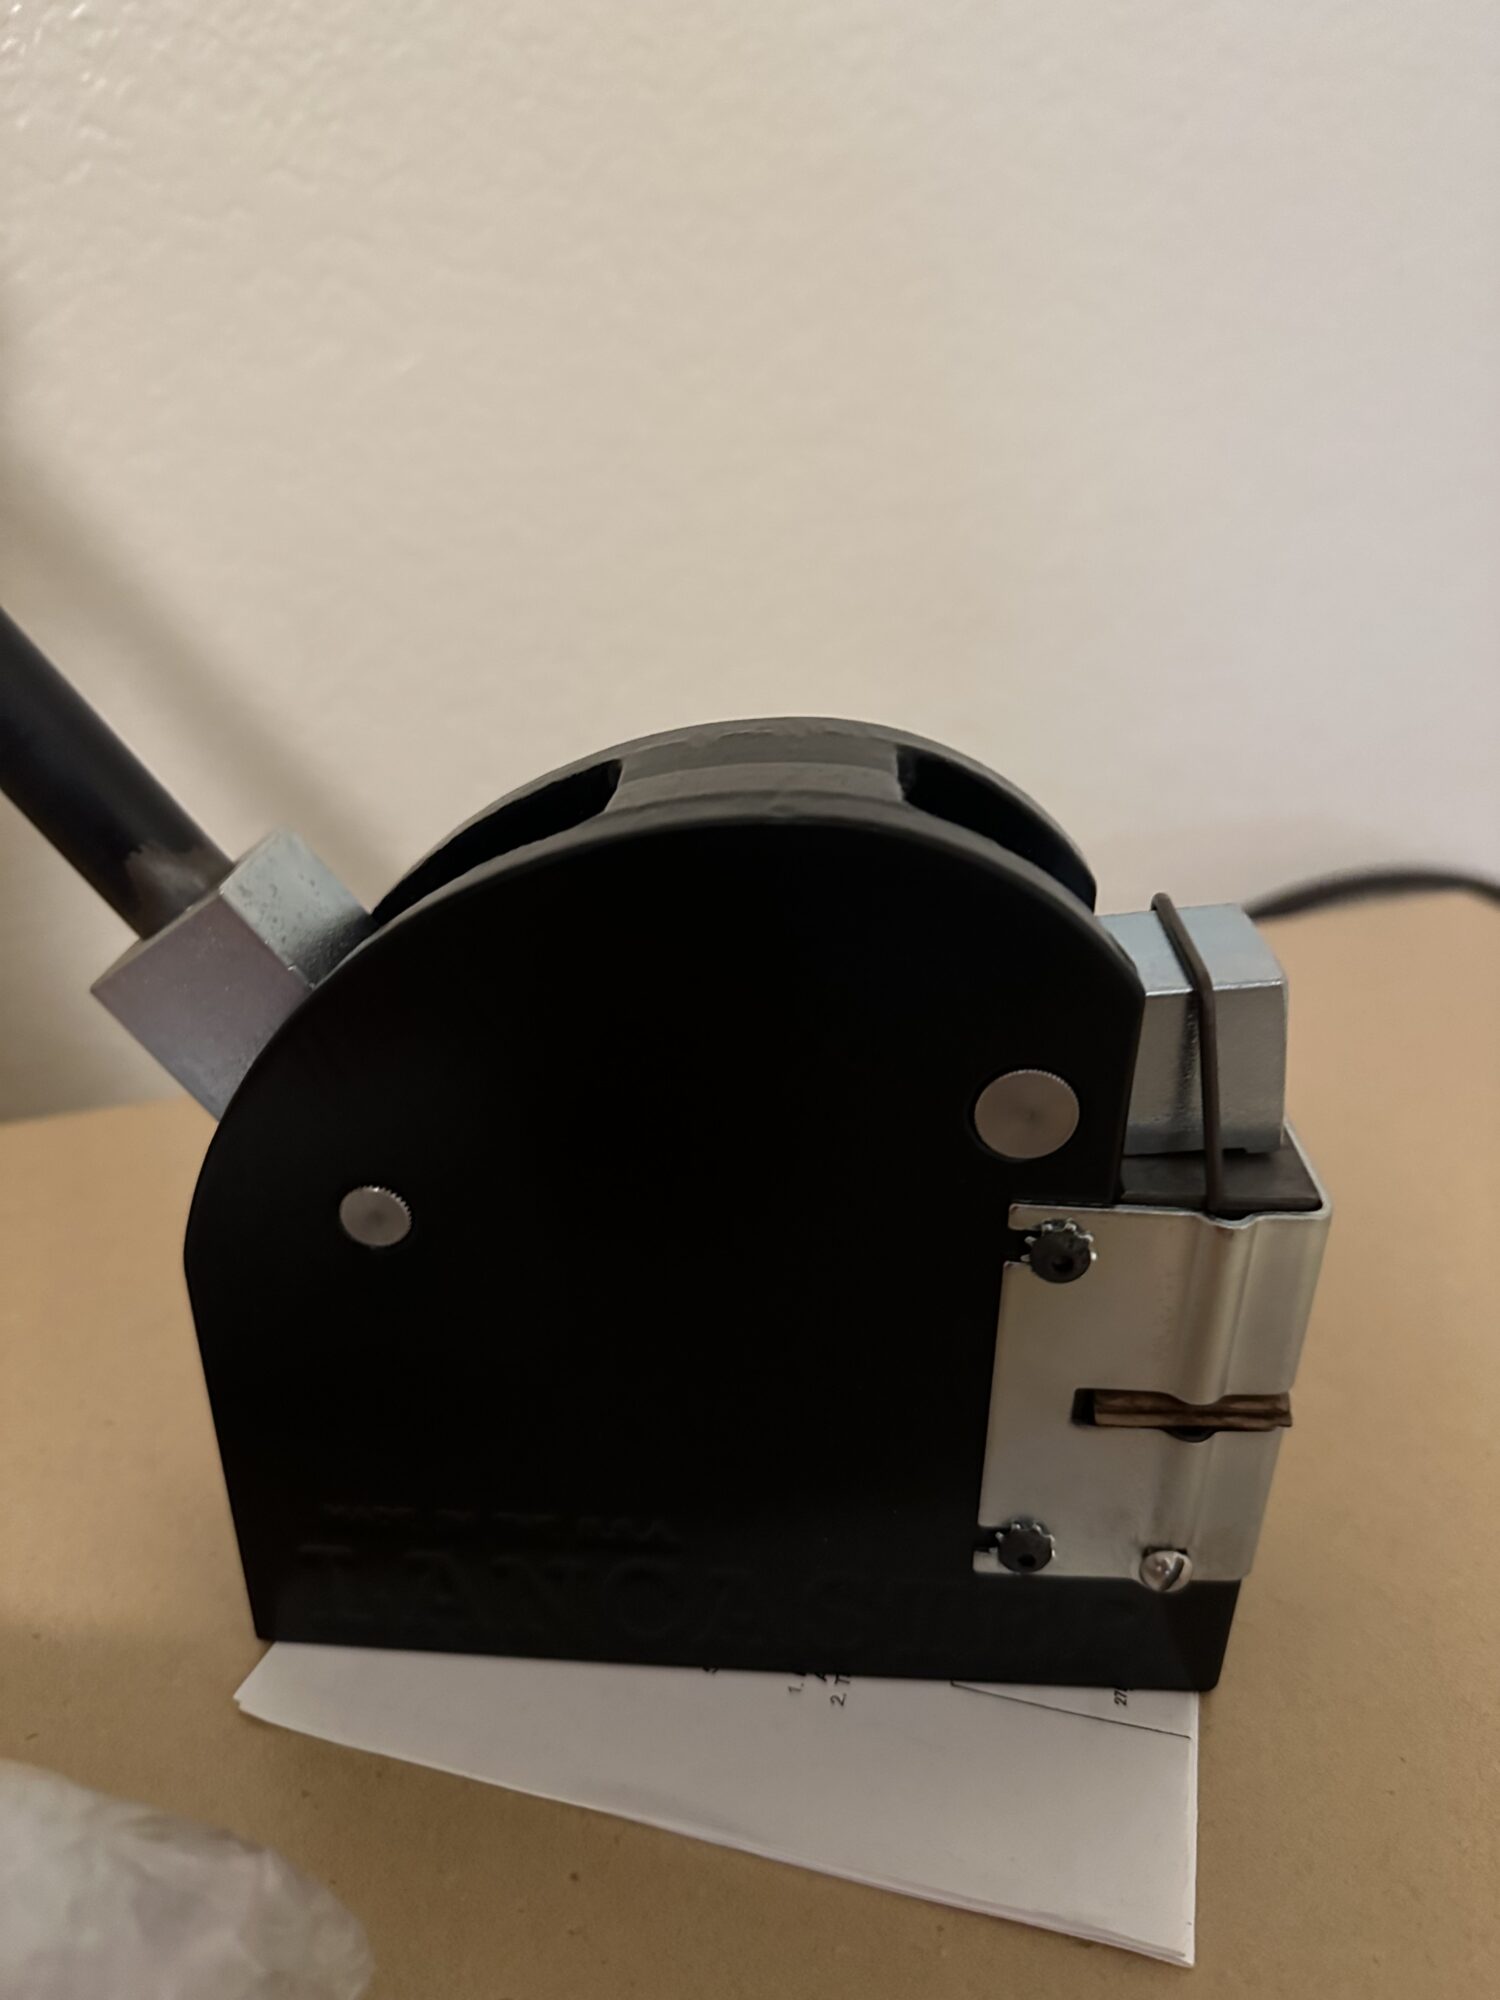
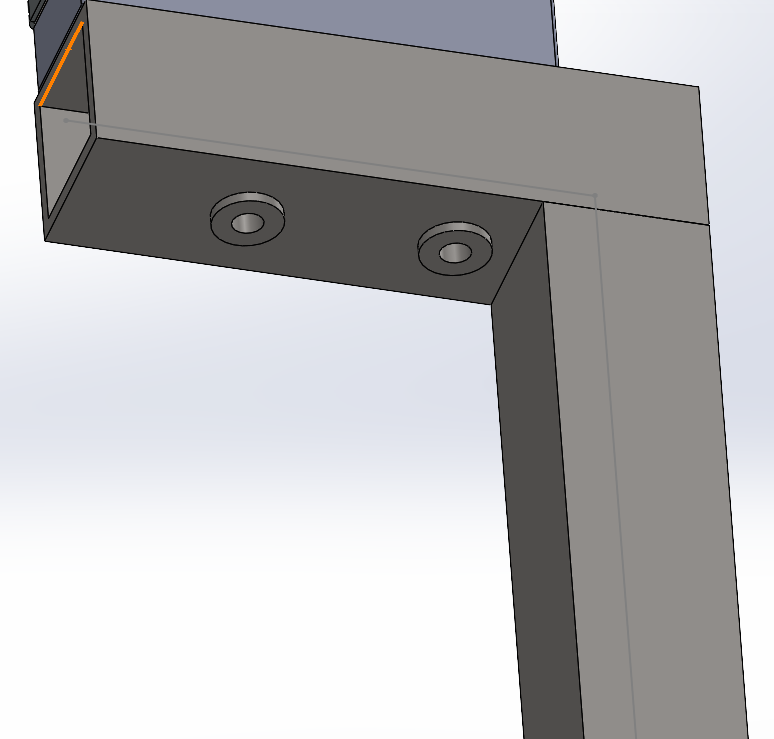
The image below shows the underside of the baseplate to mount the shrinker/stretcher. In order to reinforce the structure, weld in bungs have been added to bolt the square tubing to the shrinker/stretcher. The fasteners that will be used are 3/8-16 bolts. I was able to source the material to make these steel weld bungs in the ITLL machine shop.
I have created a manufacturing schedule below for the next steps to completion of the Upcycle Project. This schedule will allow me to complete this project before the required deadline.
2/6/25 – Cut all square tubing to size in the ITLL machine shop using the horizontal bandsaw
2/7/25 – Machine weld bungs on lathe in ITLL machine shop and drill tubing to proper diameter of weld bungs
2/10/25 – Weld frame together in Idea Forge
2/11/25 – Weld frame together in Idea Forge
2/14/25 – Clean and paint stand

2 Comments. Leave new
This is a really interesting project! I like that it is something you will be using. I appreciate you including your CAD models and your manufacturing project schedule. Do you have availability in your schedule for alternate days in the Idea Forge if it is busy on the days you have planned for?
Thank you for the comments. I figured that using CAD would easily allow engineers to envision and see any challenges with the design prior to manufacturing. I have allotted a full week of time from 2/10-2/14 for welding availability at the Idea Forge. However, I do not anticipate that welding will be more than a single day’s worth of work.