In this post I will discuss the process of creating my Sisyphus table.
Step 1: Mechanical Design Work:
My first step with any project is to get the idea figured out in my head. Once I have a rough idea of how the mechanism will look, I sketch it down on paper. Below are some initial sketches of both the original design and redesign.
Original Design and Redesign Initial Sketches:
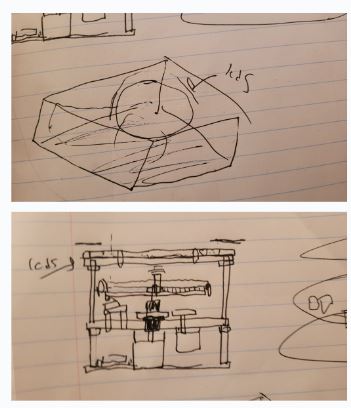
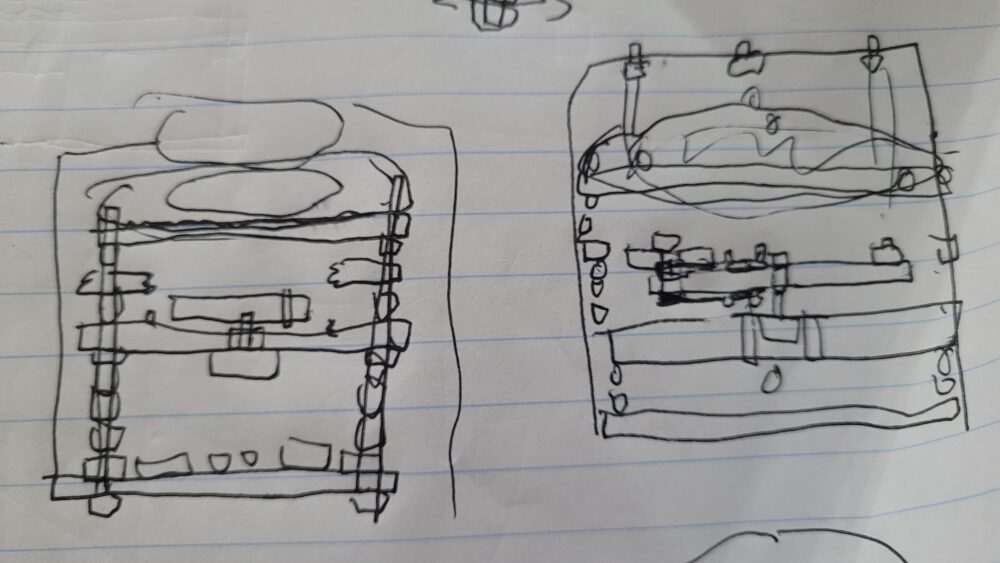
Once I had the sketches, I transferred the design to CAD.

Step 2: Electrical Design Work
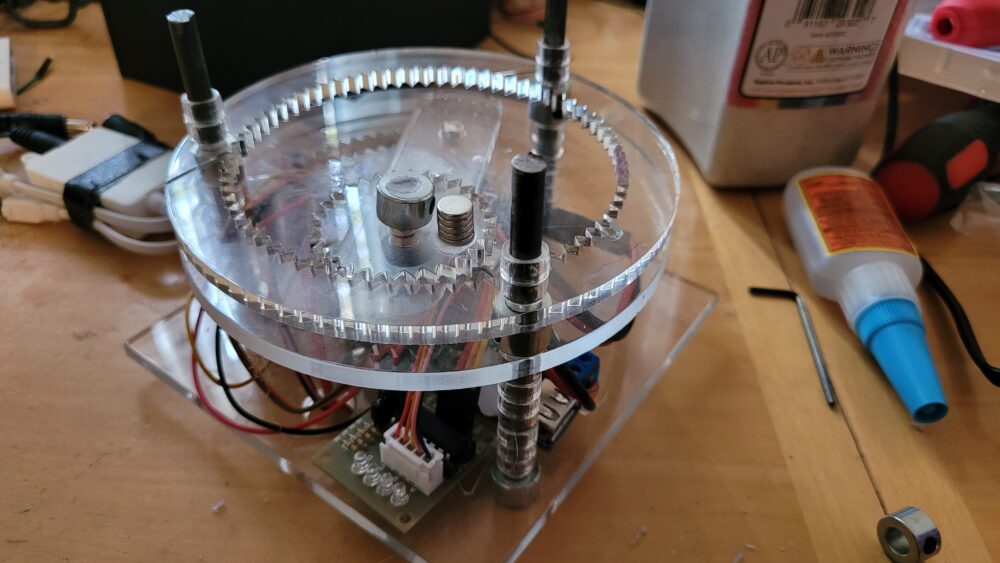
For aesthetic reasons, I wanted the electronics to be small and self contained, with just a wire sticking out the back of the box to power the design. I wanted to avoid it looking like a full student/hobby project, requiring a connection to a computer or having the electronics exposed. I used a DC-DC converter and created my own barrel connectors so that I could power the Arduino on 5V, but still run my motors and drivers at 12V. Luckily since I designed my electronics to be self contained, they fit even within the scaled down redesign and are all contained at the base.
Step 3: Manufacturing Issues
I had a large scope for this project, however I was confident in my design and my ability to manufacture it. When I went to laser cut my parts, each time the laser cutters at the ITLL were not cutting correctly, broke while I was using it, or were in use by someone else. This caused a lot of delay with getting a chance to manufacture the parts. I ended up wasting large sheets of acrylic, which were expensive, and I simply couldn’t afford to keep buying more acrylic sheets. This inspired me to do a smaller scale redesign that would allow me to use the ruined acrylic, and also keep some of the design and functionality the same.

Step 4: Redesign
The manufacturing issues were proving to be costly, so I decided on a simpler, smaller scale redesign. I wanted to retain the core functionality of being able to draw interesting geometric designs, lit by LEDs, and a minimalist, black enclosure. For the mechanism, I chose to use the design of a spirograph.
Step 5: Final Construction
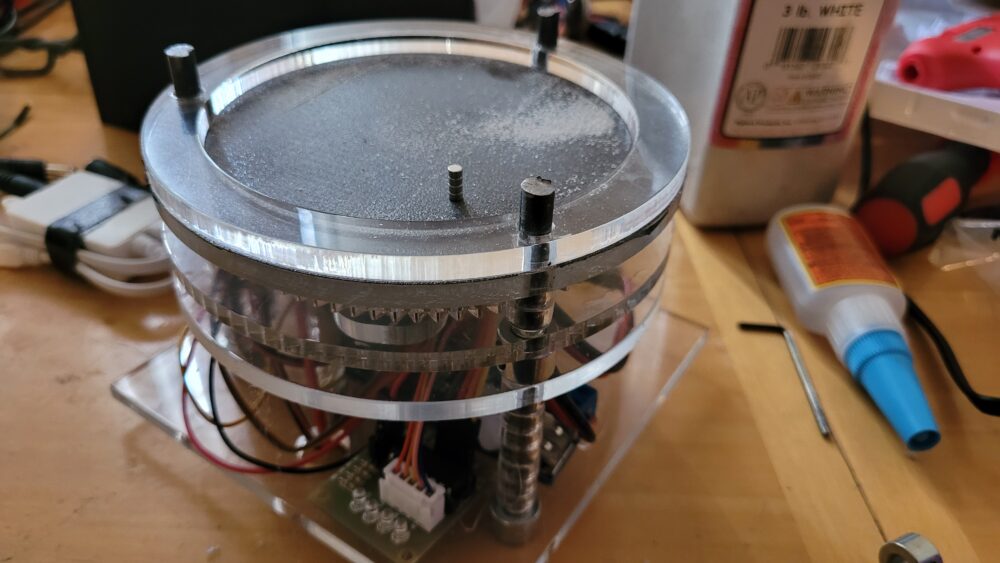
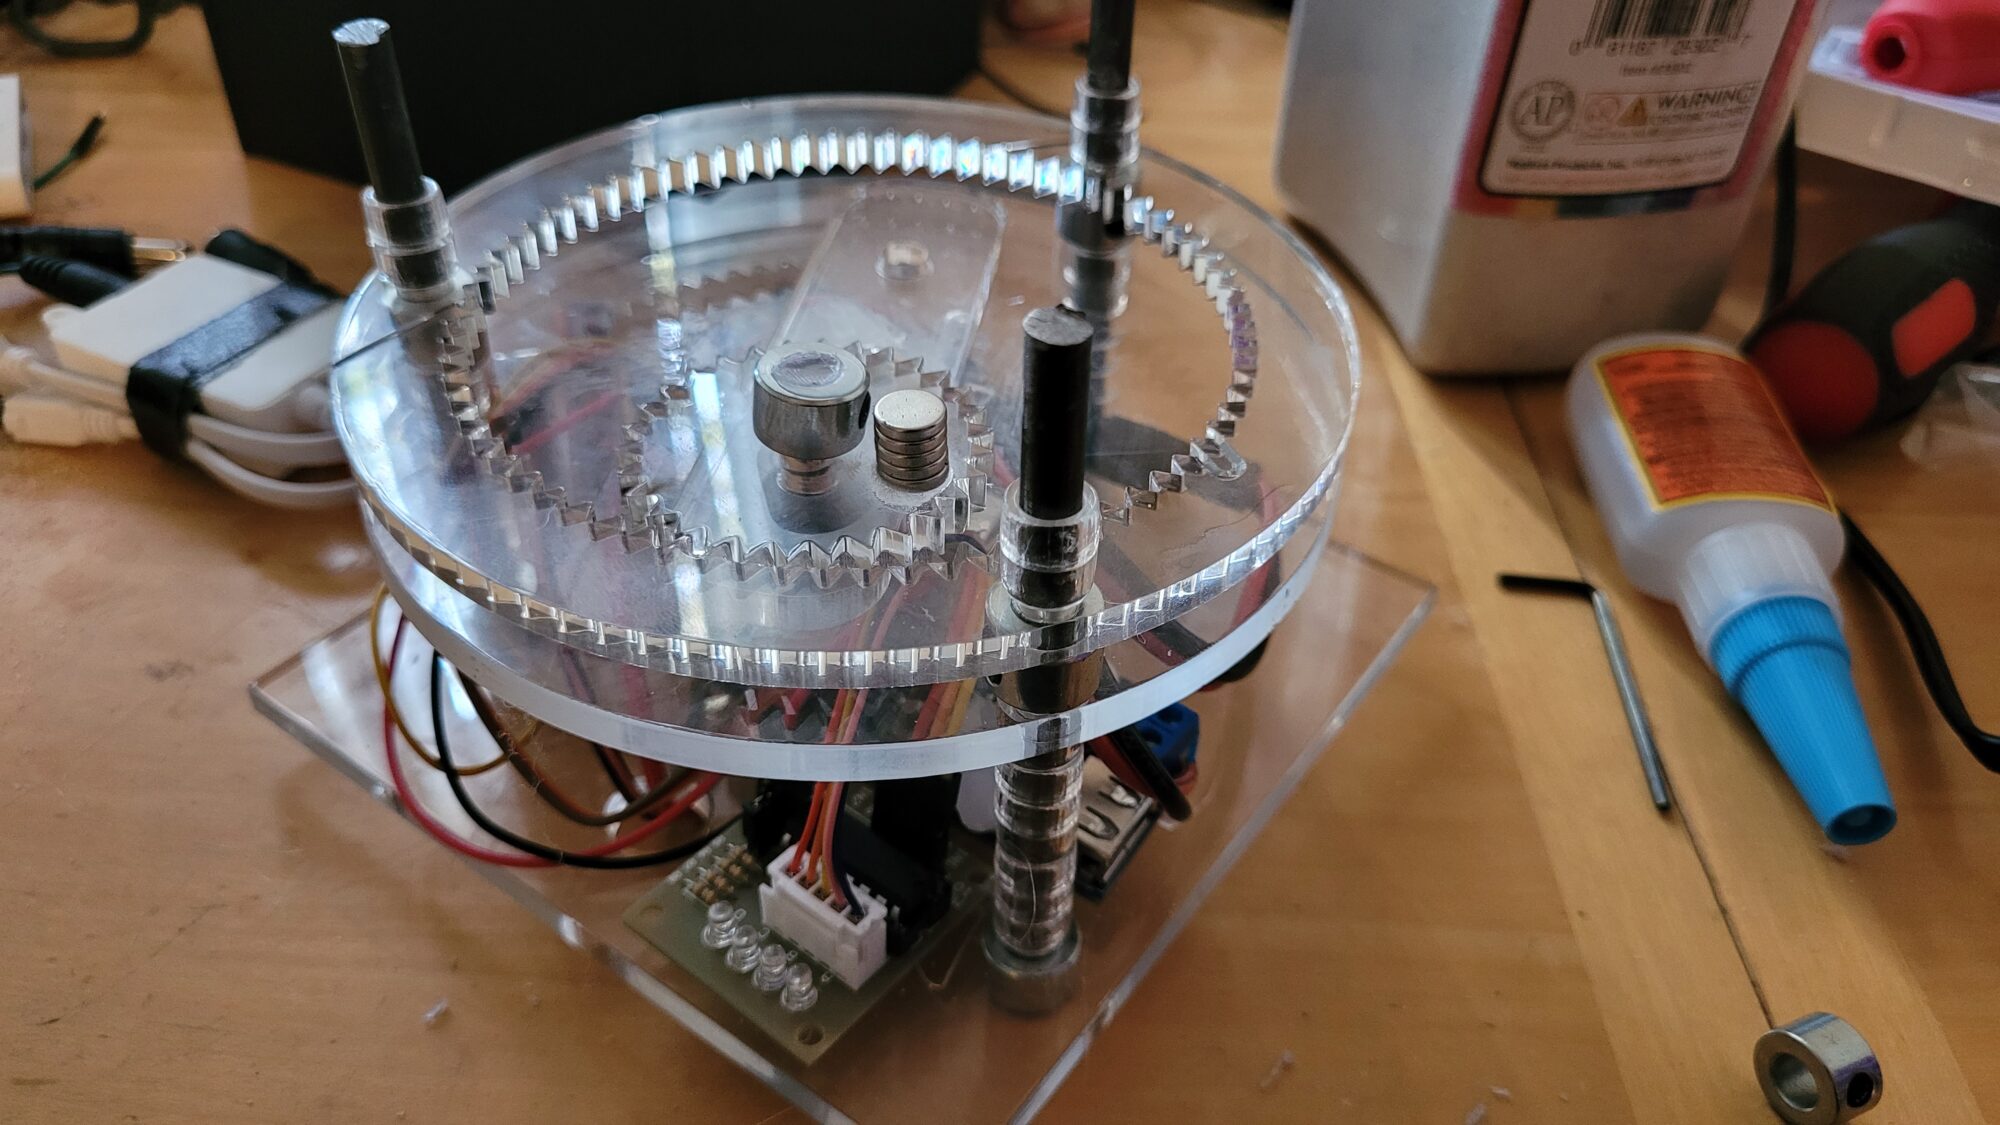
I wanted everything to be able to be constructed very easily, so most of the time in this project was spent in CAD and doing design work. Building the piece was just a matter of cutting down my 3 aluminum poles, and then stacking the components and securing everything with the shaft collars.
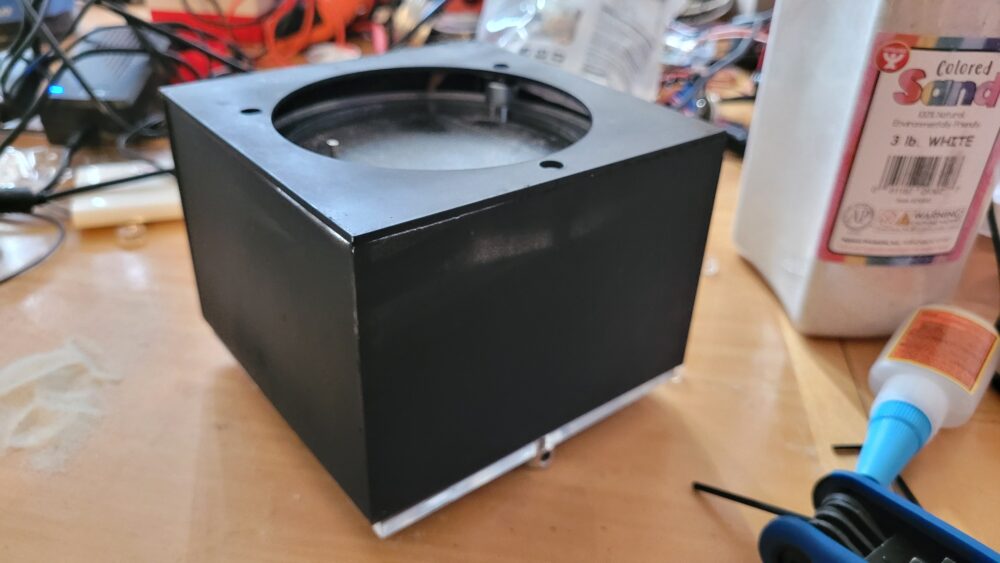
The exterior case was made by supergluing thin acrylic panels together, and then spray-painted black. I then taped the LED strip around the interior perimeter to illuminate the sand.
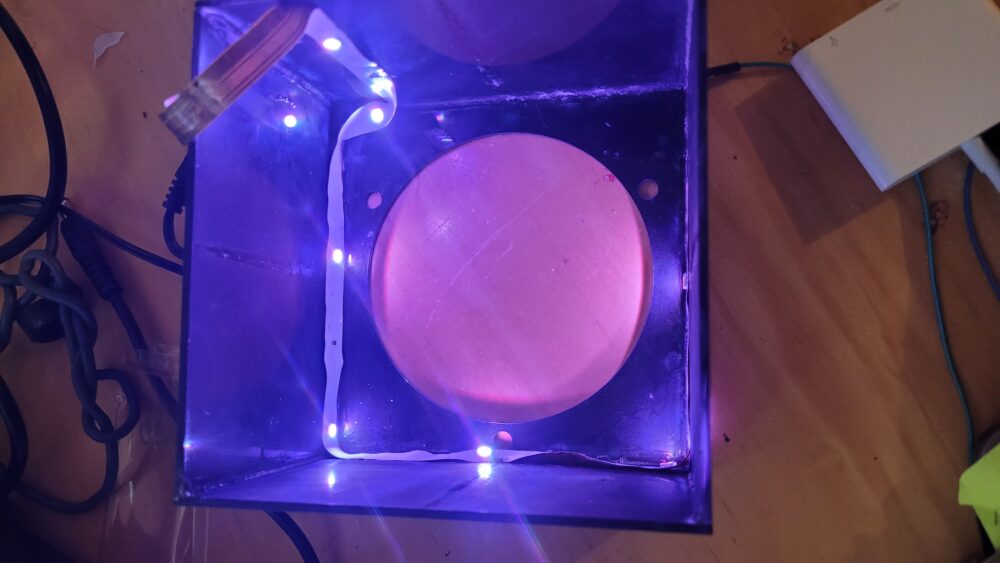
I did have to make some modifications. I used black duct tape on the top surface to dampen some of the noise from the magnet scraping. Originally, I had planned to use marbles like other Sisyphus tables, however the magnet wasn’t strong enough to move it reliably. I decided on using a stack of of smaller magnets, which I honestly think looks cooler than the steel ball because it is somewhat hidden beneath the sand.
Conclusion:
Waiting too long to start on the project did make dealing with the manufacturing issues more difficult, however I still would have run into these issues if I started earlier. It would have been more nice to have more time to spend on the redesign, however I am satisfied with how it turned out. I think the aesthetic matches what I was going for, with the simple plain black exterior, but illuminated with colors and cool designs.

4 Comments. Leave new
https://www.mbloging.com.
SEO Services Near Me
Check out a best service powertechgcc.com..in Doha
Welcome to Shisham Digital, the premier platform for harnessing the power of affliate marketer and performance-based advertising. Whether you’re a seasoned affiliate marketer or just starting out, our comprehensive network connects you with top-tier affiliate programs and affiliate networks to maximize your earnings potential. Dive into a wealth of opportunities, from niche-specific partnerships to global brands, all carefully curated to ensure your success. Shisham Digital unlock the tools, resources, and support you need to thrive in the dynamic world of affiliate marketing.