
For this project, I planned to upcycle a square 1’x1′ mirror from goodwill as well as . I also mirrored acrylic that I got from the Colorado Plastics remnants sale. To incorporate the recycled mirrors into one of my passion projects, I wanted to create a large mirrored shelf. The plan was to frame the mirrors by inlaying them in elaborate cut outs. This aesthetic framing would then be the backing of a similar candle shelf such that the mirrors reflect the candle light into the room more effectively. I had been inspired to do this project for quite some time by a mirror frame with a shelf that I found from the Arc thrift store. The original design, whose source I cnat credit as it came from a reseller is shown below.
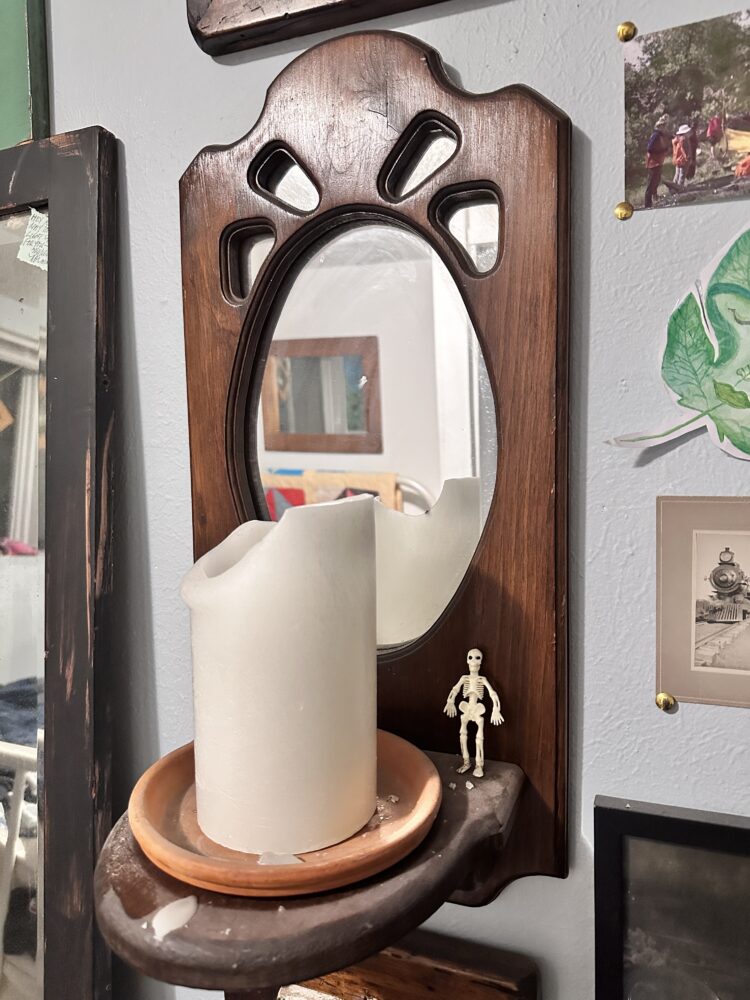
To me, the hand wood work, the mirror, the use with candles, all align with a fairy-tale/medieval aesthetic. This aesthetic is often characterized by woodwork, cottages/cabins, forestry, and a bit of whimsy or mystery. To further enforce this abidance, I shaped the back frame into a smooth regal silhouette, and cut specially curved inlays for the mirror. Because the mirror I reclaimed is so large and the fact that I have additional mirrored acrylic, I want to make this shelved frame wider than it is tall, to compliment the one that inspired me. In additional to this contrast in my artifacts, I think the scale that I chose to build this on really engulfs the viewer’s attention, as if you are looking into the wardrobe to Narnia.
As it turns out, making something this large at the quality I had envisioned proved to be very hard and very very time consuming.
 As such, I did not finish all the features I had planned in the very beginning. Things that ended up having to be excluded form this project scop included the woodburning of woodland creatures and the struts. I hit several bumps in teh road as well which did not help my schedule for this project. On one faithful horrific day I set my project back in multiple ways. Knowing I was to cut my 11″x9″ acrylic piece to fit into the frame, I took it to the table saw.
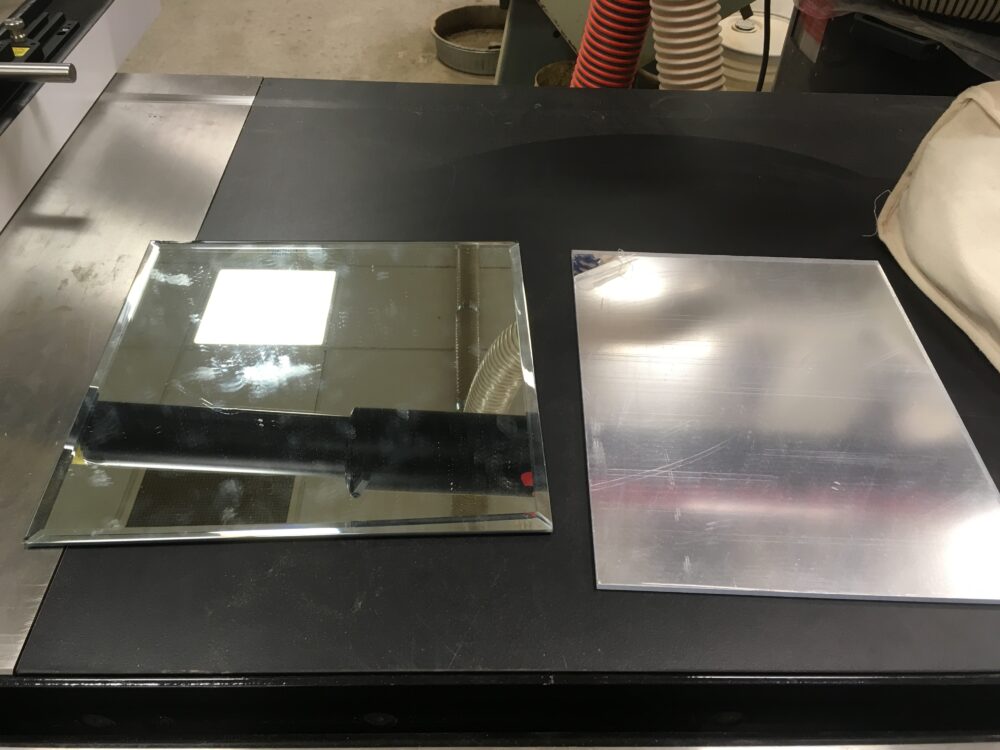 What I did not know however was the conductivity of mirrored acrylic, which is incredibly naive when reflecting on it. The ‘Saw Stop’ table saw I attempted to operate has a safety precaution that activates a blade killing brake when it comes into contact with a conductive surface. The reasoning behind is this is that human hands are also conductive. However, rather than saving my limbs, all I managed to do was set off the brake when it came into contact with material. After essentially breaking this piece of equipment, I frustratedly tried to cut a straight enough line on the band saw. In this process, I was so flustered that I cut the wrong length and managed to completely tarnish material harvesting from that sheet. As if that project killing day could not have gotten worse, I managed to drop my artifact face down and watched it break completely in two. Because this break was clean I was able to glue it back together well enough. Although next time the cross section area between inlays is something that I will consider. Discouraged from this event, I decided to stop working on this project a little bit.
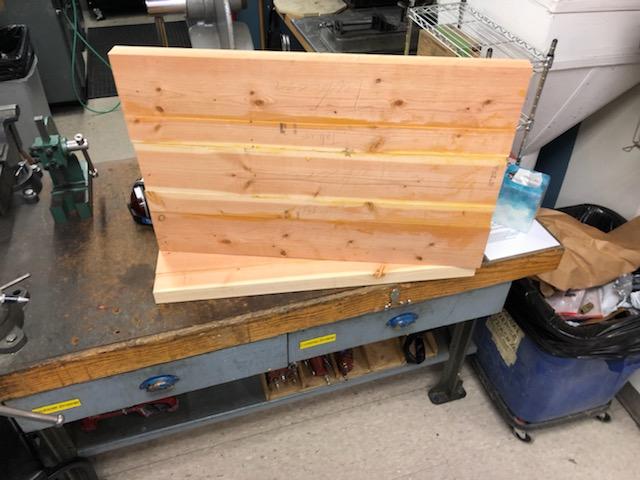
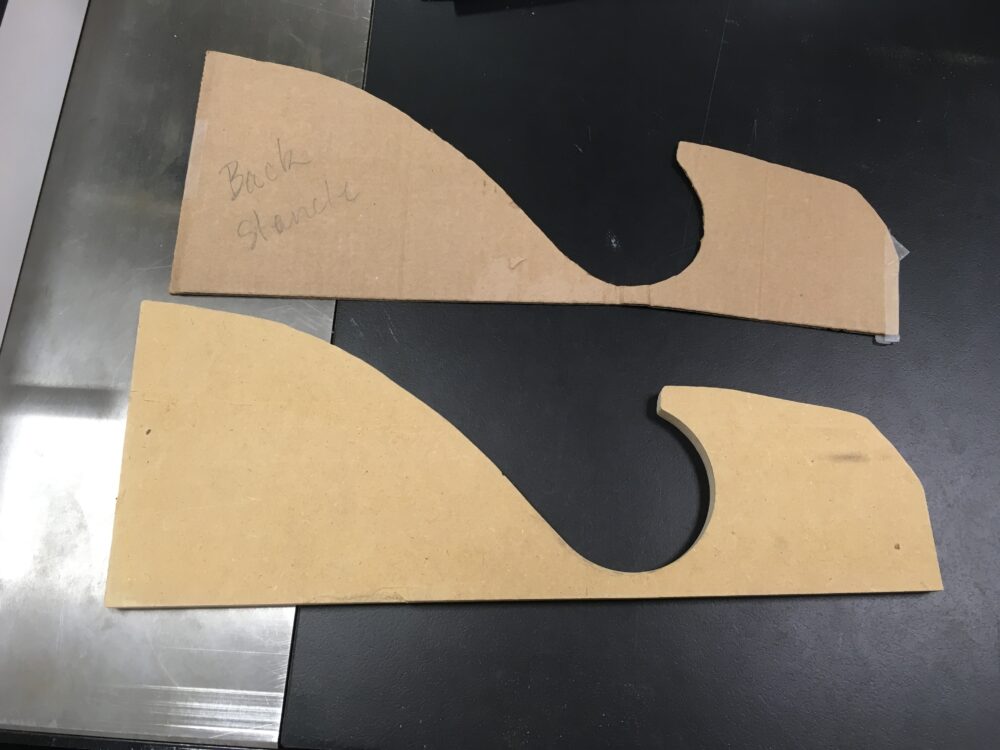
Up until this breaking point I had already put in at least 20 shop hours into the piece. I started with 3 30″ length 2×4 pieces of non pressure treated wood. With the plan I had in my head, I knew I needed to glue them all together to get a board big enough for what I really wanted. To start this gluing process, I took every edge that went along with the grain to the Jointer. This machine made the side of the board nice and flush to one another so that we could get the best surface area contact for wood glue. To help me with this I did freehand sketches and worked myself up to a scale sketch ono butcher paper. I then cut out and traced this stencil onto MDF board which I could easily cut and sand into the template’s shape. By flipping this template about the artifacts middle, I was able to get symmetric designs on this piece. I did this same process for the shelf profile.
From here, I had planned to use this same traditional process to make jigs for the inlays. Instead I found out the hard way why people do not do this. The MDF thickness that I would need to use the router safely was too thick to be laser cut out. I could not have gotten the ellipsis shape that I was looking for doing it by hand. Talking to Mark, manager of the Manufacturing Center in the ITLL, he suggested that I use the capabilities of the CNC router to get the curves that I was looking for. With this opportunity, I decided I could make my cut outs slightly tighter and more complicated so that’s what I did.
 Before I could start and of this fun part, I had to shape my glued up wooden planks in to a smooth uniform board. Because of its intended size, I had to use the larger planer found in the Idea Forge. One all paper and glue spots were paned off, I took the boards to the jointer again. This is how I intended to keep my boards square for the remainder of the project.
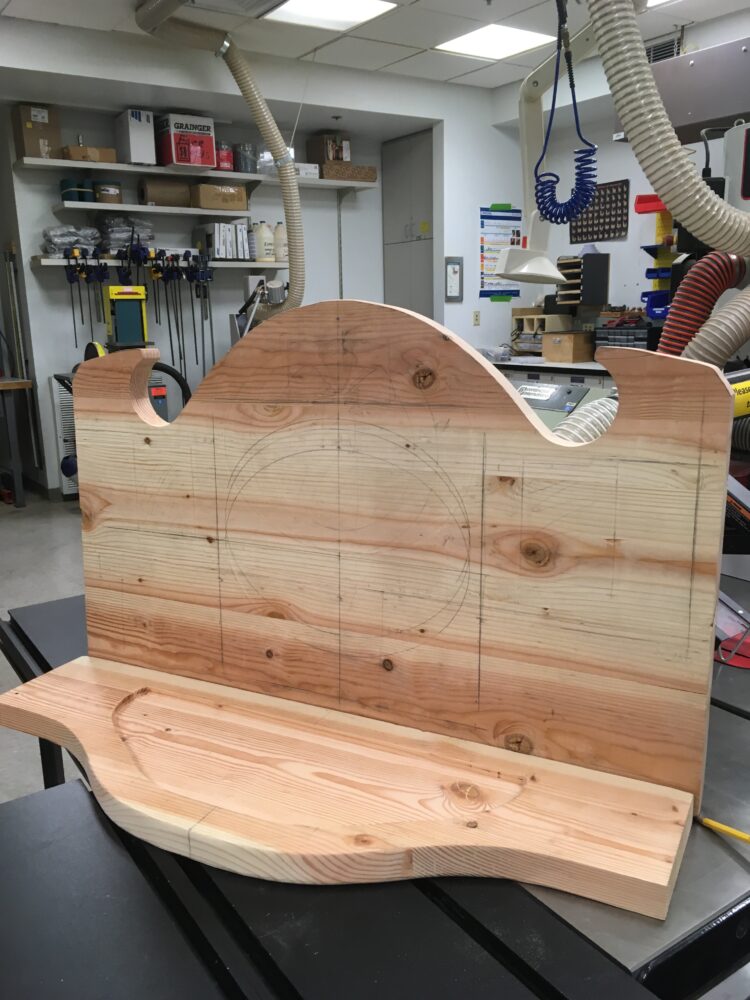
Drawing and dimensioning reference lines, I began to shape the shelf backing by taking large chunk out with the band saw. Using the symmetrical MDF jigs I made, I flustered routed the complex curves you see on the top.
 I did this same thing for the shape of the shelf. It the beginning it was difficult for me to not burn the edges of my piece as I routed. I learned that it is best to take off smaller and smaller chunks. That is to say that the first pass on that router table should’ve NOT been ion the jib. Once this was done for both the shelf and its mirrored backing, I took the boards to the spindle sander.
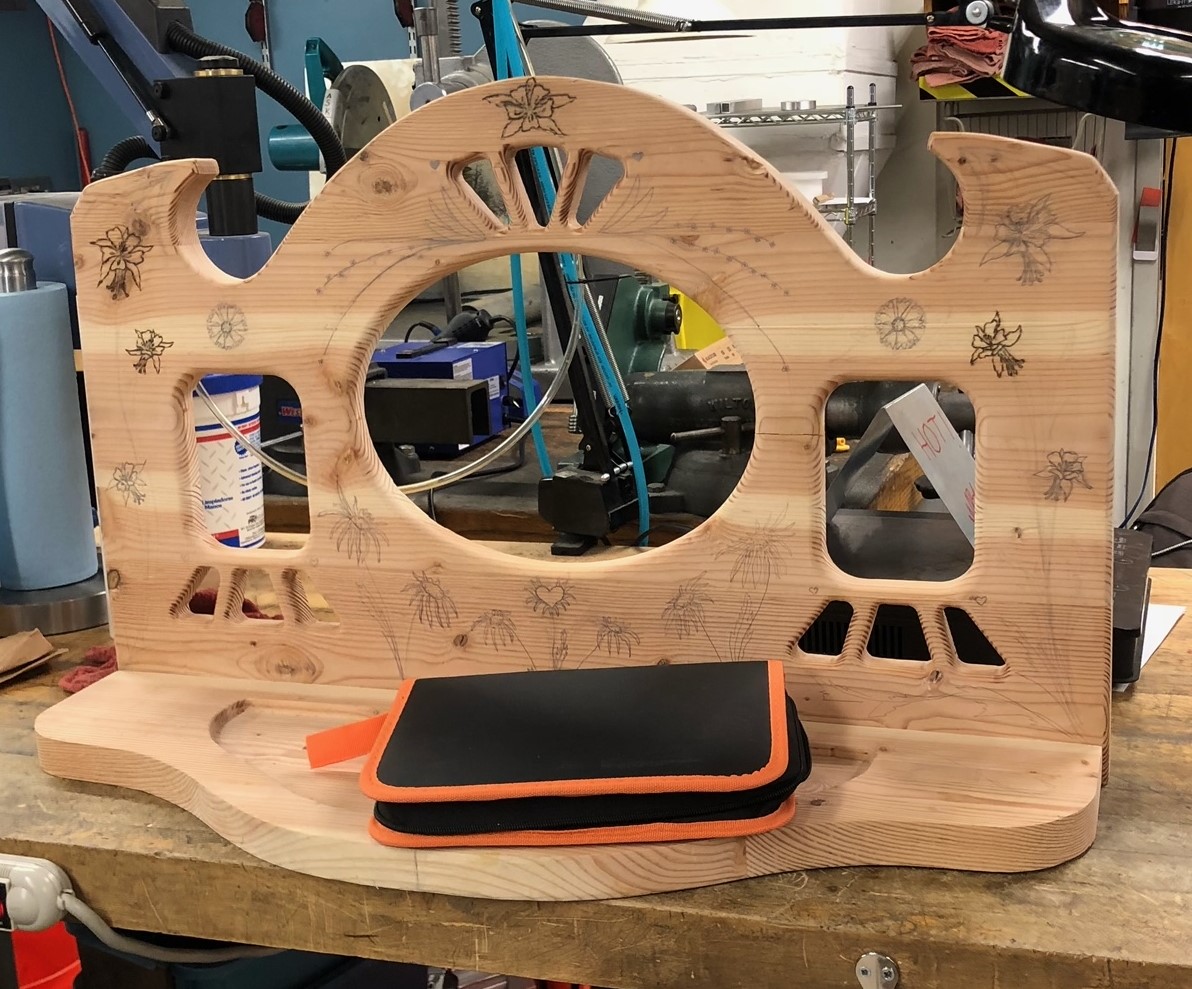
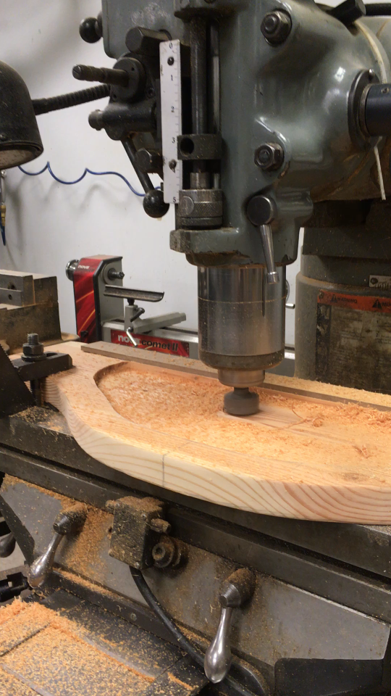
I then took a day to write a clear path for the through and inlayed router sections for the mirrors. Using symmetry and the expansion arc of circles, I cam up with that 3 opening design. Handing the code off to make he was able to run it while I was not there. As for the shelfs indents, I did them by hand, taking the outlined area to a mill and getting rid of all that inner material.
 As mentioned before, I tried to not burn a piece of wood when when I routed those complex shapes. As a final finishing measure for these edges, I put a fillet on all of them.
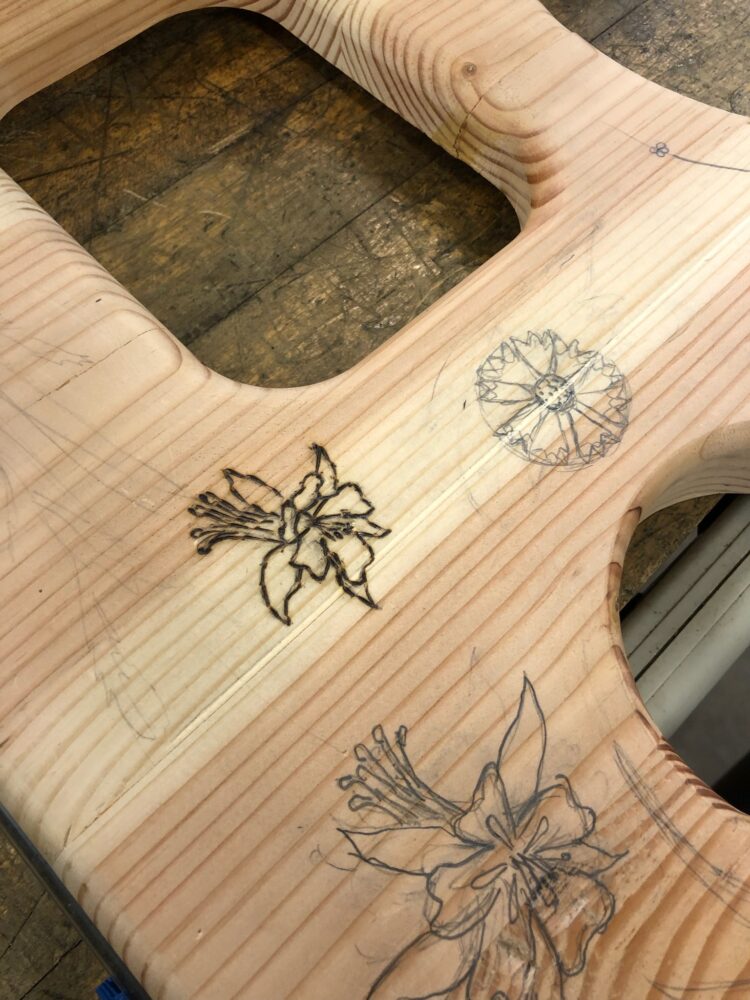
When all the wood working was done for both separate pieces, I joined the shelf to the back board with alignment dowels. After sanding everything with a very high grit again, I decide to work on wood burned designs that would fit the fairy tale aesthetic of this piece. This probably would have been smarter to do before the two pieces were joined but that is a lesson learned ofr next time. In my design, I tried to keep my intended audience (the person who I will gift this to) as well as my main vision in mind. I landed on the concepts of doing Colorado wildflowers and butterflies. Columbines are my favorite flower so i thought they should take center stage. What’s more whimsical and fairy tale like than frolicking through a field of flowers? This is the current process I am on as a publish this report. Although it has taken me much longer than I anticipated I am very pleased with how it is coming out and believe that I am doing the upcycle mirror justice.

 After all is said and done, I plan on staining it a darker, richer color. Once this is done, the finishing touch it to fit all the mirrors into their inlays, which I have already cut to spec, and fix into place with a wood backing. Very pleased with how far my woodworking skills have come and just how much I learned I can do. Many ideas for next time!
2 Comments. Leave new
[…] Fairy Tale Mirrored Candle Shelf […]
This is so impressive and fits the aesthetic very well; it would fit right in at a Renaissance Faire. The skills you learned from this will be super helpful.