For my final project, I had originally wanted to build a new desk with a minimalist aesthetic, with a small hidden drawer, wireless phone charger, and outlet strip mount. Unfortunately, when I did more research into this project, and the materials required, I determined that this project would be well over $300 to make, and would take much more time than I had originally anticipated.
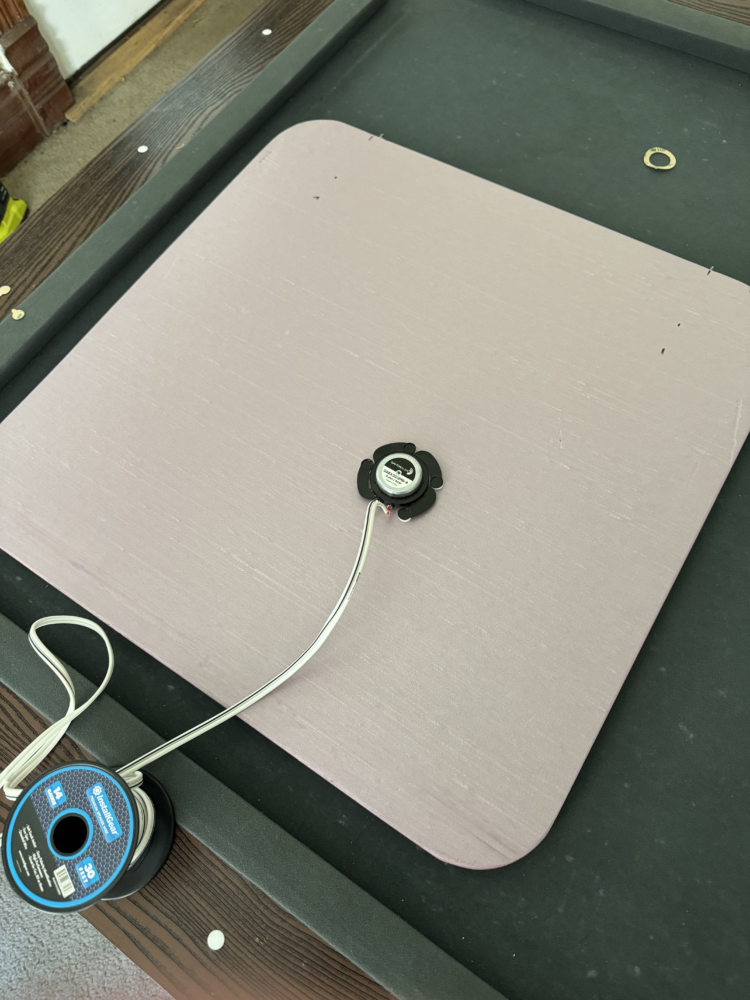
Instead, I decided to make foam exciter speakers, with a LED backlight and bluetooth connectivity feature. This is a speaker that can be made from a simple panel of insulating foam material, and uses an exciter speaker mounted on the back to produce noise. An exciter speaker is an electroacoustic transducer, and is basically a speaker without the cone, or vibrating membrane to amplify and produce sound. When mounted on the back of a foam insulation board, the board acts as a membrane that amplifies the vibrations created by the exciter speaker, producing sound.
 I originally saw the idea for this project in a video on youtube titled “How to Build ‘The World’s Best Speakers’ – Are Flat Panel Speakers Really Any Good?”. In this video, the creator, AmplifyDIY, goes through the process of creating high quality speakers, inexpensively, from foam boards and exciter speakers. He then goes on to test the speakers, and comes to the conclusion that they sound very good considering the price point and the ease to build.
I was drawn to the idea of building these exciter speakers for their very minimalist look in their environment. Creators of these speakers will typically leave the insulating foam exposed, add a simple shade of paint, or cover them in a light layer of cloth. These coverings make for an incredibly minimalist aesthetic, and these speakers oftentimes blend into their surroundings, making them difficult to notice unless you are looking for them. These speakers simultaneously offer a very broad audio projection, creating a cool effect of not knowing that sound is coming from these panels on the wall.
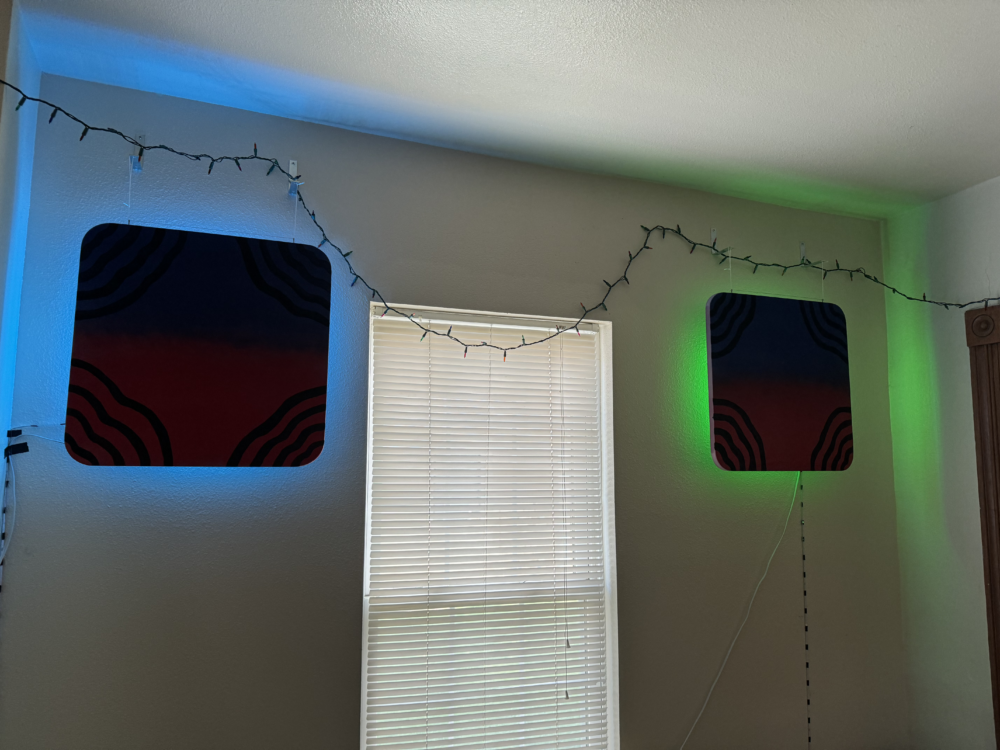
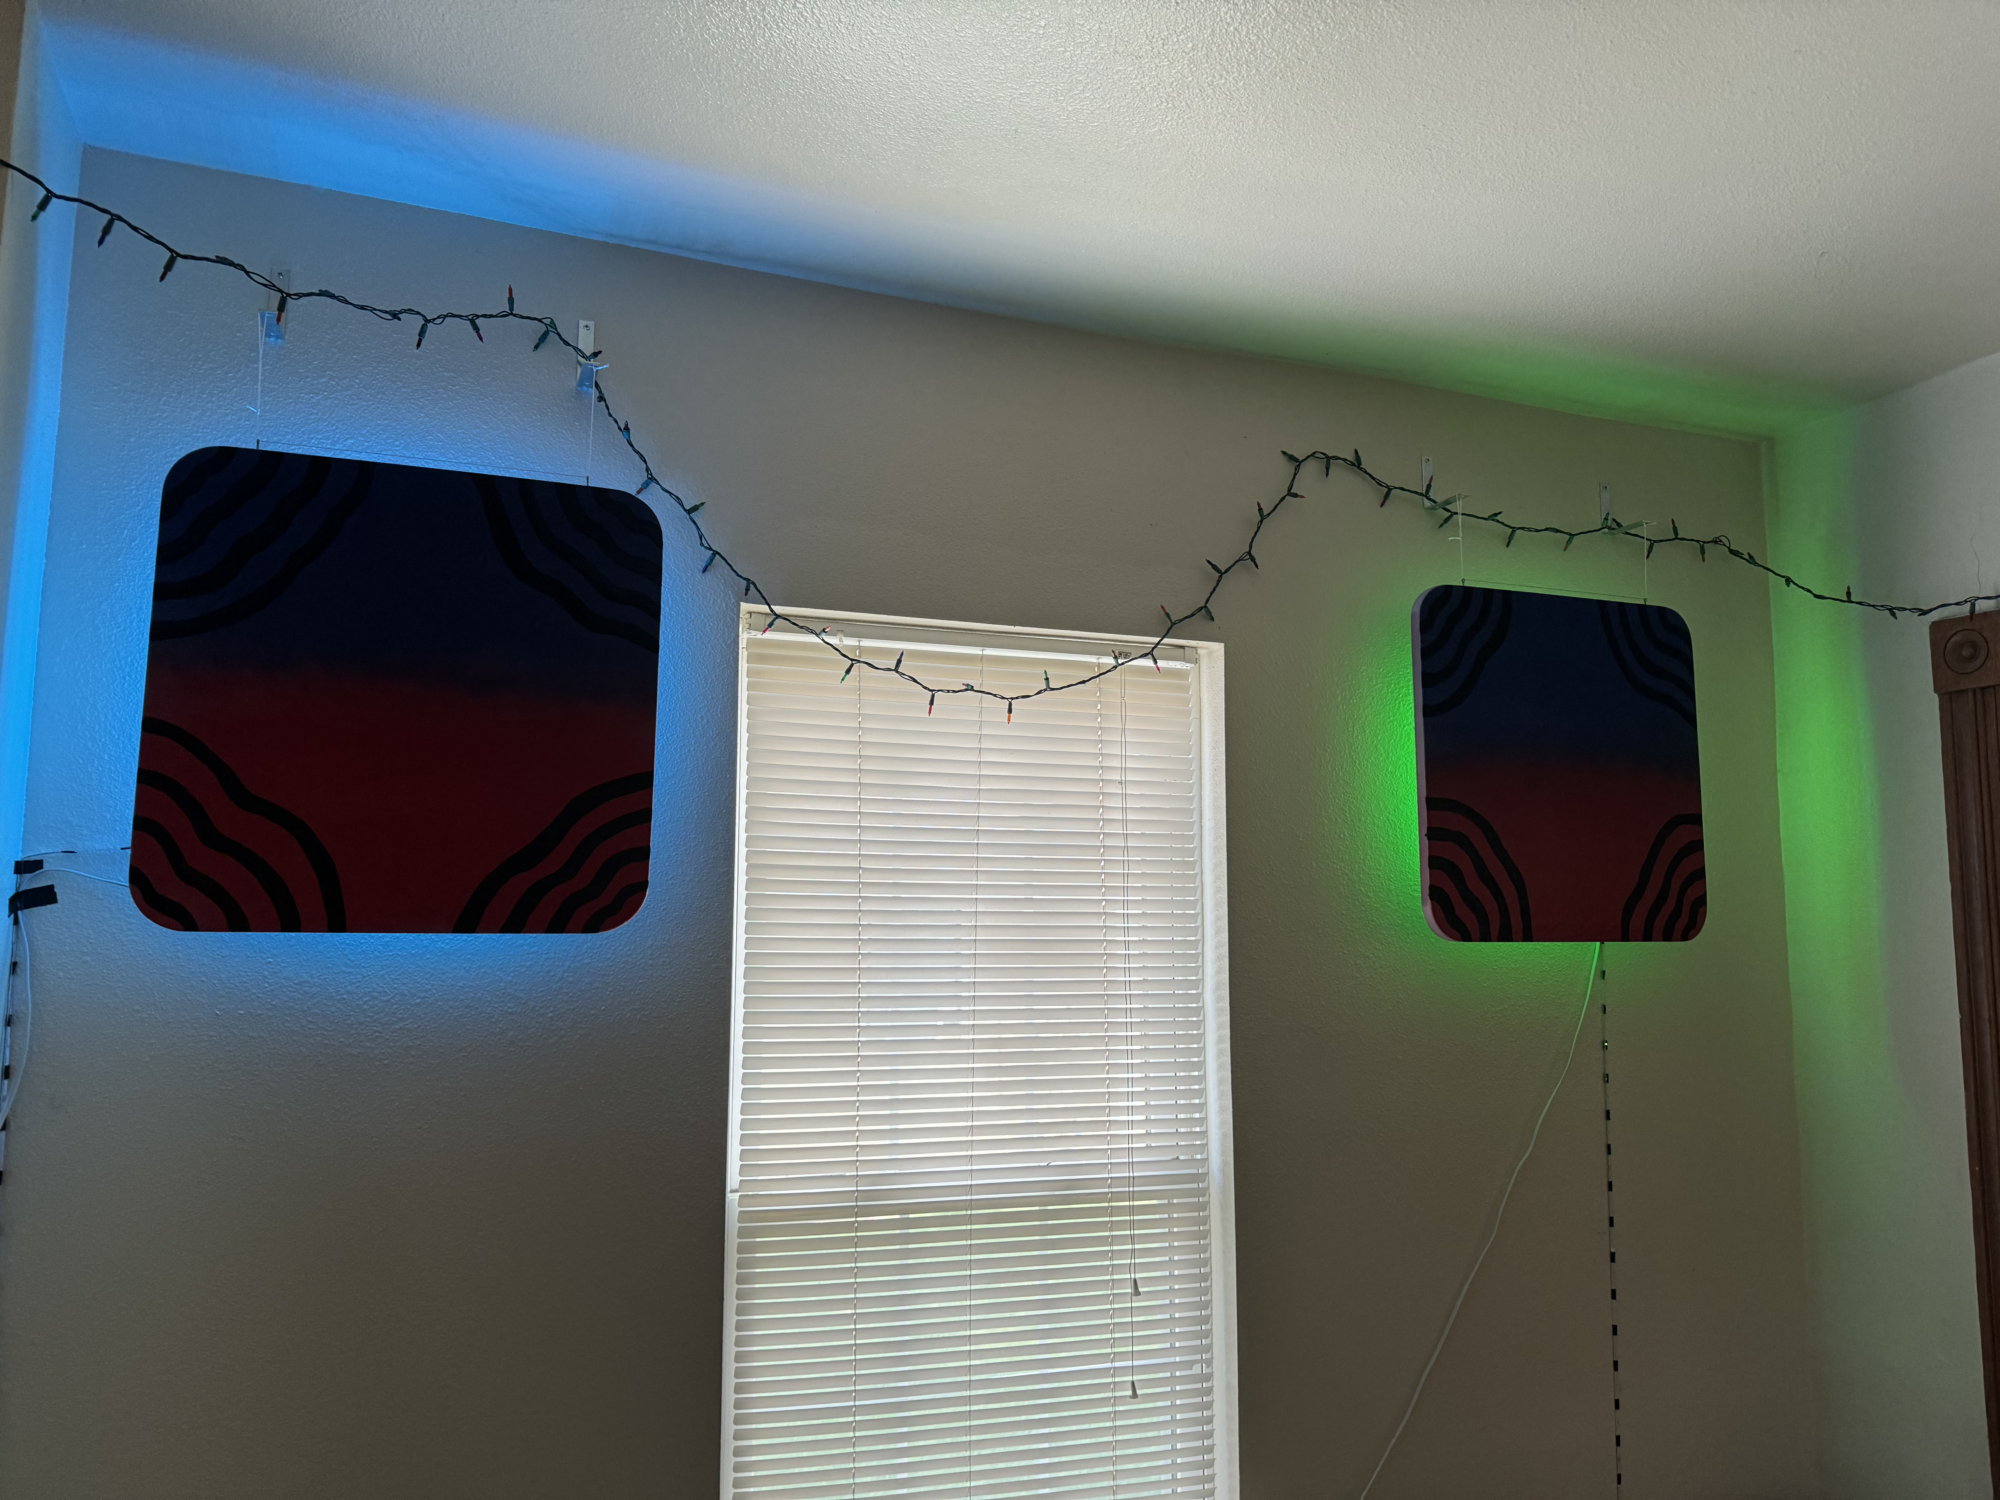
For my project, I decided that I wanted to paint the fronts of these panels, and wanted to paint a gradient. The goal of this paint was to have a neutral colored red color fade into a neutral colored blue paint, keeping these panels somewhat minimalistic, with a cool aesthetically pleasing design if anyone was to focus on them. Unfortunately, I used spray paint to paint these panels, which made it much more difficult to paint a neutral gradient than I had anticipated. I then shifted my painting plan, and embraced a bolder, abstract paint scheme, with black curves surrounding the edges of the panel.
 Another aspect of the aesthetic that I wanted to add to these speakers was LED backlighting that could be used to create a cool ambience in the room and highlight the speakers when in use. My roommates and I have some Christmas lights strung up around our living room where these speakers are located which produce a much softer light than the house lights and I have enjoyed it, so I thought adding LED backlights to the speakers would add to the “soft” lighting effect in the living room.
For my initial plans for the project, I considered putting these speakers in my bedroom, or my house’s living room. I decided that I would install these speakers in my living room, as they would add to the ambient lighting in the space, and allow for my roommates and would make listening to music in the living room much easier. We also had some empty space on the wall that needed to be filled, and I figured these speakers would make a good addition to our decorations. We had two empty spaces on either side of the couch, so I measured these out and determined that we could comfortably fit two 2’x2’ panels, with one on either side.
 Citations:
- “How to Build ‘The World’s Best Speakers’ – Are Flat Panel Speakers Really Any Good?”: https://youtu.be/gGzNkUmPdXc?si=c9PeP39ePq-tpcHO


1 Comment. Leave new
Hey Travis, this project is really cool! Is there anything you would specifically want to change if you redesigned or remade the project?