

Intro
Since this post is related to the previous one, I figure I should give a bit of a recap on what my final project is. For my aesthetics final project I decided to build a photography storage box. The reasoning behind this is because photography is such a large part of my life and has been for many years. The functionality of this box is to store any equipment that I own and to be able to leave some things behind when I take adventures with my camera instead of leaving it all on my dresser to clean up when I get home.
Materials
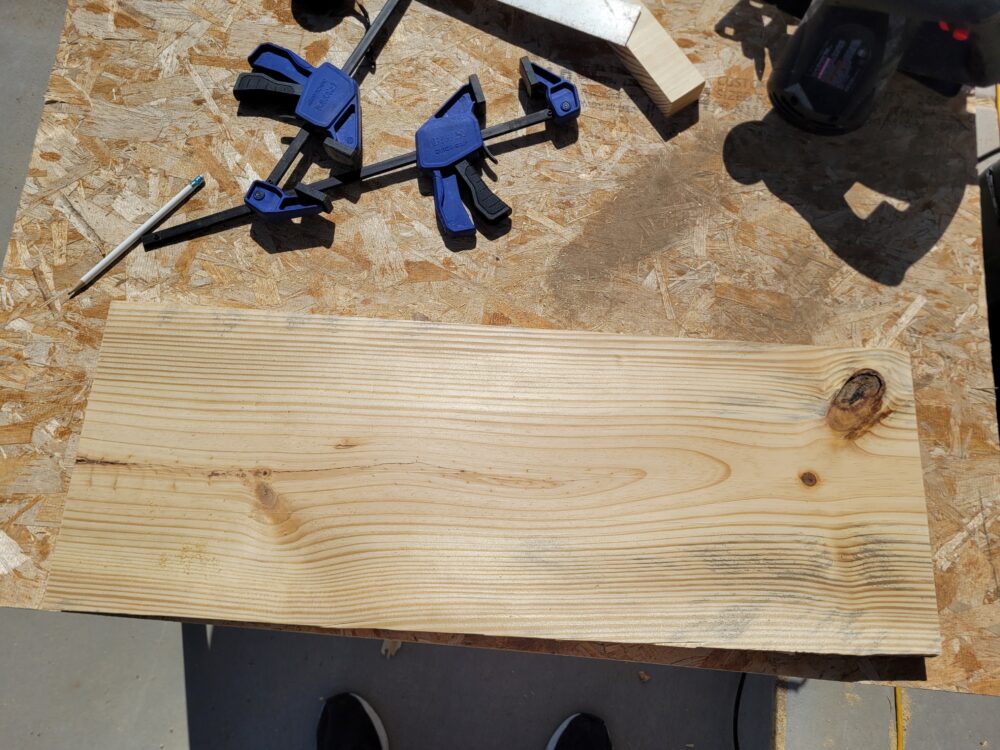
After designing my project I needed to find out what materials I needed. I would need wood to build the box itself, hinges for my door, glass for the door, pegs for the shelf, and small feet to raise it up off the ground. Most of these materials were fairly simple to source but one of the harder things to find was the wood. I had decided to go with something that I could cut simple squares out of, not only for ease of making but also because I felt it would fit my aesthetic. While it took a while, I finally found two 11x48x1.5 in boards that would fit exactly what I needed at Home Depot. As I was at Home Depot, I made the decision to grab a panel of acrylic. While not a conventional window, I felt since I was making this look more rugged it would be better to go with a strong material in case something is off in my build. I would have hated to stress the glass by bending and having it shatter. I could not find the other materials I needed for the build here, so I took to Ace Hardware to find the hinges for my door. I have yet to get the pegs or feet for the final product but that’s due to me being busy these past couple weeks and it is something I plan to implement before the 8th.
 Design Choices
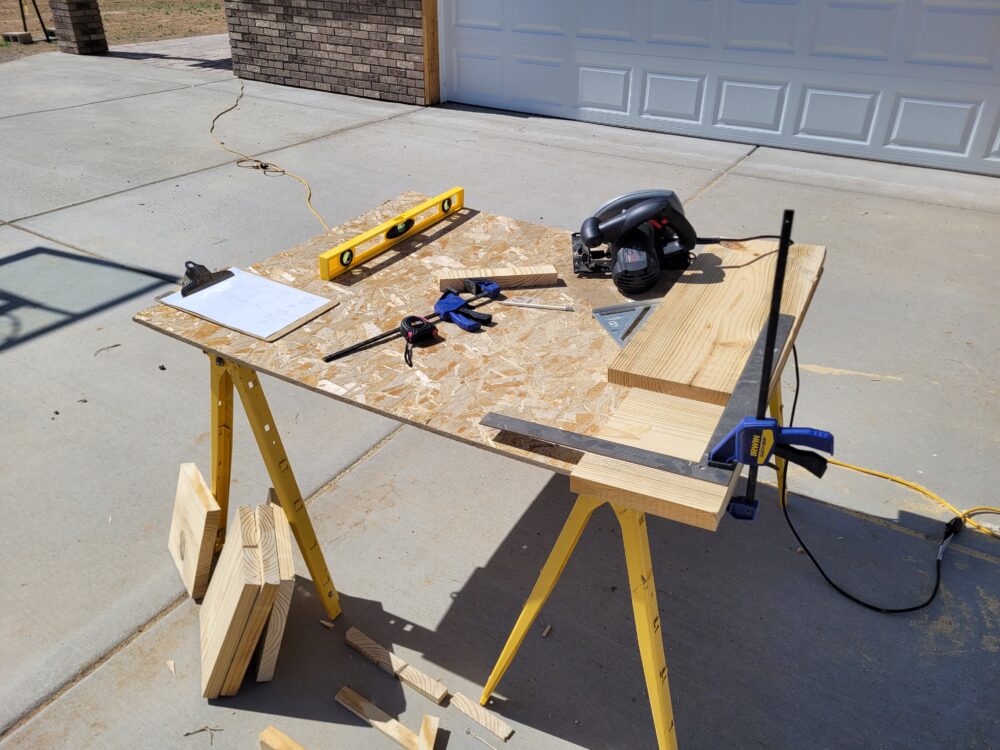
Once I picked up my materials, I had to decide on how I was going to go about actually making my box match my aesthetic. Originally I wanted to go for a vintage aesthetic but this fell through. While there are a few different things I can do to create a vintage looking box, there was something else that caught my eye: going for more of a rugged aesthetic. This fits exactly what I was looking for not only because it’s something there is a lot of online, but also because I am not the best woodworker. In my mind, a rugged aesthetic is something that is not entirely well put together, something that has also aged over time. My first thought was to go with something that you may find in a barn that has been sitting there for years and you took into your care to restore so this is what I set out to do. To craft towards this, I decided to not use a woodshop to make my box. While there are things that could be considered rugged that are clean and good looking, this is not what I was looking for. I instead decided to take my project home and use a skill saw. This would give me several different things I am looking for. First, it would give me some rough cuts. While I did plan on sanding down the pieces later on there are some cuts that give a nice pattern that if you don’t sand too much will stay. It would also give me uneven and not square pieces. Like I mentioned before, I didn’t want this to look like it was crafted to perfection. I wanted it to look like a side project, something that was used just to hold a few items and sit in a corner.
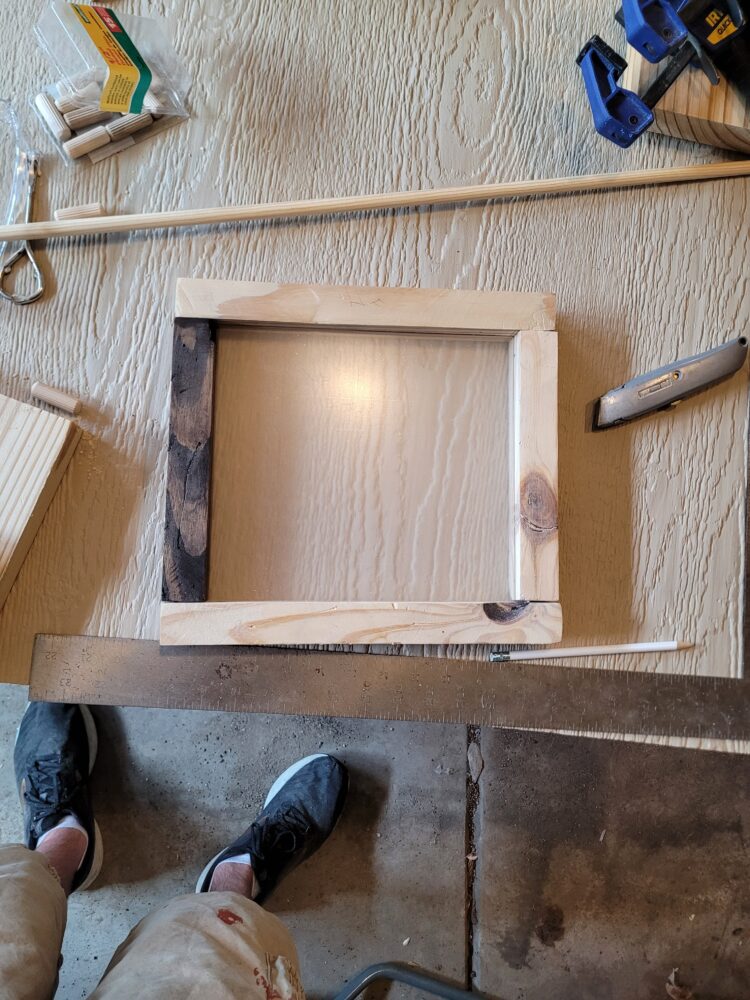
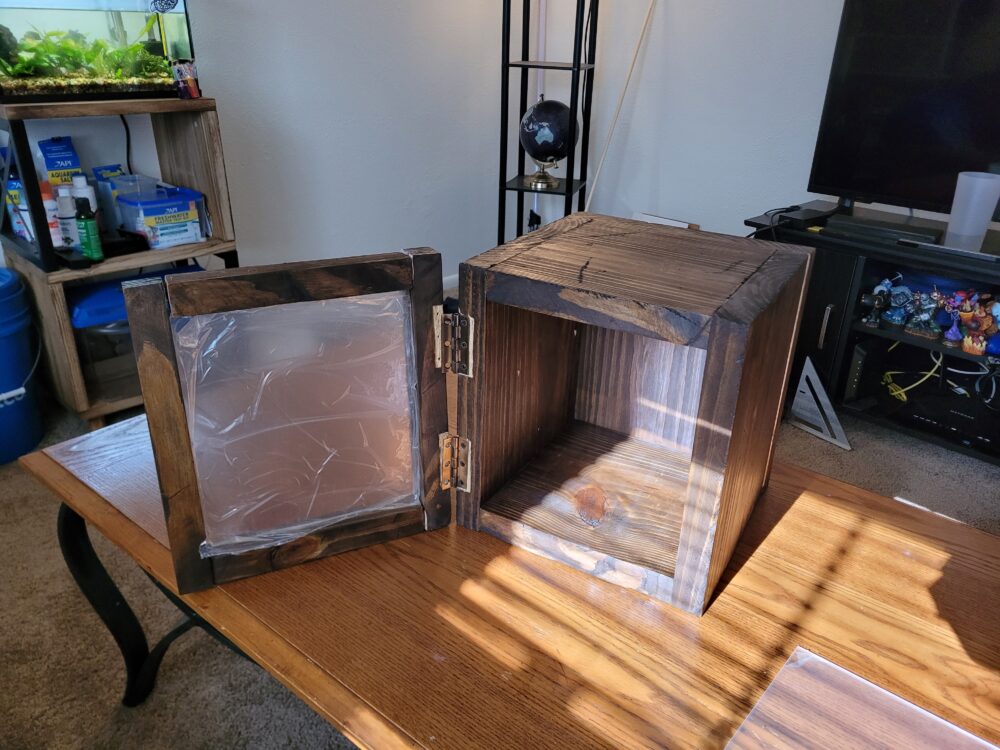
This turned out to be a good choice, but I was a little worried after making the pieces for the door. These were fairly difficult to make and although I didnt want them to be entirely square it was tough to even get them close. I unfortunately did not have any extra wood to start over so I had to continue on with what I had.
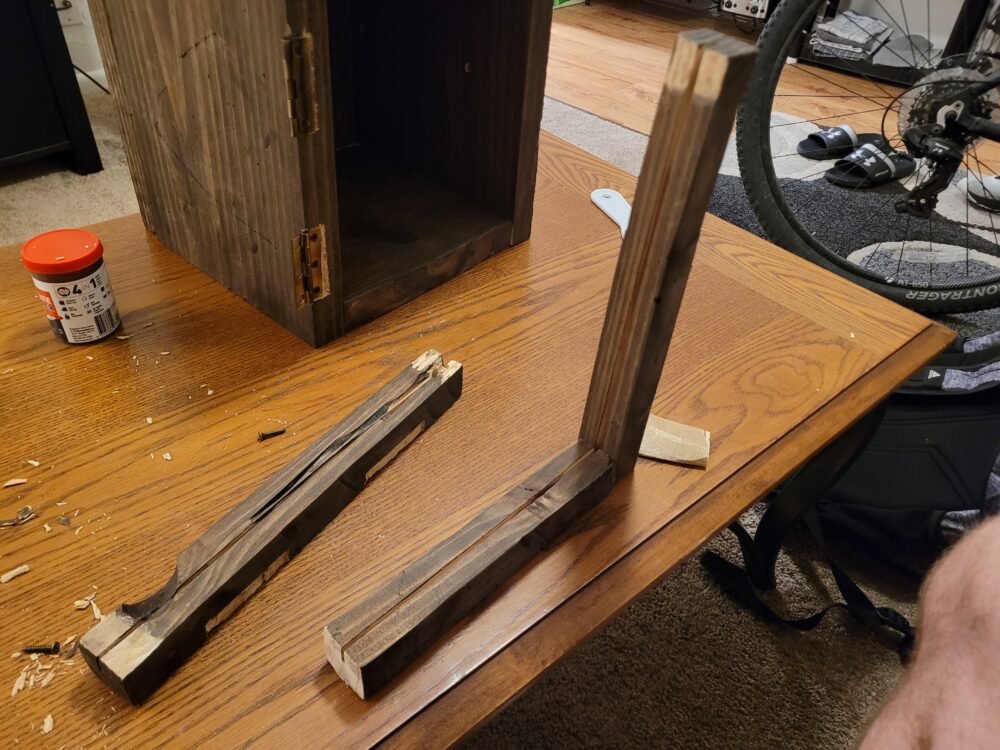
The next step in my process was sanding. I decided to just go with 60 grit sandpaper since I wanted the box to not only look but also feel rough. I also had to drill holes for the dowel joints I would be using to make sure my box is sturdy once put together. Then came the staining. This is the part that could potentially make or break the project. I went to youtube and after a while I finally found a good tutorial on what I was looking for. I grabbed a dark wood oil stain and put a coat on. With these kinds of stains you put a layer on then wipe it off. While still drying, I took a mixture of water and black paint and put a layer on. I found while doing this it generally didn’t matter how thick you put it on as long as you got it in the holes and cracks I had made on the surface of the wood earlier. After wiping it off like the stain I put it on earlier, I could finally see my project going to where I wanted it. The stain and paint combination gave the wood a great deaged look, which is perfect for my aesthetic. After letting it dry, I put on two clear coats for protection and glued everything together. After gluing, I set out to start putting on my final touches, first of which are the door hinges. After breaking out the chisel and hammer, I cut into my pieces. Unfortunately during this process I broke apart my door but nothing I couldn’t fix with some sanding and glue. Currently this is where my project stands, I still have to put some feet on the bottom to raise it and put in pegs for the shelf but for the most part I am done with my project and pretty happy with the end result.
1 Comment. Leave new
Hi Cannon, I like how your final product turned out and I think you did a great job! I think that you chose your aesthetic very wisely, and you executed this project very well! I like how you were able to adapt to changes and overall create something that is genuinely useful for you. Do you have any more plans of adding/changing anything in the future like organization for your items?