

I knew going into the manufacturing process that setting up a timeline for the project from the start would be vital in the completion of the project. I am one who works best with a strict schedule to adhere to. I have utilized planners all throughout my education to make sure deadlines are hit and assignments get completed, and this project would be no different. This was especially important for this project since I was balancing many scheduling conflicts such as spring break, a wedding, and the solar eclipse. I was able to successfully stick to this timeline below for the most part with only a few hick-ups throughout the project.

Sourcing the materials was fairly straightforward as the necessary supplies were rather common. I was able to buy the aluminum rods, fishing line, bearing balls, and wood screws on Amazon and find some paper clips on campus. Finding a nice wood to use was a bit more difficult. My project pod suggested that I communicate with Josh Coyler of the Idea Forge wood shop to buy lumber, but I was unable to meet with him before spring break. I opted to go to McGuckin’s Hardware store to browse their selection. Much to my delight, they had exactly what I was looking for. I found a small pine board which I could cut my base out of as well as ¾” square wood dowels that were already the correct dimension.
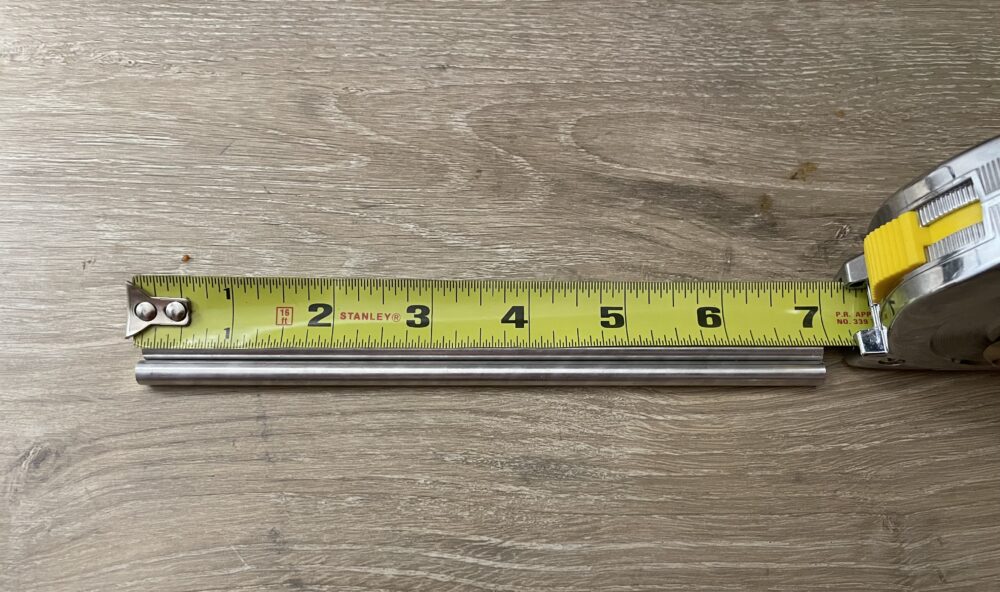
The cutting process was fairly simple as well. I was able to use my neighbor’s hacksaw to cut the aluminum rods to size. Though it was not the most precise option, it was a quick and easy way to get the job done. Cutting the wood was a more arduous task since the cradle’s function depended greatly on the accuracy of these cuts. I went to the ITLL woodshop to gain access to a circular saw. I used this tool to cut the base and vertical supports to size. I made sure to pick the prettiest sections of wood available to help match the aesthetic. I was able to use a ¼” drill bit to make the holes for the aluminum support rods. I am very pleased with the press-fit this achieved.
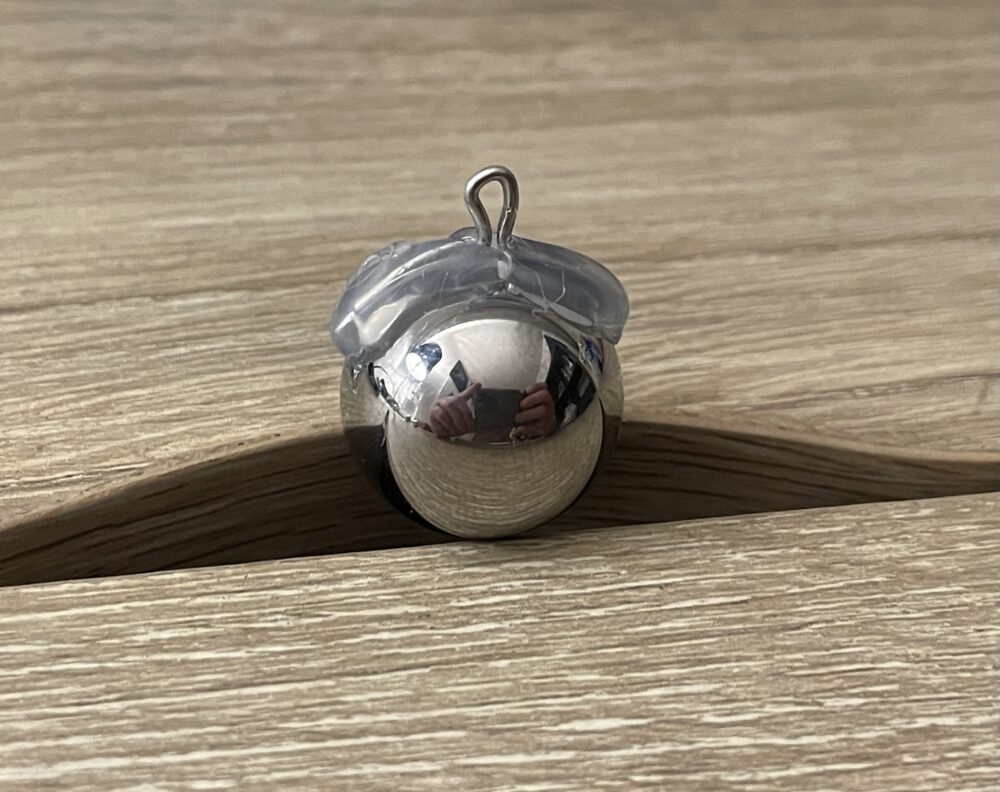
Next, I had to add eyelets to the bearing balls. I bent the paperclips into eyelet shapes that matched the curvature of the balls to achieve this. These eyelets could then be adhered to the balls using a hot glue gun. The hot glue was able to provide a strong connection between the two, but it was a rather bulky bead. I shaved down the sides of the hot glue beads using an Exacto knife to ensure solid contact between the bearing balls in operation.
Stringing the balls in an organized manner was the hardest part of the project. Maintaining a collinear relationship between the center of the balls was vital in ensuring proper functioning of the cradle. I initially tried using the fishing line I bought to string up the balls. Unfortunately, I did not take the line’s memory into consideration. The fishing line had a tendency to return to its original coiled shape which made using it nearly impossible. I opted to use sewing thread to string the balls instead. The thread had no memory which made assembly much easier. I started by stringing the middle ball in the center of the aluminum rails. I would tie one end to one aluminum post, string the ball through the eyelet, then make a small loop around the other aluminum post. Tying a partial knot around the second aluminum post allowed me to fine tune the ball height by manually feeding thread in and out. I then tapped a dab of hot glue over the partially tied knot to ensure connection. I proceeded to repeat this process at evenly spaced intervals for all the other balls. Once they were all strung up, I tried my best to align them using a ruler before placing a dab of hot glue on every eyelet to lock in the alignment.
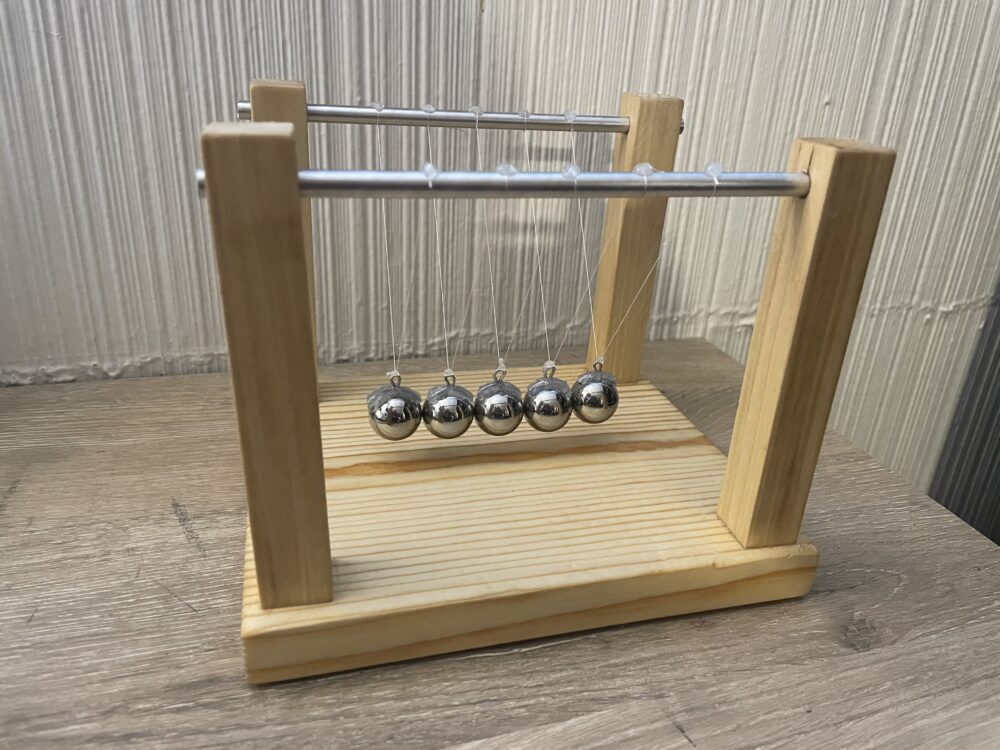
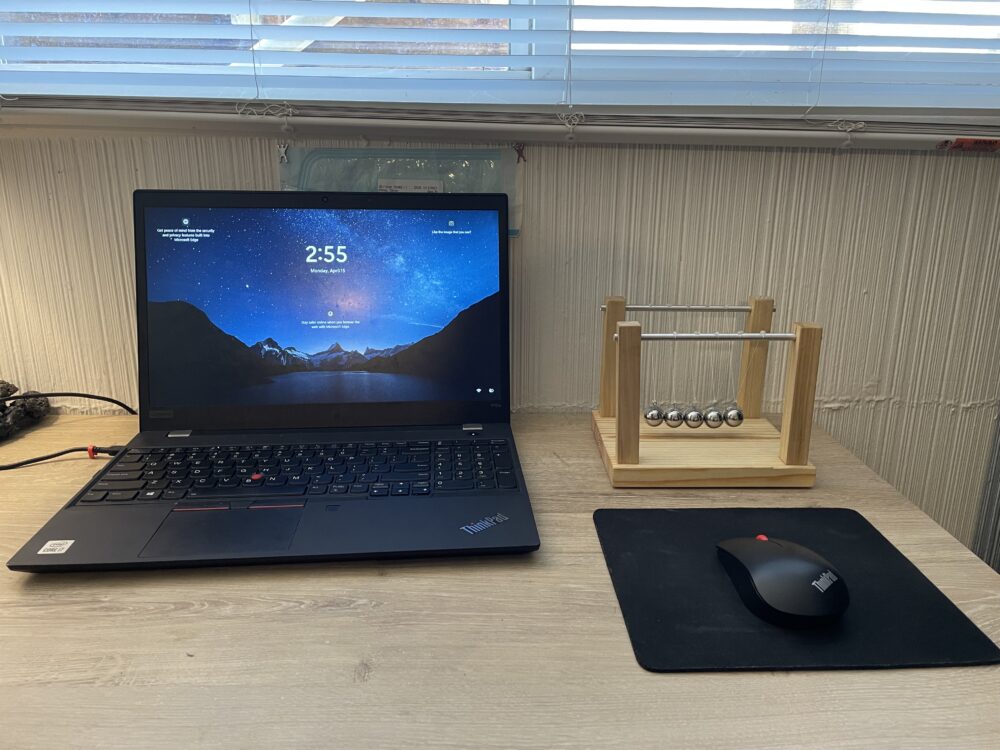
My stringing process proved to be fairly effective. Unfortunately, one of the balls was slightly misaligned after the ruler alignment protocol. This ball exaggerates alignment errors over time in operation. With that being said, I am very pleased with my final product. My newton’s cradle fits the desired mid-century modern aesthetic nicely and works relatively well. It has found its new home on my desk in my room.
Video of operation:
1 Comment. Leave new
Hey Oliver, I love how your Newtons cradle turned out and it was nice to have the video here as well to show it in full effect! Does it work as well when only initiating the motion with one of the balls? I think it makes great work desk art.