
Goal
My goal was to make a functioning indoor planter box with a bottom drawer that was in the modern farmhouse aesthetic. My top 5 specifications were:
- Creating the planter in the modern farmhouse aesthetic
- Functionality of the planter box
- Functionality of the drawer
- Size requirements to grow plants
- Staining the box properly
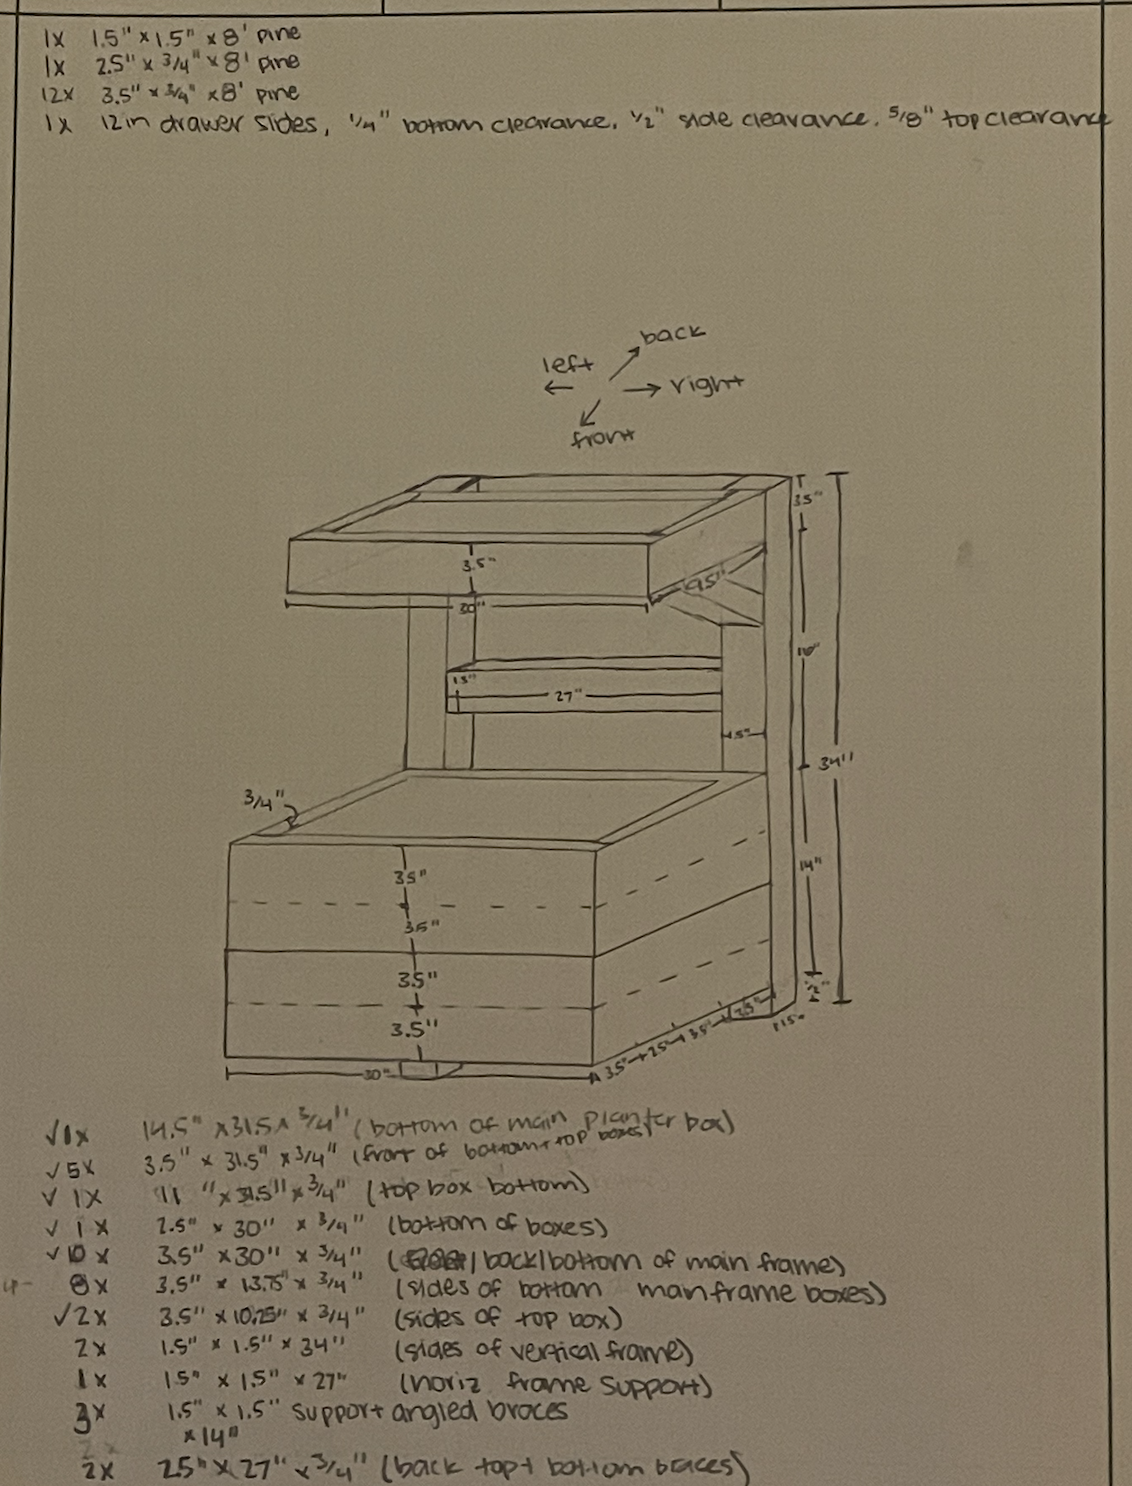
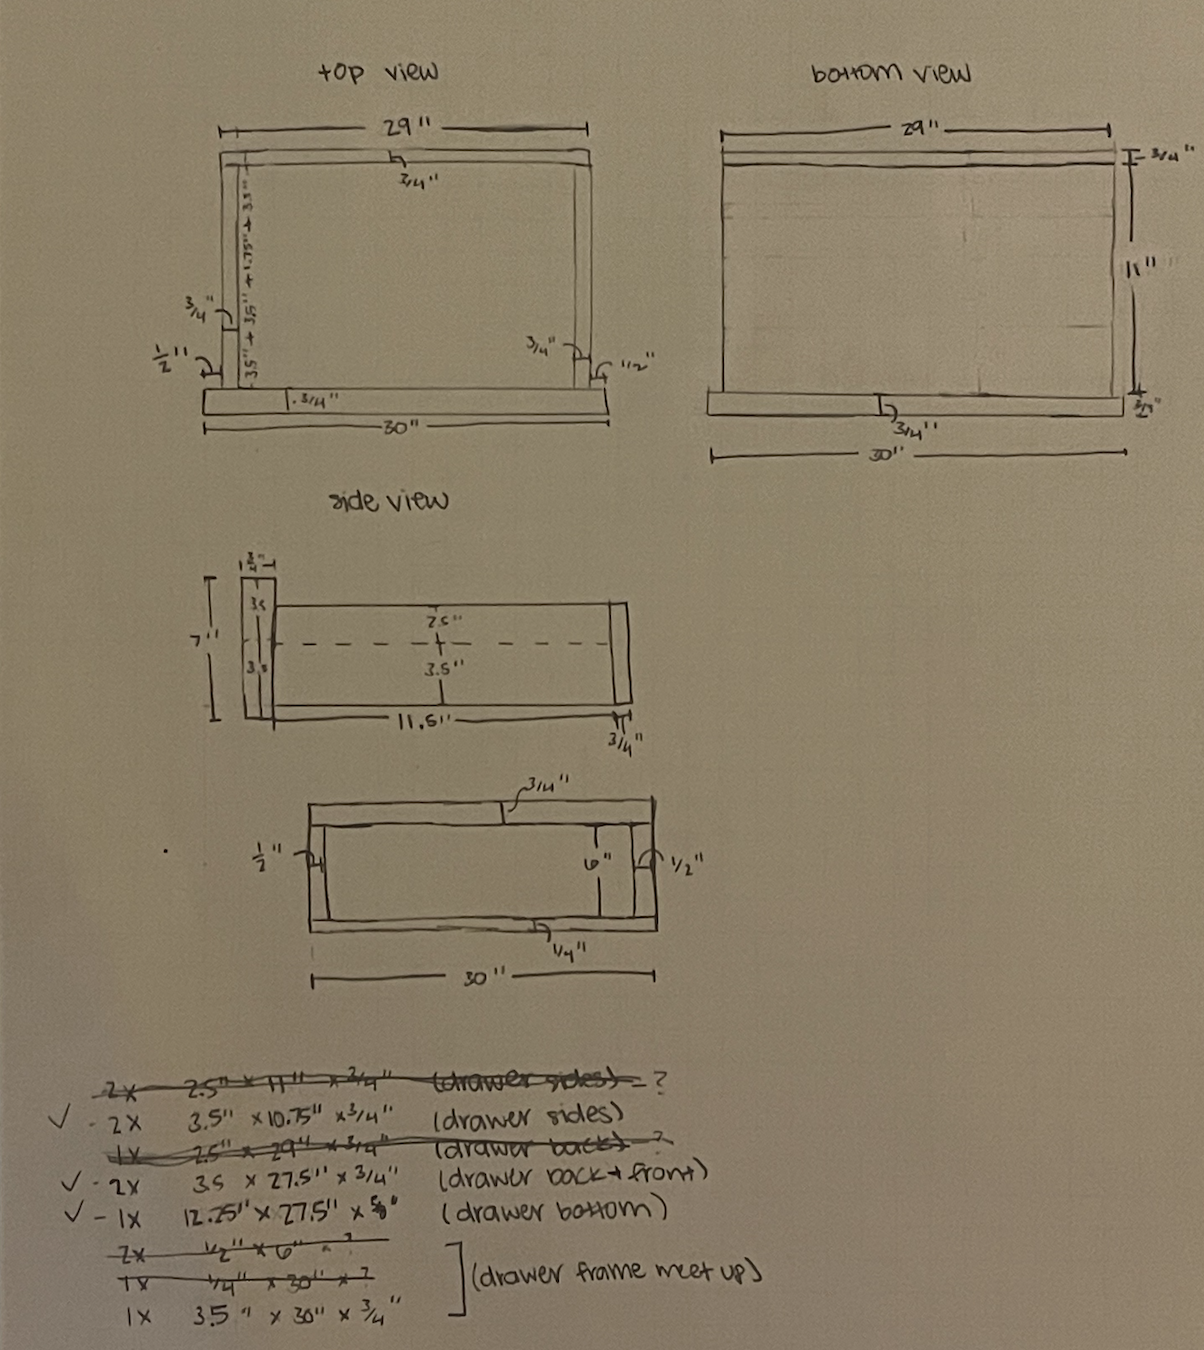
Below are initial sketches for my planter box.

Timeline
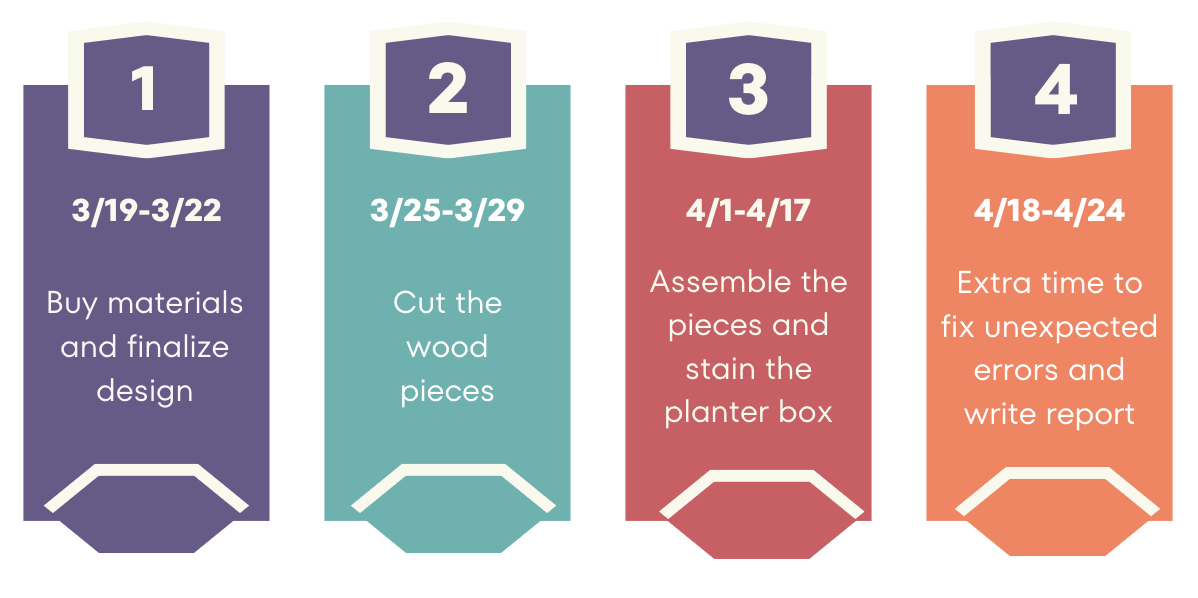
To begin the design process to meet my specifications, I created a timeline so that I could stay on schedule. Below is a timeline graphic of my plan that I stuck closely to during this project.
Fabrication Process
I first went to Home Depot to select the boards I wanted to use and ended up going with pine because I liked the patterning on them the most and I thought it best fit the modern farmhouse aesthetic. The boards were primarily 1”x4” boards that were 8’ long. I also found some 12” drawer slides that would be bottom mounted to the drawer, wood glue to seal any cracks, a rustic looking stain, and a clear coat waterproofing finisher. Below is a picture of the materials and equipment I used for the planter.

To start assembling, I first focused on creating the drawer because I thought this would be the hardest part since I’d never done this before. I double measured everything and had to resize some of the drawer components to fit inside of the drawer frame. After confirming my measurements, I measured the boards and cut them out with a radial arm saw. After cutting out the wood to make the drawer I dry-fitted everything together. Then, I used clamps to hold pieces of wood together while I drilled holes in the wood and then put screws in them. I ended up mainly using number 6 screws so that it wouldn’t split the board that was only ¾” thick. The drawer slides were the hardest to get correct because I wanted the drawer to be even and slide easily. To make it in the accurate location, I measured a bunch of the drawer slide dimensions and marked where I should screw them in place. Pictures of assembling the drawer can be seen below.

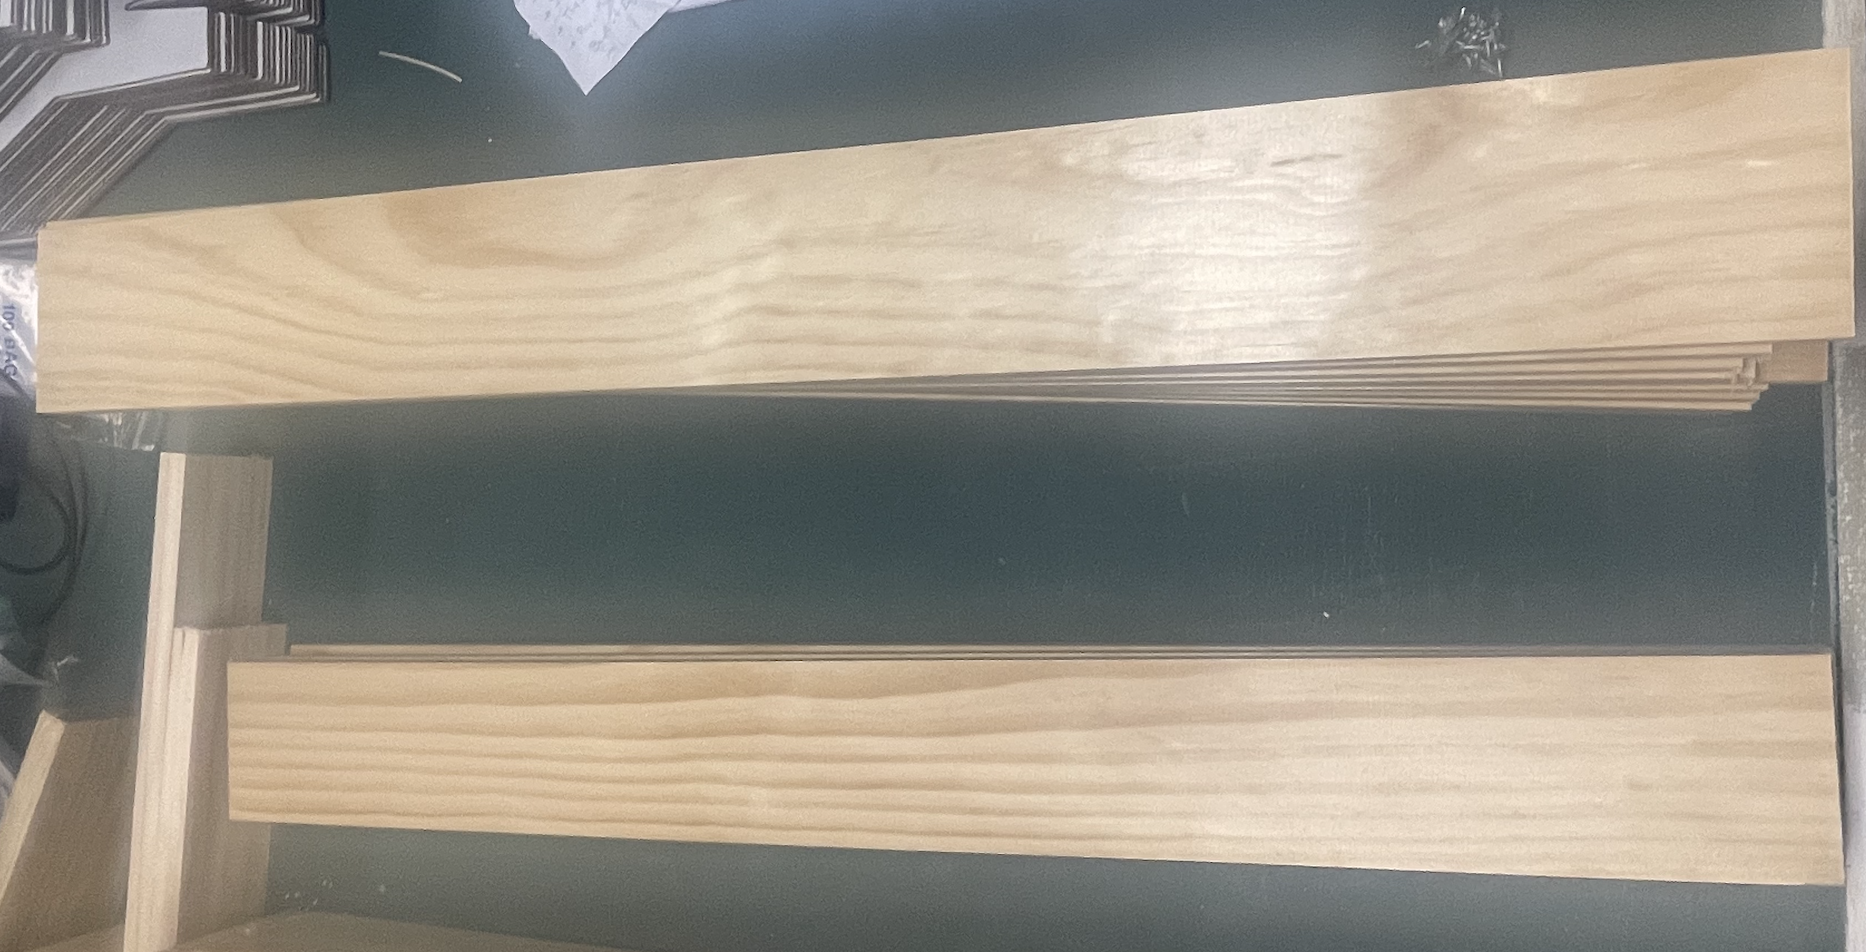
After making the drawer, I measured and cut out the rest of the wood that I would be needing to make my planter box. I wanted the top box to protrude out slightly less than the bottom box, so I double checked my measurements to make sure the correct size pieces were cut. A picture of some of these wood pieces can be seen below.
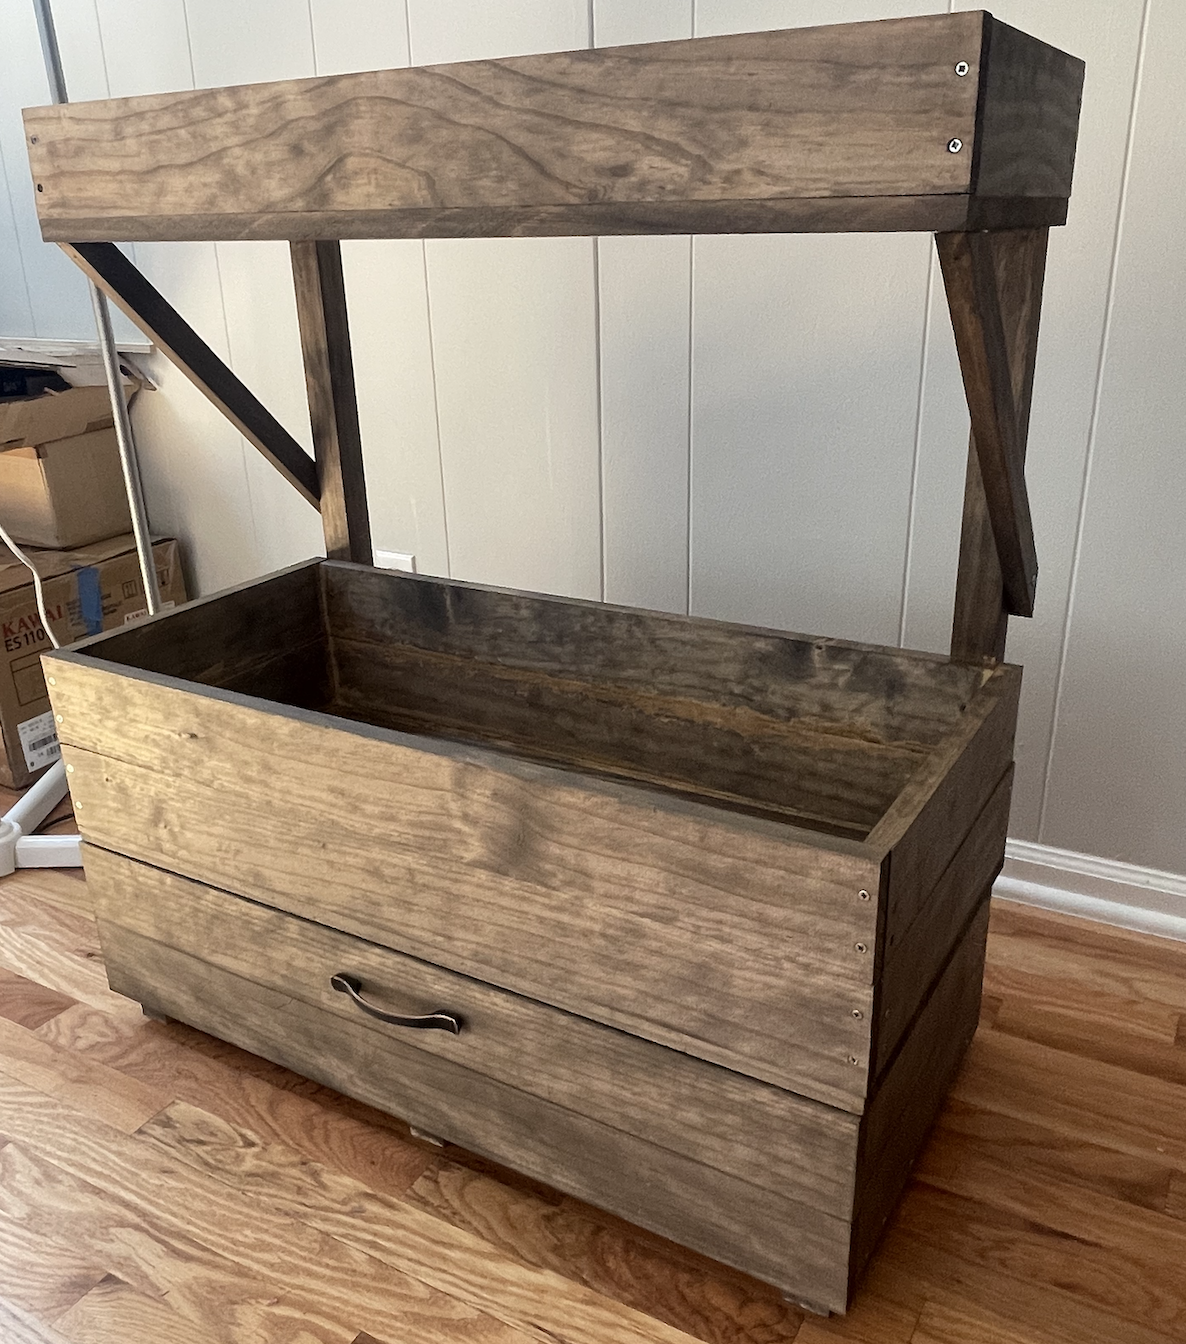
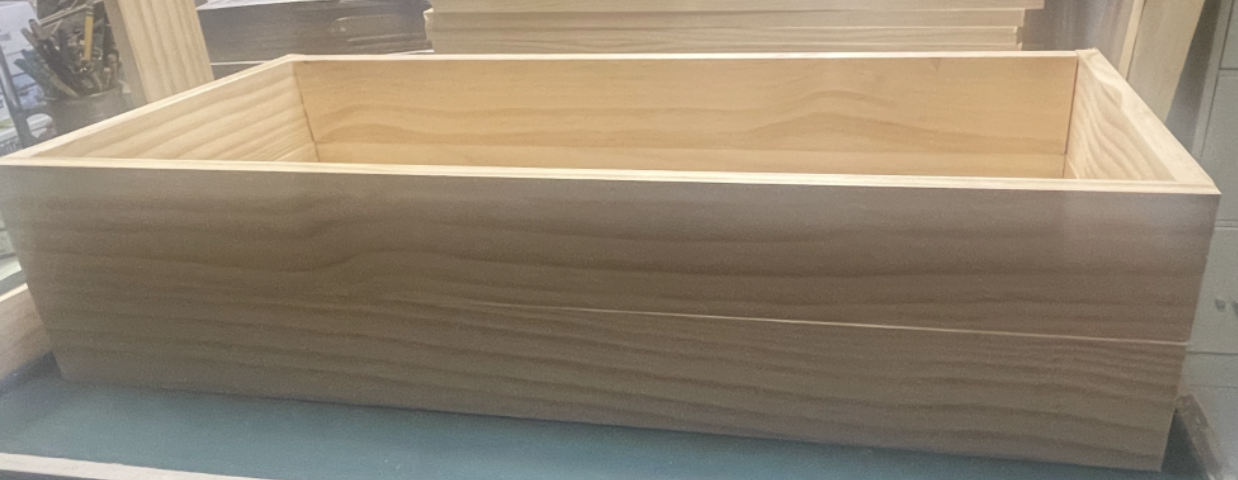
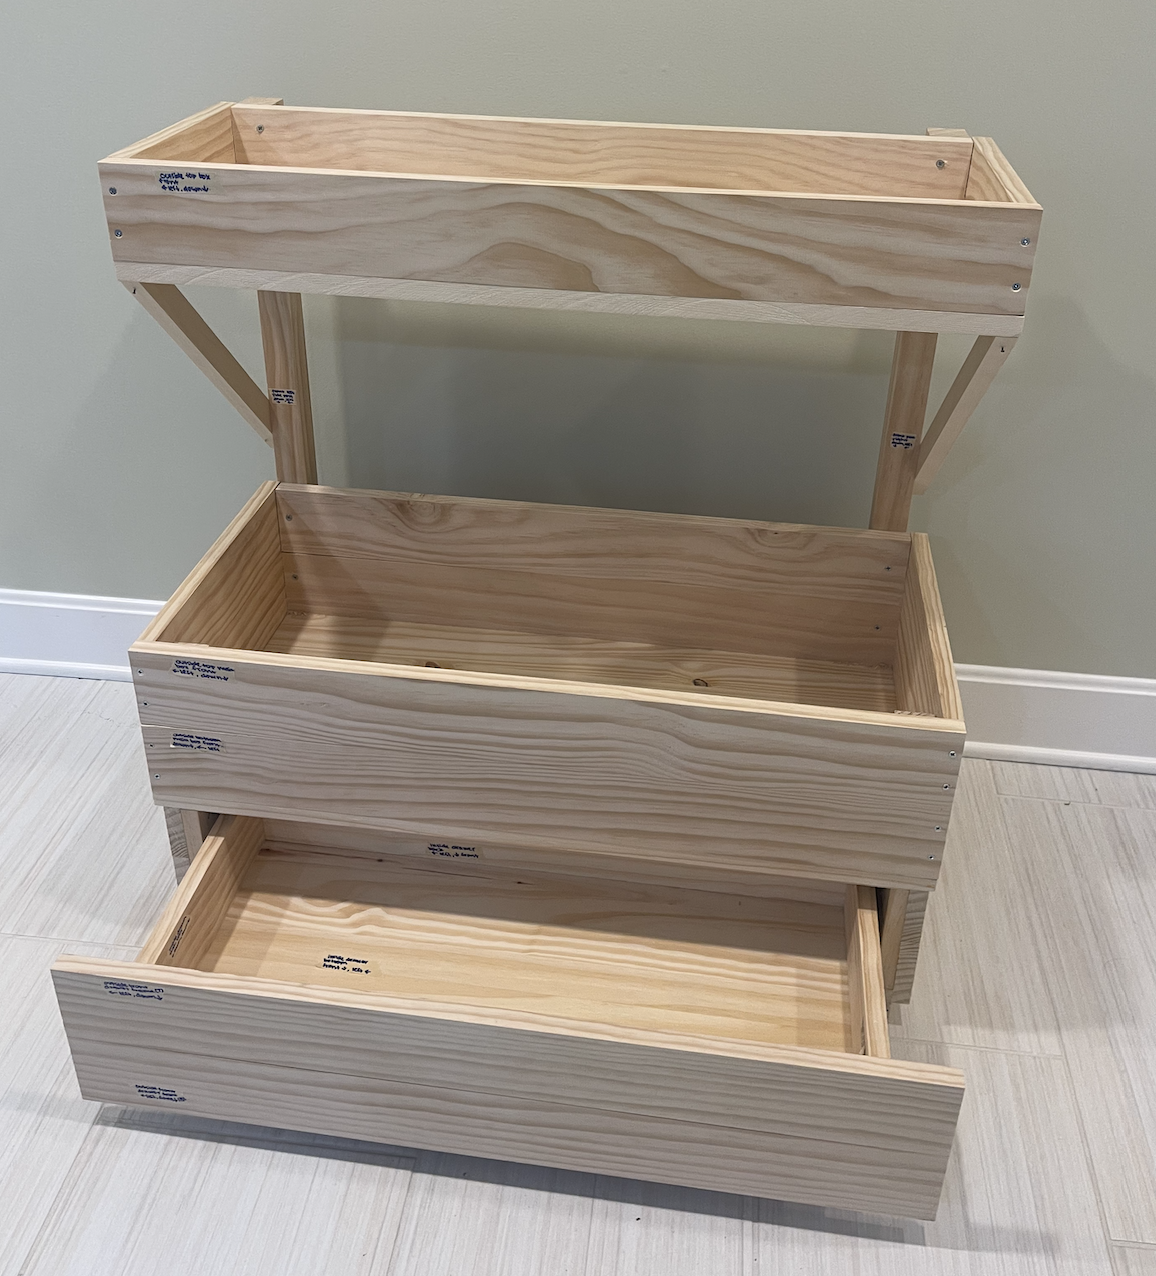
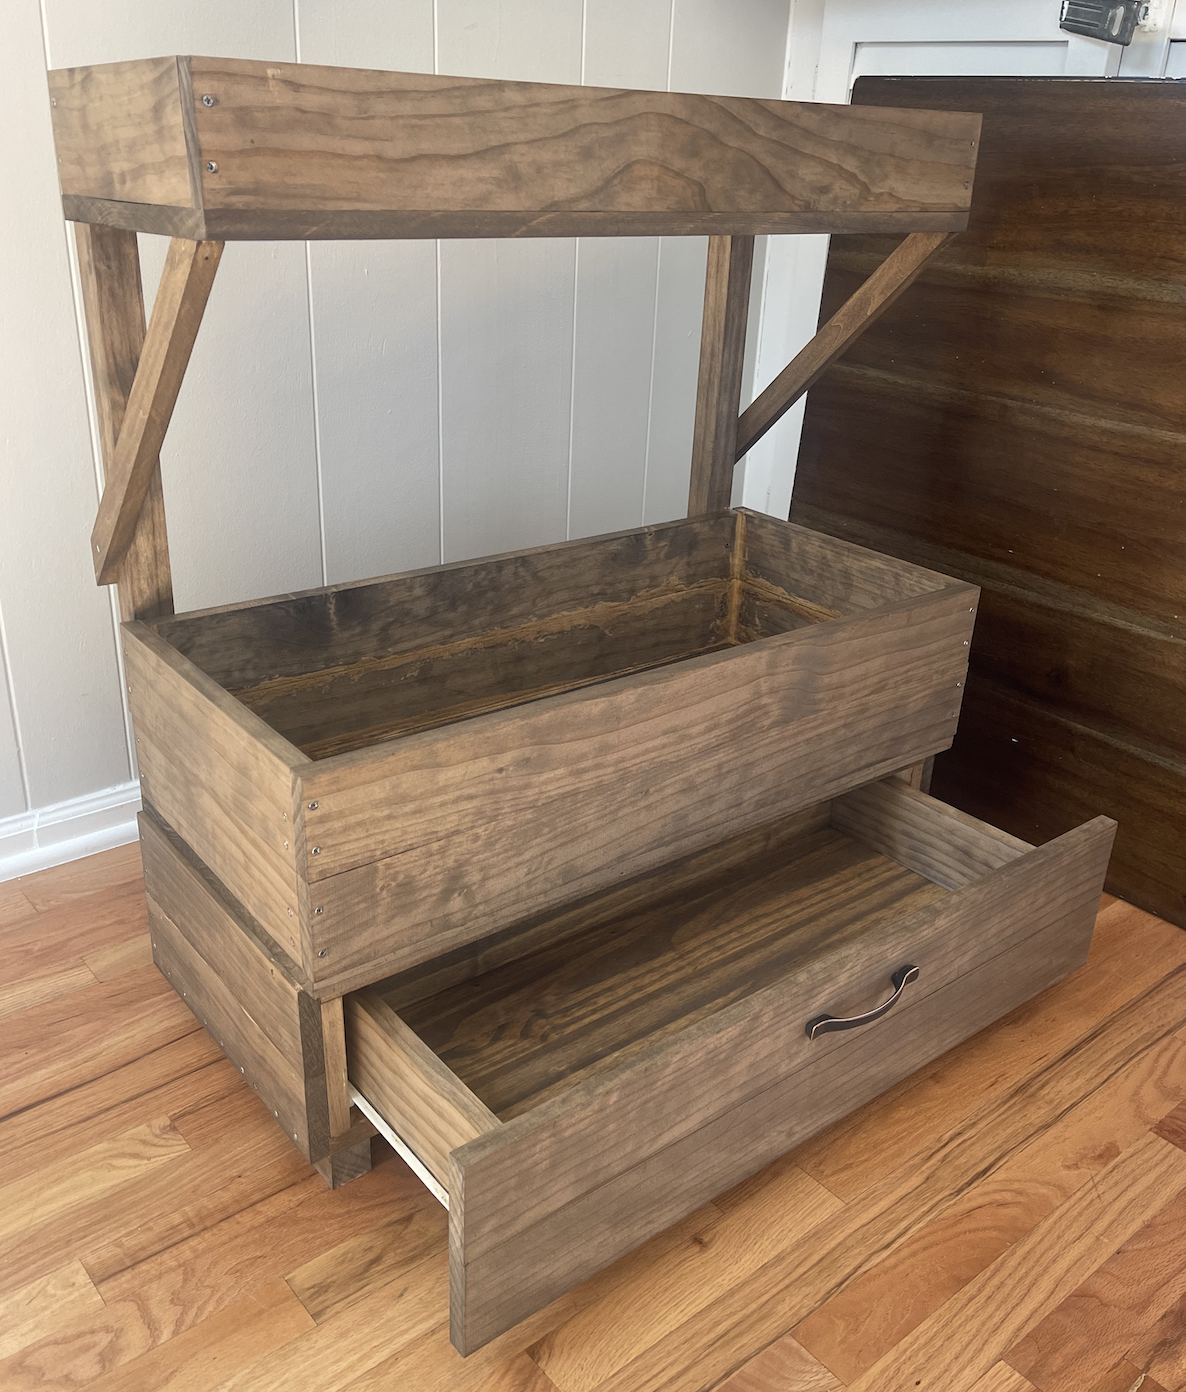
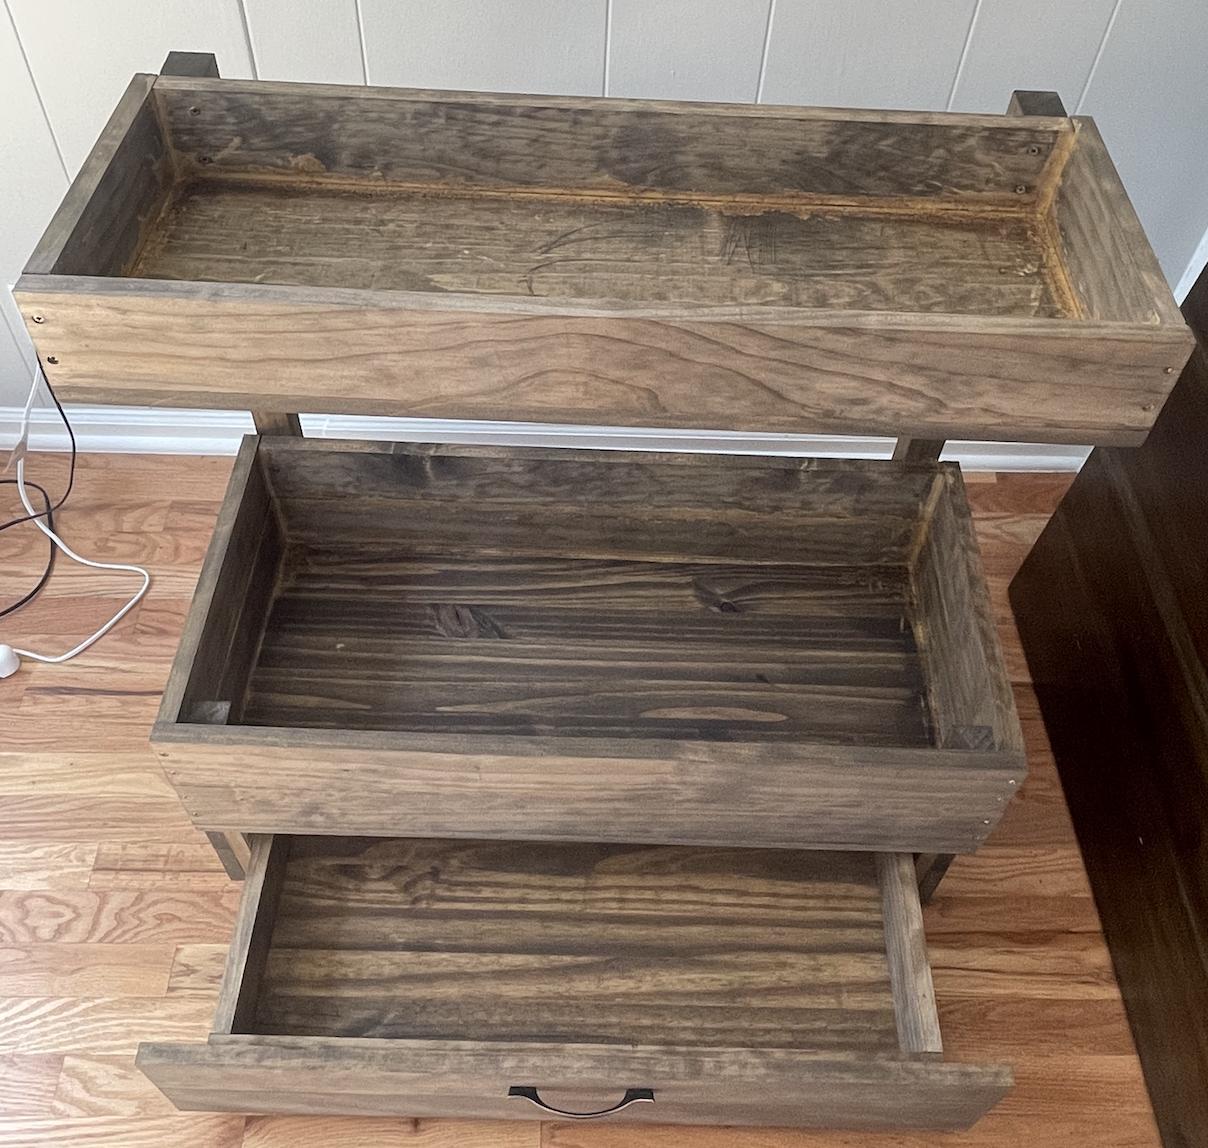
Then, I clamped pieces together when necessary and drilled holes and screwed the pieces together. This part went much faster than making the drawer, since it just required making a couple new boxes. I then attached the boxes to a back frame that would hold the planter together and then added side supports to the top box that added a nice farmhouse aesthetic element as well as made the top more structurally sound. After the planter was assembled, I used a wood glue sealant to seal up any cracks in between boards. The planter can be seen below.
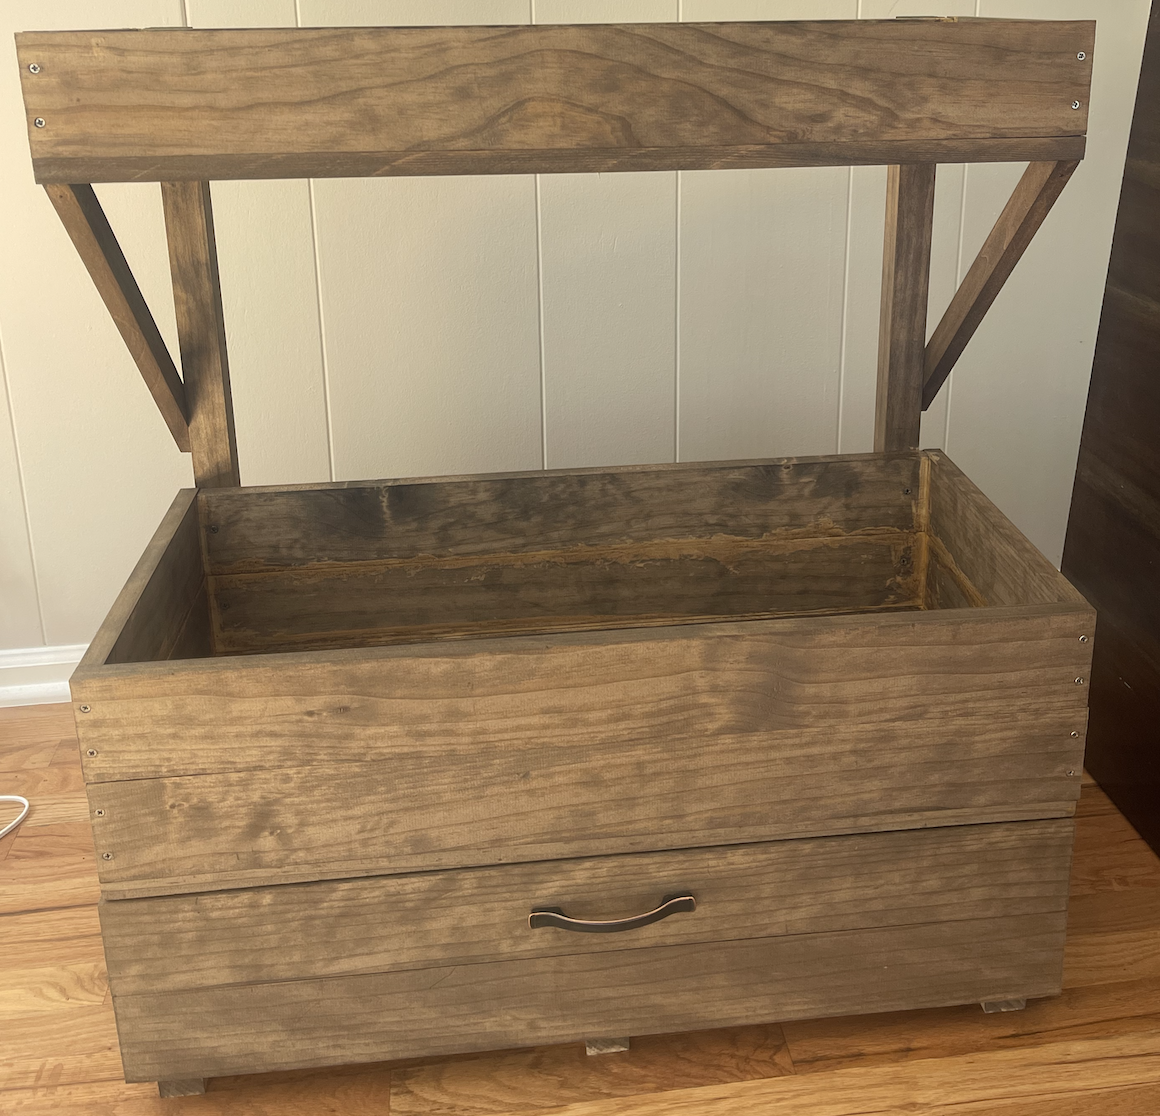
Then, I added the handle by measuring the center of the drawer front and drilling 2 new holes where I could screw in the handle. After the handle was added, I stained the planter with two coats of stain. I let that dry and then finished it with a waterproofing finish so that the wood wouldn’t get damaged by any water I used for the plants. Final pictures of the planter can be seen below.
Conclusion
I’m pretty happy with how my planter box came out and I really liked the stain I chose because it went well with the handle and stuck with the modern farmhouse aesthetic! I think that it looks a lot like my original sketches. I did modify the wood support beams by not making a horizontal cross piece on the back frame as seen in the original sketches. I decided that the 2 diagonal supports holding the front box to the frame were enough to support the weight of the box and adding the other support may make the planter look less in the modern farmhouse aesthetic. I think if I had to do something differently, I would have used all 1”x8” boards so I didn’t have to stack 2 layers of 1”x4” boards for the drawer frame and bottom planter box which would have made the process easier and also would have kept more clean lines to better fit within the modern farmhouse aesthetic. I also think I would have made a thin insert into the bottom of the bottom planter box that could collect drainage water so I didn’t have to worry about any water getting into the drawer I made and so I could add drainage holes into the planter. In the future I plan on using my planter box to plant the herbs and flowers I wanted which I’m really excited for! I’m also ordering grow lights to attach to the bottom of the top planter box to help the bottom plants get more light.
1 Comment. Leave new
Hi Kyra. I absolutely love your indoor planter box. I think that this is a perfect idea for this project. Excellent execution. I respect the amount of engineering that was involved in creating this. Do you have any more future plans for this project? What kind of plants are you going to grow in there?