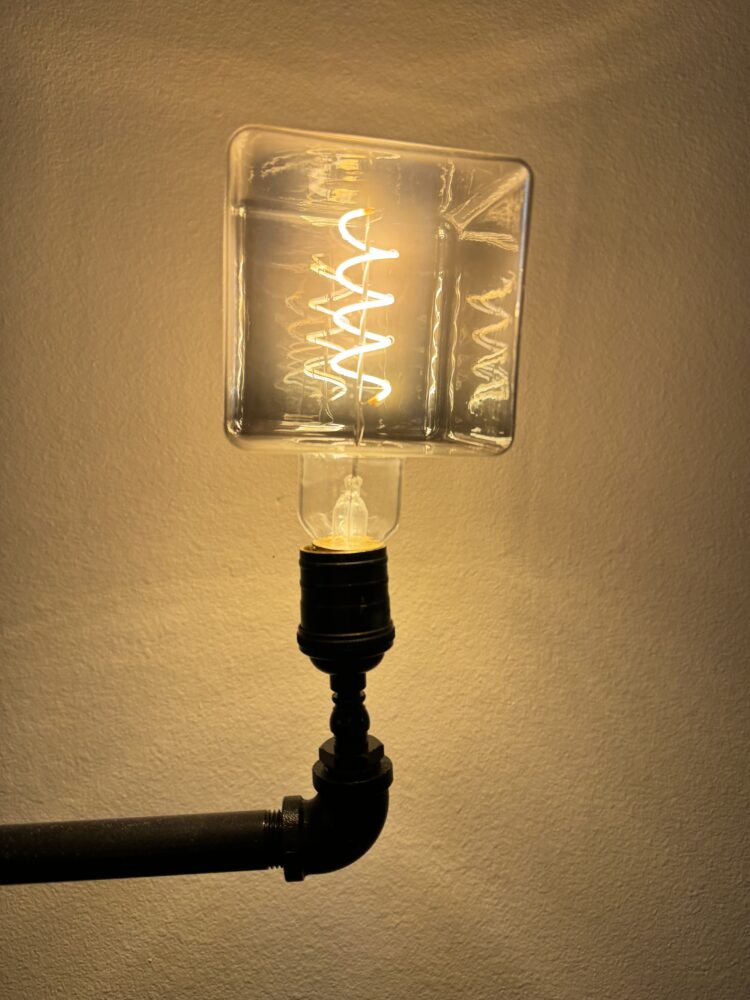
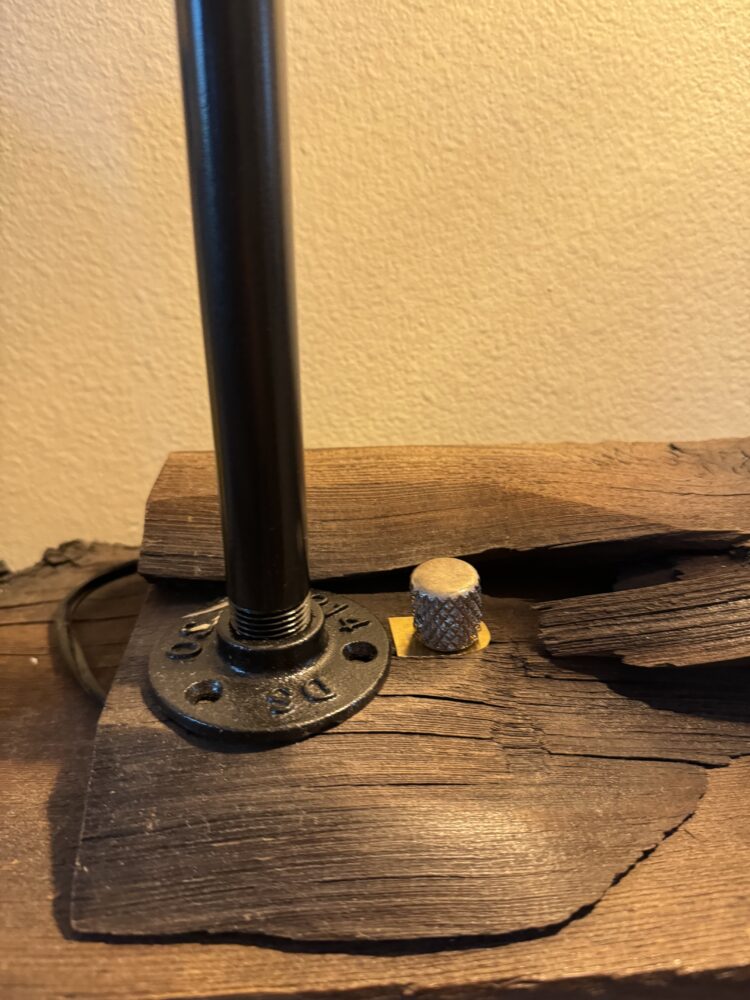
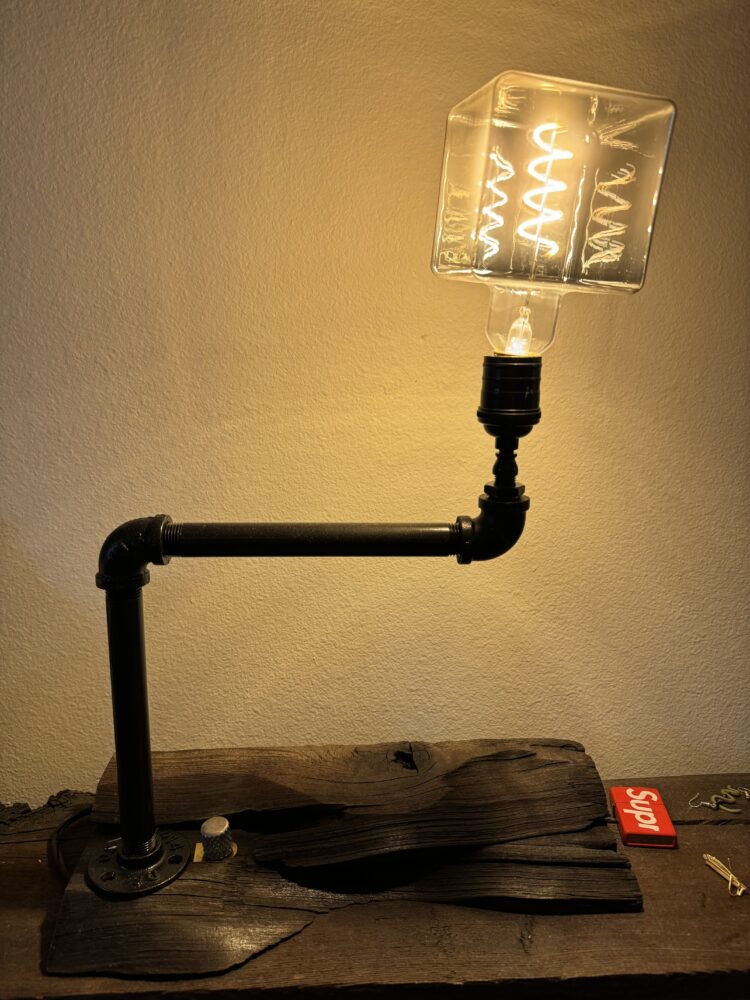
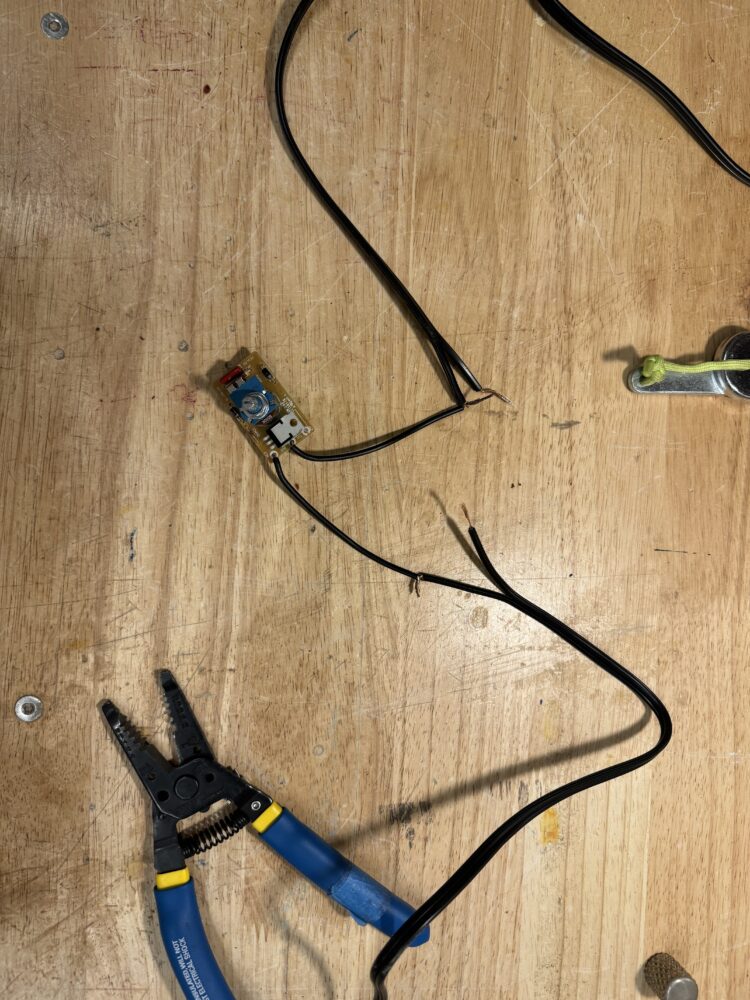
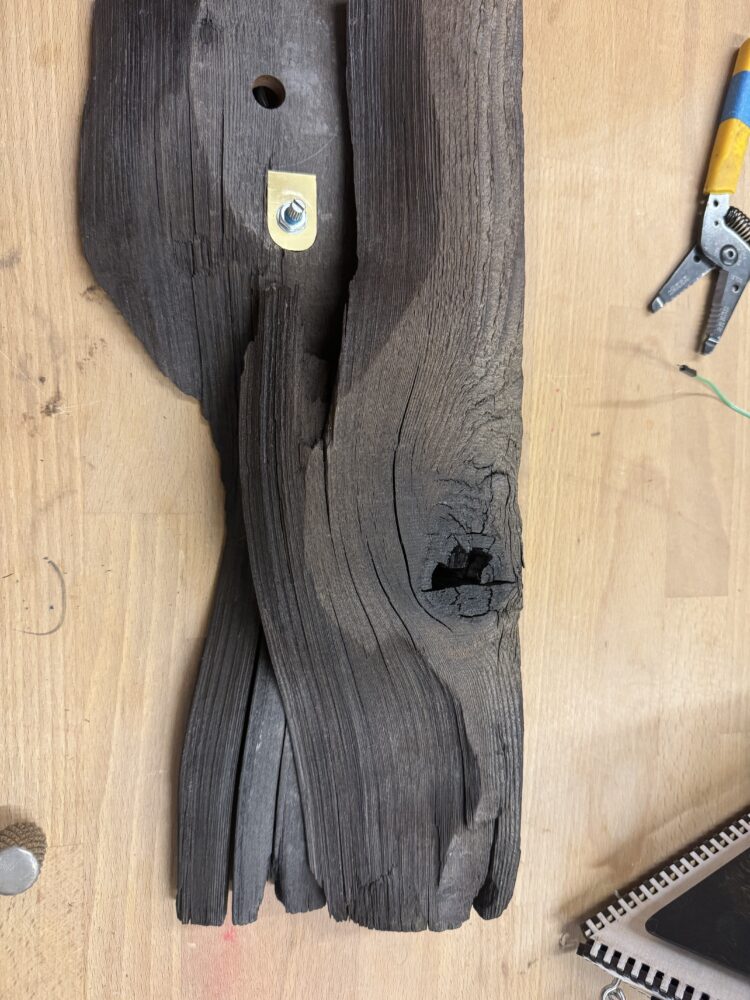
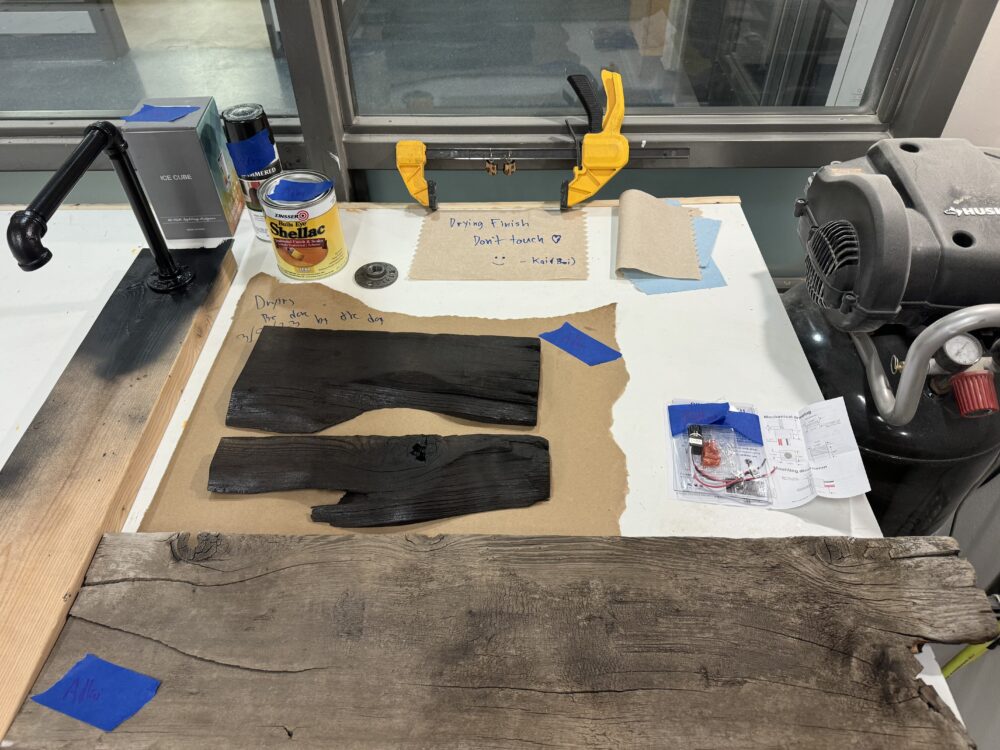
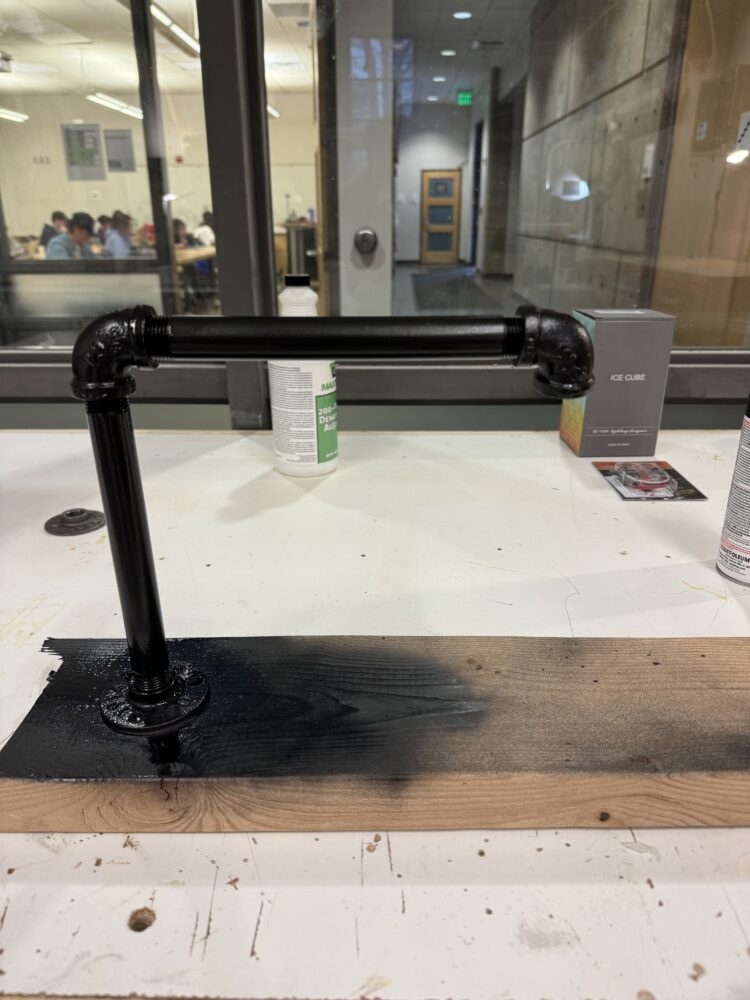
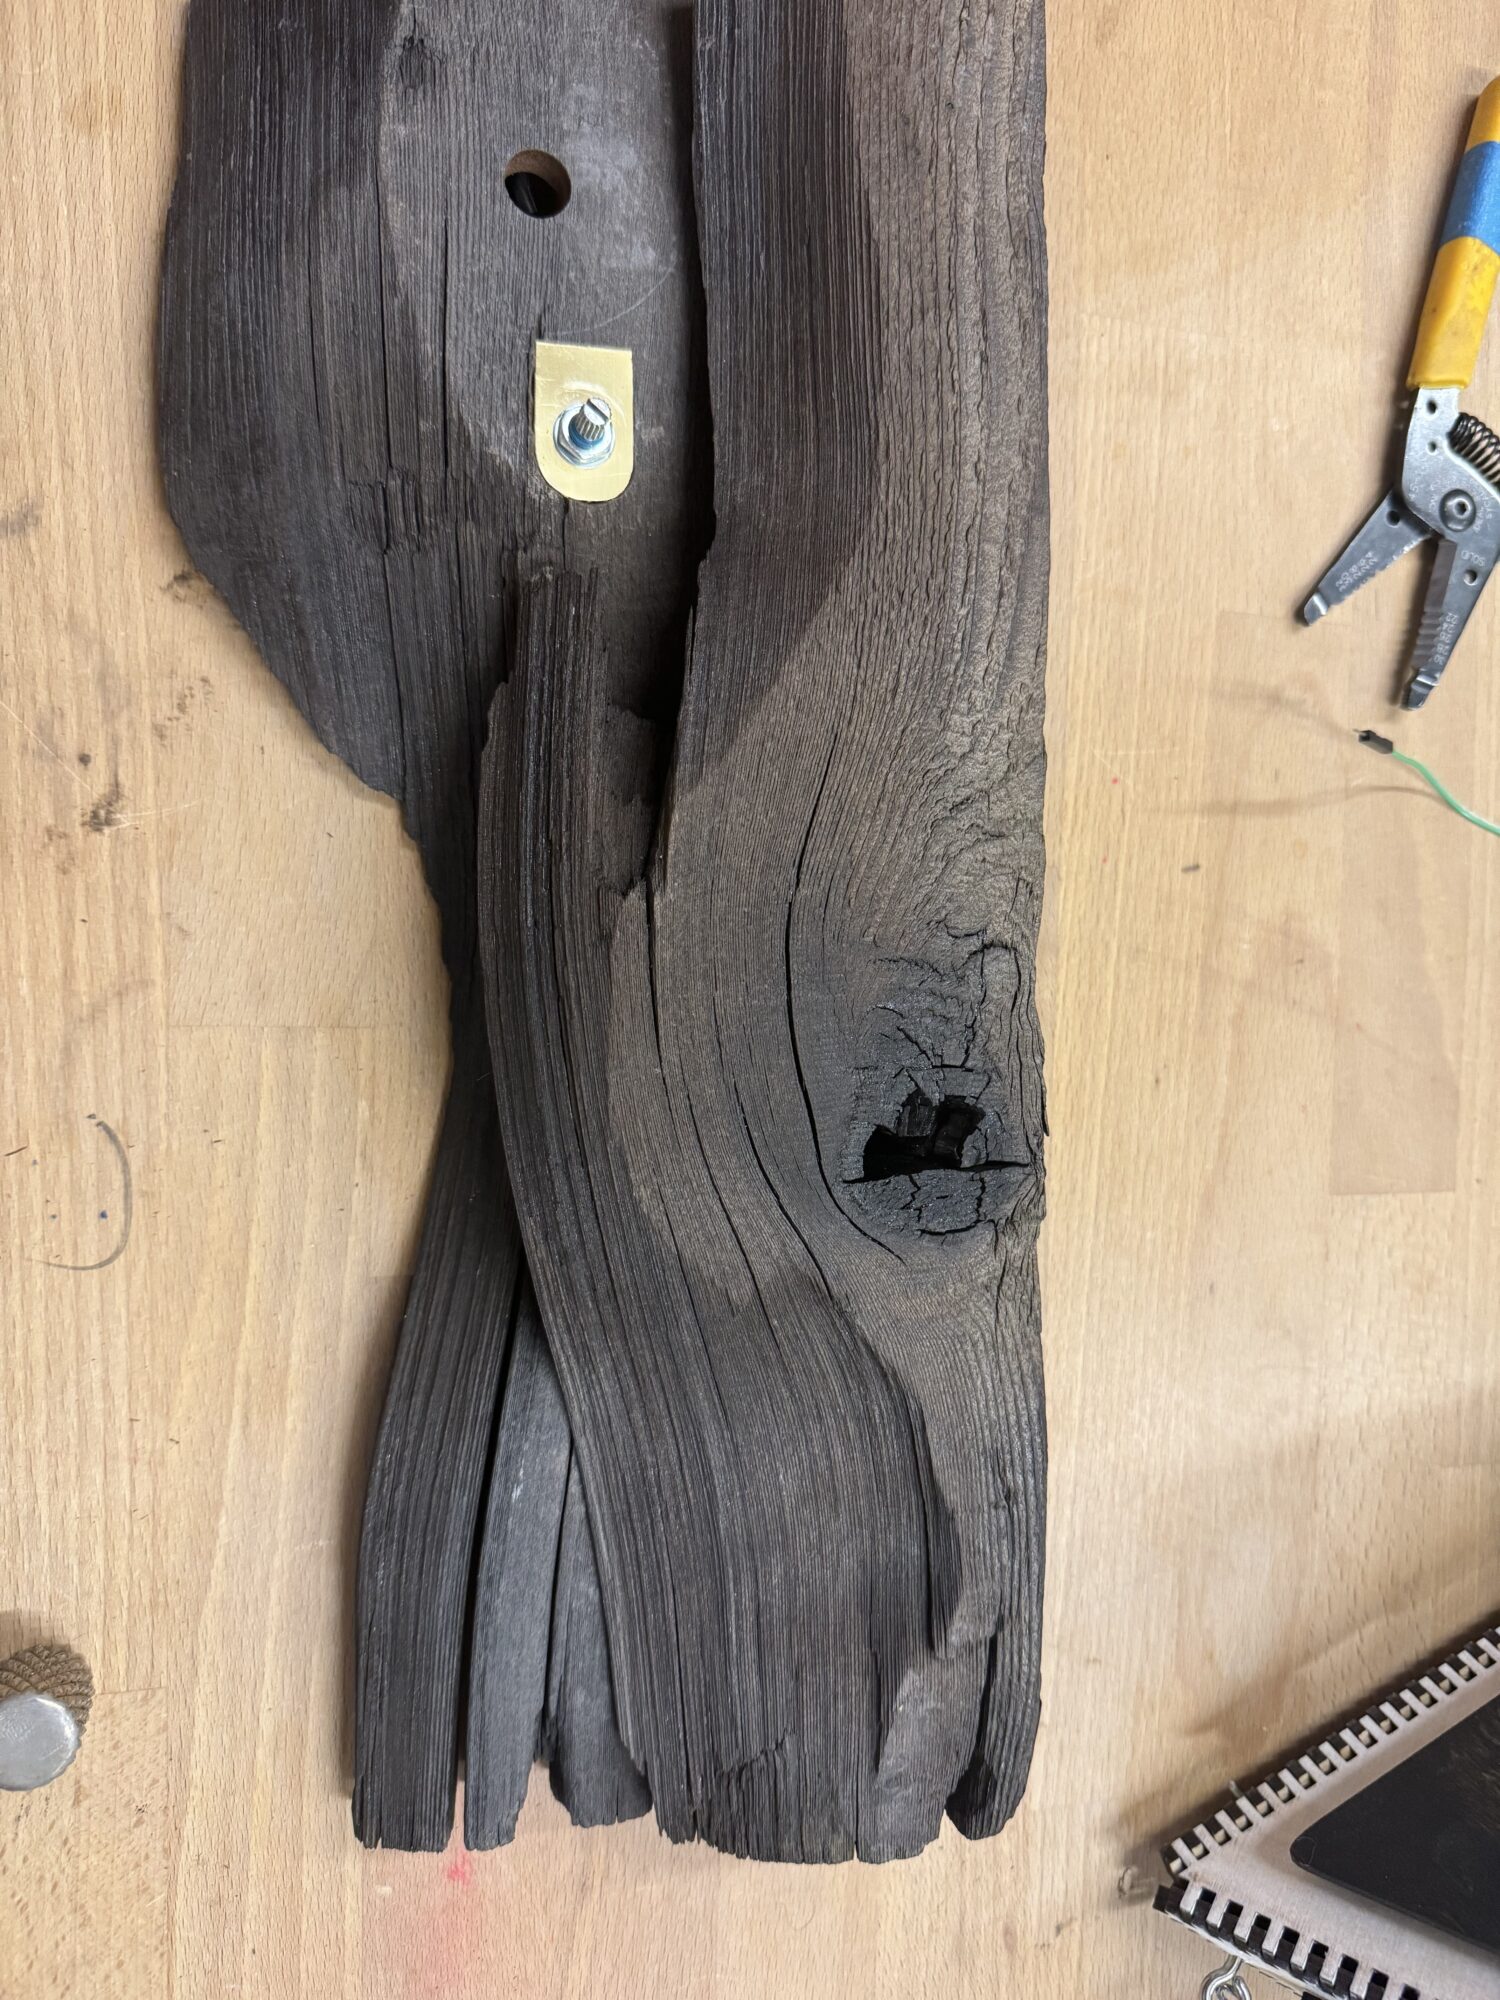
The first thing I did was that I brought all of my materials into the lab and decided what the first thing to do was. I decided that the creation of the base would be crucial and should be done before any wiring was attempted. I decided to cut my wood and layout my idea of the base. After the wood was cut I went into material prep. I cleaned the wood, brushed it down, and prepped the piping with rubbing alcohol. After that I went on to stain the wood and paint the piping. The next step was to establish the base of the lamp, I screwed the two wood piece together and started carving out the portion of the wood where the dimmer would hide. After the dimmer was snug I started working on my wiring layout. Once the layout had been established it was time to start soldering, after every soldered connection in added extra protection and safety by heat shrinking the ends. After the wiring was done I decided the piping and added the base of the light fixture into the piping, The next part was to address the hole where the dimmer cylinder popped out. I decided that a nice brass piece would compliment the base. I found a piece of brass and grinded it down to an appropriate shape. I then added my custom guitar knob that would be the dimmer. After that all that was left to do was to screw on the light, and not fry myself when I plugged in the lamp and turn on the light via the dimmer. Where I started was an idea of a lamp and where I ended was with a beautiful and professionally created lamp that works flawlessly, and had a multitude of additions that made it even better than I could ever imagine. What will happen to my creation now is that I will keep it forever and use it every night that I read. I honestly don’t wish I had done anything differently, there were surely a lot of challenges but that is how it goes when pushing yourself and trying new.
