Final Report Part 1: What
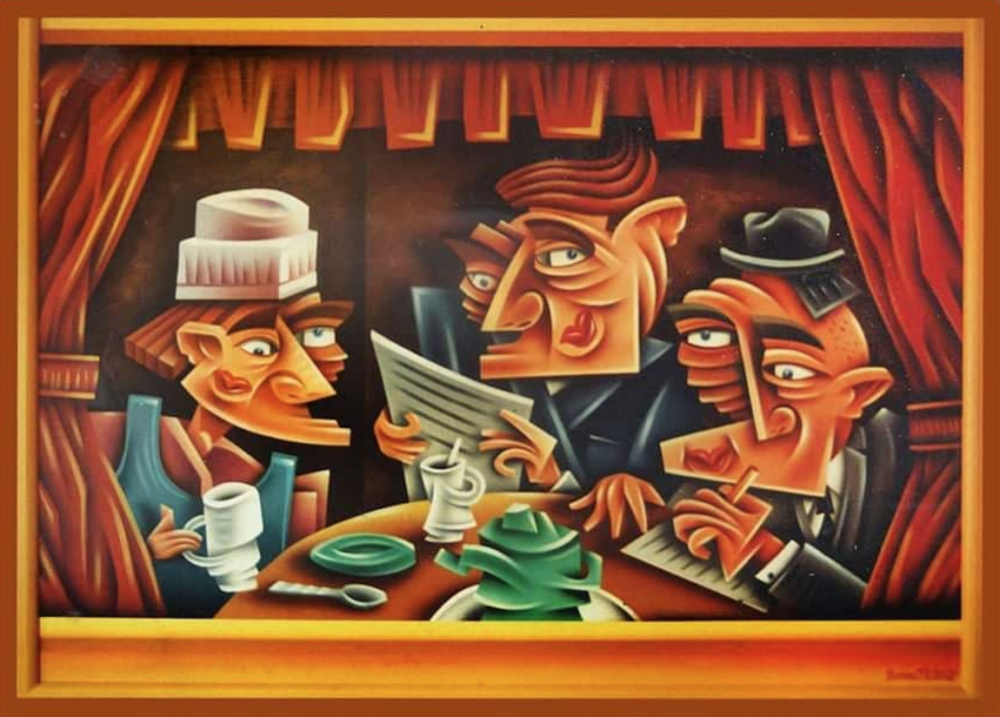
For my final project I chose something related to the food industry .There are certain experiences that have led to my interest in food culture. From my sophomore to senior year I learned how to cook from different roommates. I find it interesting to learn parts of the process that made improvements to the taste and texture of the dish. Trying a new recipe or restaurant can be a wild journey for the senses. Additionally, I like the physicality involved in cooking and making food.
Certain ideas have also increased my fascination with the industry. I like to learn how different foods are made and what it takes for a certain product to come together from its raw materials to final good. This I have learned much more about while reading On Food and Cooking by Harold McGee.
The global food system involves all of us and I believe it is something that is worth knowing and teaching other people about. It is also interesting that cooking science can be broken up into elements of chemistry, physics, and microbiology.
This all brings me to the idea I had for the main project for this course. Cheese is a food that while controlling temperature, bacteria used, enzyme activity, moisture content, and salinity can lead to very different results. It’s awe inspiring how cheese can embody a wide variety of flavors depending on how the previously mentioned factors are controlled. With that all being said, my plan for the main project was to make a cheese press to make different cheeses from semi-hard to hard. An example of a semi-hard cheese is cheddar, while an example of a hard cheese is parmesan.
Brief History of Cheese making
Cheese is one of the most varied types of foods with many different types. It is enjoyed on its own, paired with meats/ fruits/ beverages, and cooked with. Some form of cheese has been part of human existence for at least 5,000 years (McGee, 52). Although cheese types have gone through multiple transformations through this time period, some cheeses we know today have been around for a couple of hundred years.
Cheese making process
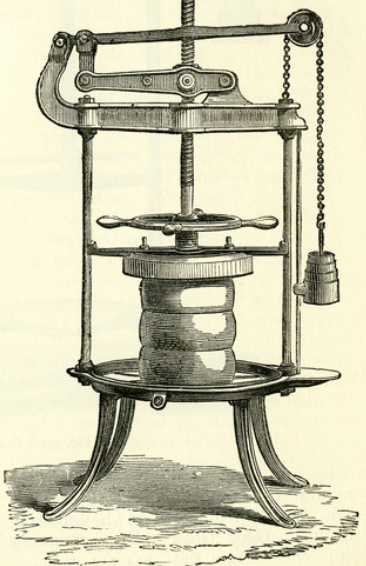
The cheeses we enjoy are all products of different biochemical processes manipulated by a multitude of factors. My project for aesthetics in design dealt with one of the final steps in which some cheeses are changed through a mechanical process by applying ranges of pressure. Although the final steps vary in cheese making, all cheeses start off by being made in the same way: increasing the temperature of the milk, adding bacteria, enzymes, and minerals in some cases. The bacteria converts lactose into lactic acid, while the enzyme causes the milk to clump together. This produces two different products, the curd and the whey. The whey contains a larger portion of the water that was originally in the milk. For most cheeses, the curd is desired, however there are exceptions, such as ricotta, which is made from whey. The curd is cut up to make it easier to drain the whey, and then put into a bowl. This is the point in which the device for my project comes in. For some cheeses, the curd is then pressed to drain out the remaining moisture. This is done using a cheese press. The cheese press allows for a range of pressures to drain out more moisture out of the curd over a range of time. Pictured below is a diagram that details the different steps in producing cheese and general types that can be made from these steps. Interestingly, cheeses that are pressed make up a small portion of these cheeses.
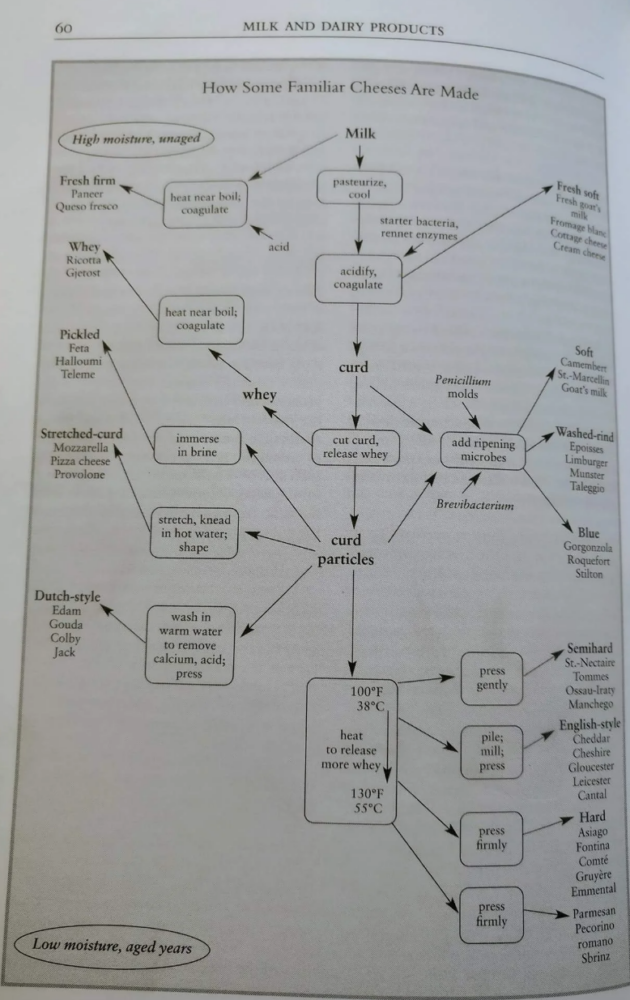
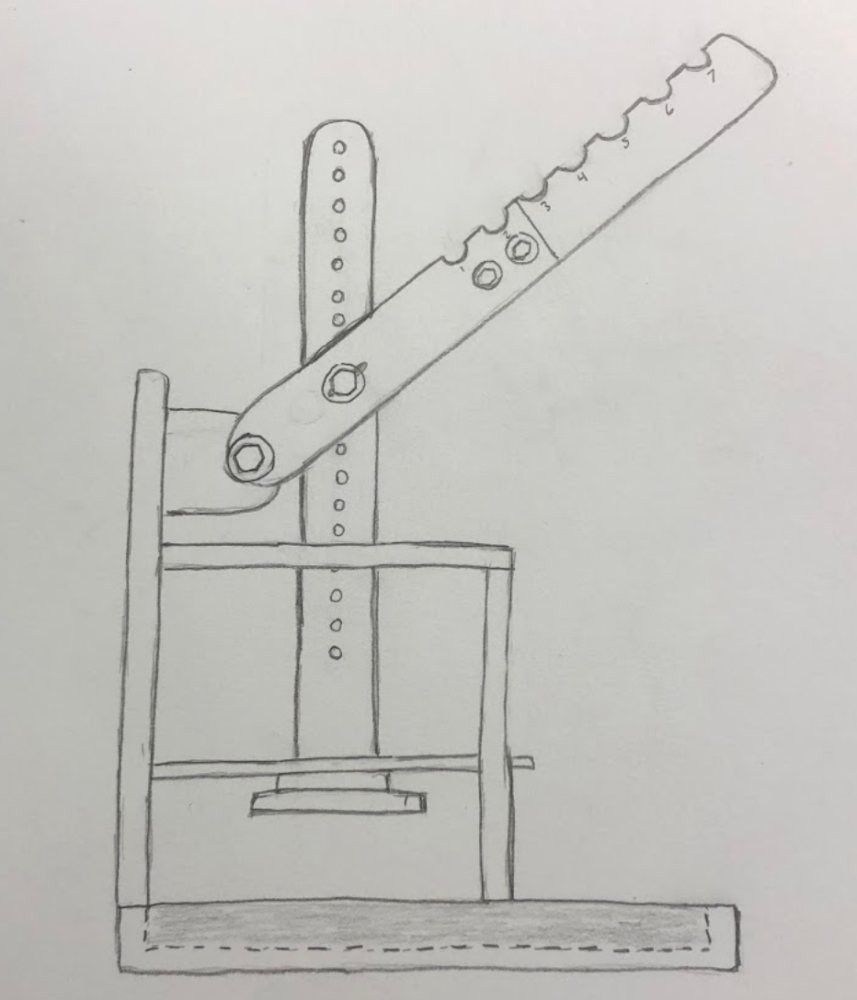
I planned on making a cheese press out of wood and metal. Pictured below is a sketch of the cheese press that I had in mind to make originally.
Project Inspiration
My inspiration from this project comes from the craftspeople who put in their time to make rare foods or cheeses and share their food and passion.
Vision for Project
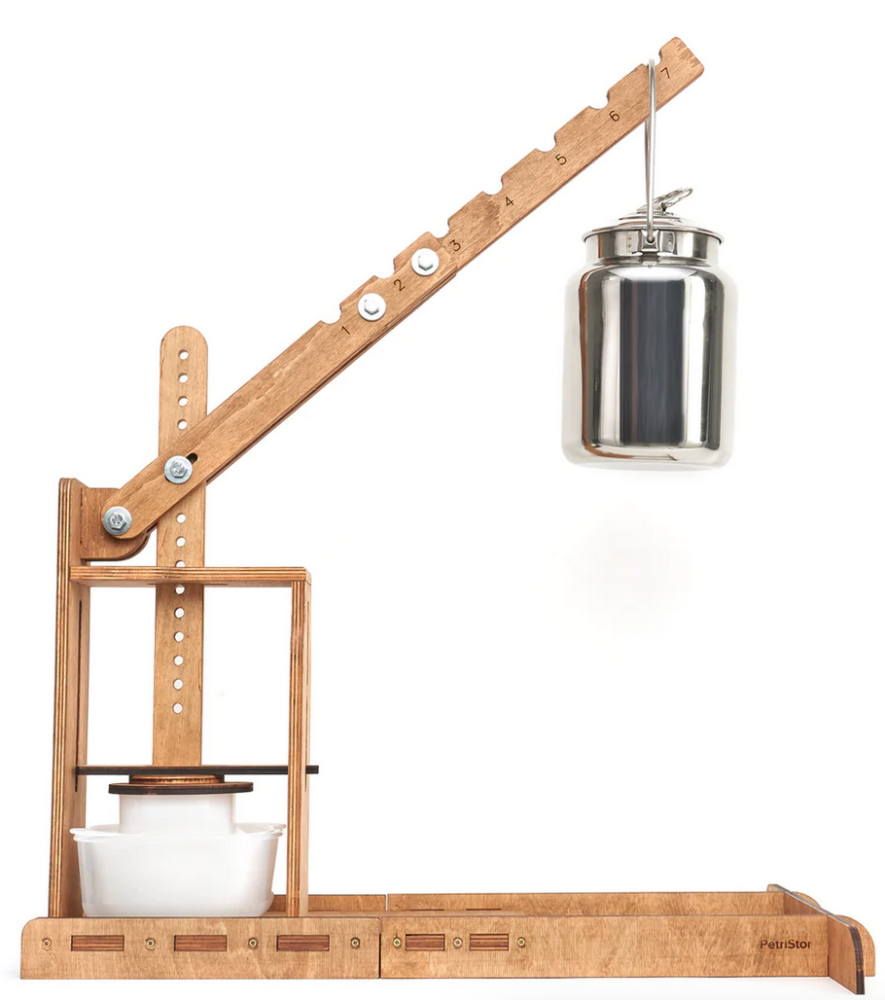
The aesthetic I am currently trying to achieve is a carpentry/woodworking look. To me this means that the press is made from thick beams of wood. I was inspired by a Dutch style cheese press that I found online. I liked the functional nature, thought it would fit in a home kitchen, and it seemed to be sturdy enough to apply a large pressure. The website claimed that it could apply a pressure of up to 270 pounds.
I sketched out the parts that I would need for the Dutch style cheese press and imagined variations on the base.
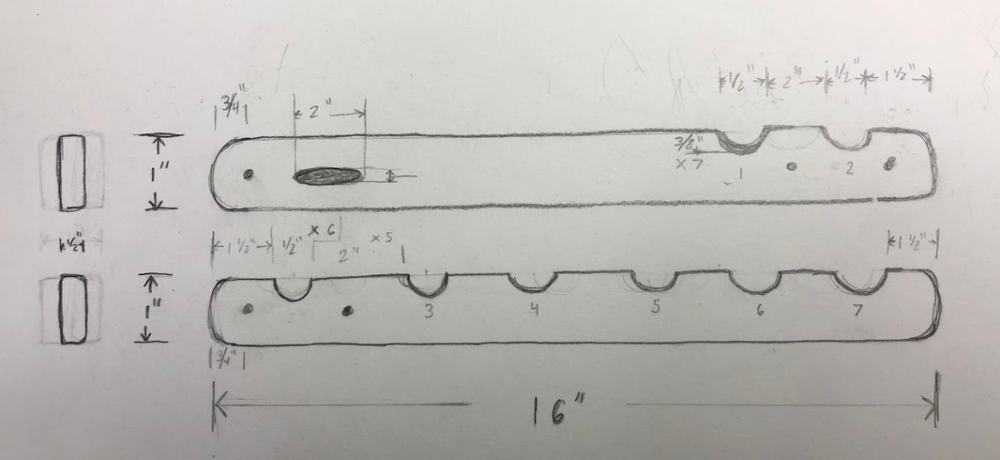
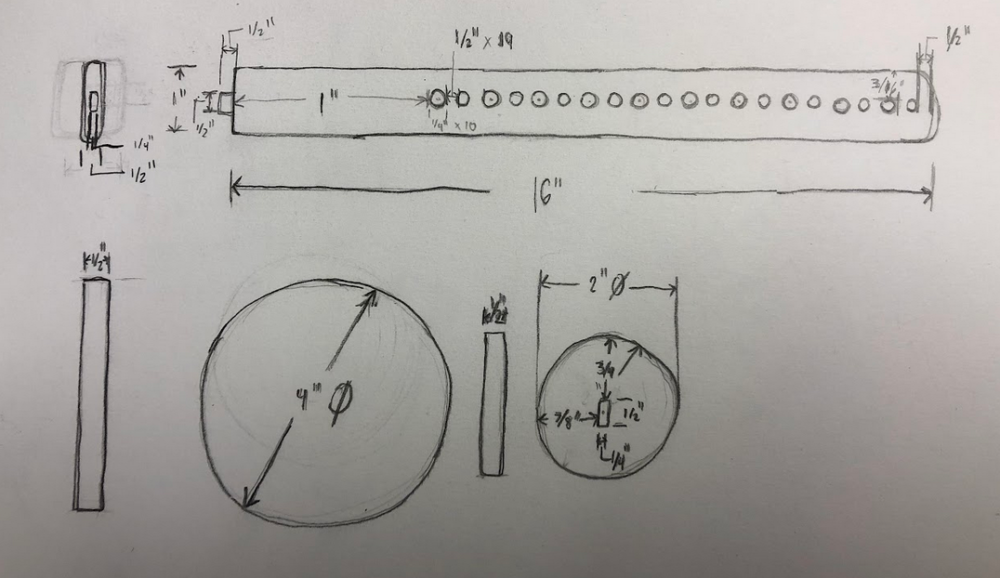
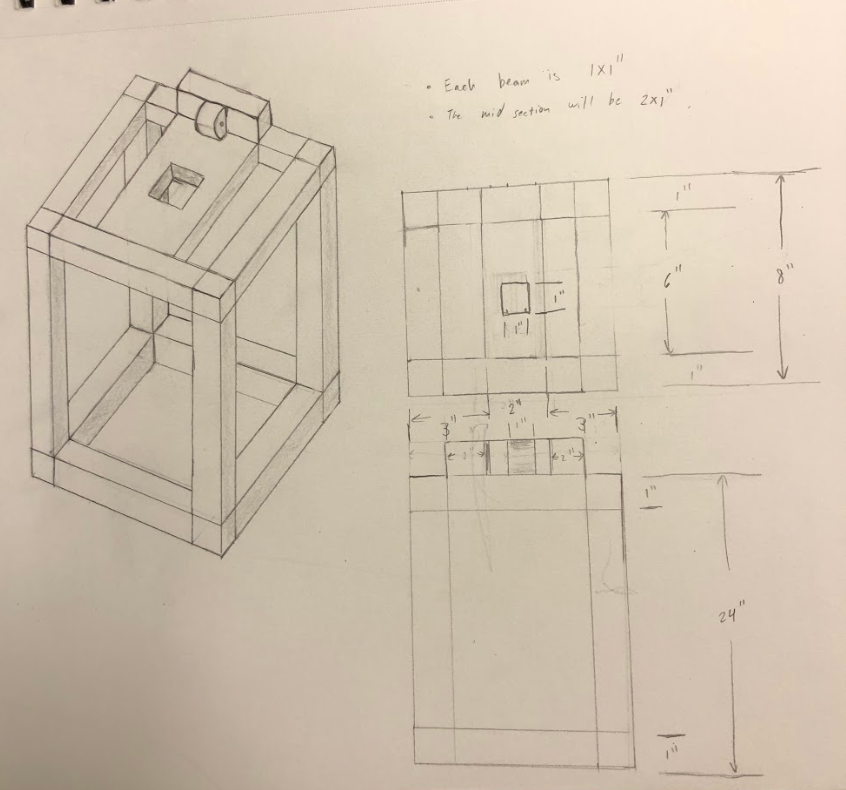
I realized that the design shown above would not work well for one major reason. There is no counter force to the force generated by the moment arm that is used to apply different amounts of pressure. I decided to change my design by adding a section of wood that would apply the counter force. This led me back to the original idea of the shape of the press looking like the Dutch style cheese press.
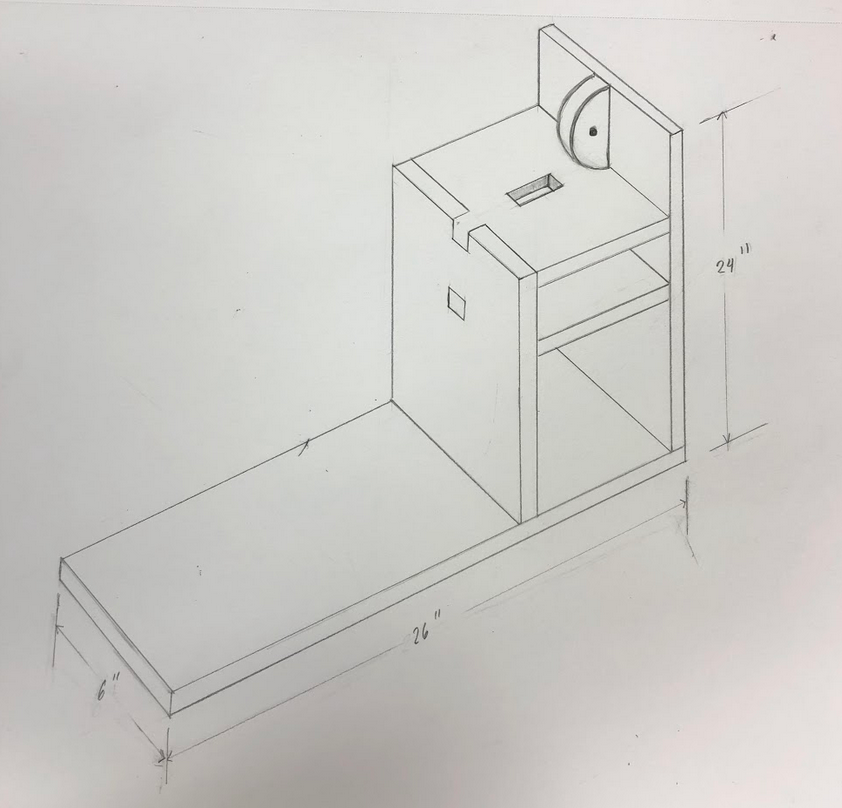
I ended up changing the design after the previous drawings above. The new design used less parts and bolts. I got inspiration for the new design from the channel “Ozark Mountain Goats” on YouTube (Link). I put together all of the files into an assembly using SOLIDWORKS.
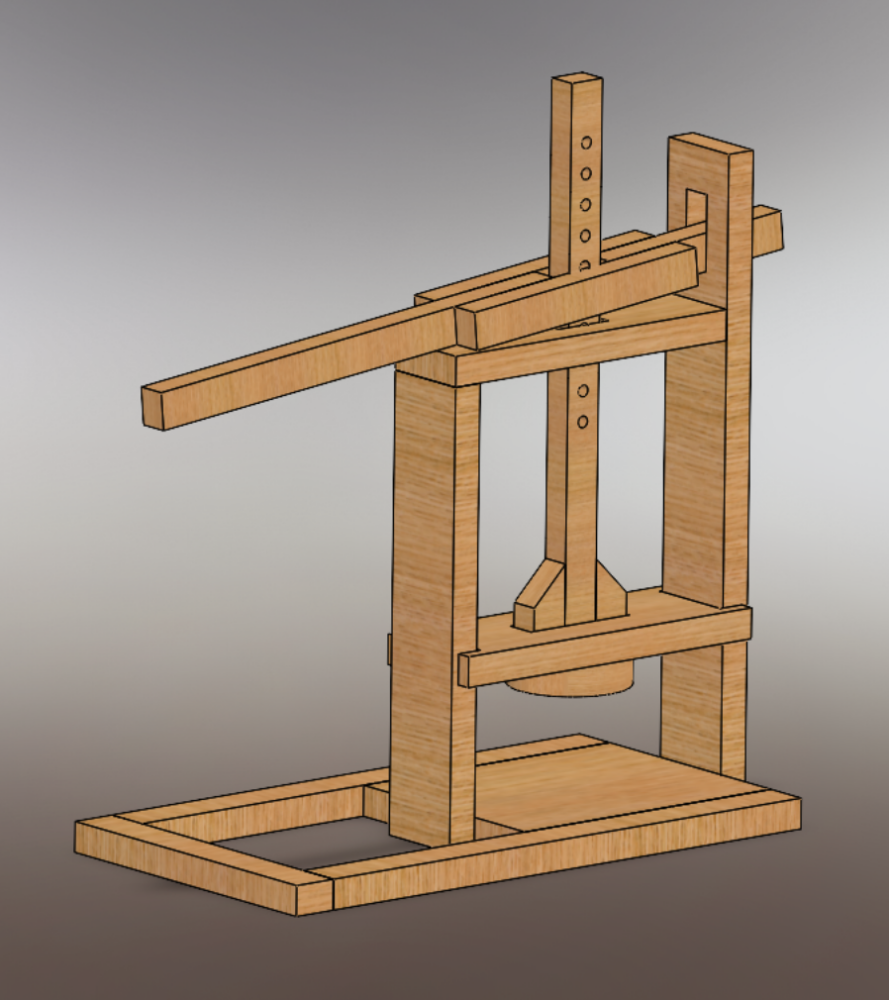
My top 5 priorities for the press were:
- Function: The cheese press must maintain structural integrity while applying pressure to the curd.
- Longevity: The cheese press should not break down after repeated use.
- Food safety: The final product will have a food safe finish such as mineral oil.
- Form: There will be designs on the larger surfaces of the press that make the cheese press unique.
- Design repeatability: The steps taken to finish the project will be documented so the cheese press can be remade and improved upon for future iterations.
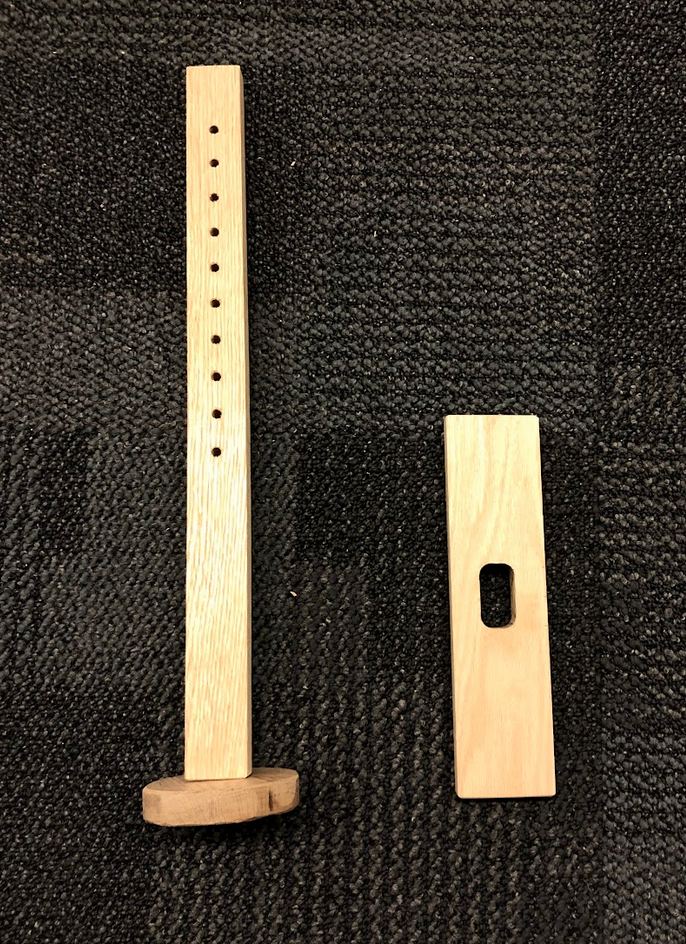
I decided to split up the full assembly into three sub-assemblies. Happy with what I had drafted on SolidWorks, I made part drawings for each section. The sub-assembly drawings are shown below.
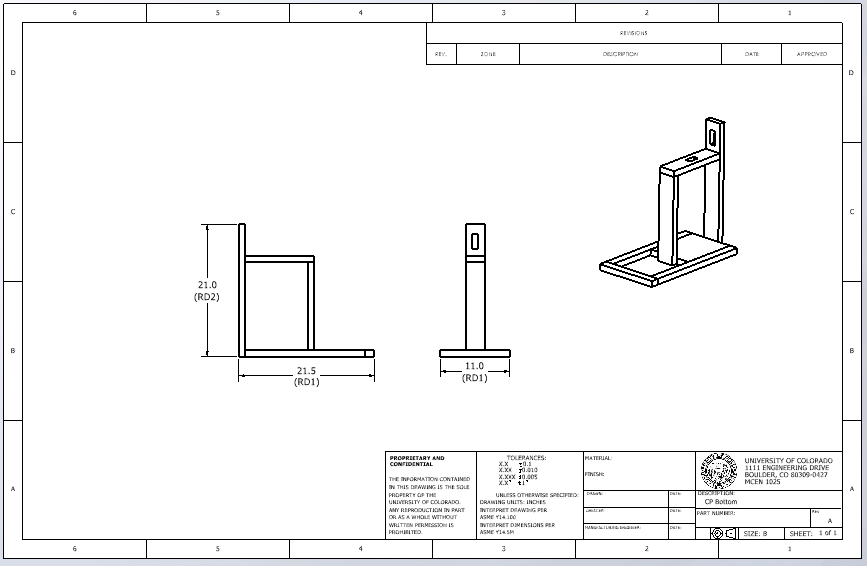
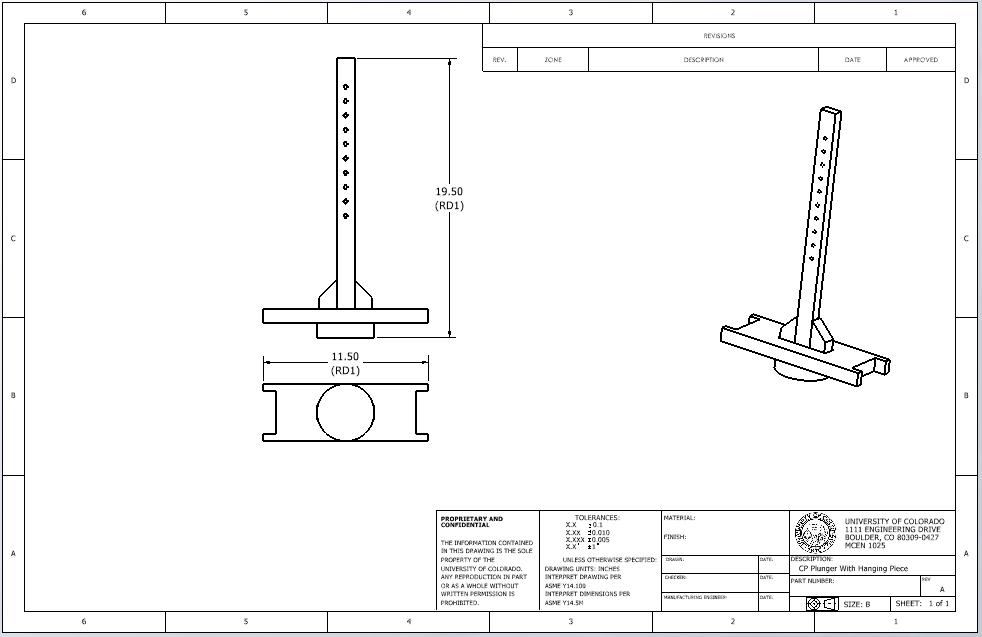
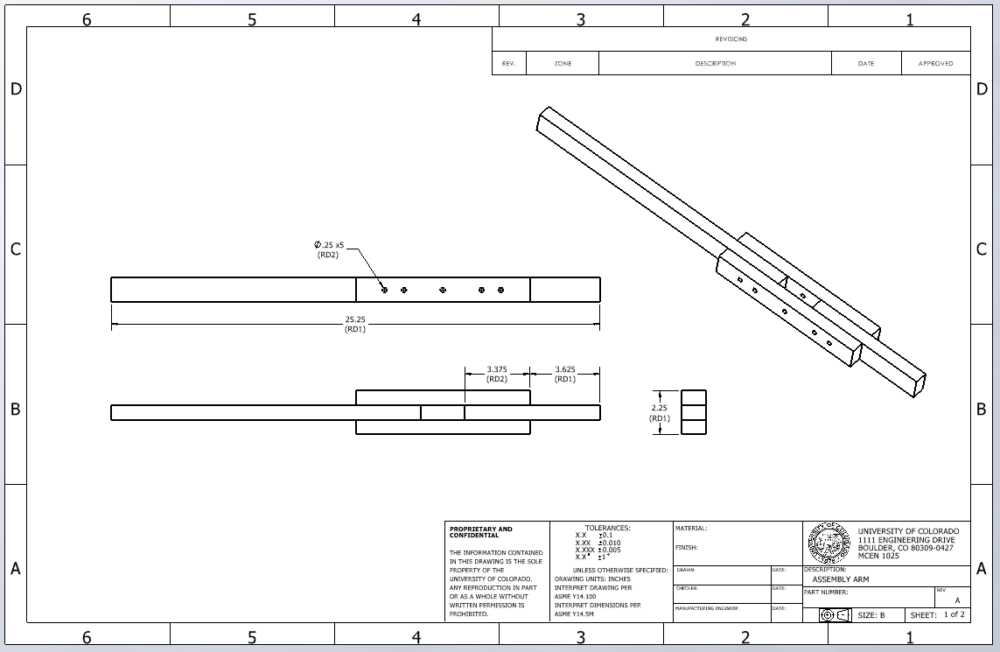
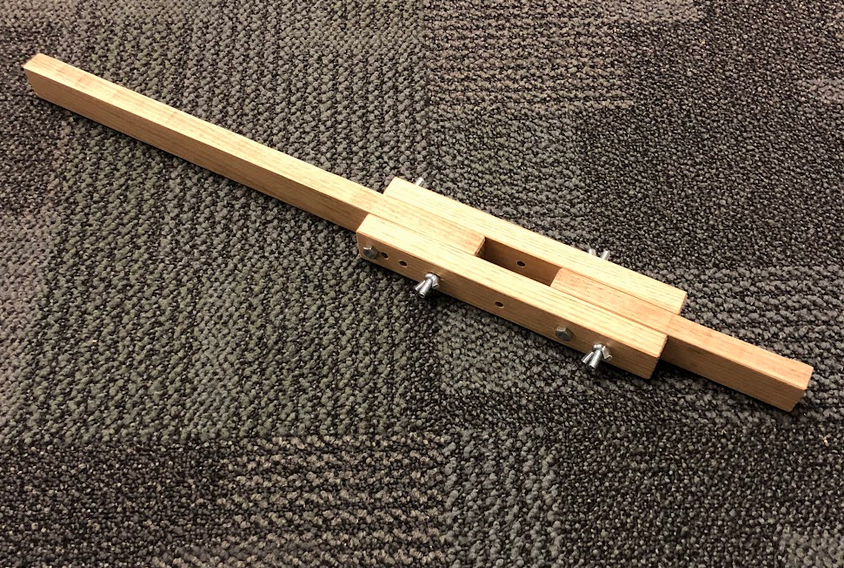
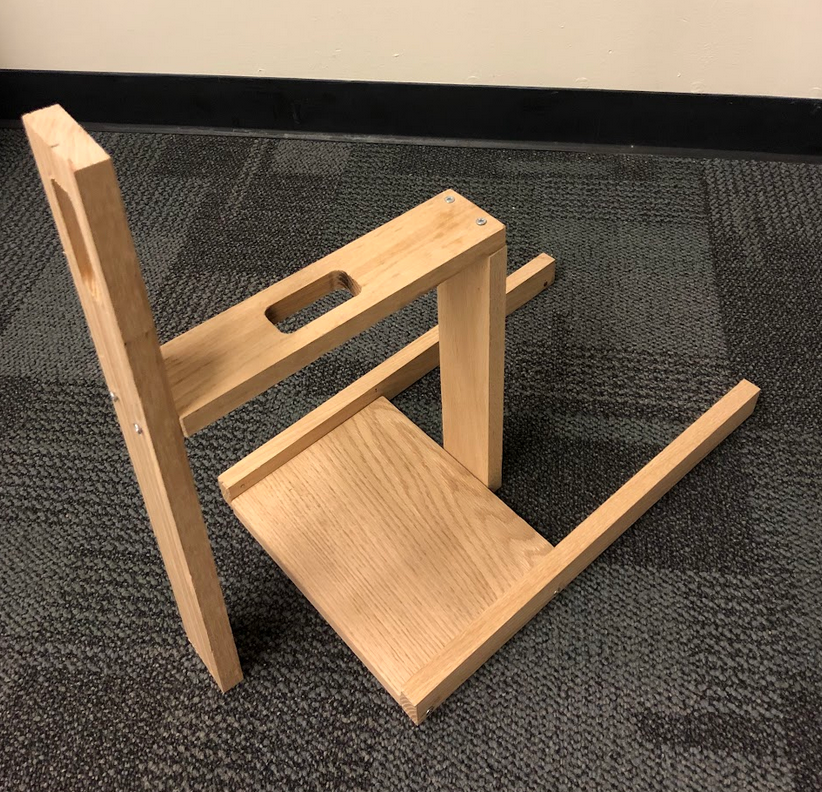
I made the final product in the manufacturing center in the ITLL. There were several changes I made while manufacturing. This includes eliminating the perpendicular beam support from the base and rotating the platform that is part of the base.
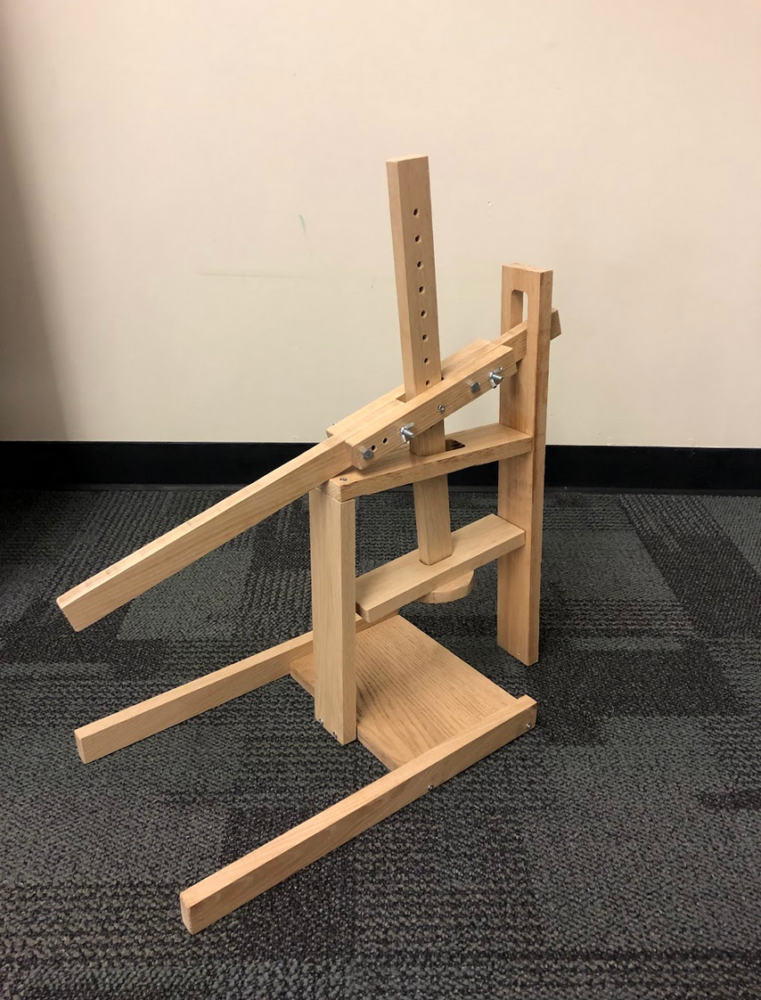
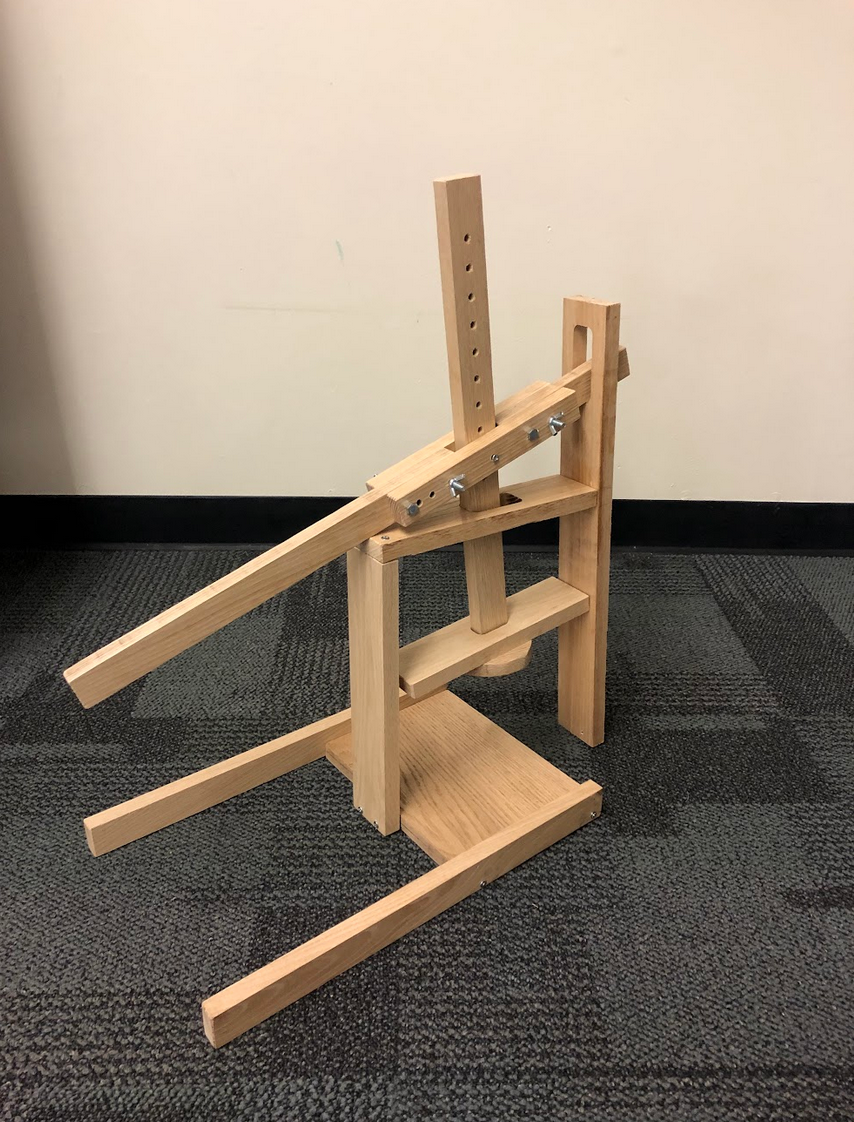
Overall, I was able to make the cheese press with the craftsman style I was trying to achieve.
References
Duane Flatmo’s Instagram showing picture used for Image 1.
On Food and Cooking on Amazon.
McGee, Harold “On Food and Cooking” Pgs. 51-64
https://www.thecheesemaker.com/dutch-style-cheese-press-heavy-duty-single-pro-series/?sku=&gad_source=1&gclid=CjwKCAjw17qvBhBrEiwA1rU9w2fz55mJNaVlAUgFs0pcKUSV8aEj-rRwt343Bzu8uwiREMS5OKKYdBoCuZAQAvD_BwE
www.reddit.com/r/Cheese/comments/6wf281/a_page_from_harold_mcgees_on_food_an_cooking/
DUTCH PRESS, WOODEN CHEESE PRESS (2 Cheese Making mold 1.2 L) pressure up to 270 pounds

5 Comments. Leave new
[…] Post 11: Final Report Part 1: What […]
Hi Ben, your final project looks awesome! I love how you used your passion for cooking and made a functional product. It was really cool to read about your process of making the press, especially the solid works drawings and the three separate assemblies you created. I really like the look and finish of the wood and I think you nailed the craftsmanship aesthetic. How did you achieve that look with the wood? Did you purchase it like that or was there any staining that needed to be done? Overall your project looks awesome and I hope you can successfully press cheeses with it.
Hi Duncan, thank you! The wood has basically the same outside appearance as when I purchased it, except I ended up sanding it as well.
Ben, your project journey is very detailed and fascinating, great work! It’s clear that you have a deep passion for both food culture and craftsmanship. I especially like how you broke down your priorities for the cheese press, ensuring functionality, longevity, safety, and unique design elements. The evolution of your design, from initial sketches to the final product, shows a thoughtful and iterative approach. Have you had a chance to test the press yet?
Hi Tim! Thank you, I appreciate that comment. I haven’t had a chance to press cheese with it yet, but I am going to try it out after the semester ends.