I want to begin by recapping my plan for the final design project. I planned to make at least one snuffle mat for my dogs. I was hoping to make three mats total, one for each of my two dogs and a smaller one for my cat. A snuffle mat is a flat mat that has bits of fabric attached to it that create pockets and folds. The pockets and folds are meant to hold kibble or treats. It requires for the pet to use their sense of smell and move around the pieces of the mat so that they are able to access the treats or food. The point of a snuffle mat is to encourage enrichment for the pet. Enrichment allows for animals to express their natural behaviors. It encourages physical activity and provides mental stimulation that reduces stress and enhances things like learning ability and memory.
For the three snuffle mats, I tried a new aesthetic called Bloomcore. Bloomcore incorporates bright colors in the form of flowers, gardens, and nature. It is similar to Naturecore, but is more focused on the blooming flowers and bright colors rather than the greenery. I think this was a good choice of aesthetic for this project because it really enhances the natural behavior part of the snuffle mat. I think the color draws my pets’ attention more and keeps them more engaged for a longer period of time.
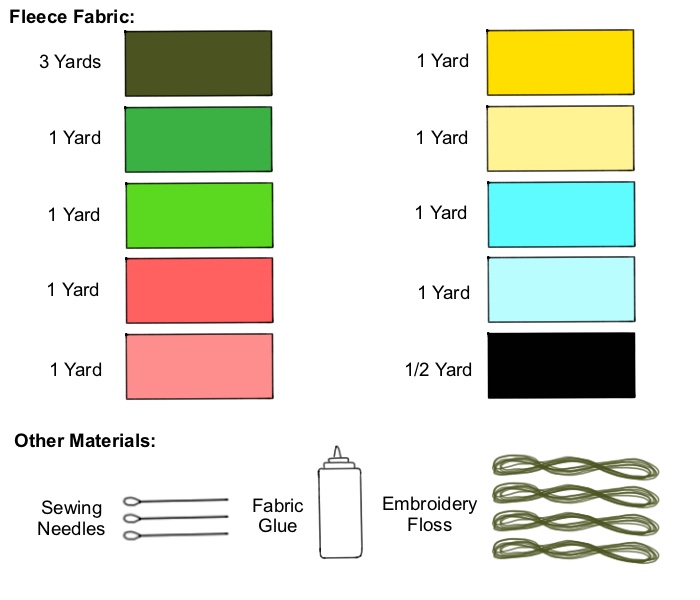
I used fleece as the fabric for this project because it is a softer fabric that won’t irritate their noses. It is also fairly easy to wash which will be beneficial to keeping the mats for a long time. I used 10 different colored fabrics with the main one being an olive green color for the base. I also used a fabric glue that is pet friendly, so it doesn’t make them sick. I used a sewing needle and embroidery floss for sewing. I chose embroidery floss instead of thread because it is stronger and may hold up against the animals for longer than thread could. A basic sketch of the materials needed are shown in Image 4.
I started by sketching each mat to fit the personality of each of my three pets. The sketches are shown below. I tried to follow each of the sketches closely, but I wanted to make sure there was enough variety in plants/flowers for each animal. The sketches don’t match up perfectly with the final product but they do give an insight to what I had envisioned in my head.
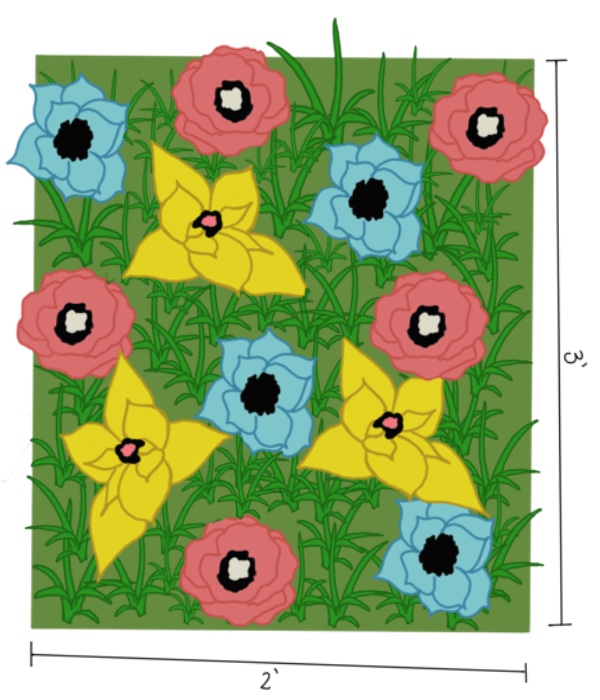
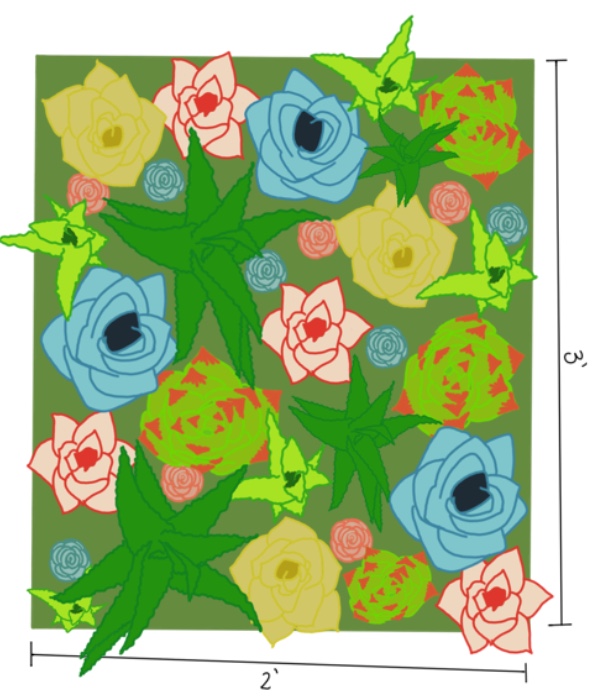
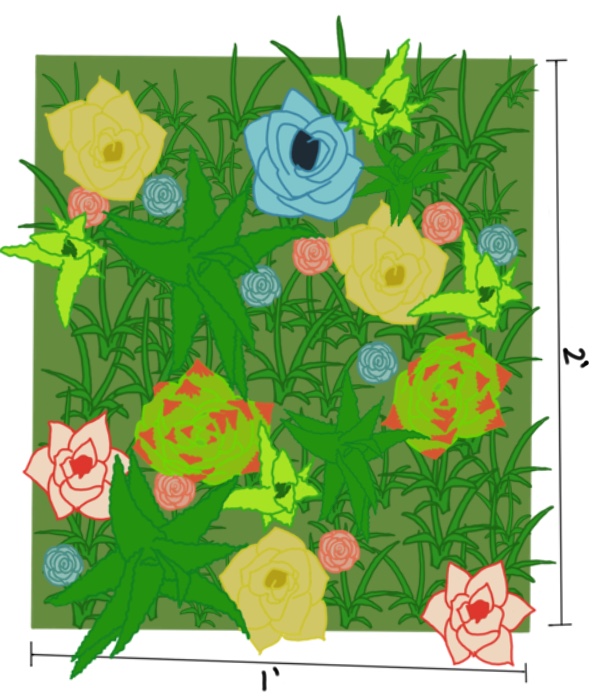
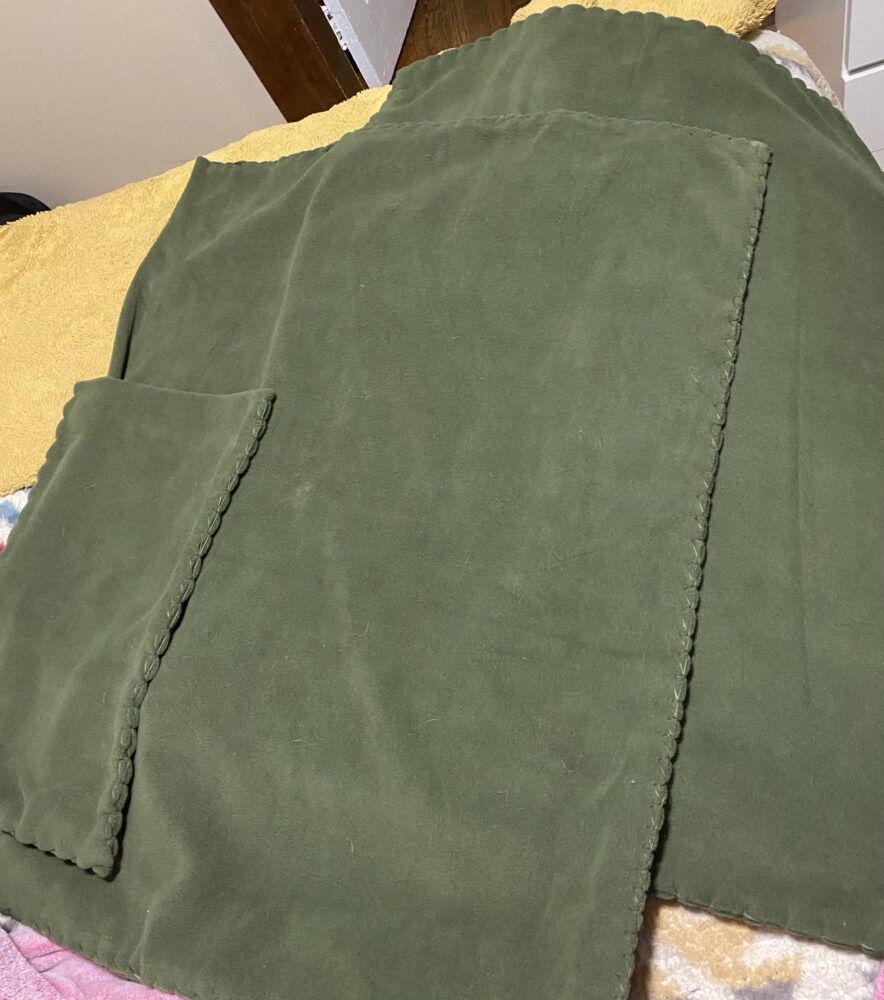
I started by creating the base parts of all the three mats. I used the same olive green colored fabric for all three. I made the mat bases each two layers to make them more sturdy. I then hand sewed the two pieces of fabric together. I had some challenges getting the needle through two thick layers of the fleece, but using pliers I was able to make it much easier on myself. The finished bases are shown below.
Once the base mats were finished, I moved onto the plants and flowers. Cutting out the petals and gluing them together took way longer than I had originally anticipated. After mapping some of my finished plants on a mat base, I realized I needed over 200 hundred flowers to complete all three mats. Which is a lot more than I had originally thought. Each color is a different shaped plant. I created the plants by cutting out long strips of the fabrics and cutting petals in each strip. Depending on the plant, I then cut the strips down to anywhere between 10 to 16 pedals. I then glued and rolled them up to create the 3D effect. This is shown below.
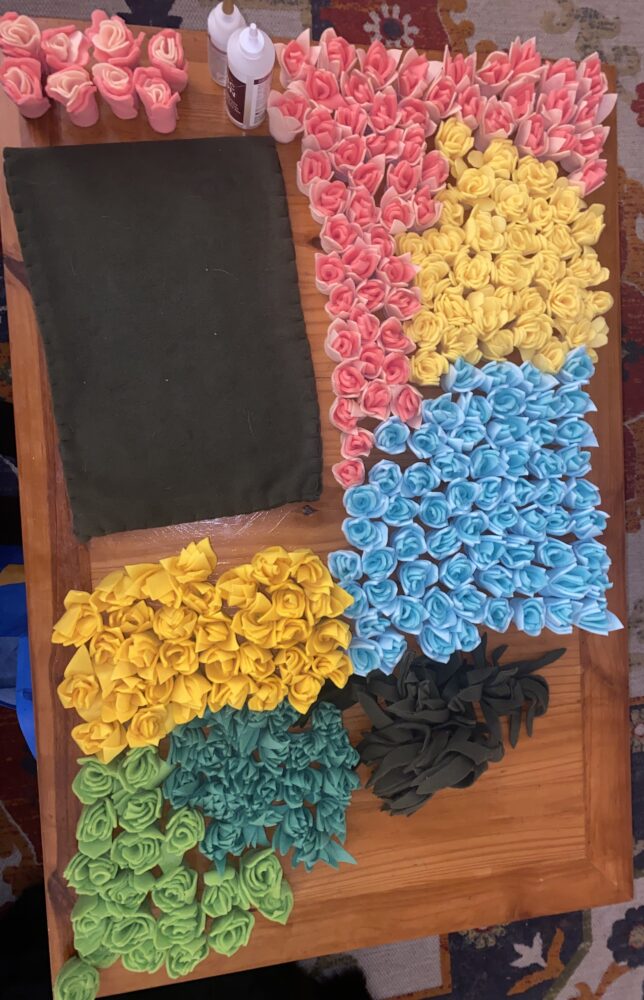
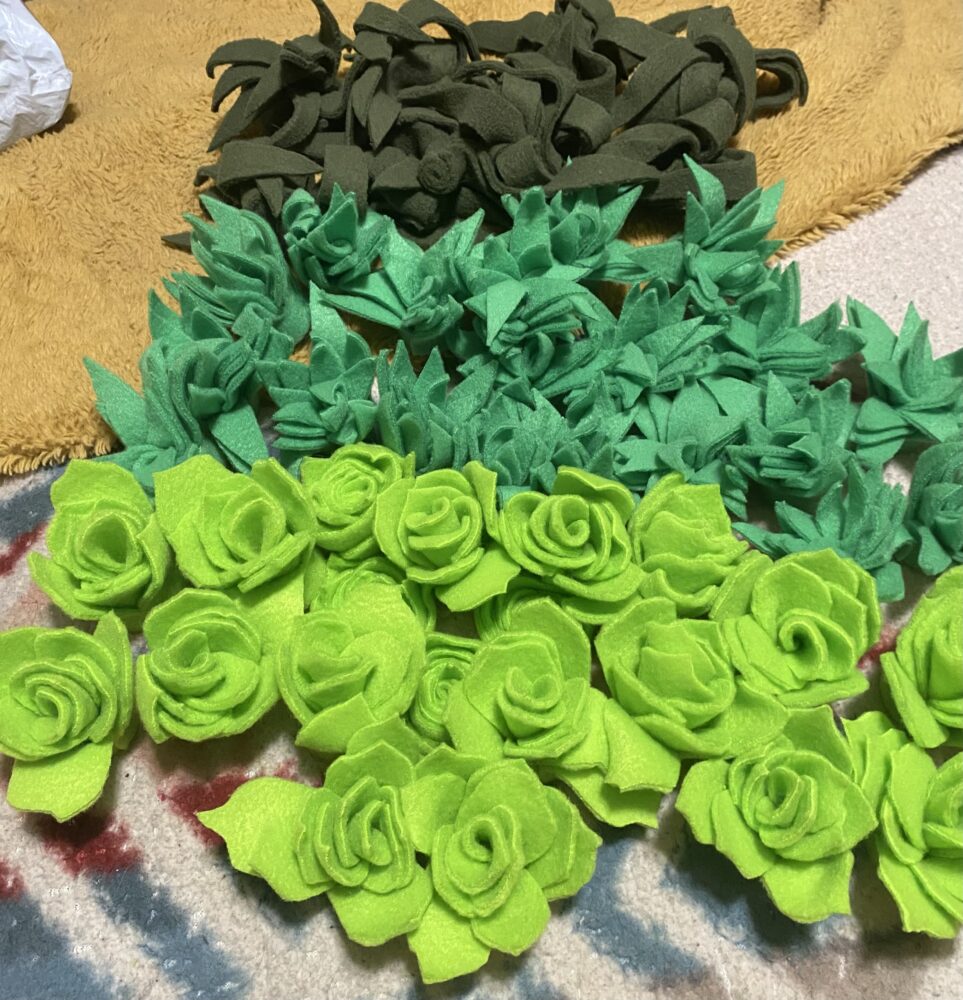
I was not able to finish all the flowers in the time frame that I had originally planned. This affected the amount of mats I ended up being able to finish. In the time frame, I was only able to finish two of the three mats. I finished the one for the cat and one for the dogs. I also needed even more flowers than I thought. I definitely need to make a few more flowers in order to finish the third mat. DO NOT WORRY I will be finishing the third one for the dogs, so no one is missing out.
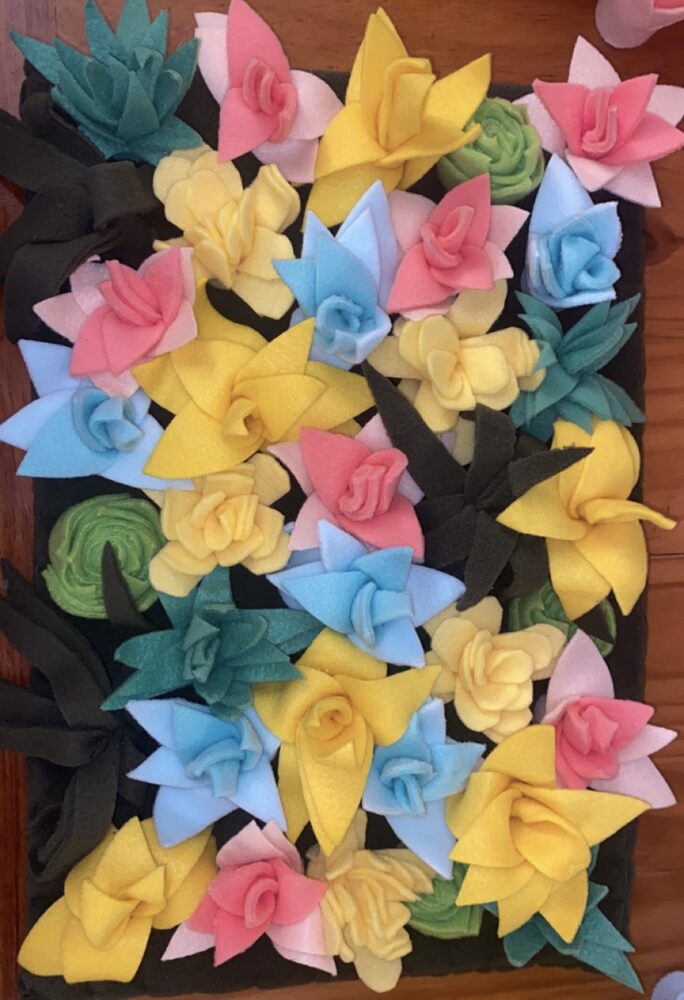
I ended up connecting the flowers to the bases using the fabric glue. I felt that sewing each flower on individually would take too much time and would be a bit beyond my skill set. I also had a hard time getting the needle through just two layers of fabric so getting it through the entire base of each flower would be significantly more difficult. Below is the two finished mats. The one on the left is the cat’s mat and the one on the right is the dogs’.
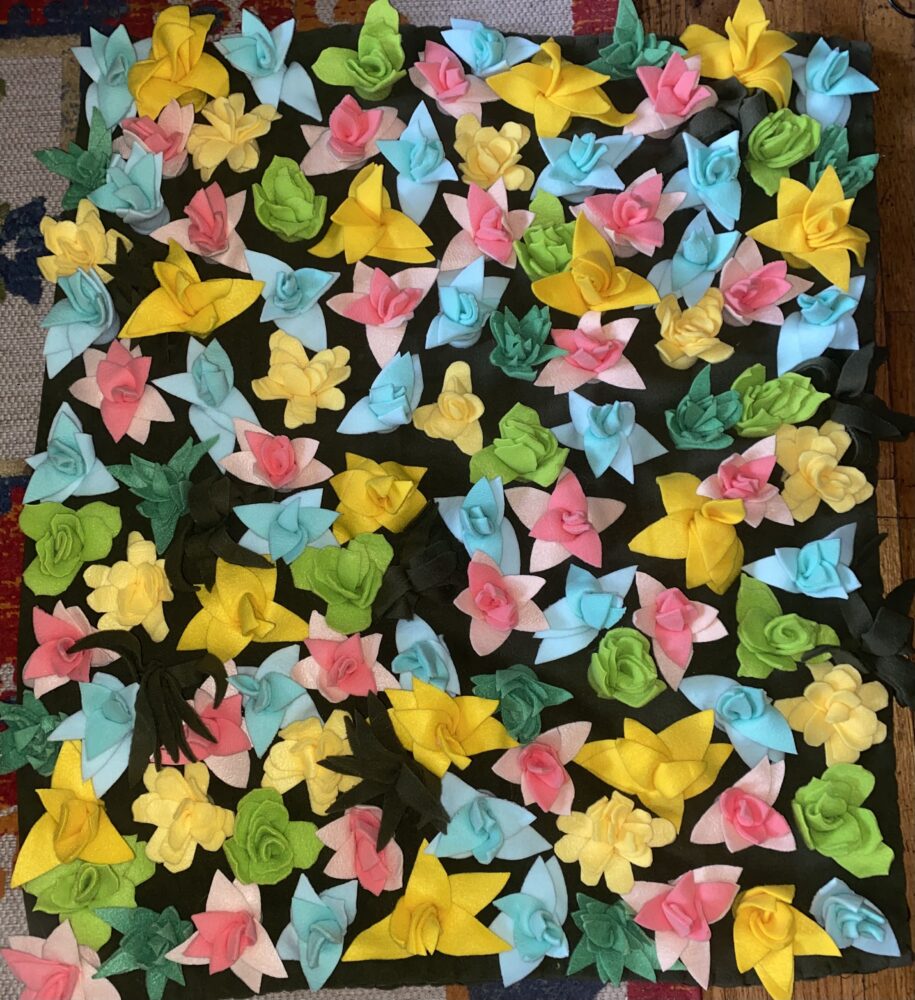
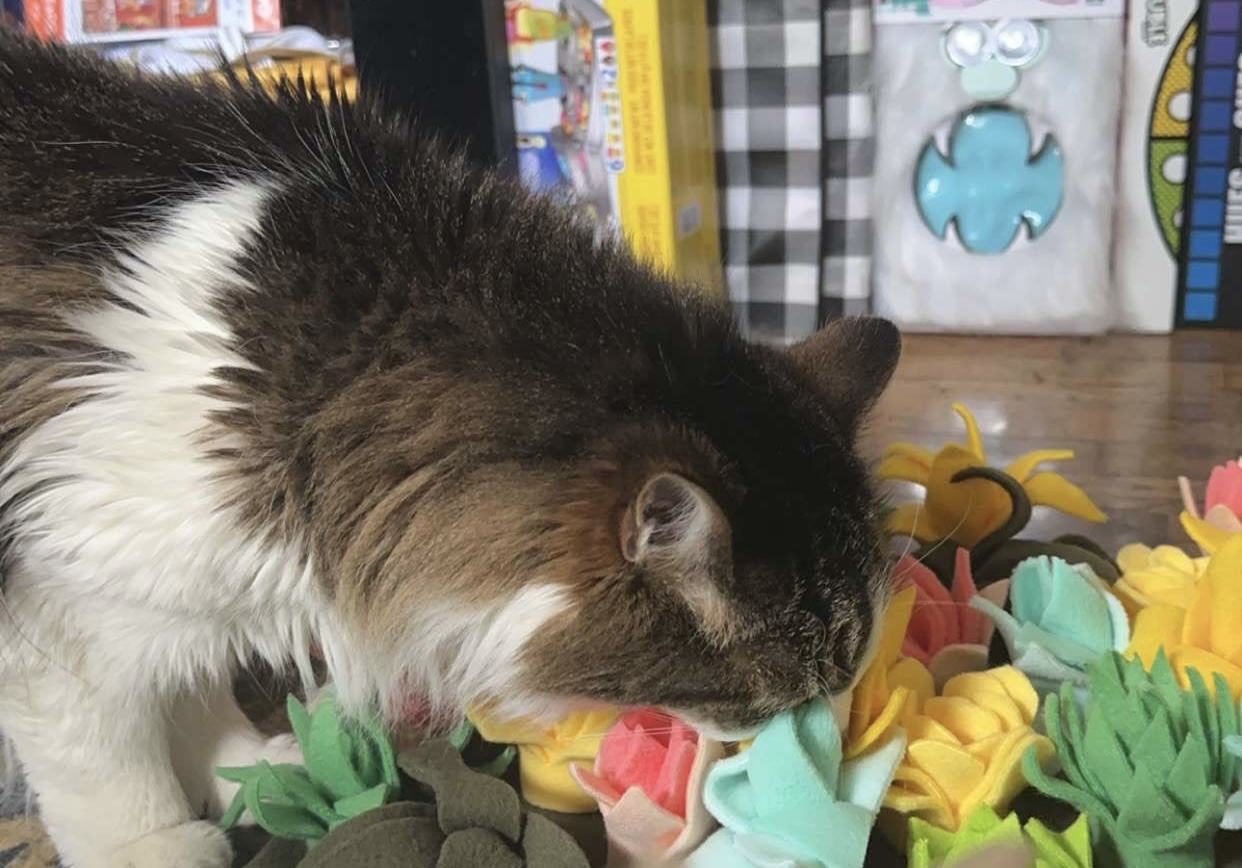
The glue ended up being strong enough and working well for the connection to the base. When I tested it with my pets nothing came off. They interacted really well with the mats during the testing phase. My dog ended up going through the entire mat and walking on it and there were still no issues with the flowers falling off. My second dog played with the mat as well but was just too shy to be in any of the pictures. Some pictures of the testing phase are shown below.
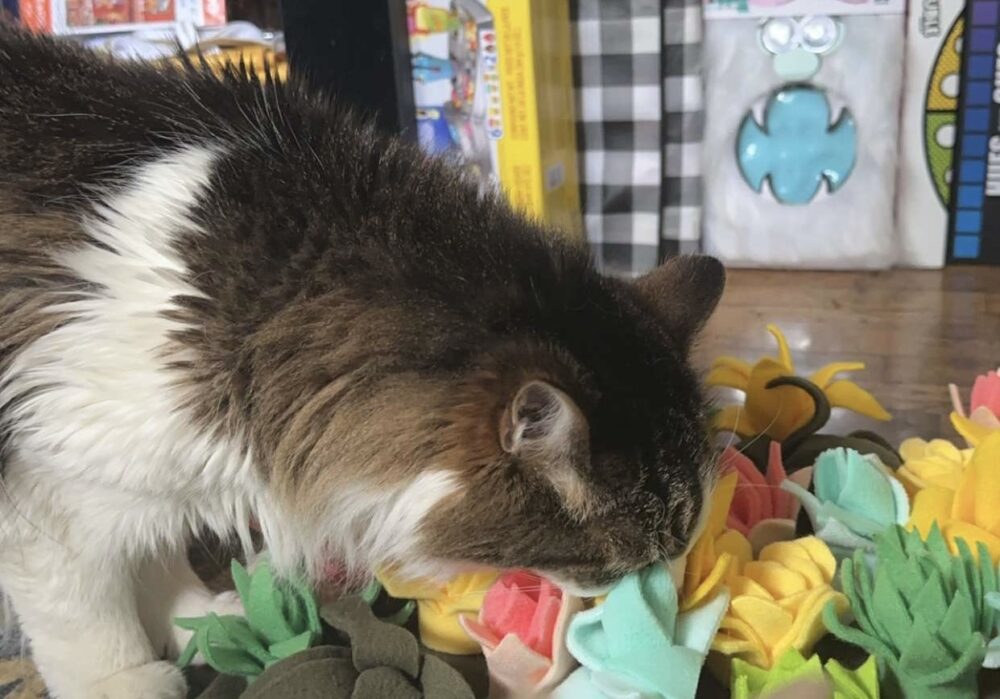
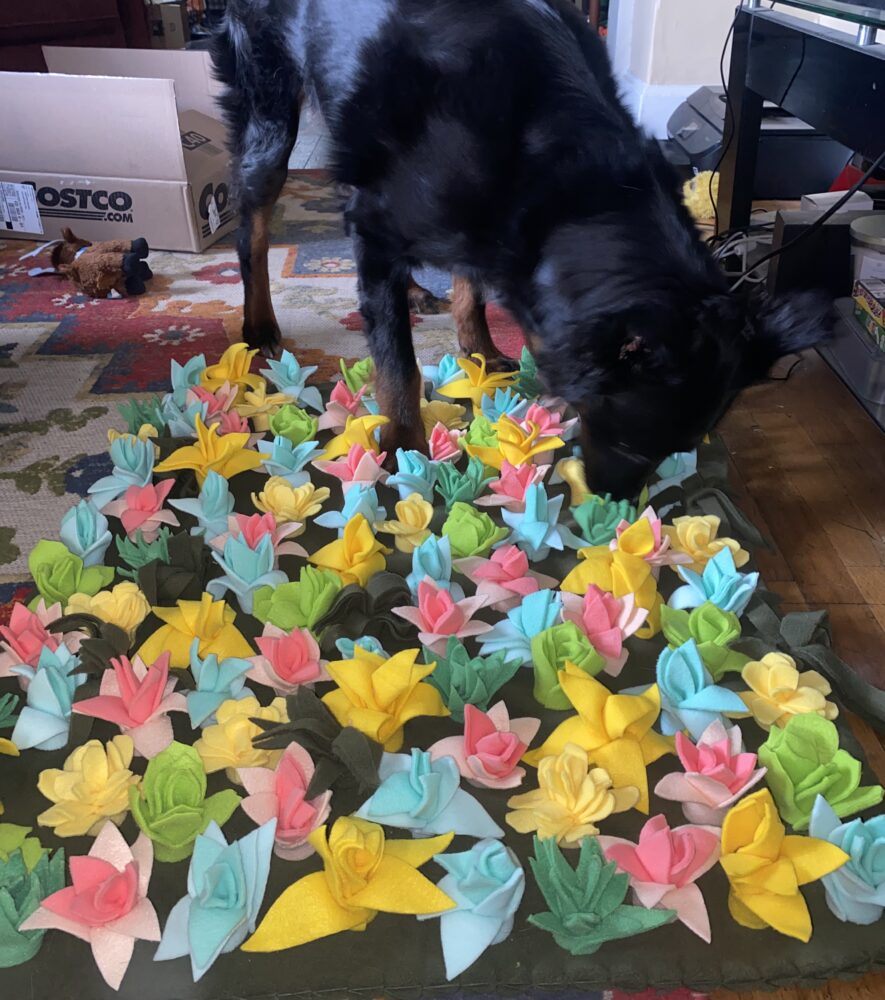
Overall, I absolutely love how this project turned out. The flowers are super functional for hiding treats and really making the animals search for them. I think it was a lot more time consuming than I had originally thought, but it was totally worth it. I learned a lot of new skills for working with fabrics. The animals absolutely love the final product! The dogs are very good at sharing the single one currently, but in the future I do plan on finishing the third one so that they all have their very own mat. I think this is going to be a very great toy for all my pets, and I hope that each mat stands the test of time. I think that the mats portray the Bloomcore aesthetic perfectly. You can see all the bright colors from the flowers, as well as the surrounding greenery. Also aren’t they so super cute!!!

2 Comments. Leave new
Hi Sierra. I think that this turned out absolutely amazing. The quality looks great and the colors really pop. I know you mentioned adding weights or suction cups to prevent it from moving. Was that a nonissue or are you planning on doing that later?
Hey Sierra, it looks great! How long did it take to make one of the mats?