Since the design review, I have made significant progress on my fountain birdbath project.
Materials
Two weeks ago, I purchased all of the materials to fabricate the birdbath. From Home Depot[], I bought plastic pots, saucers, duct-tape, and concrete mix. After beginning project fabrication, I purchased more materials that I realized I would need, including a large bucket and strong mixing sticks. The final cost of materials came out to be $110.00, including the pump that I found for this project.
Castings
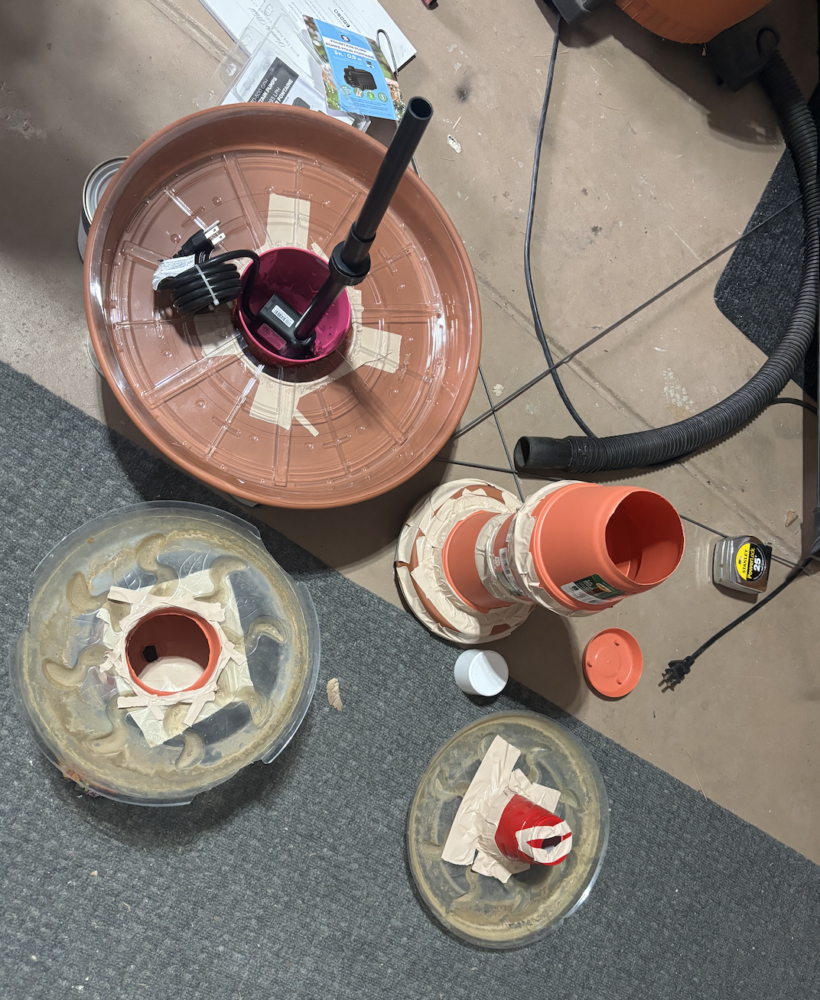
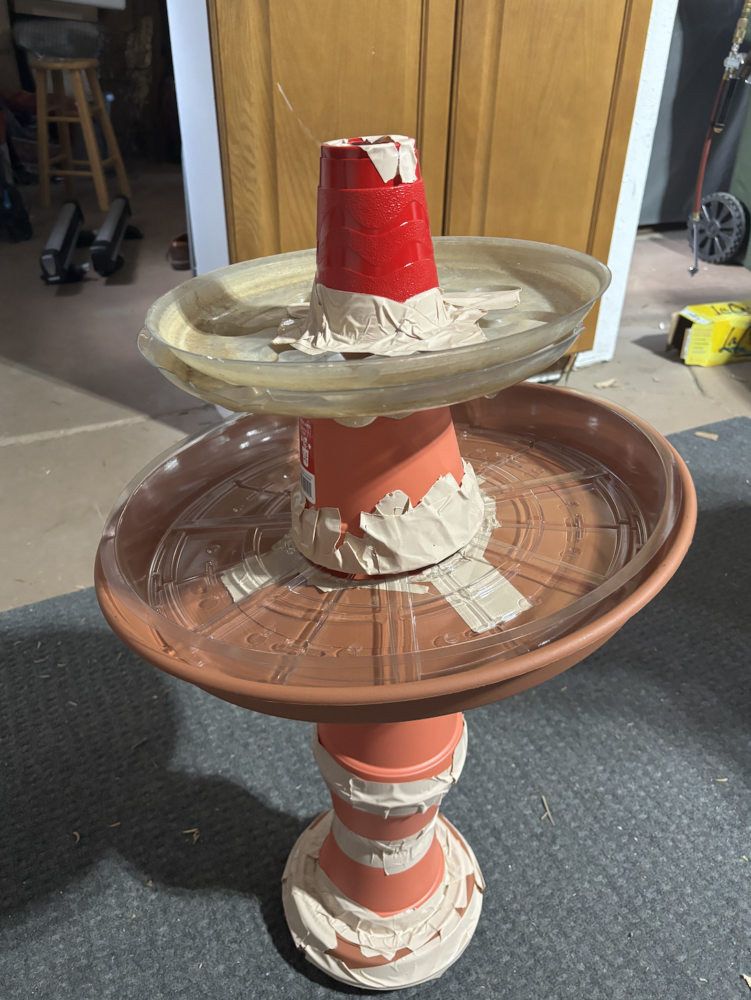
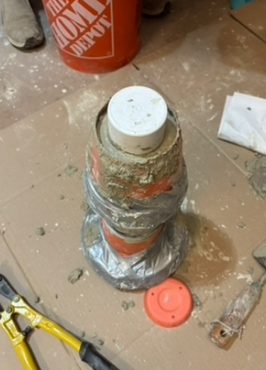
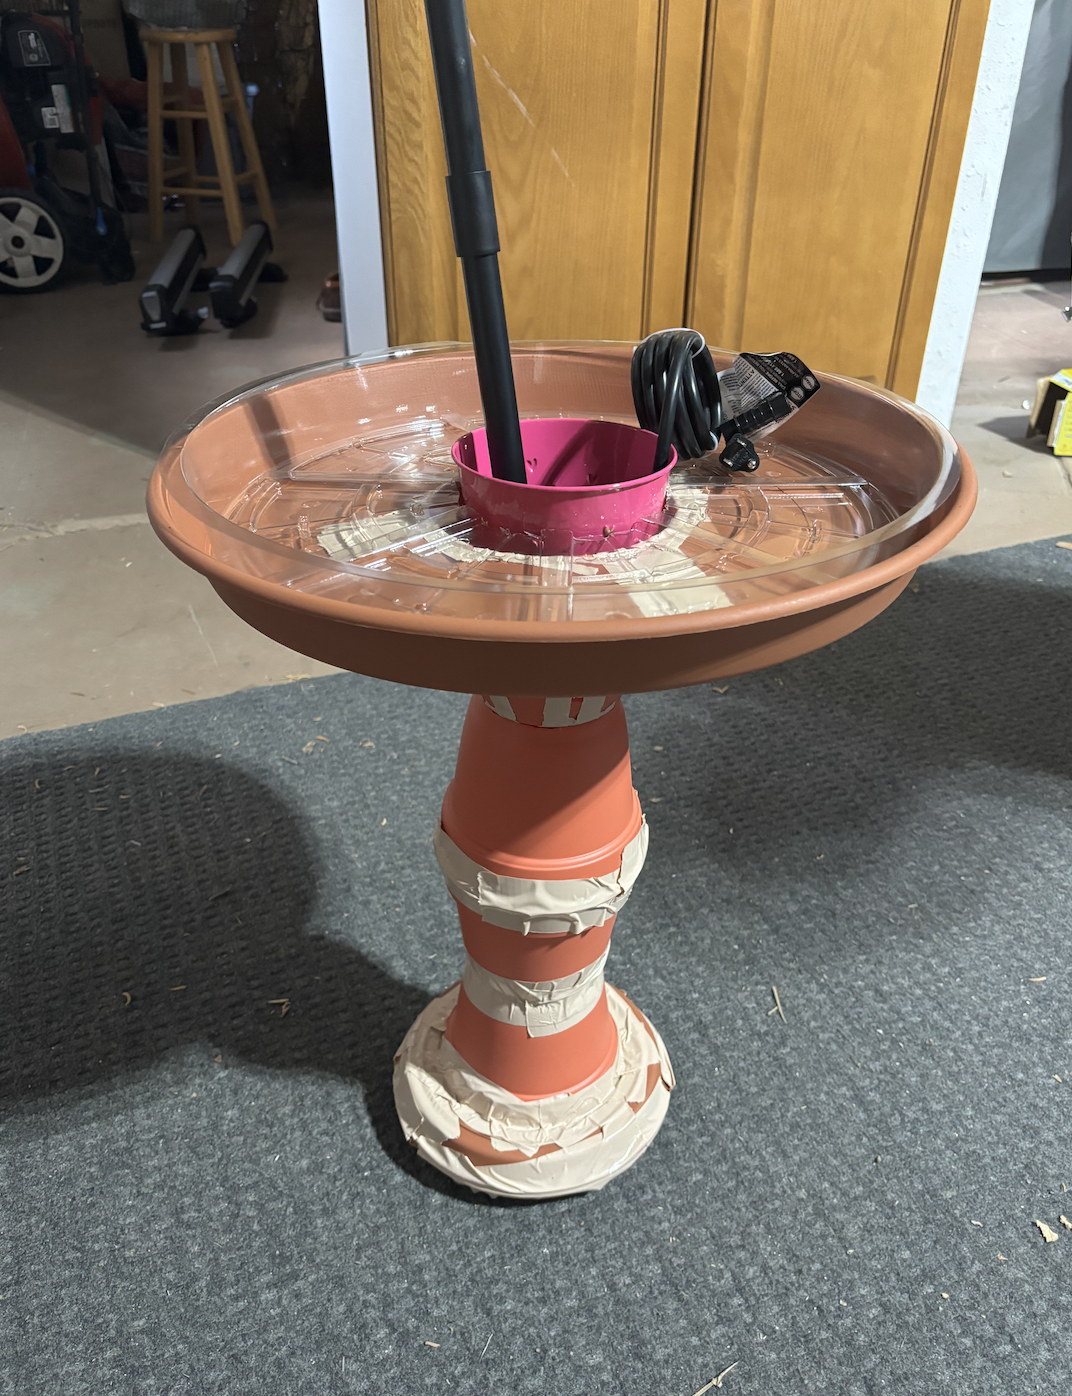
I have formed the castings needed for each piece of the birdbath. The images below show the castings in which concrete will be poured. After the concrete mix dries, I will cut away the castings.
Water Pump
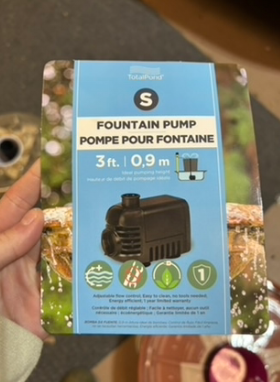
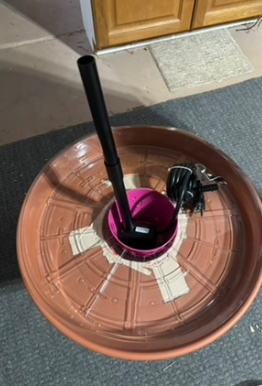
The following image is the water pump that I will be using for this final project. It is small, lightweight, and the entire product can be submerged in water. For this reason, it is not battery-powered. Therefore, I have modified my design so that the pump can sit in a reservoir beneath the birdbath’s largest bowl. The tube of the pump will be concealed in the design, and it will spray water at the top of the fountain. This water will fall onto a second smaller bowl, and then fall back into the main bowl and back to the pump. I have included a photo visualizing where the water pump will sit in the actual birdbath by placing it into the castings of the main bowl.
Pouring Concrete
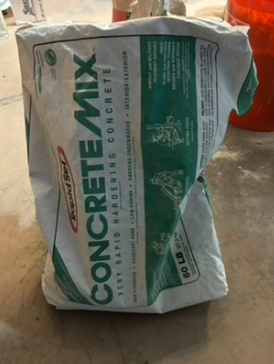
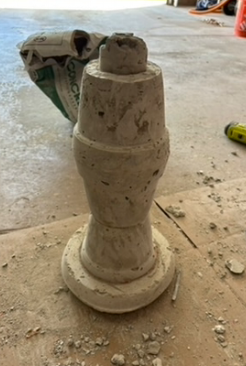
I have created the base of this birdbath already. To do so, I mixed the fast-drying concrete mix, pictured below, with water, and scooped it into the base casting. To ensure the concrete fully dried, I left the mixture in the casting overnight. You will notice on the top of the base a small extrusion. The main bowl has a matching hole to fit this extrusion, allowing the bowl to rest on top of the base securely.
To finish this project, I will be pouring the rest of the birdbath components this upcoming weekend and assembling the pieces together. I will also treat the birdbath with a water sealant. I look forward to seeing how the final project comes together, especially once the pump is filtering water throughout the piece!

2 Comments. Leave new
I love how light weight and inexpensive this project seems from the base materials. It seems easy to recreate too if you’d want to make a second one.
Hey this is awesome! My project also has concrete so its cool to see someone else is pouring it too. I am excited to see the bowls finished. Also nice that there is a water pump because some bird baths are static. Is there anything to keep it from freezing over during the winter? I know you can get water heaters specifically for bird baths.