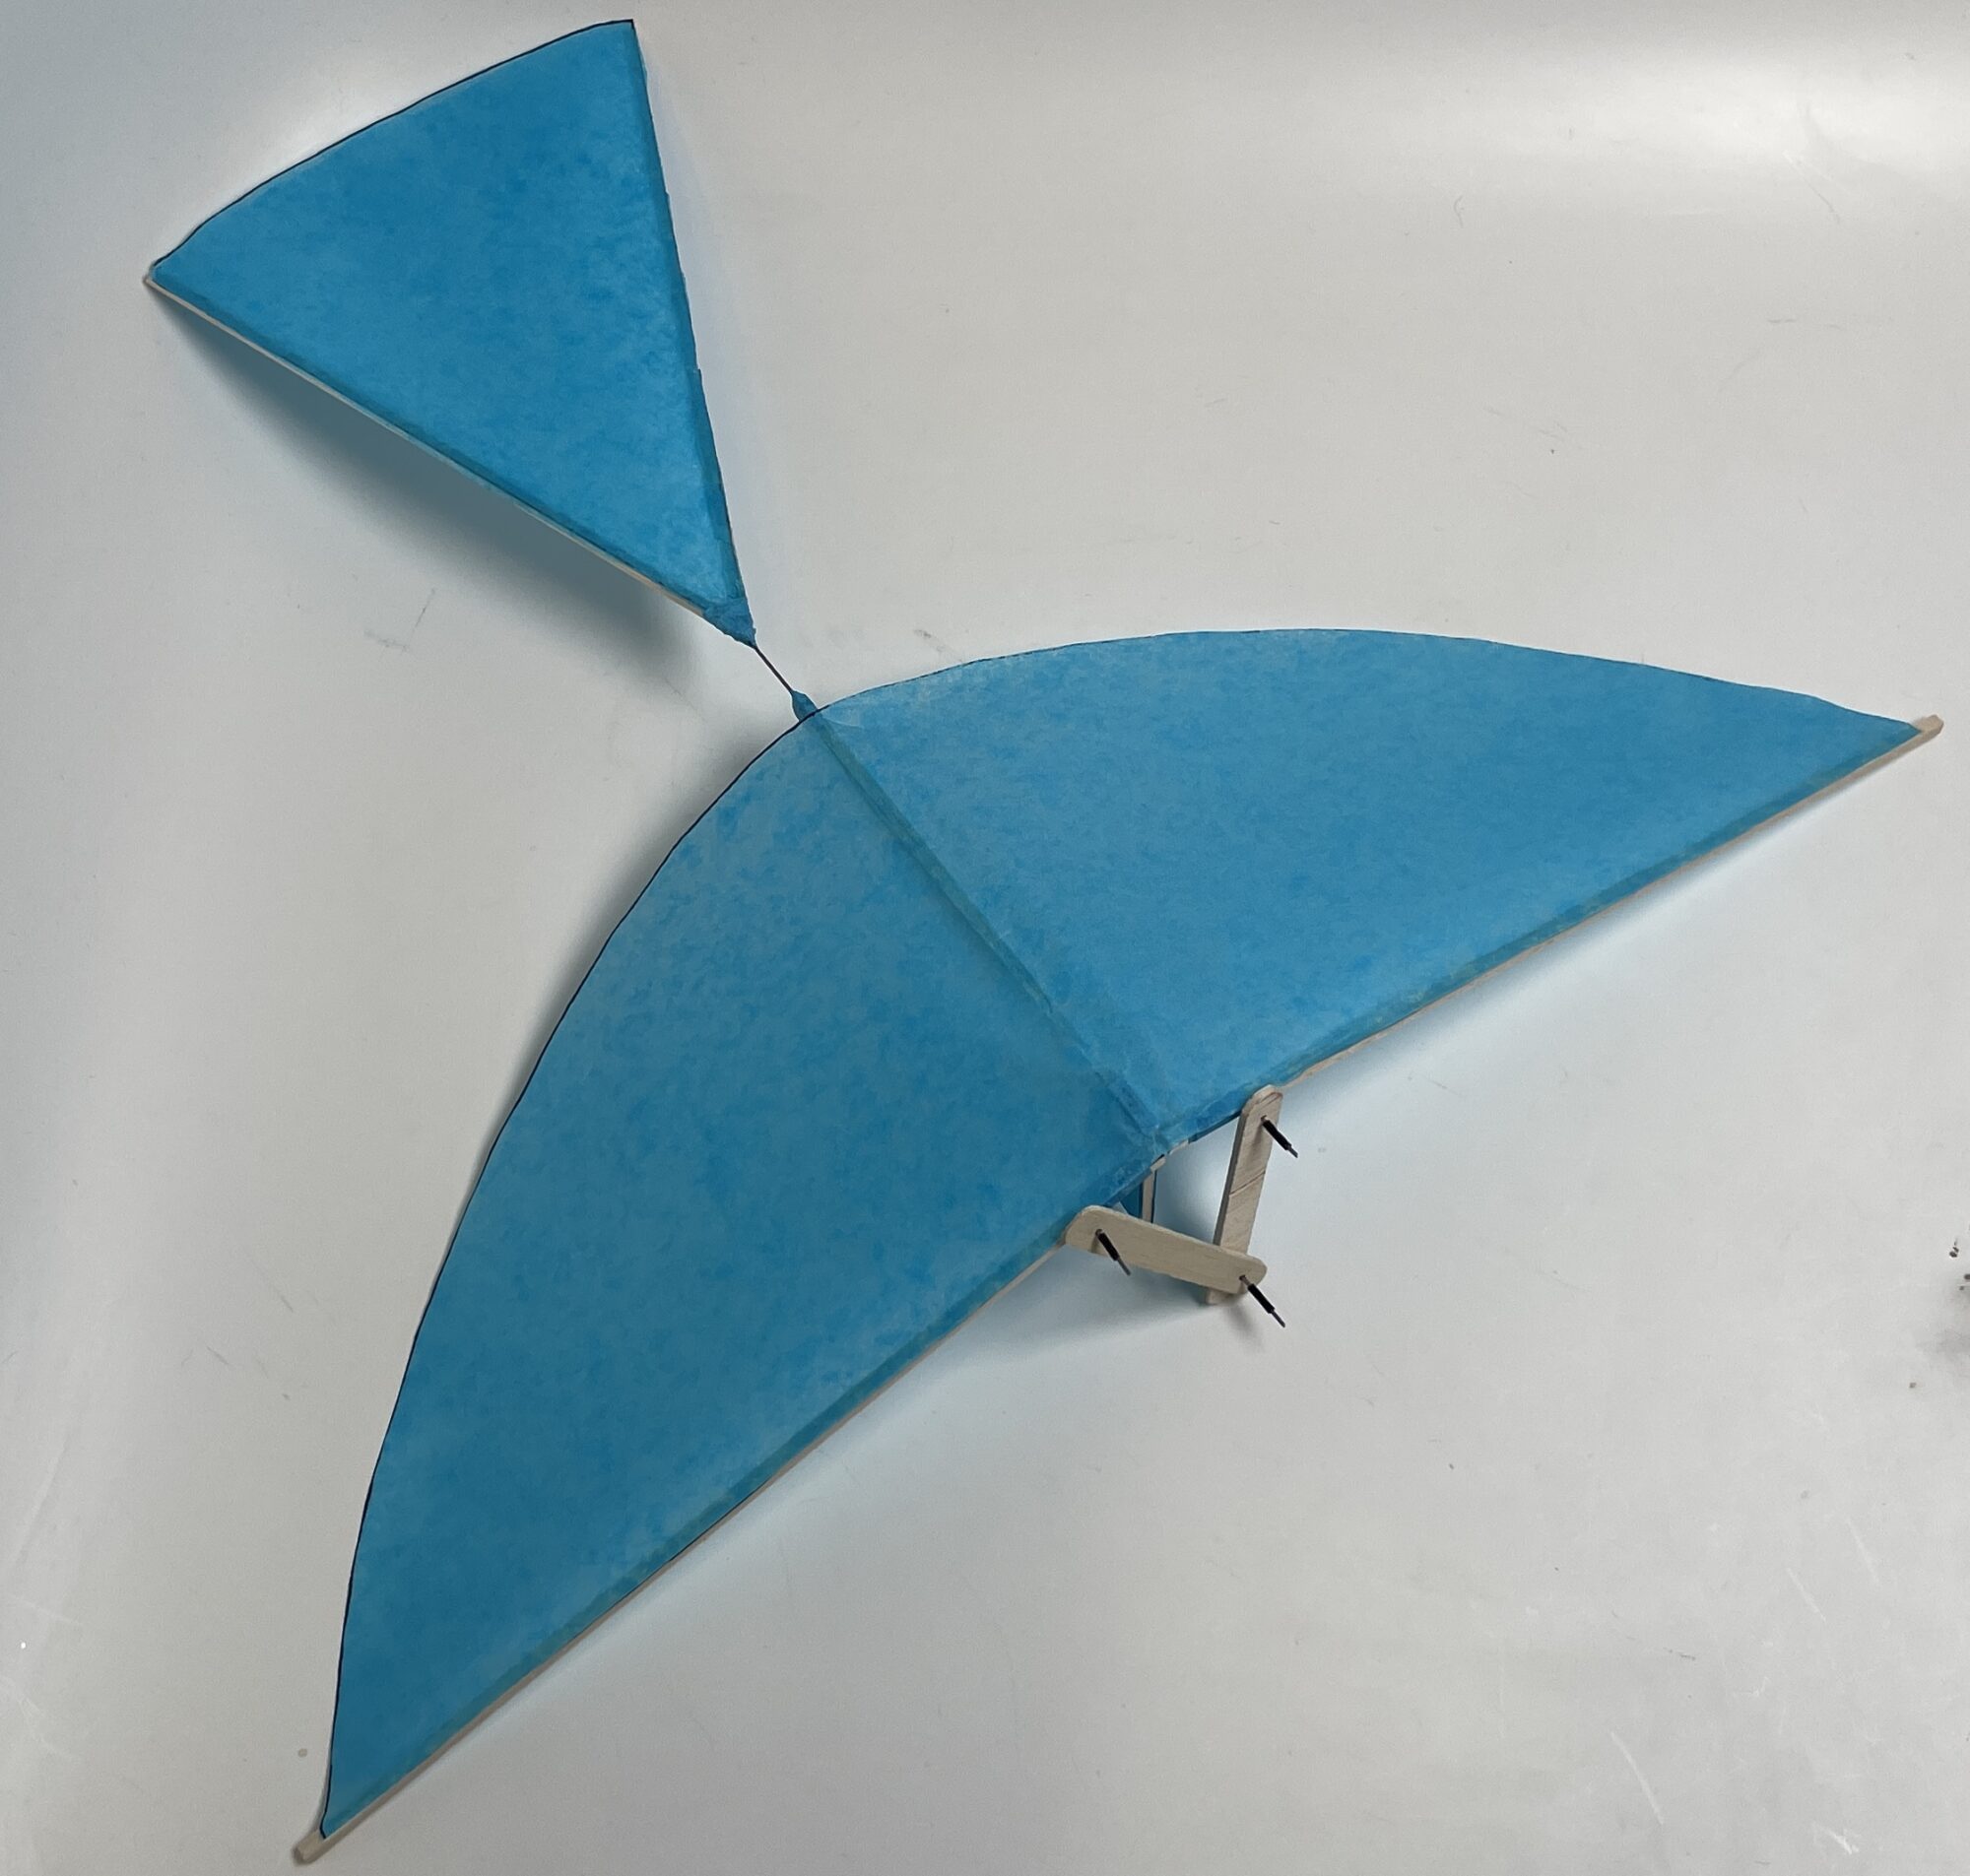
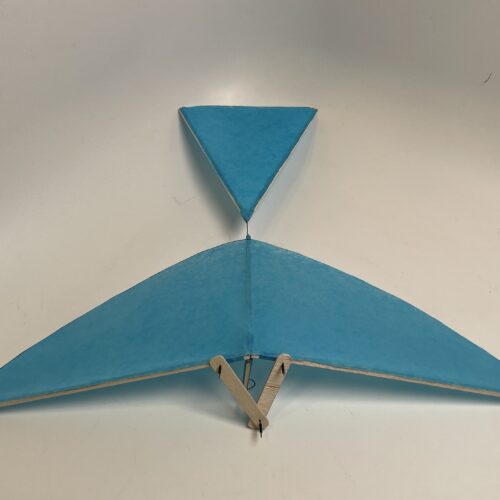
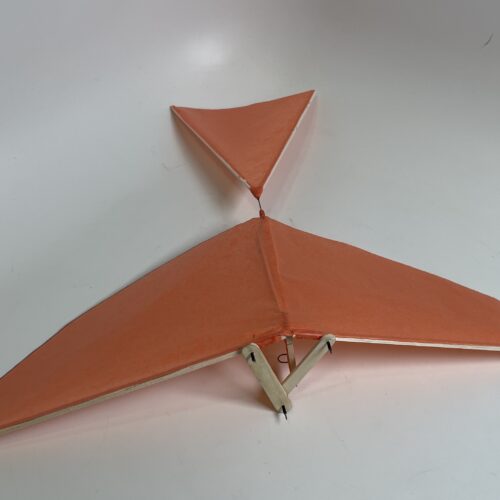
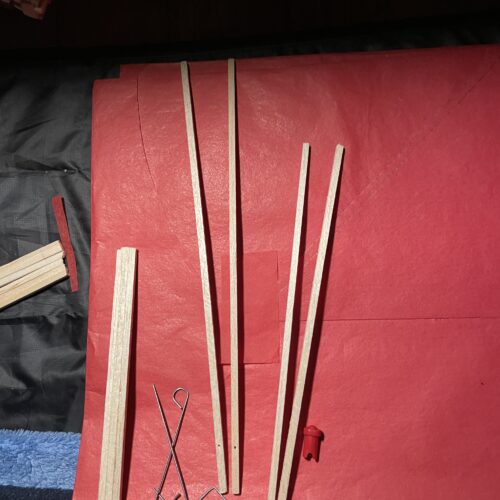
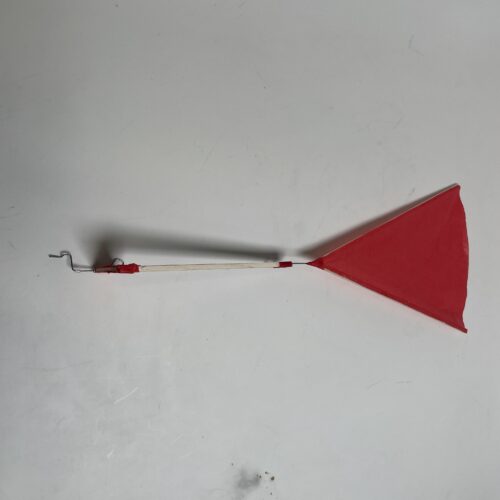
I have made quite a bit of progress since we last documented our updates. I have finished constructing 2 ornithopters and have begun testing them.
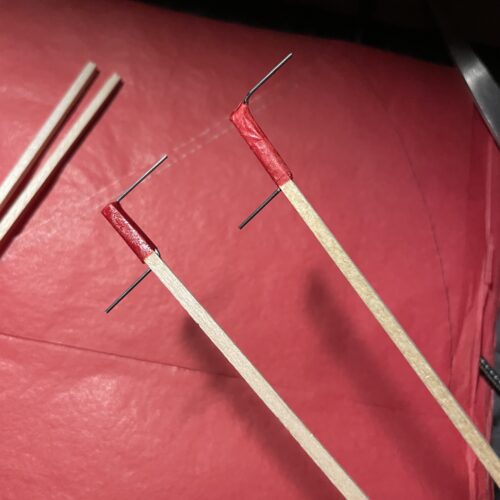
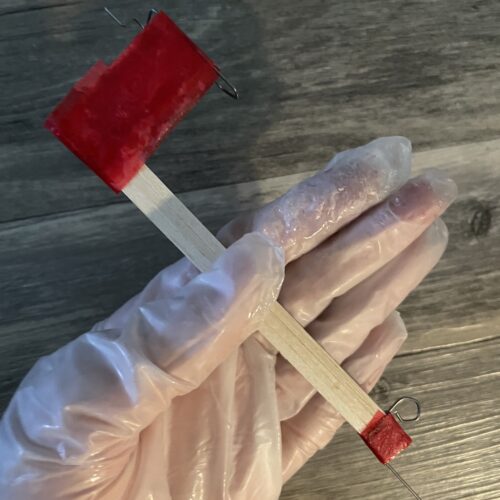
Assembly took more than hours due to each step needing to be precise. The wire that rotates the rubber band was quite a hassle to get right as there were at least 4 bends that I needed to do to a little over 2 inch piece of wire that was connected to the body of the ornithopter. I ended up having to redo that step a couple of times because I didn’t get quite the right angle I needed.
Before I could test I discovered another problem with the rubber bands that I had ordered which I discussed in my last post which I will summarize here by saying they were too wide for the application that I was trying to use them for. The large size seemed to get in the way and was causing a lot of friction so when it tried to unwind it wasn’t at all consistent. I attempted to modify the rubber bands by cutting round the loop to make the thickness about half of the original which seemed to work the best but still had the problem of sticking inconveniently. I tried other options from the store but ended up having to order the model airplane rubber bands that I should have gotten in the first place.
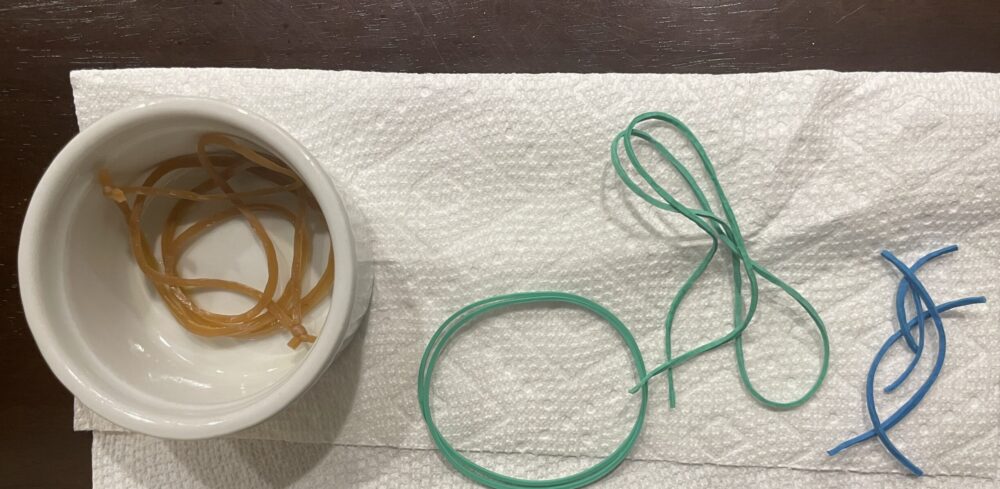
As for the first test I was using the modified rubber bands that I had cut in half and oiled to reduce the friction. They were a very good option and resulted in the ornithopter only getting a few good flaps in before it stopped. However for what they were it provided a good test to see if the two ornithopters I made had any potential.
I think it ended up moderately successful as they flew in a circle with I think one of the longest attempts being close circling 3 times before hitting the ground. Something that I had noticed was that the orange one that I had made flew better than the blue one. My best guess as to why that was comes down to the weight distribution differing slightly between the two as the gluing and placement of each piece differed slightly.
While I was testing the blue one disaster struck. As I was winding the rubber band around the 65 turn the connection between the vertical and horizontal join snapped because of the amount of force the rubber band was exerting onto the hooks. This was a bit unexpected because with the other one I was able to wind the wire a bit over 80 times. That is where I called it for the first test. After testing each ornithopter a few times and snapping one of the joins. I moved onto reapplying the wing tissue to both, fix the join on the blue one, and order the proper rubber bands.
For the next steps I would like to test again with the two originals and also make a larger model that will probably follow the overall form of the originals but because of the larger size I will need to modify the design. I am not sure the large model will fly, but because it is at a larger scale I hope that all the pieces will be easier to see (as an example piece).
______________________________________________________________________________________________________
Prompt: Document the progress you’ve made on your main project this week.

3 Comments. Leave new
[…] Post 10: Progress […]
Hi! I’m super excited to hear about your progress on the bird sculpture! I love hearing about how you’re problem-solving to get the structure built! How are you going to add to the color scheme in the future, if at all?
Hi Sophie, I really enjoyed your post! Your dedication to constructing these ornithopters is very impressive, especially getting past all of those challenges. Your implementation of the rubber bands to reduce friction was really smart! I’m excited to see the final product. In the end what is your definition of success for this project?