For my upcycle project, I decided to pursue the creation of a rustic, mid century-style wall piece. This aesthetic was initially appealing because of its ability to appear timeless among a variety of different decoration styles. Mid-century design is highlighted by its wide and common use of wood, particularly wood that is stained by darker and richer tones. Because of this stained wood style, mid-century furniture and decoration blends well with a variety of different decoration styles, from older and more classical styles to modern and clean designs. Wall pieces in particular blend in well with the modern aesthetic when stained with darker tones, allowing them to work well with other neutral tones, since the darker hues appear closer to black than the natural color of the wood.
For my wall piece, I decided to construct a wall clock, a piece which would both enrich my home environment with its styling, and offer a functional, day-to-day object that I can use for years to come. I also wanted to add a dynamic element to my piece, so that it can be appreciated beyond its momentary appearance. By incorporating a moving mechanism, this piece inspires regular observation, adding to the artistic value of the piece.
To begin my upcycle project, I needed to identify a material which I could give new life to. The material I settled on was a wooden pallet I found in my driveway. Typical pallets utilize the abundant yet high quality pine wood as lumber. Due to pine’s beautiful grain and workability, the pallet wood was a perfect choice for me to incorporate into my upcycle project. To harvest the lumber from the pallet, I used a hand saw and removed various individual pieces which appeared to still have high quality material. When the pallet was originally produced, it was spray painted blue, which caused the wood grain to lose visibility, but by using the wood face on the underside of the lumber, I was able to take advantage of the pine’s unique grain structure.
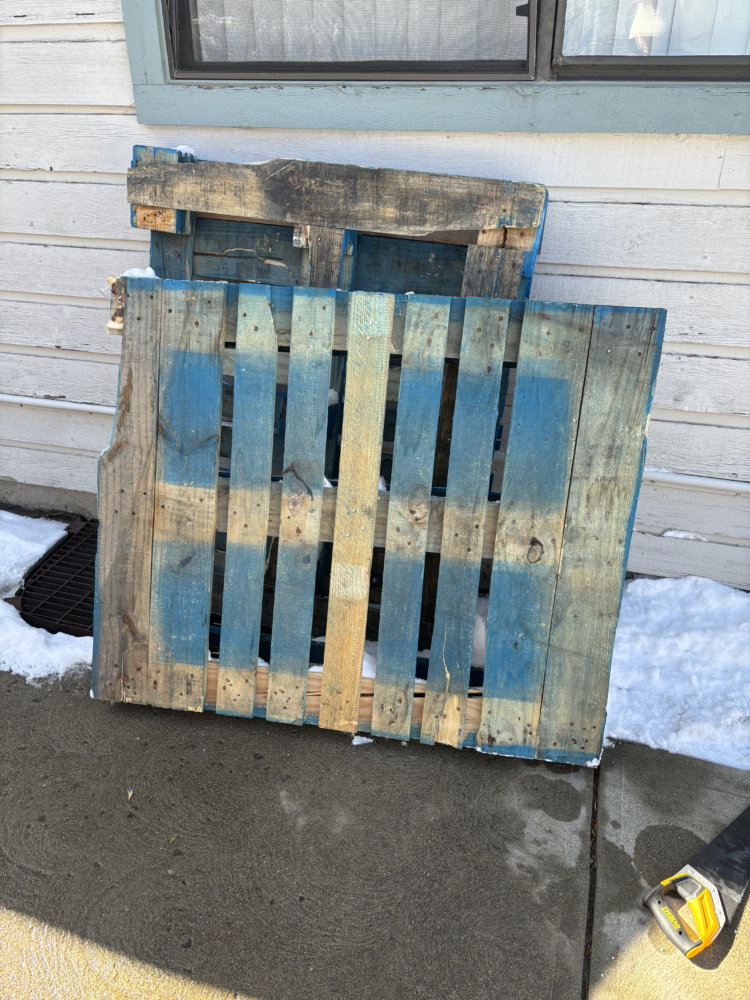
After isolating my material from the pallet, I had to remove the nails and various fasteners which were used to construct the pallet. I did this using a hammer, although the process proved to be challenging since many of the nails and fasteners were bent after being in the wood for some time. To remove them, I had to straighten the exposed side of the nails, and then carefully remove them to ensure that the lumber would not split or fracture in order to maintain the high surface quality of my final vision.
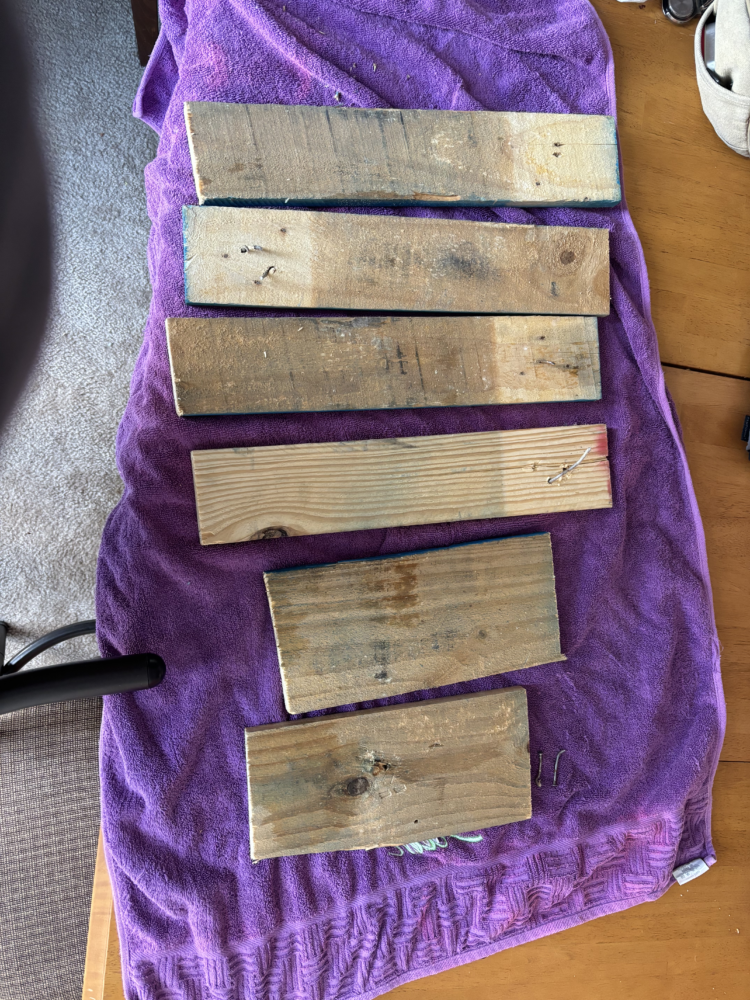
The next step in my artistic process was to cut the lumber to the necessary lengths as outlined in my design plan. I once again employed the use of a hand saw, as I felt that the use of hand tools honored the rustic style aesthetic that I had envisioned for this piece. When developing my design plan, I determined that the use of precision machinery would hinder the character of my piece as a rustic yet charming element of home decor. The piece’s small imperfections perfectly echo the design process, and give legitimacy to the overall aesthetic I aimed to achieve. I found that this gave the artifact a pleasing circularity, since the labor and tooling realized the aesthetic, with the aesthetic, of course, inspiring the unique production techniques.
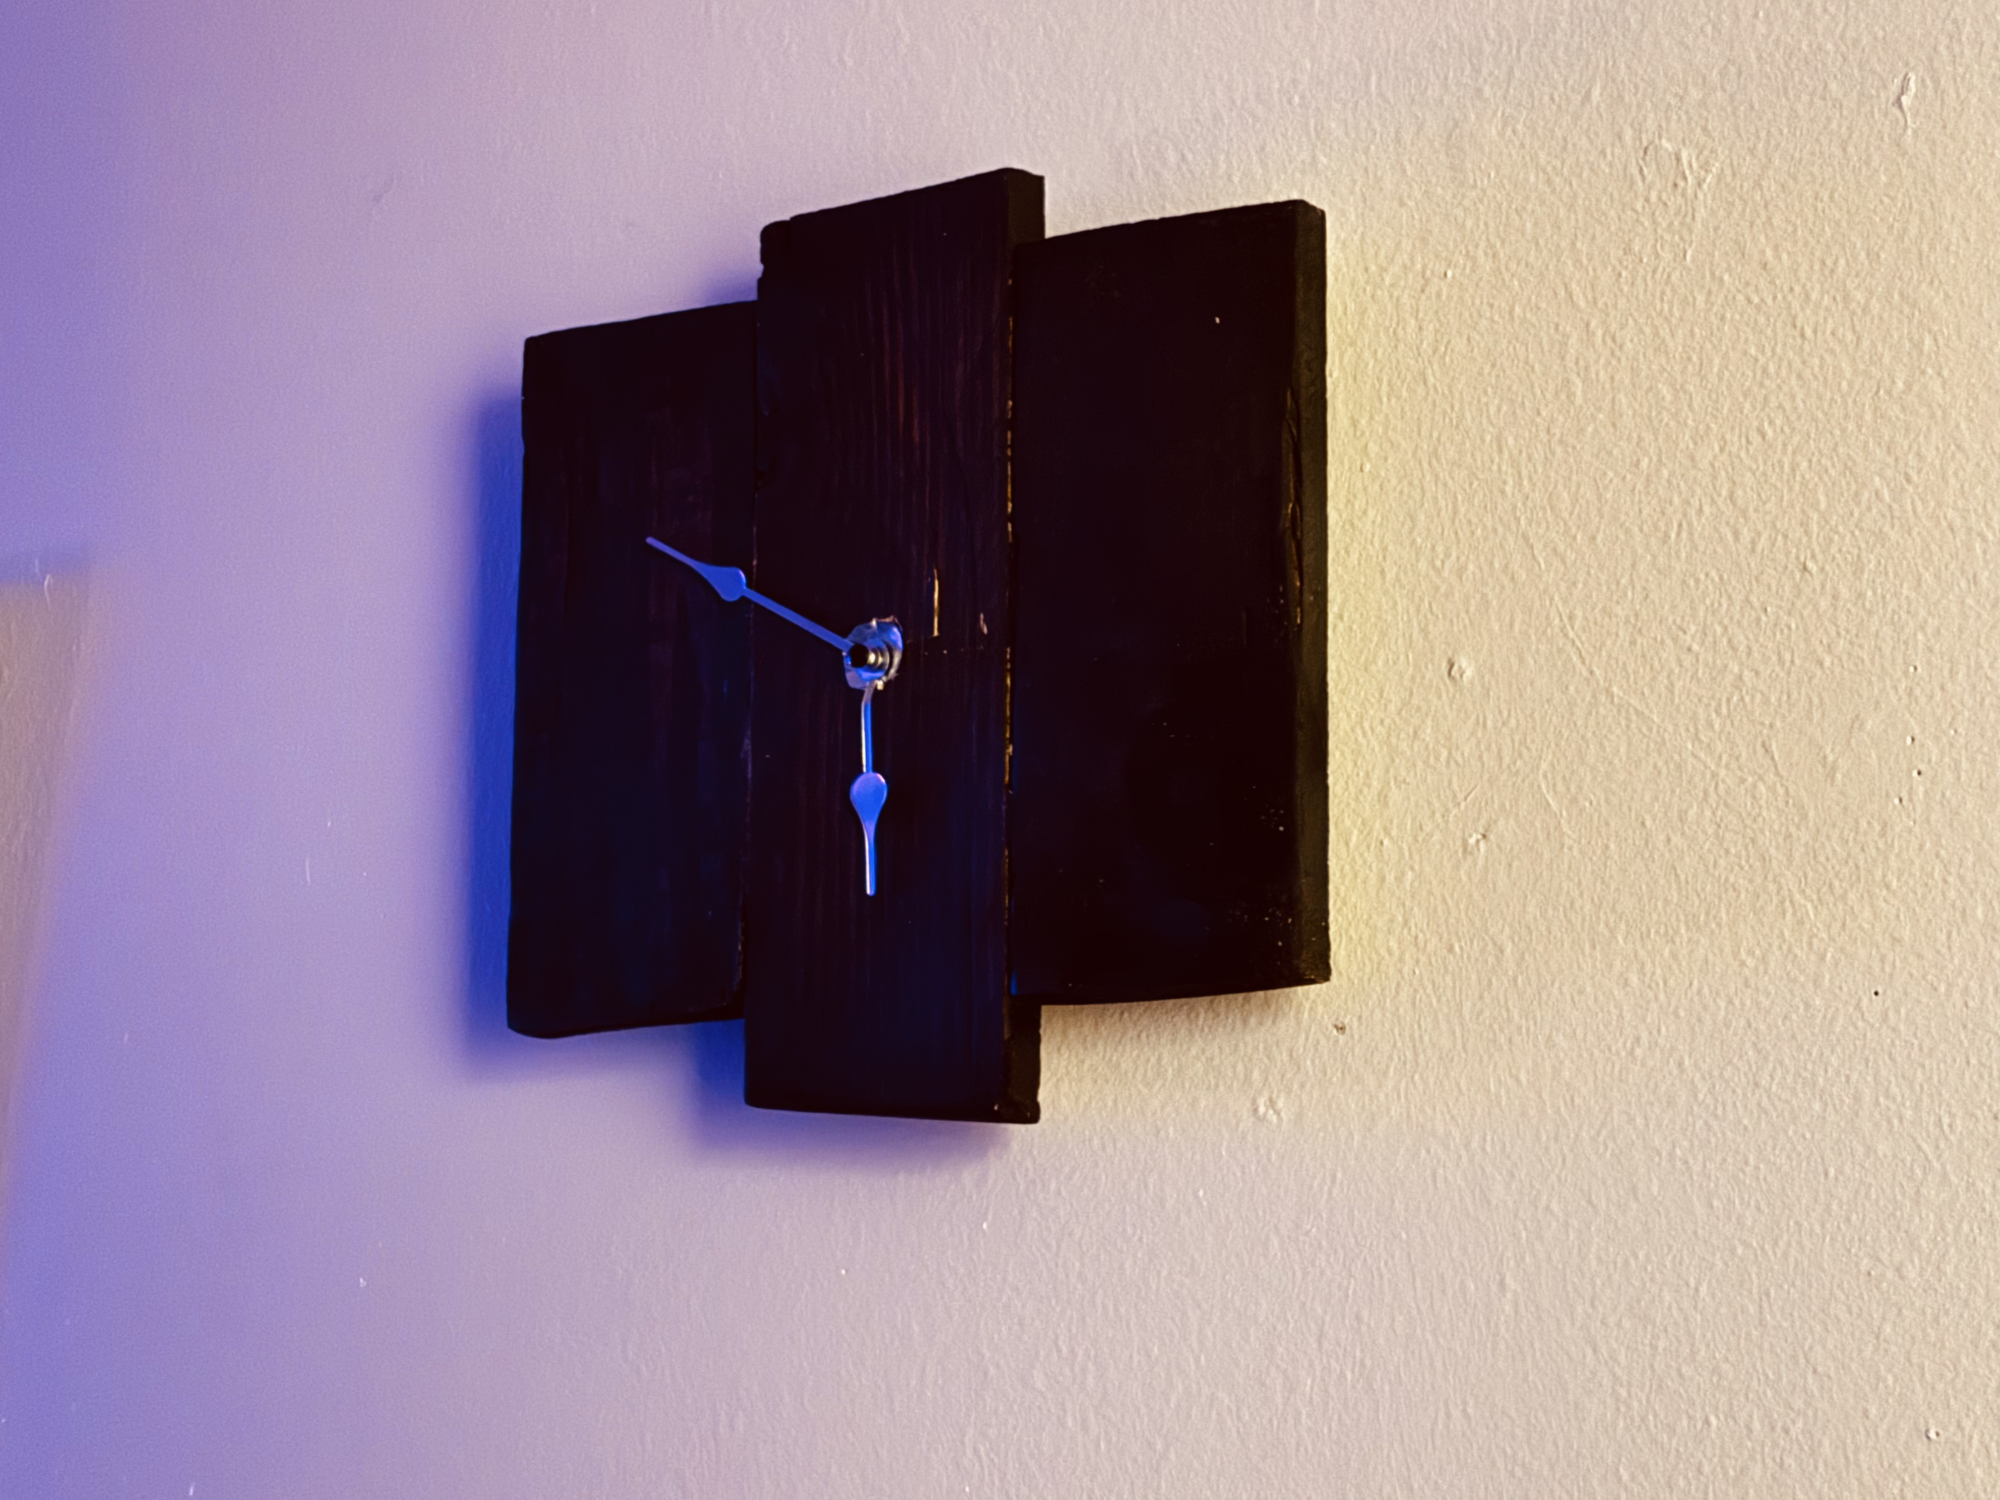
After cementing the rustic aesthetic element into my piece by means of tooling and manufacturing, it was time to fully instill the mid-century inspiration into the wood. To do this, I selected a wood stain with the perfect hue to match my vision, but also maintain the piece’s usability in a modern setting. I selected a dark hue titled “Kona,” which when under darker lighting conditions, appears smoky, muted, and deep. When exposed to light however, the stain shows its true colors: a vibrant, lush, and invigorating mixture of darker, coffee like hues blended with the standout tones of caramel and tanned hide.
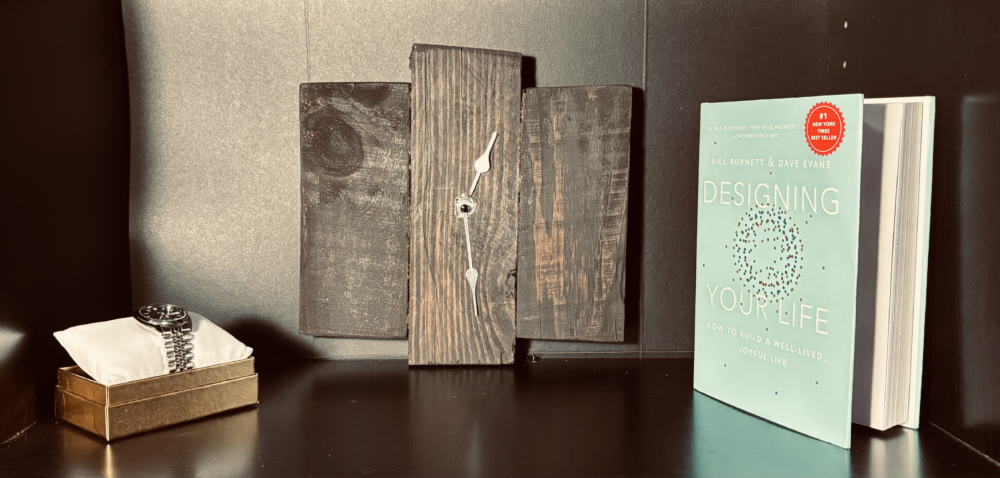 Like many mid-century pieces, it was of great importance to maintain the visibility of the beautiful pine wood grain. For this reason, I selected a wood stain in favor of a paint, which would provide the rich tonal gradient I envisioned rather than just a singular flat color. My goal for this piece was to build an artifact which could be appreciated far past a passing glance, and by selecting the finish the way I did, the overall piece became much more thought provoking, timeless, and desirable.
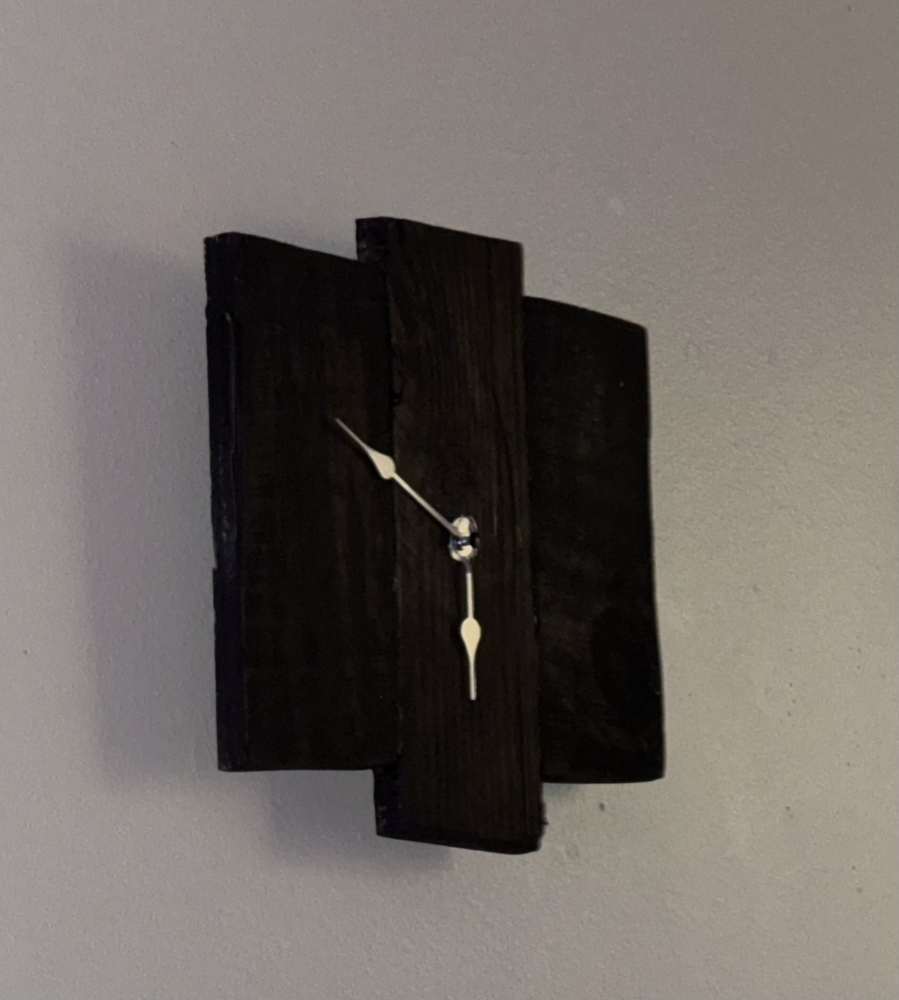
The next phase I needed to tackle to realize my vision was the precise fastening of the wooden pieces. In order to maintain the wood quality and prevent extra metallic components from disrupting the timepiece’s aesthetic, I made the decision to avoid metal fasteners such as nails and screws, and opt for a less visible and more streamlined fastening approach. For this reason I selected wood glue, a highly effective yet understated fastening method which allowed me to keep the emphasis on the wood by not including distracting metallic elements. When joining the pieces into one unified piece, it was necessary to ensure that the balance of the piece was maintained. To do this, I carefully measured and placed the pieces in an orientation such that the side pieces would not be misaligned, and the top and bottom of the side pieces were equidistant from the edges of the central lumber element. The time spent properly aligning the wooden components adds to the harmonious balance one feels after observing this artifact, as the mind perceives the shape to be square, evenly distributed, and well crafted.
In order to extend the lifespan of my piece, I decided to install cross members on the back which spanned across all three of the main lumber components. The design intent of this addition covered two important bases: increasing the structural rigidity of the fastening joints, and providing a design element which allowed the piece to be wall mounted for increased visibility. To achieve both of these goals, multiple parameters had to be considered as to the placement and sizing of the rear cross members. In order to allow the piece to sit flat against a vertical surface, such as a wall, the heights of the cross members from the rearward face of the artifact had to be equal. Additionally, to ensure a level hanging configuration, the cross pieces had to be mounted horizontally. Both of these design elements satisfied my requirement of wall hanging ability. The piece sits level and flat against any vertical surface, allowing for superior readability. To increase the structural performance of the fastening joints, I designed the cross members to span over all three face boards, which will extend the life of the piece by providing multiple fastening and positioning elements. If one joint were to fail, the piece as a whole would still maintain its integrity.
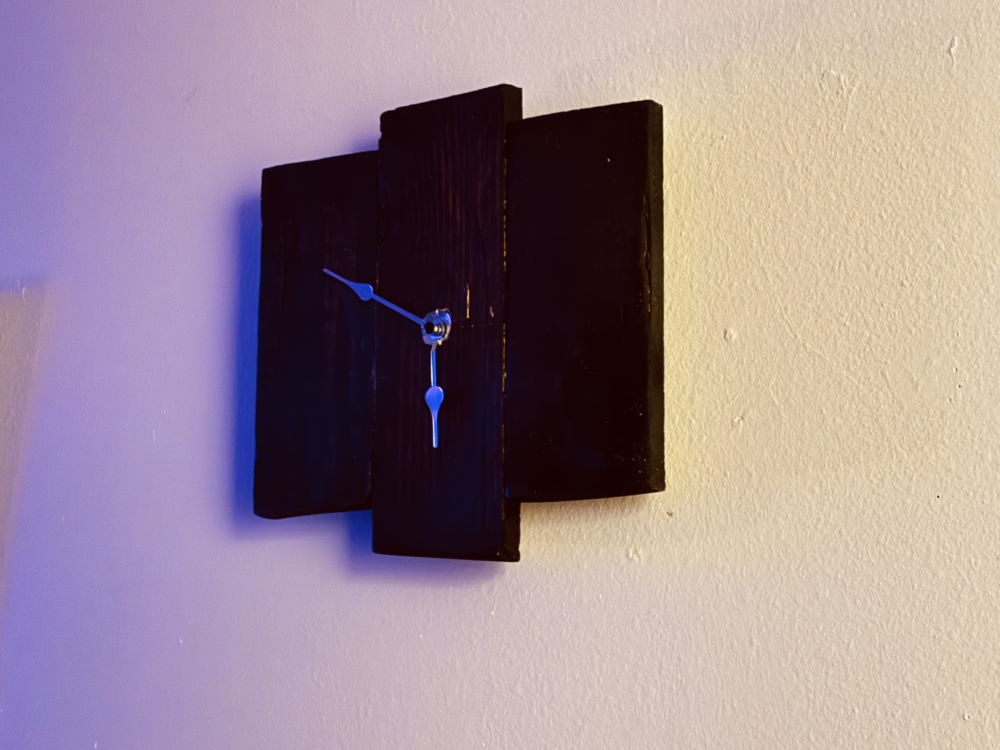 The final construction operation related to the wooden elements was the removal of material such that a clock movement could be inset into the back of the piece. Prior to the wood working, I had acquired another discarded item: an old, unused wall clock. I dismantled the clock, and found that inside rested a square, battery operated clock motor, still in perfectly usable condition. I decided at that moment that my upcycle project would include not just one, but two recycled elements. After isolating the clock movement, I carefully measured it, and made markings on the back of the wood which would serve as a guide, allowing me to achieve proper fitment of the clock pieces. In my effort to maintain the rustic machining element of my project, I opted not to use a traditional routing method, and instead began slowly removing the wood from the rear face using a utility knife. Achieving a proper and flush fitment using this process was arduous, but the time spent making the piece is now one of the reasons why my appreciation of it is amplified. After removing the necessary square area, I needed to bore a hole to allow the motor shaft to reach the front face of the clock. Using the same production spirit as I had throughout the process, I opted not for a drill, but for a simple hammer and nail. I used the nail to punch small holes in the center of the face until I was able to remove chunks of material, leaving the face with a smoothly bored hole made entirely by hand.
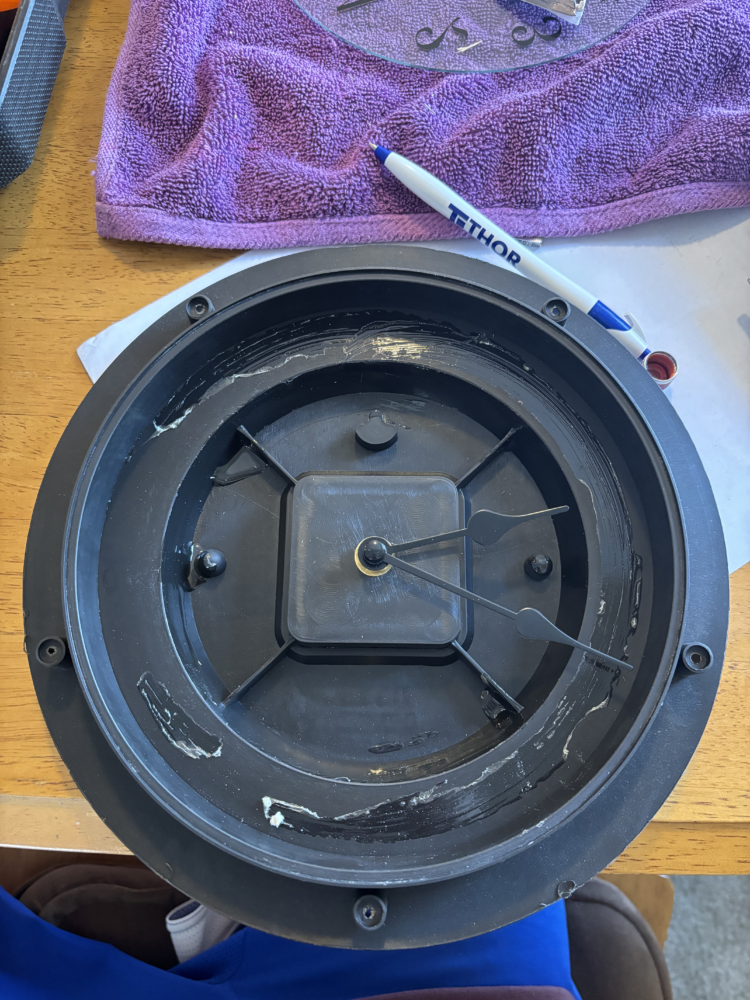 The final step of the project was to assemble the completed piece. I set the clock movement in the back of the wooden face, pinning it in place using an adhesive fastener. I then placed the minutes and hours hands, ensuring they were oriented in a way such that both hands could operate without colliding with one another. After the piece was fully assembled, I mounted it and ensured it was working properly. Overall, this project was a great success which made use of two forgotten but valuable materials, and combined them to make a distinct artistic artifact that will be appreciated for years to come.

2 Comments. Leave new
Your upcycle project is really impressive, and your attention to detail is clear in every aspect of the process. The decision to create a rustic, mid-century-style wall clock not only adds a functional element to your home but also enhances its aesthetic appeal. It’s clear that each step of the process was carefully thought out, resulting in a great piece of functional art that embodies the essence of mid-century style and rustic aesthetics. Great job!
Hi Sam, I really like how this project turned out. Also great job on all of the photos, it looks really professional and totally fits the vibe of your clock. I was also stunned to learn that this was taken from a pallet, the stain you put on it makes it really stand out. I am curious, during this process, did you ever encounter any problems during assembly, fabrication, design, etc? From the sound of your report it seems like the whole process was pretty streamlined. Overall, I love the piece! Great job and keep up the good work.