Joshua Beijer
Upcycling Project Progress
So far for the project I have made designs, collected materials, and taken a workshop in the Idea Forge wood shop. I created the designs in Solidworks with a CAD model and engineering drawing. I then collected an aspen log from my parents’ house this past weekend. I plan to start the manufacturing process this week and finish next week.
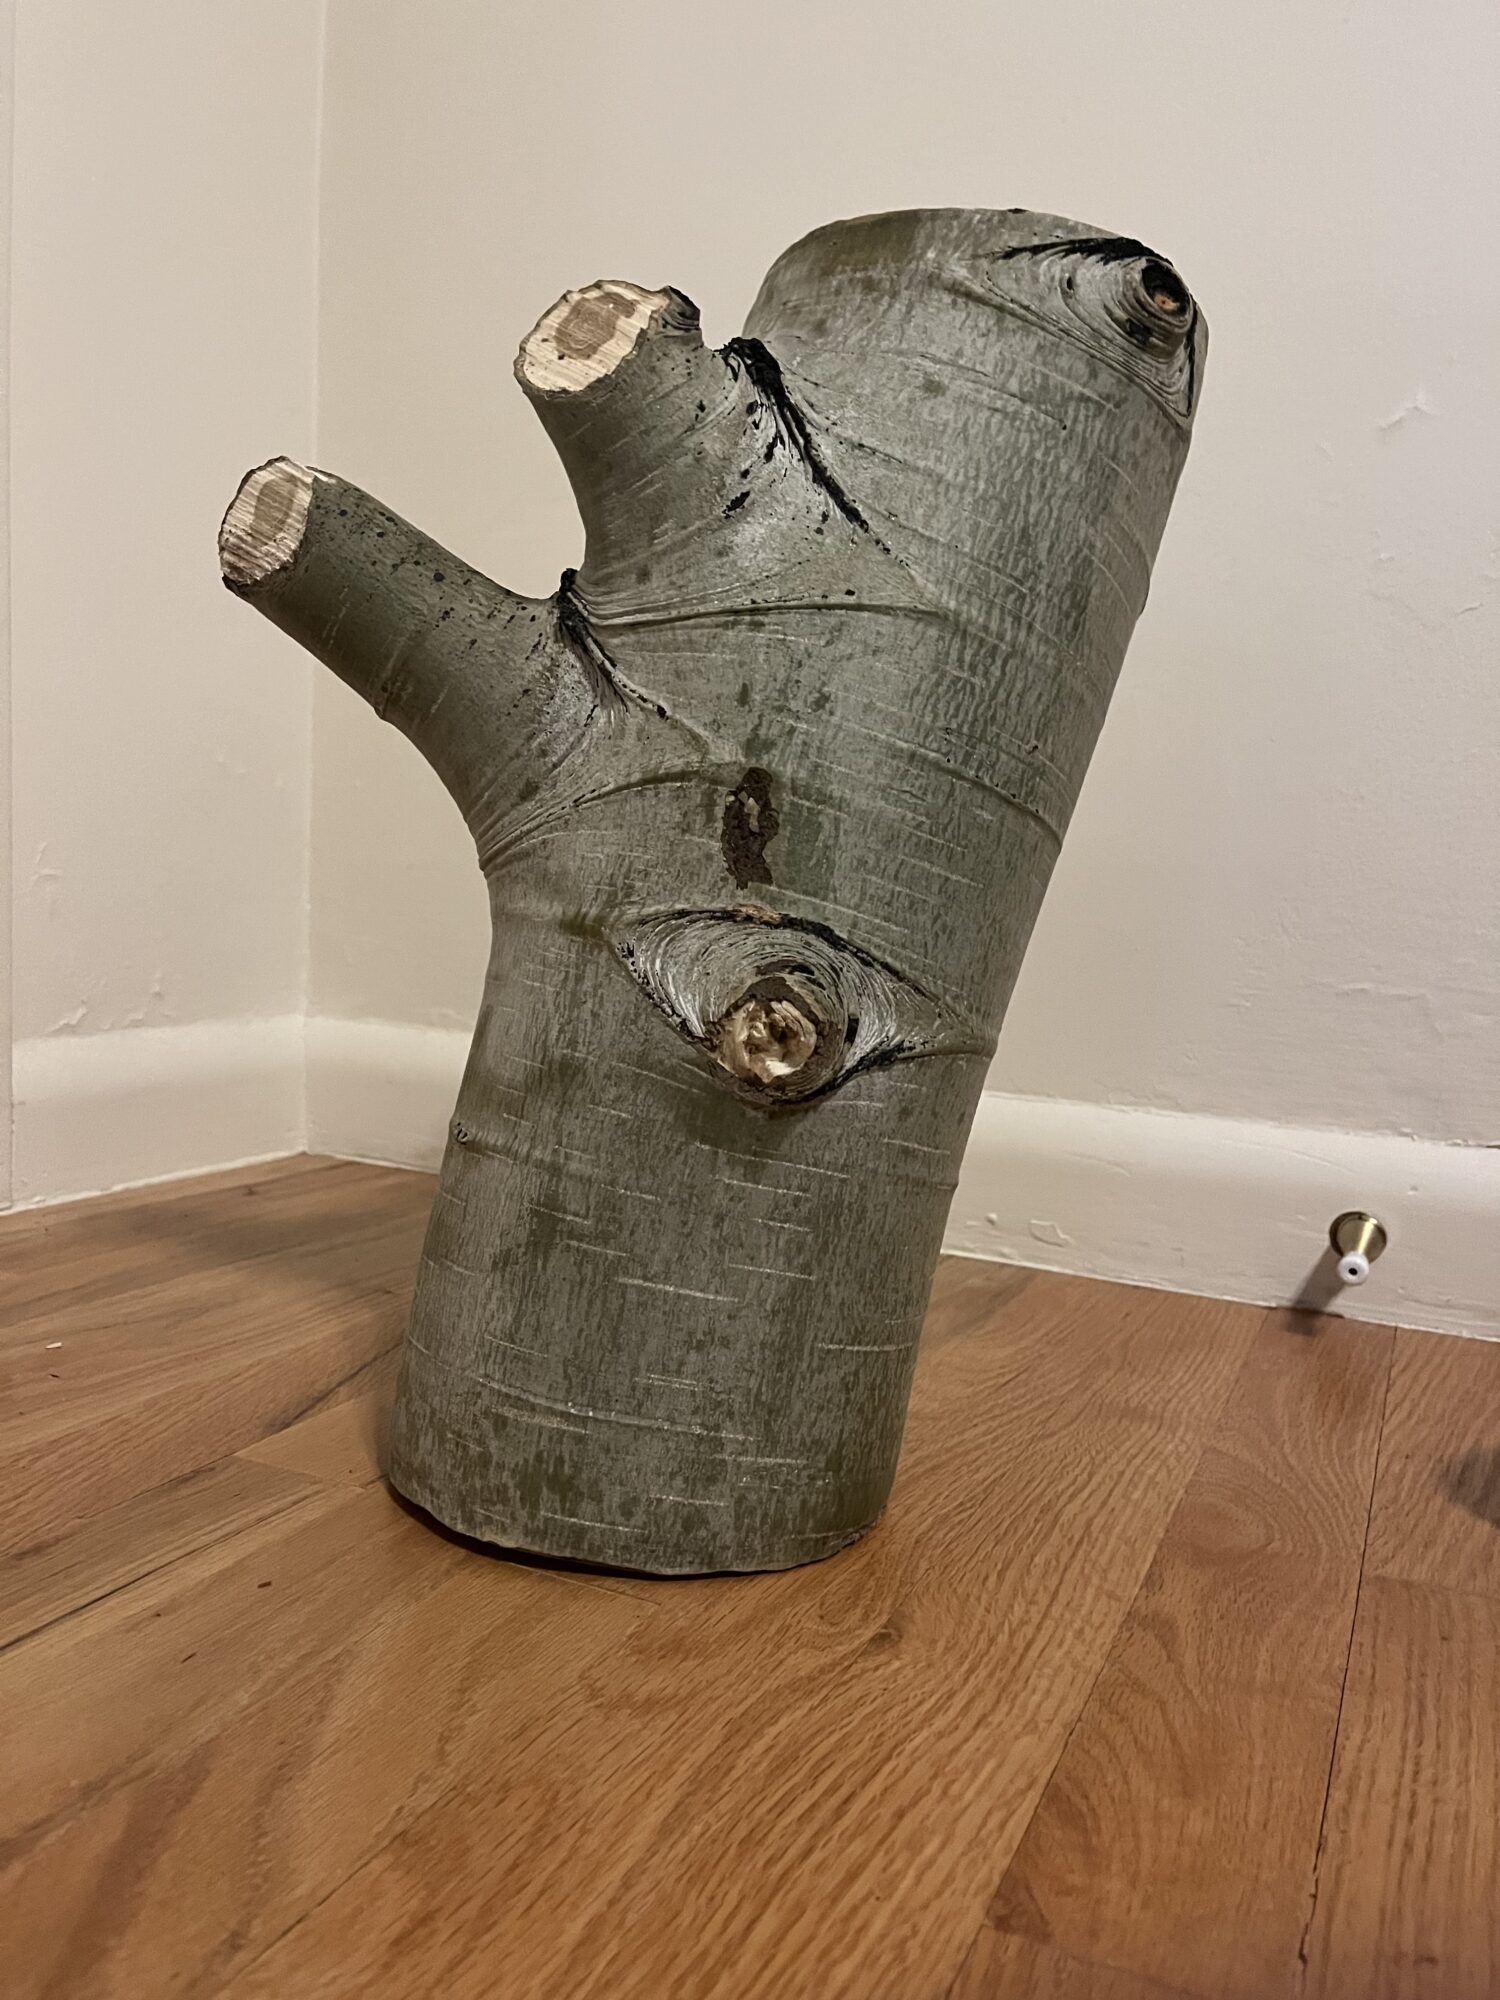
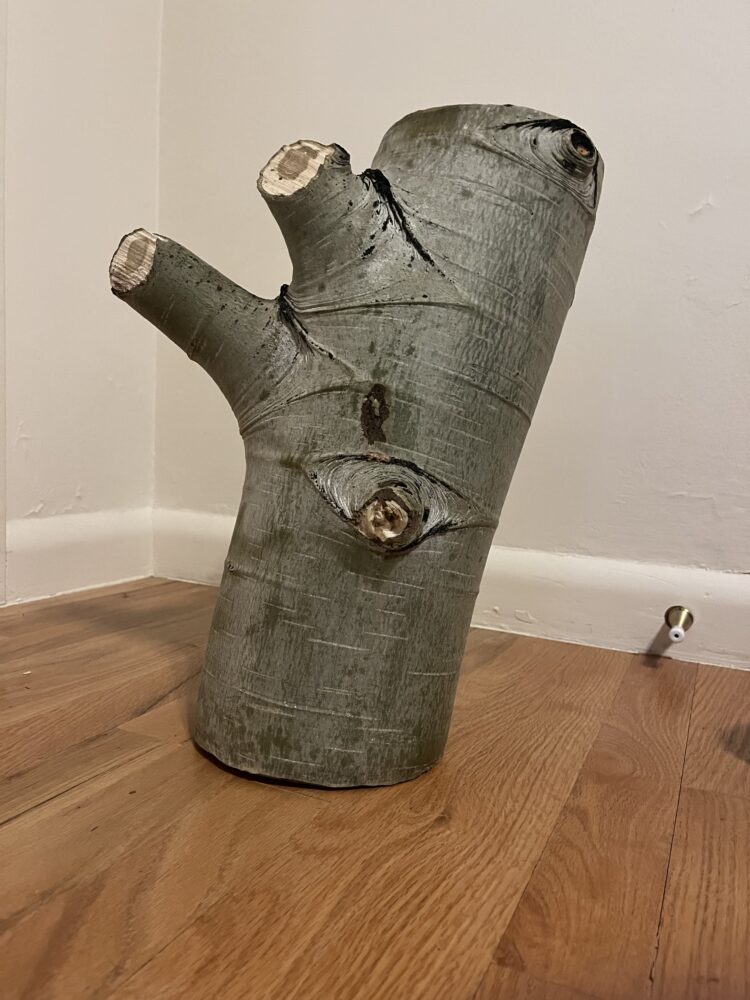
Aspen Log
The aspen log I chose is roughly 6″ x 16″. I chose it because of the size and presence of branches. I cut down this tree in December with the help of my family during routine maintenance of the property.

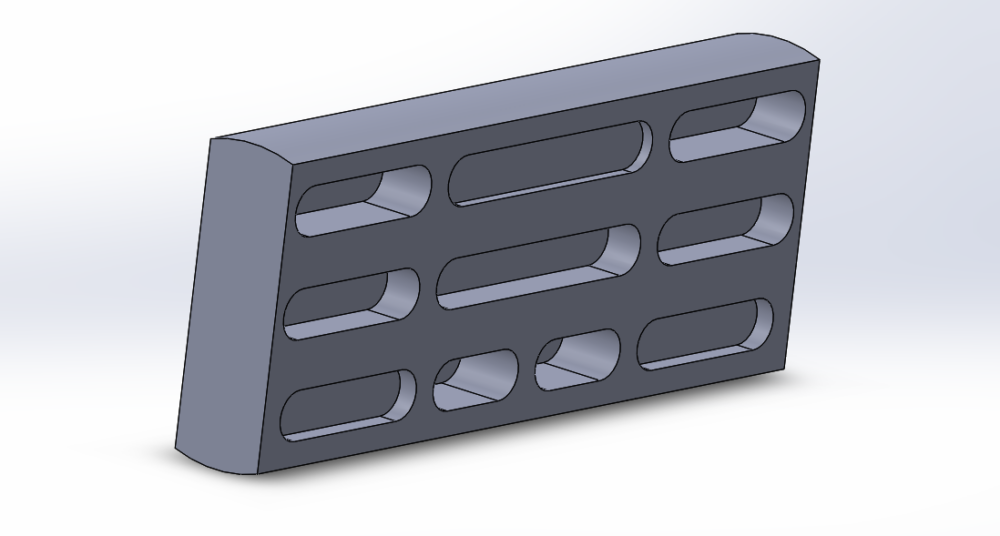
Solidworks CAD Model
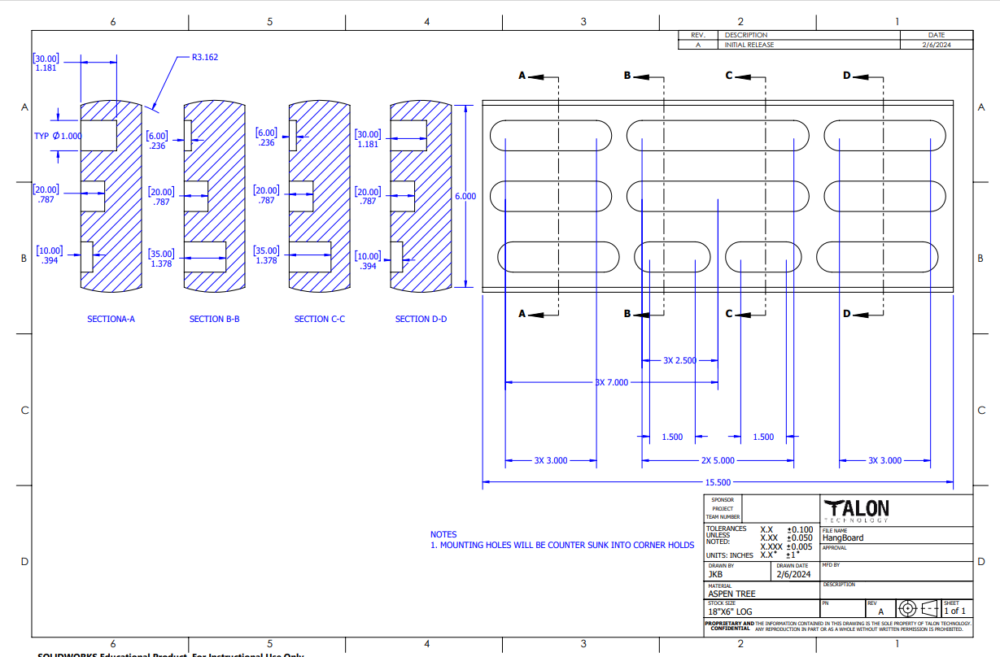
This CAD model is a representation of the hangboard. However, the one that I construct will be different due to the branches and natural curve of the log. The holds will be measured from the center of the face due to these inconsistencies. The drawing below will be helpful in the manufacturing process of the hangboard because it gives the depths, locations, and dimensions of the holds.

Solidworks Engineering Drawing
The first step will be cutting the log into a plank. I will make sure to cut a section that has a branch on the side to add to the natural wood aesthetic. I decided to go with an aspen log to avoid the sap of the pine logs and to add a modern flare. The next step will require drilling holes of various depths into the face of the hangboard. I will then connect these holes to create the elliptical hold pattern seen in the CAD model. The final step will be sanding and adding counter-sunk mounting holes inside the corner holds. The hold depths will vary from 35 mm to 8 mm for different training purposes.


2 Comments. Leave new
Josh this project looks fantastic!! I love the process you have so far and think it will turn out amazing! I am curious how it will mount to a wall or other face on the back side. I did not see that in the drawing package. Happy cutting!
Hey Colton, thank you for the input. I was planning on putting some countersunk holes into the corner holds in order to attach it to a wall. I am not sure of the spacing of these holes yet.