For my upcycle project, I will be creatintg a rustic picture frame which holds a CU Boulder Buffalo logo. The materials I will be uisng for this project are cardboard, paper, and glue.
I have designed, sketched, and prototyped (initial prototyping) my project, and I plan to begin testing laser cutting methods and assembling my project over the weekend, finalizing the production method, and assembling my project by Friday, February 16.
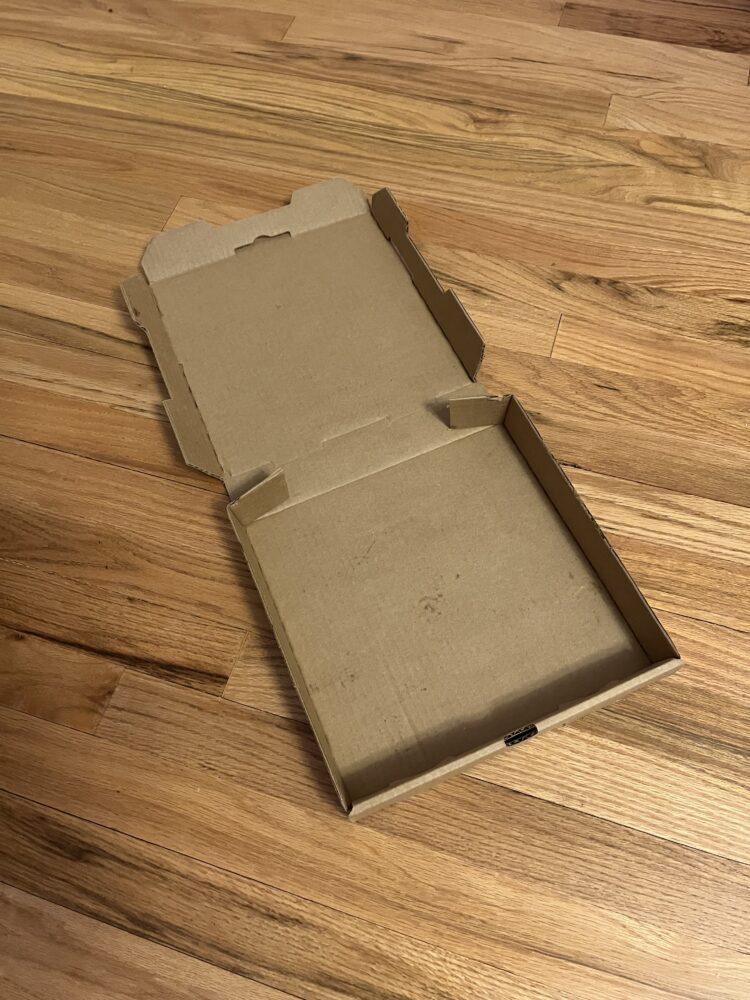
I have collected the cardboard that will be used to create the frame and logo. A 10″ x 10″ pizza box (seen below) will be used to create the final frame and logo, as it is the largest piece of cardboard I have which is blank.
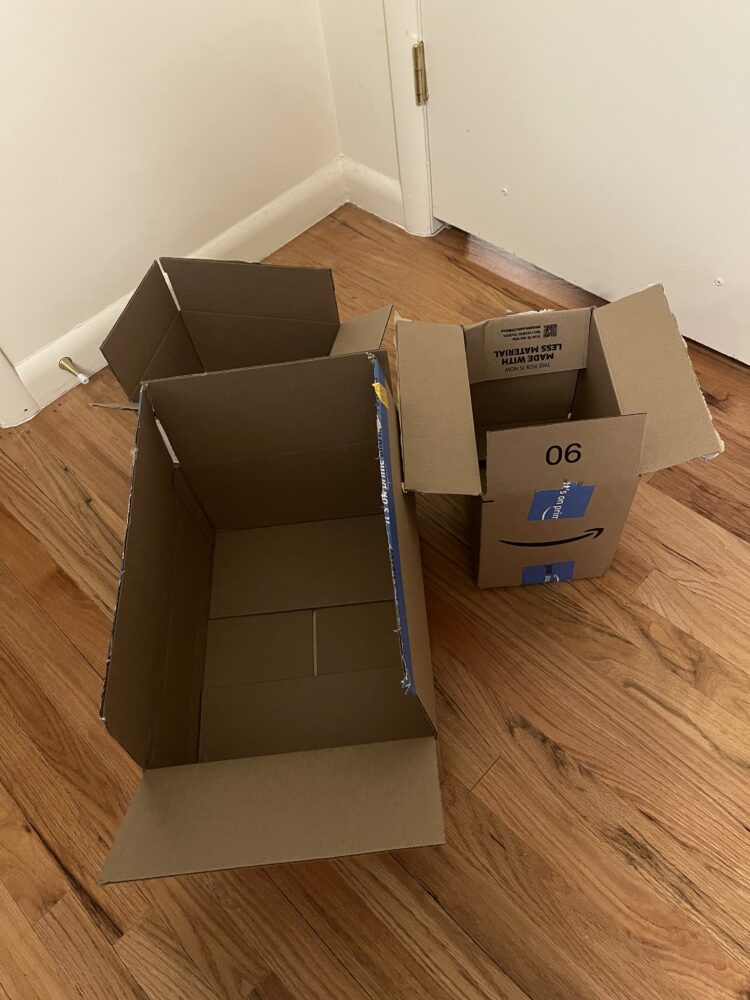
The rest of the cardboard I have found (seen below ) is in the form of online retail shipping boxes, and will be used to prototype the entirety of my upcycle project before I make the final project out of the pizza box.
I began the prototyping process by sketching the shape of what I plan to make. I was sure to include the project scale (the frame’s outer dimensions will be 10″ x 7.5″ with a 1″ width all the way around) and a rough idea of what the wood-looking frame will look like after I laser cut it.
I currently plan to laser cut both the shape and design of both pieces of my upcycle project, however I do forsee designing the wood-like pattern on the cardboard to be a challenge. I have not seen many examples of laser cut designs on cardboard, so I may end up hand drawing and/or painting the designs if I am struggling to laser cut the carboard (which would likely be due to it catching fire).
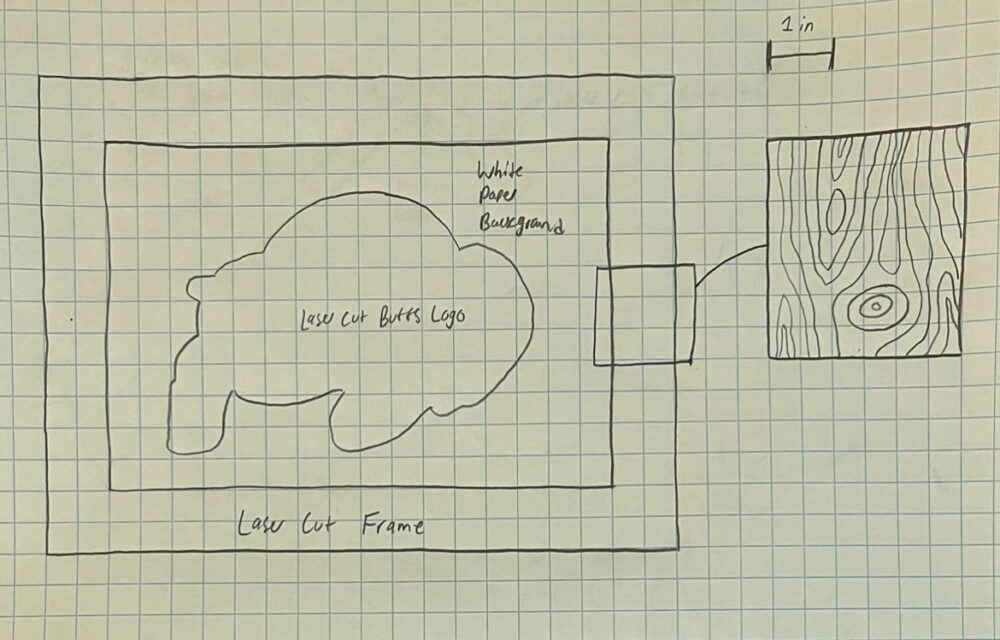
A preliminary sketch of my upccyle project is seen above.
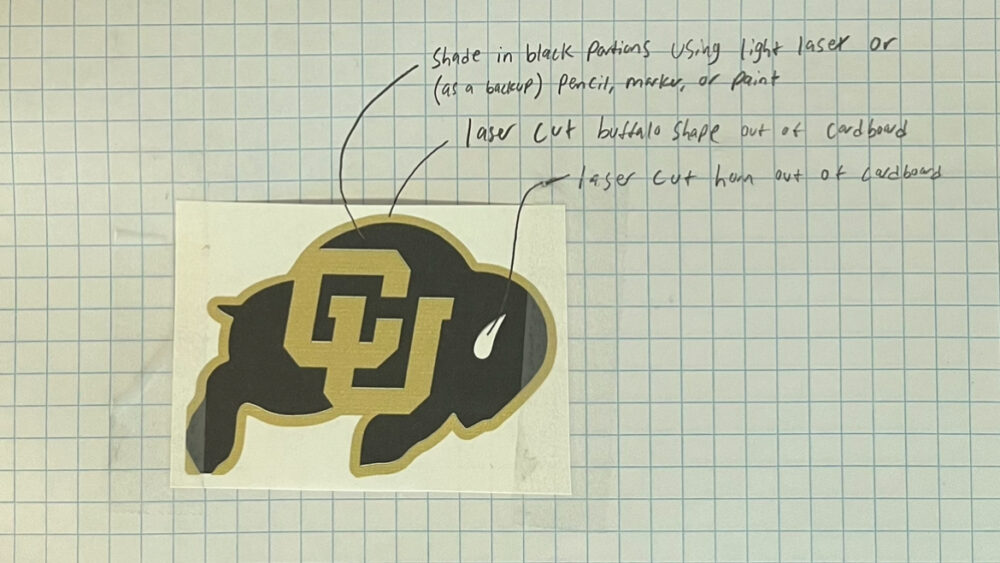
Above is an excerpt from my design notebook, where I specify how I will create the CU Buffalos logo [1] out of cardboard.
As I will be hanging this artifact on the wall of my bedroom, I also designed a simple mounting bracket for the backside of the frame. I will laser cut this “V” shape out of cardboard (see image below), and glue it onto the rear of the frame, allowing my artifact to be hung from a nail in a wall.
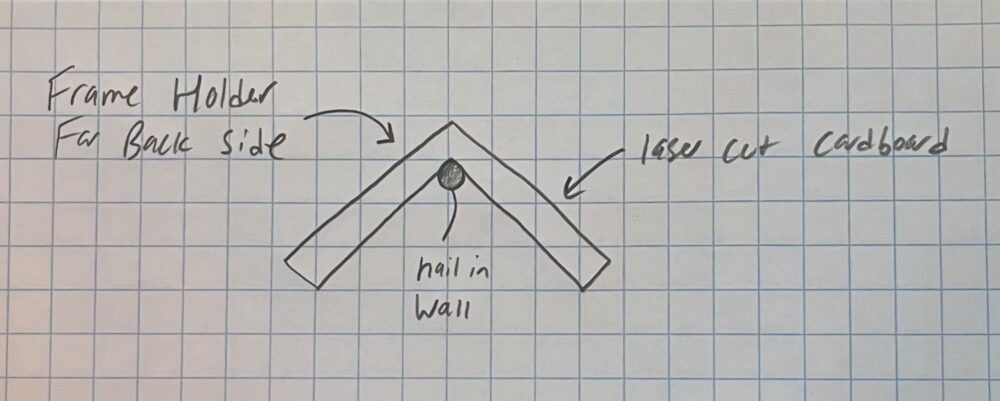
Additionally, a piece of used paper, intended to be recycled, will be mounted to the back of the frame, allowing the logo to be placed in the center of it and attached using glue.
Below is a 1:1 scale prototype of my upcycle project, created using paper and tape. The prototype is placed next to a pair of large scissors and a pen for reference.
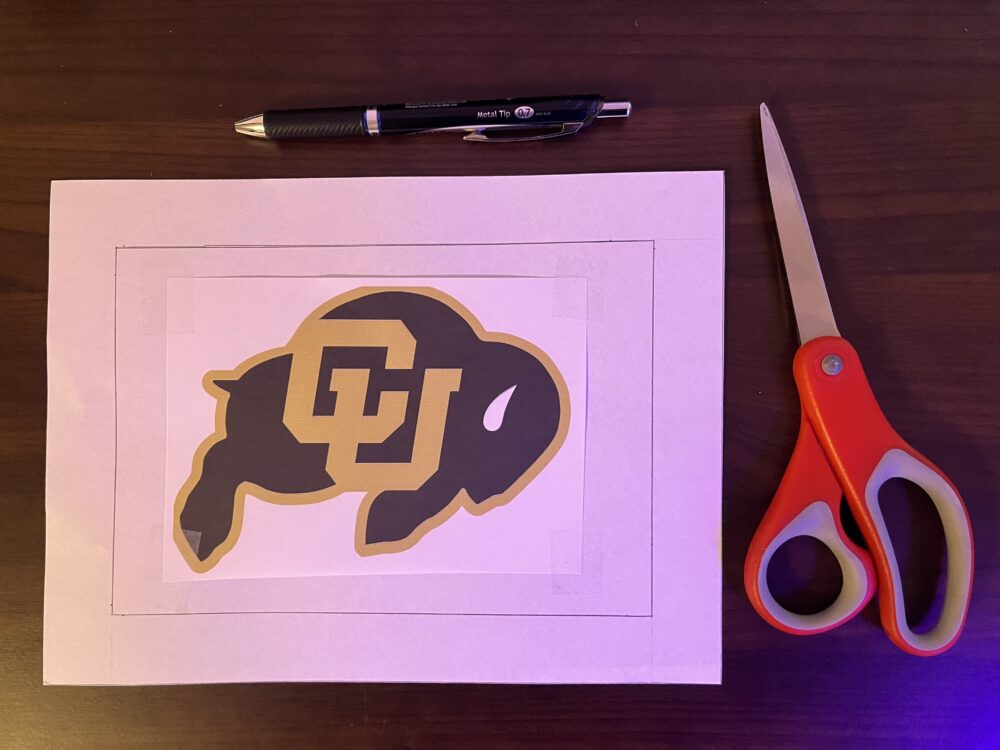
The logo [1] featured in my above prototype was printed from the internet.
Refrences:
- University of Colorado Athletics – Official Athletics Website. Colorado Buffalos Athletics, https://www.google.com/url?sa=i&url=https%3A%2F%2Fcubuffs.com%2F&psig=AOvVaw2rG3KRowRjtu3BJ2W_warJ&ust=1706856271244000&source=images&cd=vfe&opi=89978449&ved=0CBUQjhxqFwoTCPCC2J_FiYQDFQAAAAAdAAAAABAI. Accessed 7 Feb. 2024.

2 Comments. Leave new
Hi Michael,
This project looks amazing and it’s exciting that you will get to be hands-on and do so much prototyping with a laser engraver. I know Corel Draw can be a bit finicky so stay at it and I am sure you will make it amazing! Have you thought about using recycled wood for the frame section instead to give a different material finish? If it’s thin enough it will also get that laser burn you are looking for!
Happy engraving!
Hi Colton,
Great idea! I defenitely considered wood for the frame (and the entire project), however I really wanted the ‘upcycle’ nature of the artifact to be obvious, even to someone who isn’t involved in the class, so I decided to go with cardboard for the whole design!